
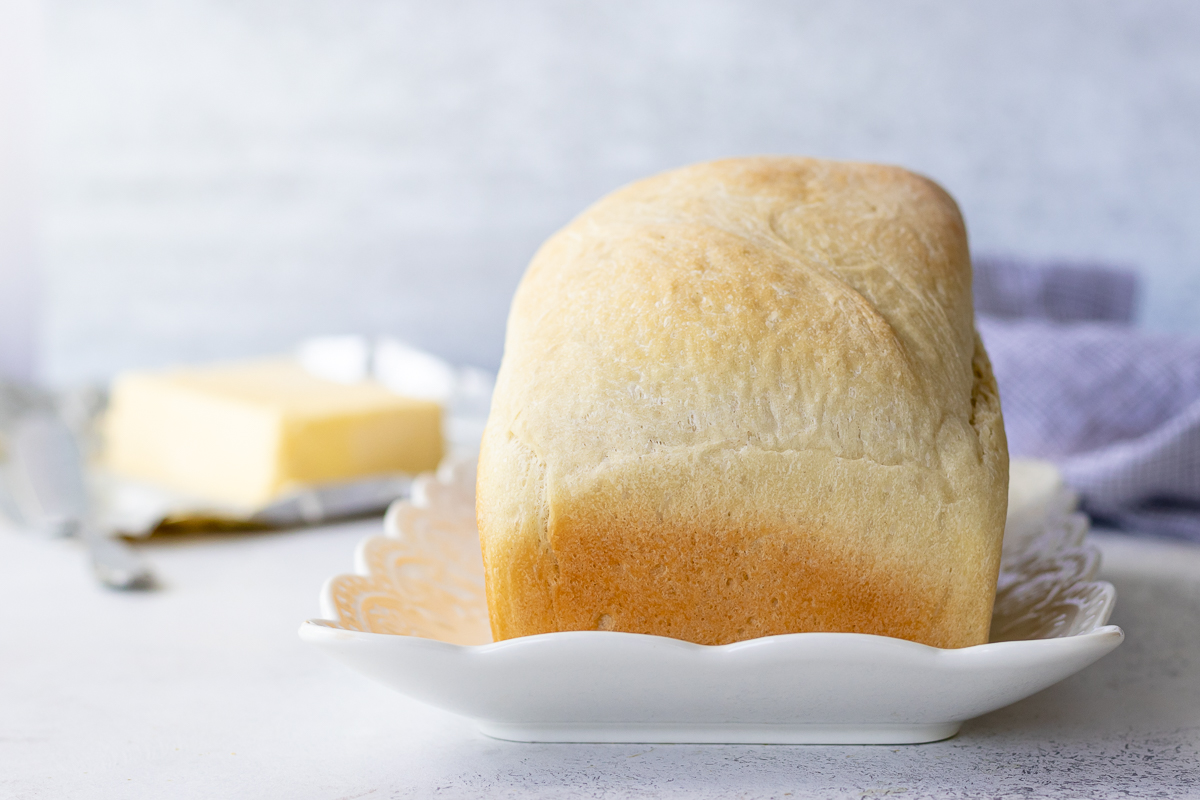
Start your yeast bread baking adventures with this easy sandwich bread recipe! With a few ingredients and a little patience, you’ll get a light and tender loaf of bread that slices perfectly for toast or sandwiches.
If you follow me over on Facebook, you know that I’ve been doing a lot of live videos recently. I’ve really enjoyed it as it’s been a fun way to make things without the pressure of creating the content for a full blog post. We just make something together! This easy sandwich bread recipe was one of the first recipes I shared during the live videos. It wasn’t going to be a post at first, but my kids really love it. And it’s one of the easiest recipes for new bread bakers to follow. So I took some pictures after baking one day, and here we are! Let’s bake bread!
What makes this easy sandwich bread recipe so great?
There are so many reasons I really love this bread recipe for beginner bread makers. First of all, the dough is easy to mix, and it’s very easy to see what should be happening at each step. A lot of bread making becomes intuitive – eventually. You’ll know how to adjust the final quantities of flour based on humidity and your oven, etc. But when you’re first starting out, the best bread recipes give you the opportunity to clearly check your progress along the way.
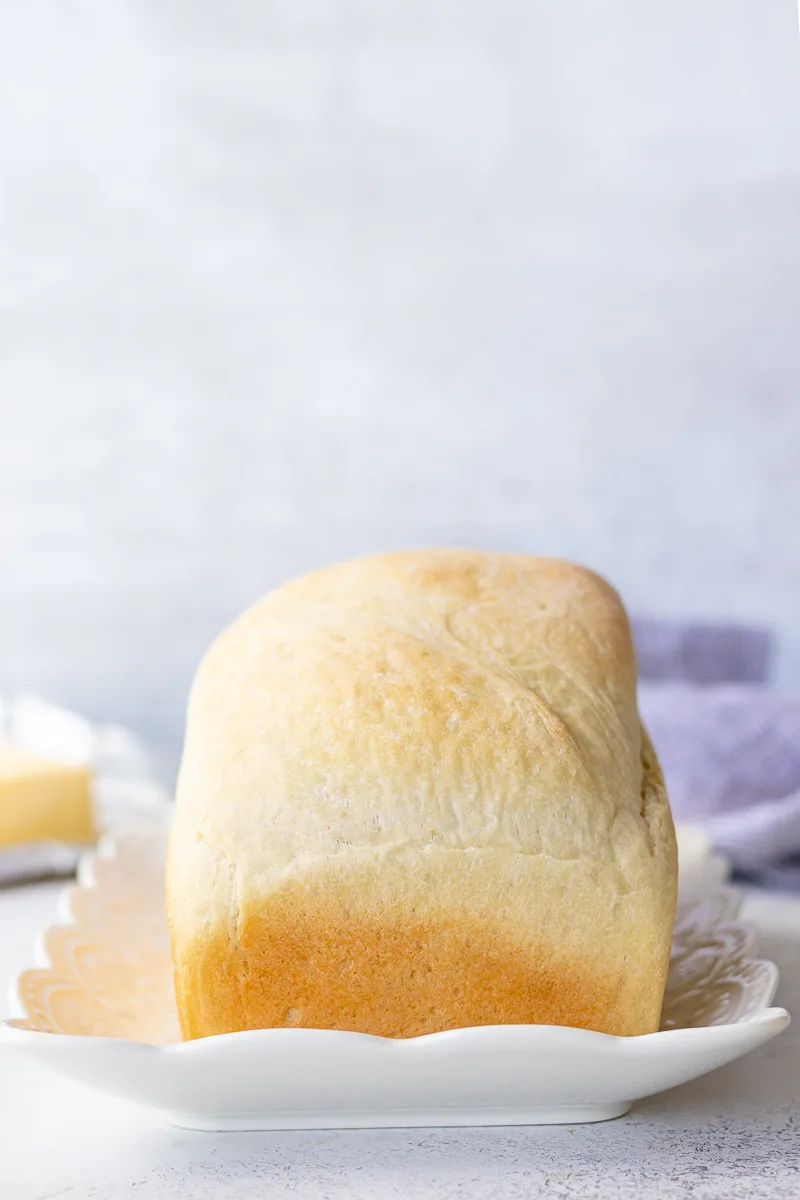
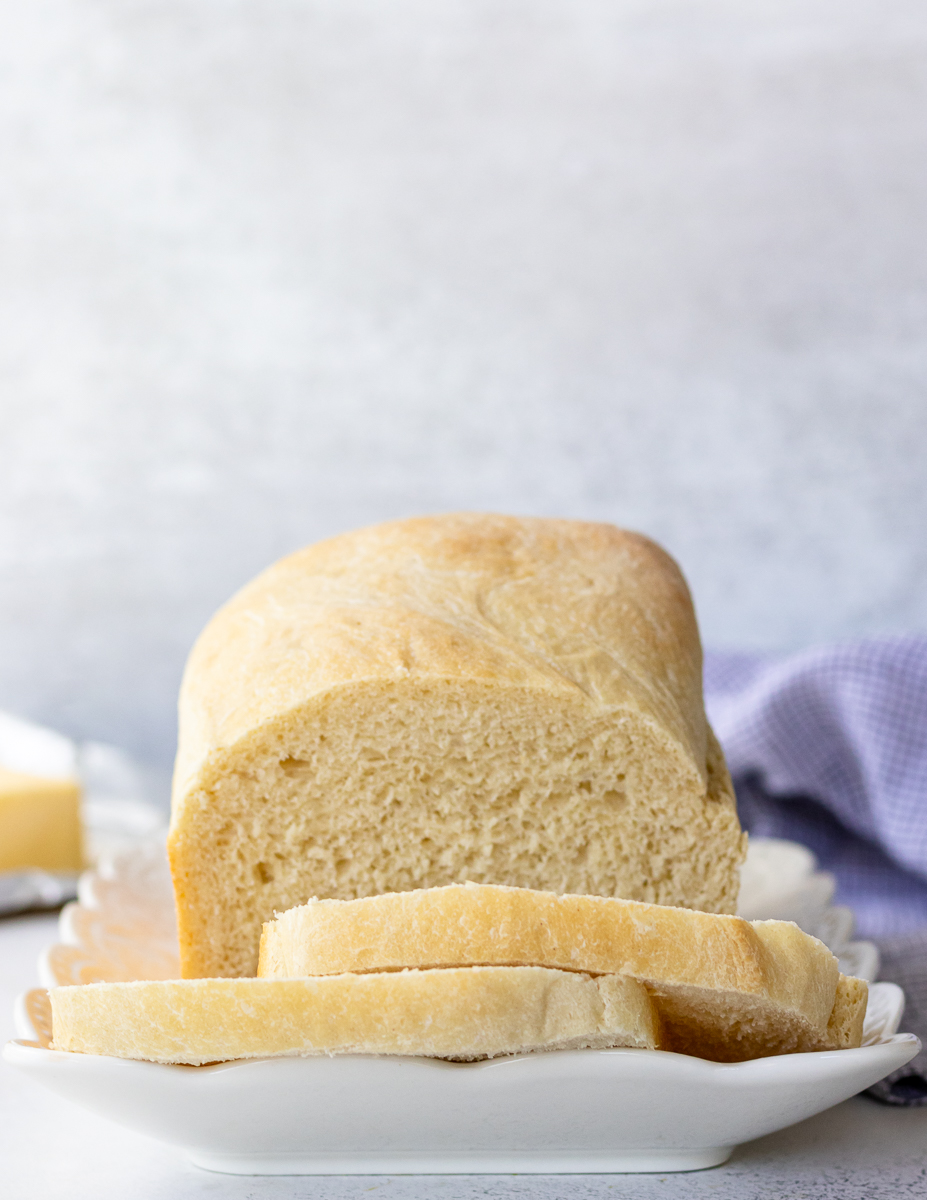
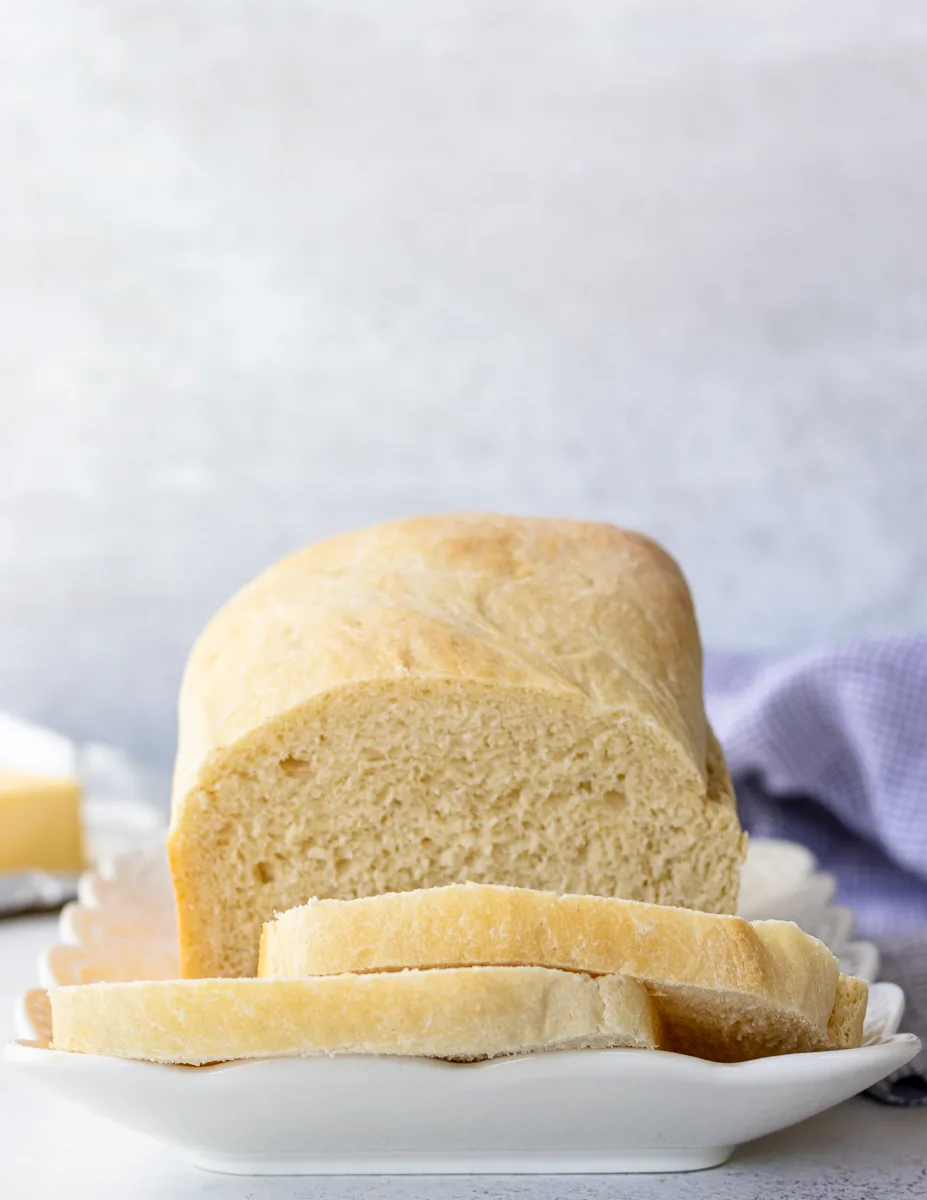
The second reason I really love this easy sandwich bread recipe is the final result. Although that sounds kind of silly, doesn’t it? Why post a recipe if it doesn’t have great results? 🤔 Anyway, the resulting bread loaf here is light, tender, and has everything you’d want out of homemade bread. In fact, it’s the bread recipe that convinced my children to be 100% on board switching to just homemade bread from store-bought. For now, anyway. I’m all for outsourcing when I need to. But why not experiment when you can?
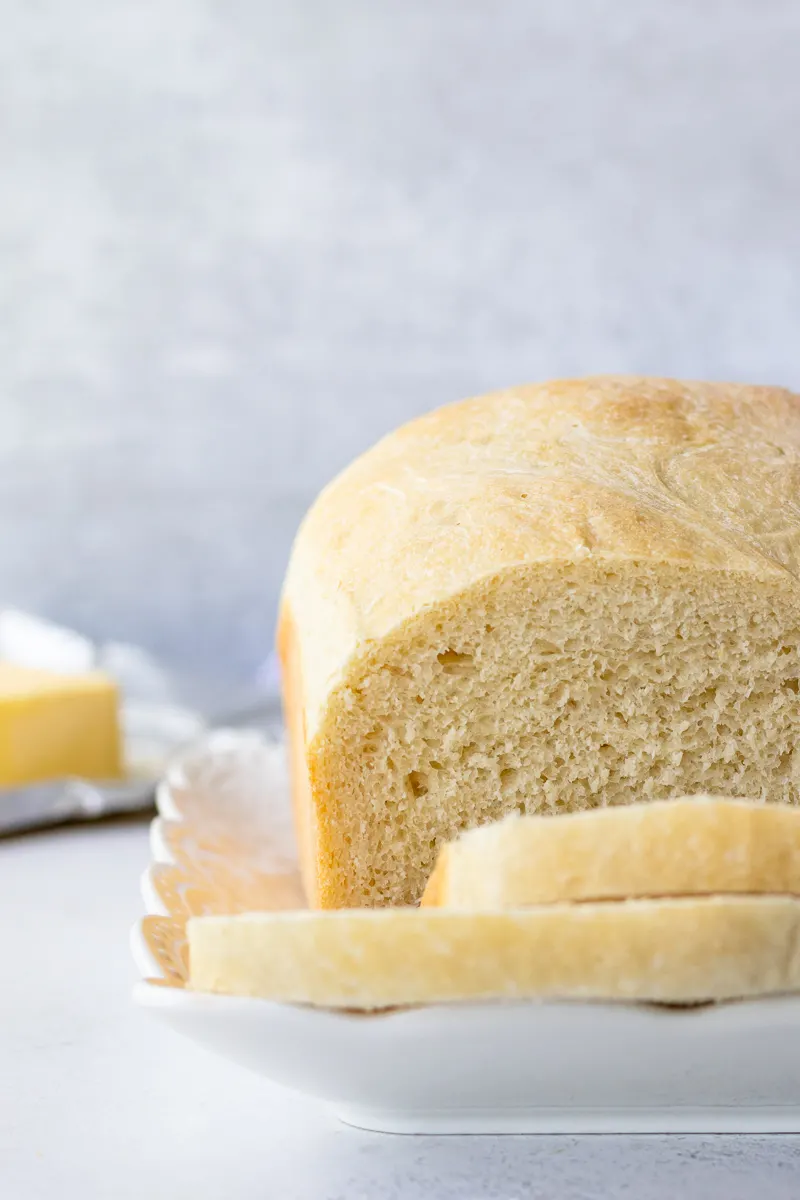
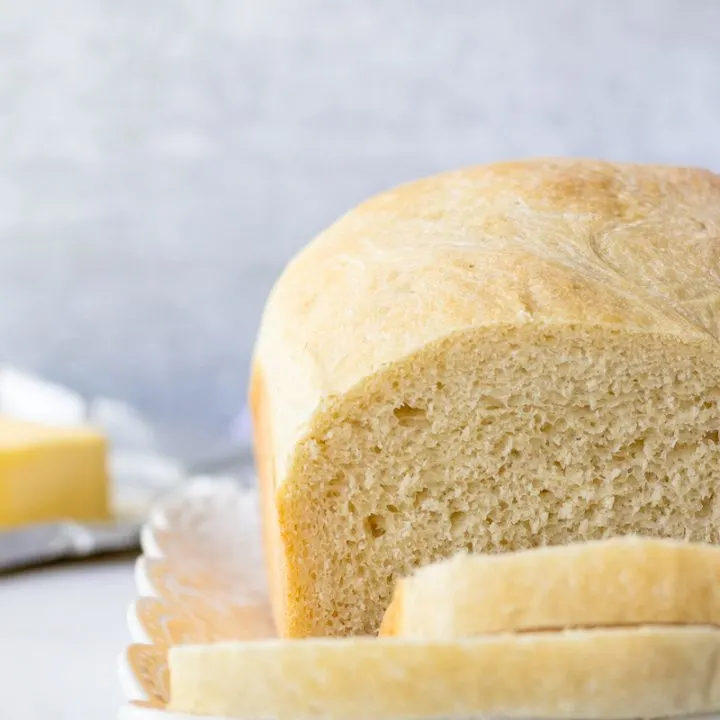
You can see how beautiful the crumb is on this loaf! And unlike some homemade bread recipes, this one stays tender for a few days.
Why does homemade bread dry out faster than store-bought? How should I store this?
Homemade bread doesn’t have the same preservatives as bread purchased at the grocery store. This is because by the time the bread makes it from the processing factory to the distribution center, to the stores, your cart, and home, it would go bad. Of course, I’m specifically referring to the sliced and bagged bread purchased at the store – not the loaves you purchase from the bakery counter. Those behave more like homemade bread too.

This sandwich bread doesn’t go through all those steps though, it goes from counter to oven to you! Yet the crumb is soft and tender like your favorite store-bought sliced bread. A completely cooled loaf will freeze well if you want to batch bake. But if you are just making a single loaf to enjoy, it will keep nicely at room temperature for 3-4 days, wrapped.
A bread box is also a great idea if you bake bread often. We don’t always have the counter space, so a hack we learned is to use the microwave. The Godfather’s mom has always used the microwave as the bread box, she just removes the bread before heating anything. It works!
If you live in a very humid climate, you may want to refrigerate it. Typically I don’t suggest refrigeration of baked goods without perishable ingredients because the refrigerator can dry them out. But, we live in a very humid climate right now, and we store our bread in the fridge so it lasts longer.

And now, the recipe! I’ve included tips for each step so you know what to look for to get the best possible results. Happy baking, darlings!

Easy Sandwich Bread
Ingredients
- 1 teaspoon active dry yeast (see notes)
- 1 cup warm water
- 1 tablespoon granulated sugar + 1/2 teaspoon, divided
- 2 teaspoons kosher salt
- 1 tablespoon olive oil
- 3 - 3 1/2 cups bread flour (see notes)
Instructions
- In the bowl of the stand mixer or a large mixing bowl, combine the warm water, yeast, and 1/2 teaspoon granulated sugar. Let it sit about 5 minutes until it looks bubbly. See notes if you are using instant yeast.
- In another bowl, whisk together 3 cups of flour, the tablespoon of sugar, and salt.
- Once the yeast mixture is foamy, stir in the olive oil. Add the flour mixture one cup at a time. You may stir the flour into the wet ingredients using a wooden spoon at first, then turn onto a lightly floured surface to knead by hand.
If you are kneading using a stand mixer, use the dough hook, scrape the sides of the bowl as needed, and do all your kneading at low speed.
Kneading will take about 8-10 minutes by hand or 5-6 minutes by machine. - If your dough is still very wet after adding all 3 cups of flour, add additional flour 1 tablespoon at a time. You don't want the dough to be dry, but it shouldn't stick when you touch it with a clean finger. Your dough is ready to rise when it's smooth, not sticky, and passes the window test (see notes).
- Wipe your mixing bowl clean and lightly grease. Place your dough into the greased bowl and turn once. Greasing the top of the bread keeps it from drying out during the rise. Cover with plastic wrap and allow to sit 45 minutes to an hour (see notes) in a warm draft-free spot, until about doubled in size.
- Grease a 9x5" loaf pan. Press down the risen dough and turn onto a lightly floured surface. Shape into a loaf and transfer to your prepared loaf pan. Cover with plastic wrap and let rise another 30-45 minutes until about doubled.
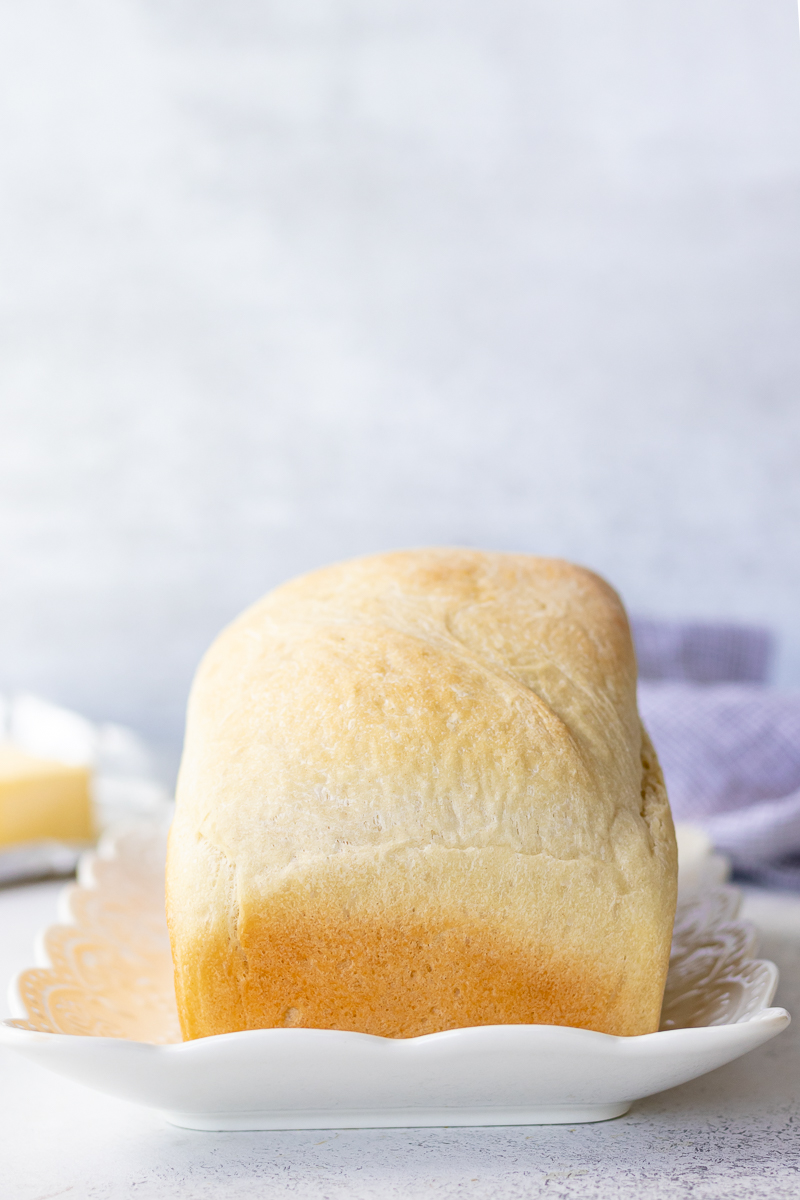
- Towards the end of the rising time, preheat your oven to 375 F. Remove the plastic cover from the loaf of bread and bake 30-35 minutes until it's a light golden brown and the bread sounds hollow when tapped.
- Remove the bread and allow to rest in the pan 5-10 minutes before transferring to a wire rack to cool completely. Wait until the bread has almost entirely cooled before slicing. Enjoy!
- Cooled bread can be stored loosely wrapped at room temperature up to 3 days, or frozen for longer storage.
Notes
- If you are using packets of yeast, you'll use half a packet. It's closer to 1 1/8 teaspoons, but it's fine. No difference in the resulting bread.
- If you don't have bread flour, you can use an equal amount of all-purpose flour. You cannot substitute self-rising flour in this recipe. The baking powder in the flour will keep the recipe from working properly.
- If you are using instant yeast - skip the first step (proofing the yeast). You will combine your yeast with the flour. Since you aren't proofing your yeast, you won't need the additional 1/2 teaspoon of sugar.
- What is the window test? When you are kneading this dough, you'll know it's ready when it passes what's called the "window test". That means that you can take about a marble-sized piece of your smooth, kneaded dough and stretch it thin enough that you can see light through it, but it doesn't tear.
- Rising time can vary depending on ambient temperature and the strength of your yeast. It might take longer in cooler climates. Be patient.
Recommended Products
As an Amazon Associate and member of other affiliate programs, I earn from qualifying purchases.