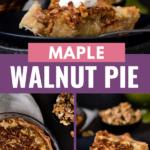

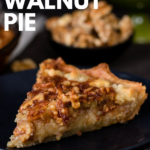

A perfect alternative to pecan pie, this maple walnut pie is fall in a bite!

Every year when autumn rolls around, everyone starts talking about pumpkin and apple everything. And I adore pumpkin and apple, but there are so many other amazing flavors out there!
For example… maple. As soon as the temperature drops, I’m making pancakes, oatmeal, french toast, or something that requires maple syrup about once a week. It’s comforting and sweet, who could ask for more? And that’s part of the reason I really love this maple walnut pie.
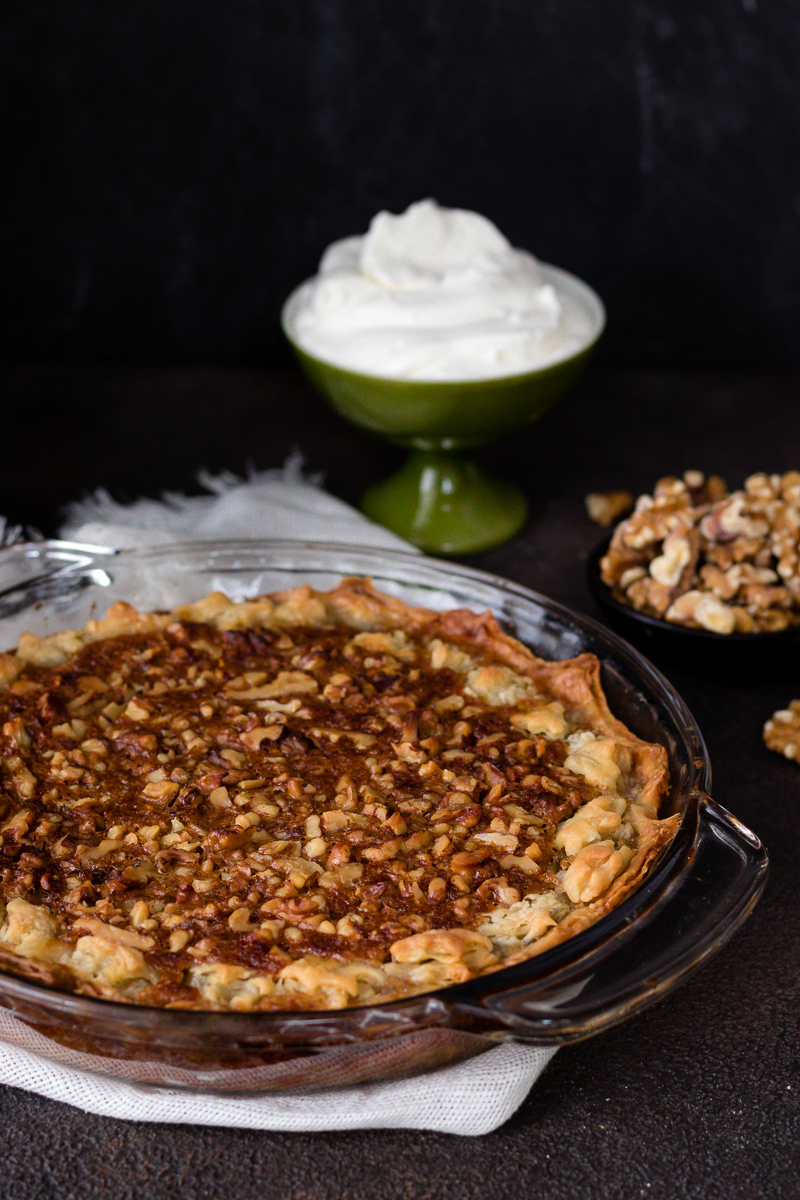
And this year was the year I promised the Godfather I’d get a little creative with our fall pie lineup. Sometimes even food bloggers can get tied to traditions. It’s nice to shake things up though. And the toasty walnuts on top of this pie should really be the only persuasion you need, darlings.


I like this as an alternative to pecan pie. Not because I don’t love a good pecan pie (here’s one we love, and a slab pie perfect for a Friendsgiving), but because we happened to have more walnuts than pecans on hand. And because maple and walnuts just go together.
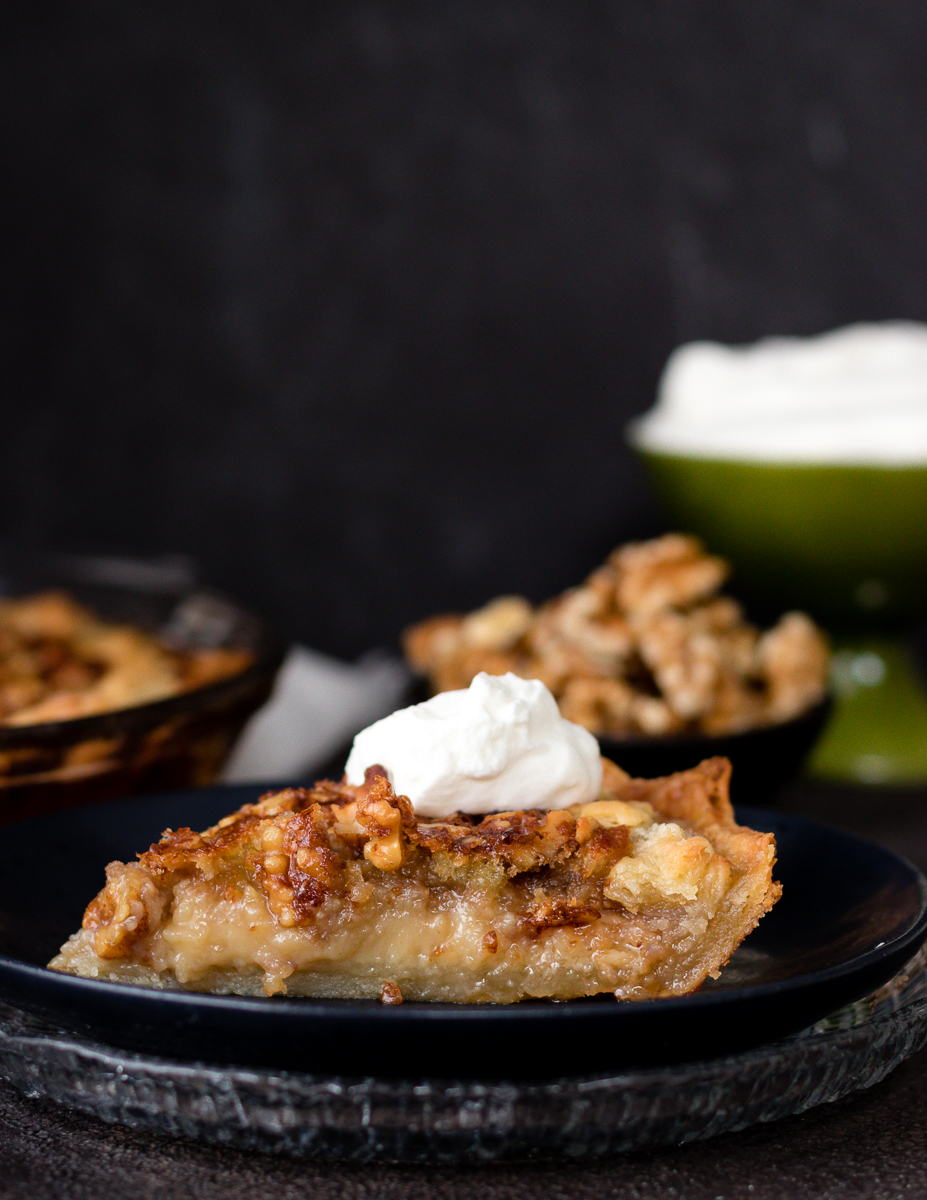
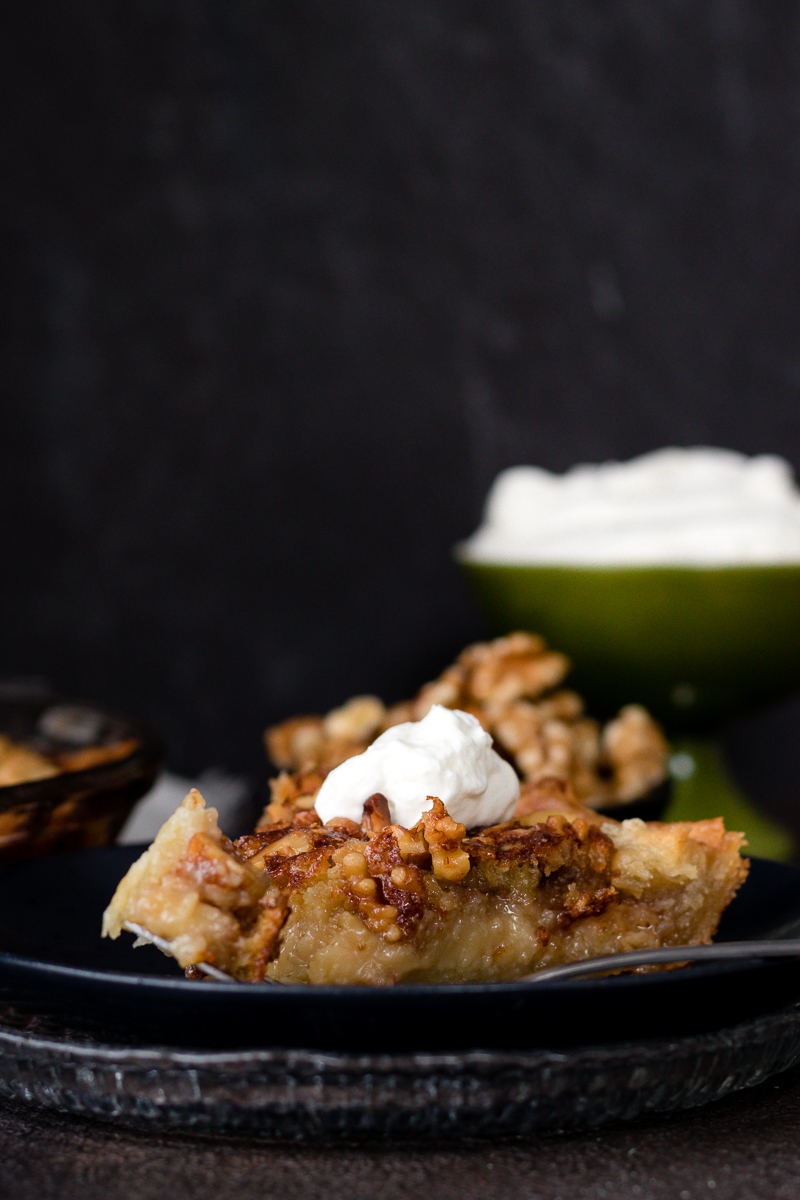
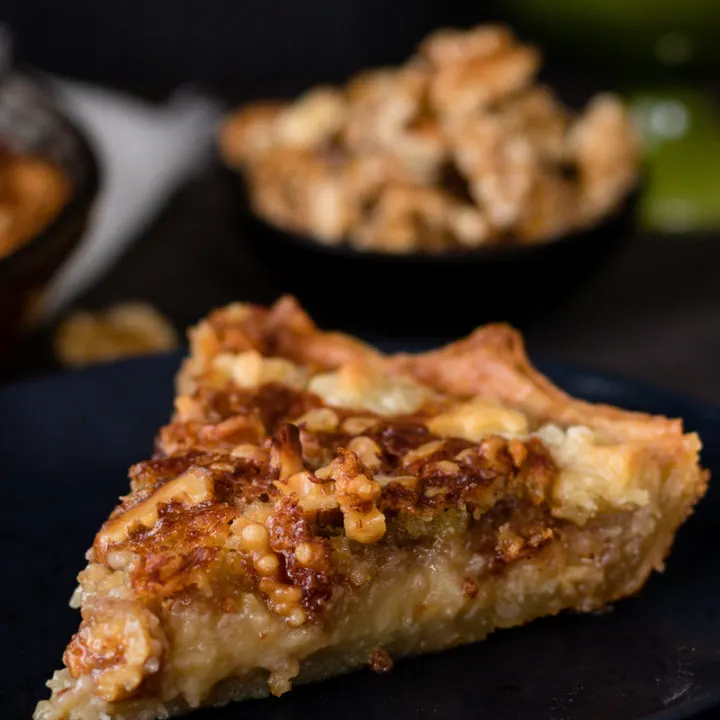
In this single crust pie recipe, you make a maple syrup filling and then top it with the walnuts. The maple syrup filling gets a bit like a custard. It’s not quite the same as a pecan pie filling, but similar. And the walnuts get super toasty and blend all the flavors together perfectly!
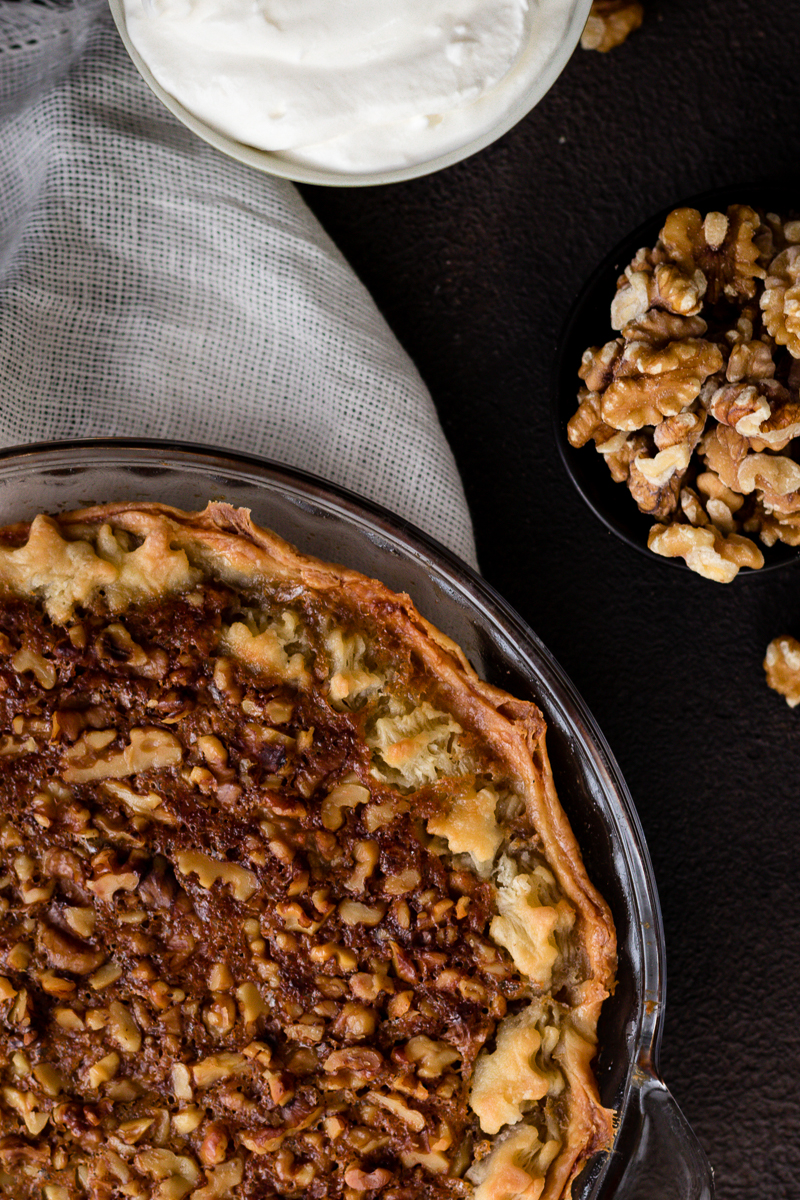

Speaking of which, start with untoasted walnuts. If you start with toasted ones, they will burn. So don’t use the walnuts in the nut mixes, use the walnuts you buy in the baking section or produce section.
What kind of maple syrup should I use?
The kind of maple syrup you use will make a difference, so let’s talk about it for a minute.
Previously, you had Grade A and Grade B maple syrup. There is no difference in quality, the grading was just to note color and strength of flavor. Grade A was lighter in color with a milder flavor and Grade B was darker and more robust in flavor. But this could be confusing for those new to maple syrup.
So in 2015, the USDA changed the maple syrup grading scale. Now all maple syrup sold in the US is marked as Grade A with one of 4 categories added to denote color and flavor. You can read about it here.
For baking, a darker color and more robust taste will give you a stronger maple flavor. So look for that if you can. Depending on your store, options for real maple syrup might be limited. A lot of the syrups sold are labeled “breakfast syrup” because there’s no maple syrup in them. Food labeling is an interesting thing, darlings.

The point is, the bolder the maple flavor in your syrup, the richer the flavor in your maple walnut pie.
How do I serve the maple walnut pie?
We actually liked this best after a day of rest. I think it gave the flavors a chance to really blend. So if you’re planning this for say – a holiday meal – make this a day in advance. Serve slightly warm or at room temperature. Plain is good, with a bit of whipped cream is good, ice cream is also good. Basically, use whatever you like to top pie. The flavors in the filling are an excellent star to any supporting condiment you’d like.
Happy baking, darlings!


Maple Walnut Pie
Walnuts and maple star in this unique Thanksgiving pie recipe! Maple walnut pie is a must for your cool weather baking list.
Ingredients
Filling
- 3 large eggs
- 1/4 teaspoon kosher salt
- 1/4 cup granulated sugar
- 4 tablespoons unsalted butter, melted (see notes)
- 1 cup pure maple syrup
- 1 cup raw shelled walnuts, chopped
Instructions
- Preheat your oven to 400 F.
- Roll out your pie crust on a lightly floured surface and transfer to your 9-inch pie dish. Crimp the edges, or trim and use a mini leaf cookie cutter to cut out small decorations for the edge of the pie. Place the the decorations in the refrigerator for now if using.
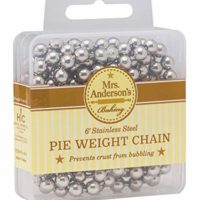
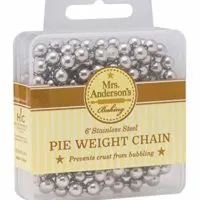
- Prick the bottom of your pie crust with a fork. Line with foil or parchment and fill with pie weights or dried beans. Bake for 10 minutes, then remove from the oven. Let sit on a baking sheet while you prepare the filling.
- In a large bowl, whisk together the eggs, salt, and sugar until well combined. Stir in the melted butter and maple syrup.
- Remove the pie weights and foil or parchment from the pie crust. Pour in your filling. Sprinkle the walnuts evenly over the top of the pie.
- If using cut outs for your pie edge, arrange the leaves around the edge of the pie on top of the filling.
- Bake the pie on the baking sheet for 27-35 minutes, until the filling has just set.
- Cool on a rack and serve slightly warm or at room temperature with whipped cream or ice cream, if desired.
- The pie is best the day after it is baked, so if possible, plan to bake the day before serving or at least several hours before serving.
Notes
- If you don't want to make a pie crust or don't have one on hand, feel free to use your favorite store bought crust. You'll only need one of the crusts in the package.
- If you'd like to use salted butter, skip the salt in the recipe.
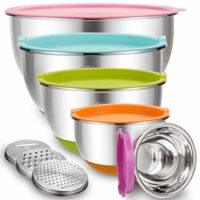
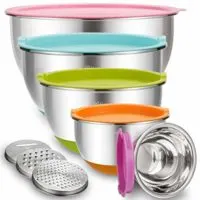
Recommended Products
As an Amazon Associate and member of other affiliate programs, I earn from qualifying purchases.