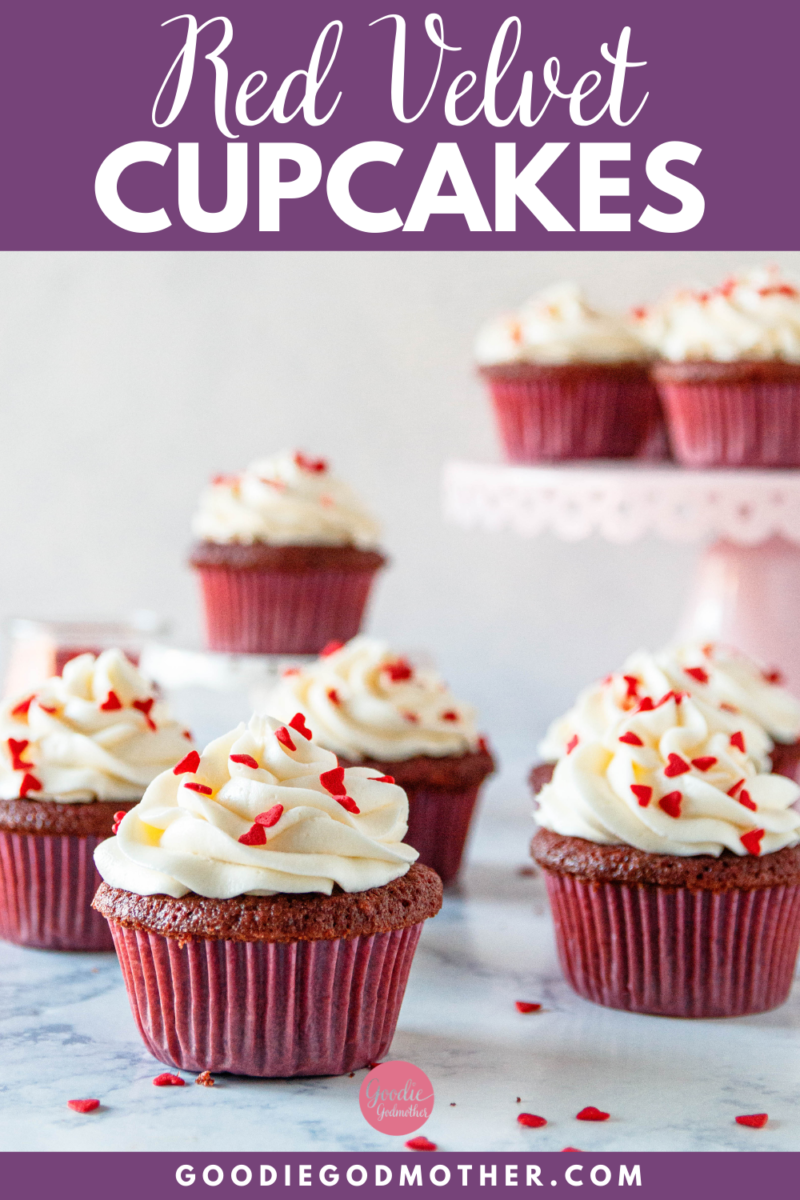
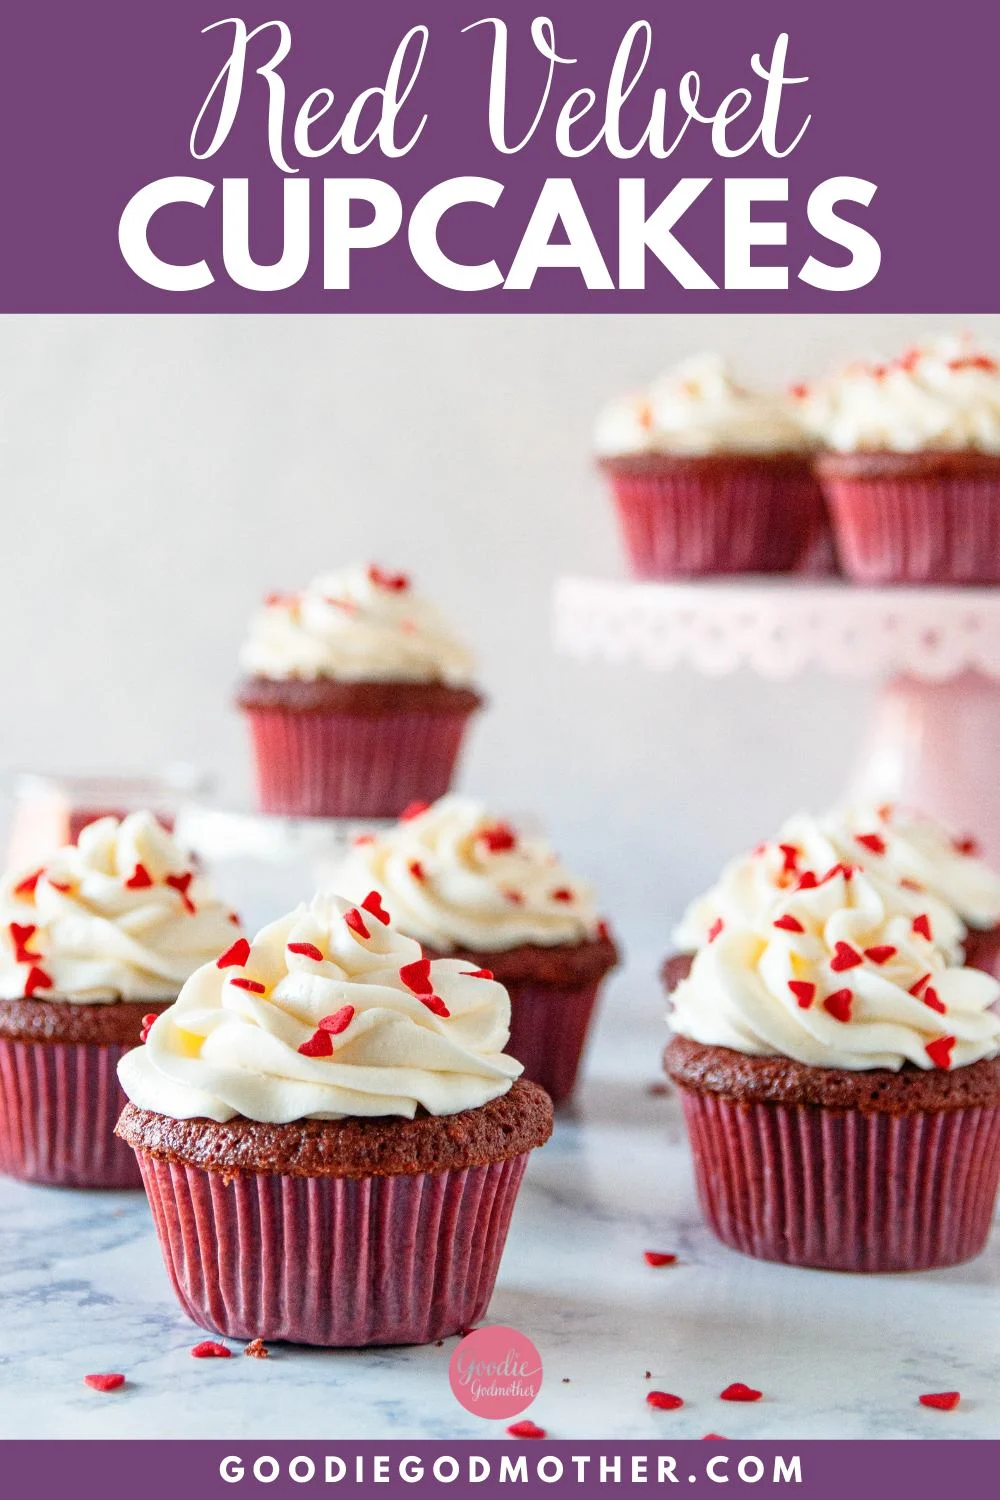
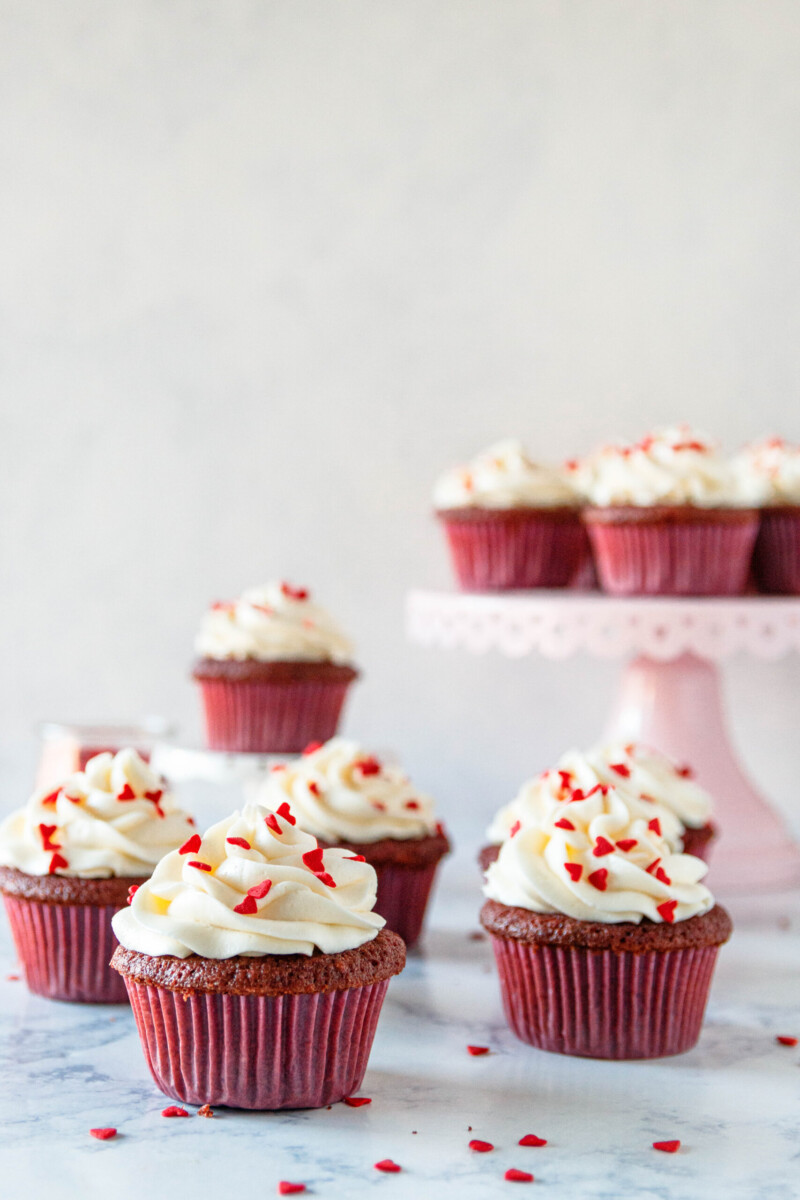
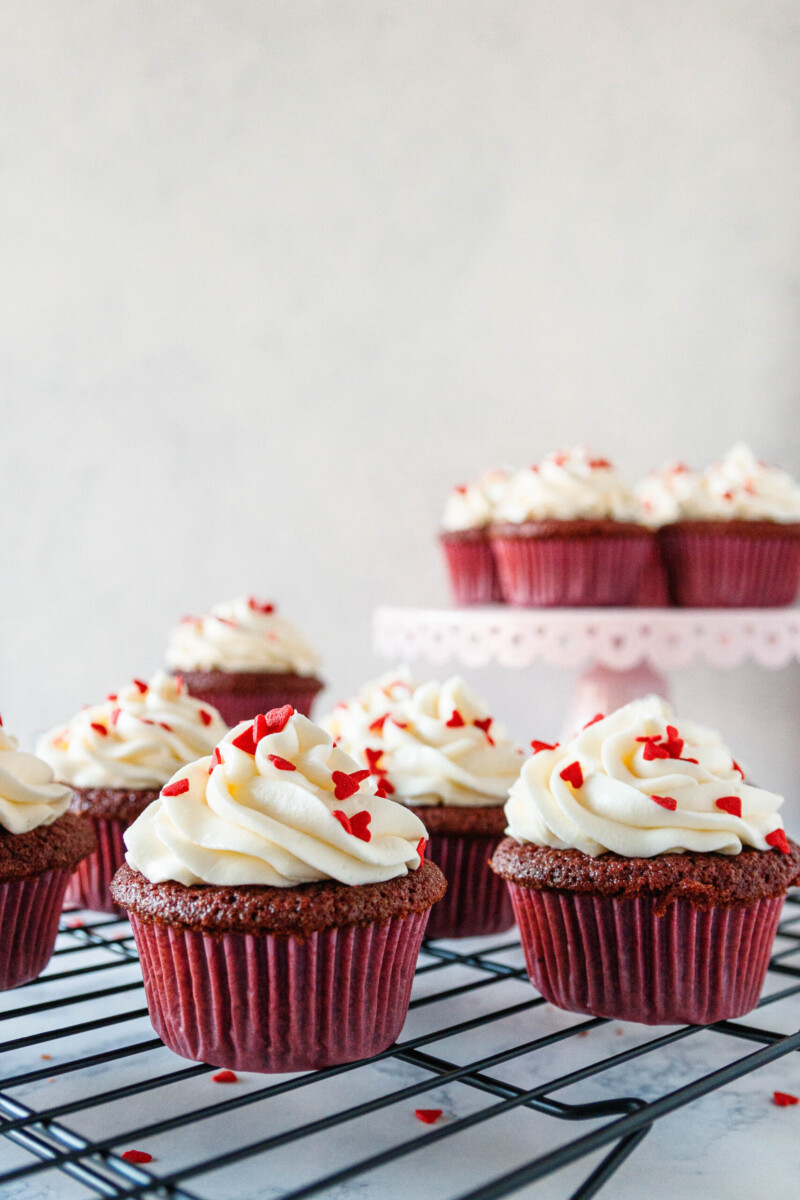
Fluffy, easy, and with the classic red velvet flavor you love, this red velvet cupcakes recipe is a keeper! Ready for the oven in just a few minutes, this makes one dozen perfect red velvet cupcakes!
Back when I had a home bakery, red velvet cake was one of my signature flavors. I knew that if I offered cupcakes or small cakes in red velvet, or fresh strawberry, at the market, they’d be of the first items to sell.
So imagine my shock when I realized my cupcake recipe hadn’t made it to the blog! Darlings… it’s been over 7 years! That’s entirely too long to keep the best red velvet cupcakes I’ve ever tried a secret…
So let’s talk cupcakes!
Typically, when you bake a standard 2-layer cake recipe as cupcakes, you get 2 dozen. But most of us don’t need 2 dozen cupcakes! We need a dozen or less. So this recipe is perfectly scaled for 1 dozen (ish) cupcakes.
You might notice in the video that some of the cupcakes are slightly over-filled. This is because I have 2 cupcake tins. One is slightly smaller than the other and so this recipe, using that tin, would make 13 cupcakes.

Using my other pan, with slightly wider wells, it’s a perfect 12.
Were I using those little free-standing baking cups, it’s 13. The cupcake cups I have are a little smaller than a standard cupcake.
For me, it’s not an issue if the cupcakes slightly overfill because I’m baking for fun. If you are baking in a situation where you need all the cupcakes to have very clean edges, don’t fill your cupcake wells above 2/3 full.
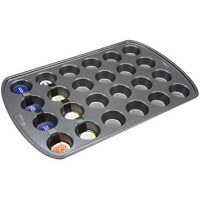
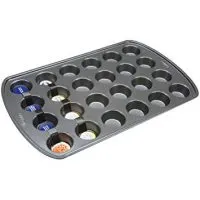
If you want to turn this cupcake into mini cupcakes, you’ll get 24 minis.
A few tips for perfect cupcakes…
First, don’t follow my lazy baker ways and fill your cupcake wells only 2/3 full.

Second, don’t stress because these cupcakes are super easy to mix and bake from scratch! Just measure out your ingredients and mix. You can do it by hand, using a hand mixer, or use your stand mixer with the paddle attachment.
There are a lot of gadgets on the market for pouring cupcake batter into liners. Personally, when I’m not shooting videos as I bake, I like to use a cupcake scoop. Since this batter is a little bit on the thinner side, a large measuring cup works too.
The good thing about using a scoop though is consistent measuring. You know exactly how much batter is going into each liner. A medium cookie scoop usually gives you about 1/2 to 2/3 full on each cupcake.
Finally, check the cupcakes at the lower end of the baking time. You don’t want to over-bake the cupcakes or they’ll dry out. For the best results, bake them just until a tester inserted into a center cupcake comes out clean and the top of the cupcakes gently springs back when touched.
Notes for red velvet cupcakes…
Red velvet, as one of those “love it or hate it” flavors, gets its own notes section.
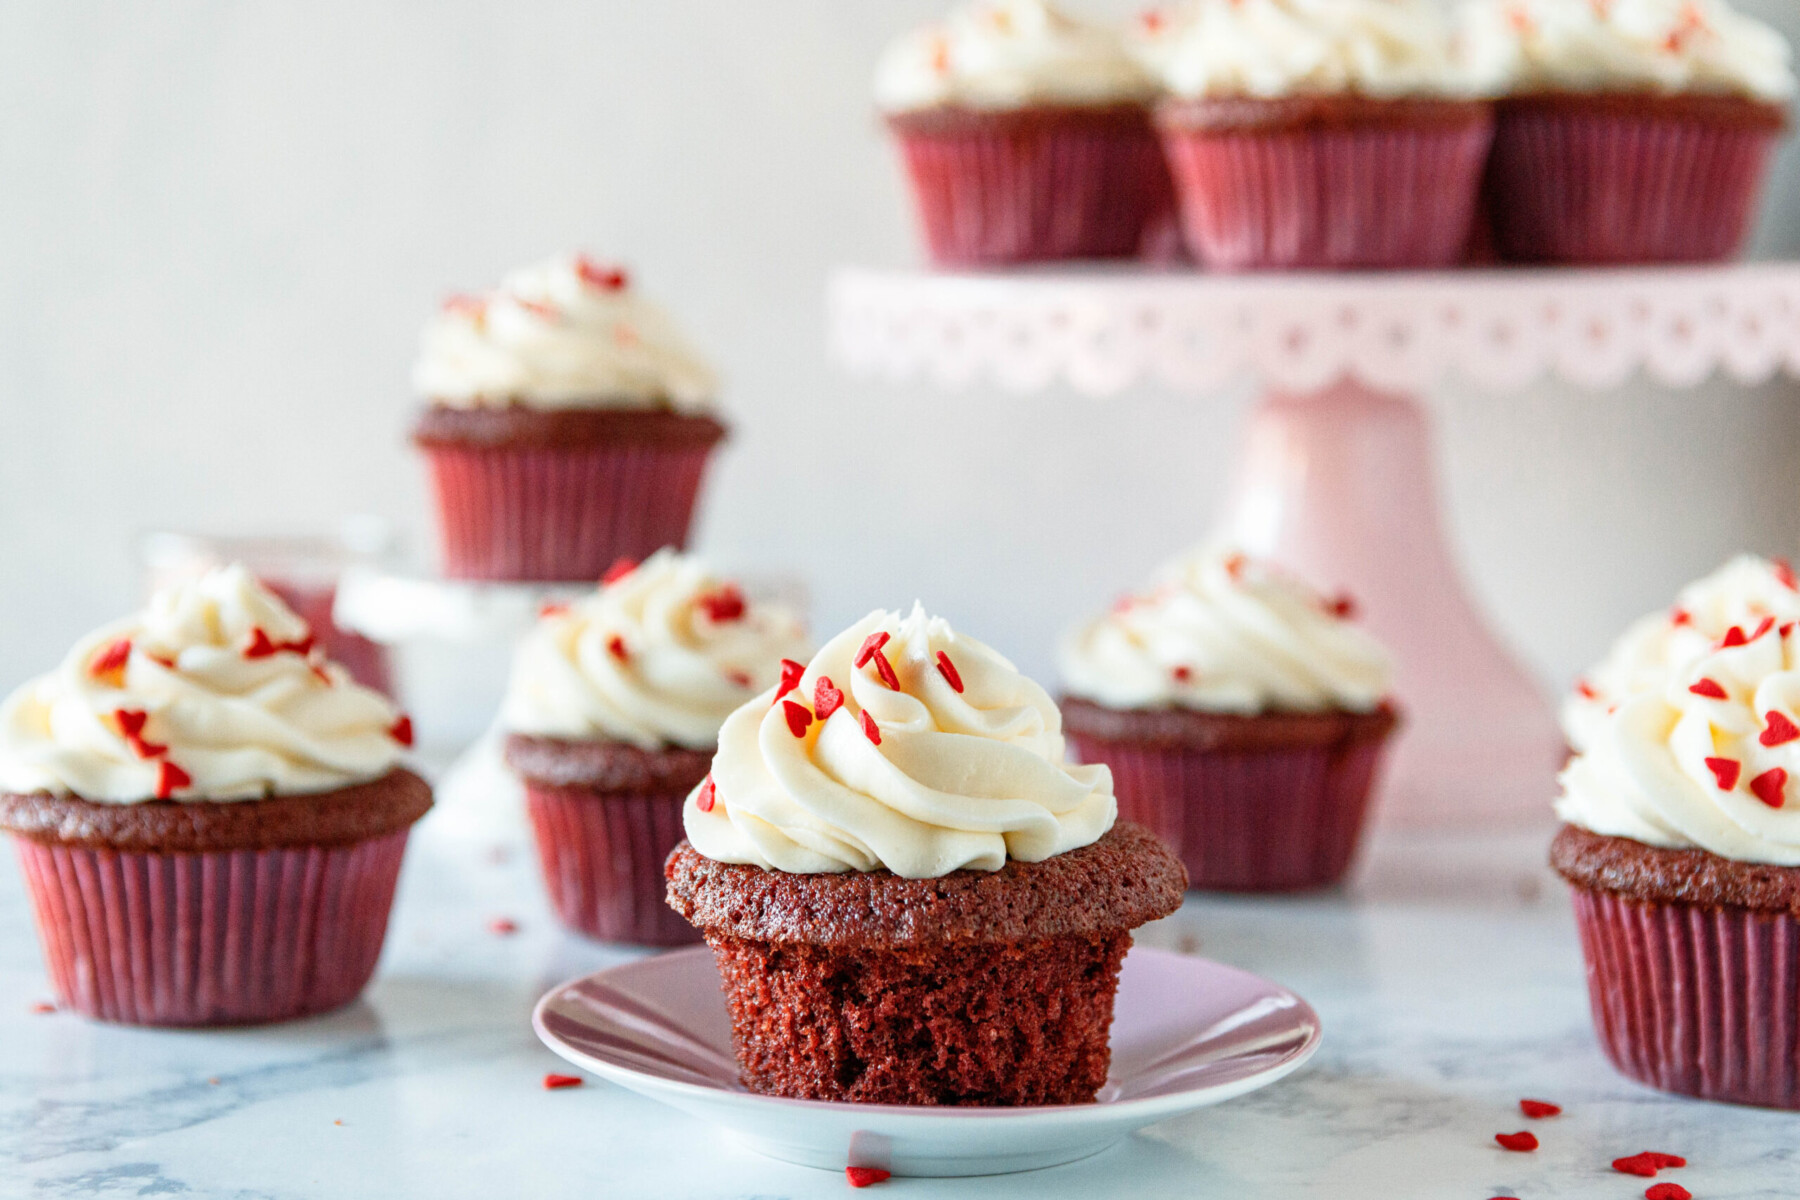
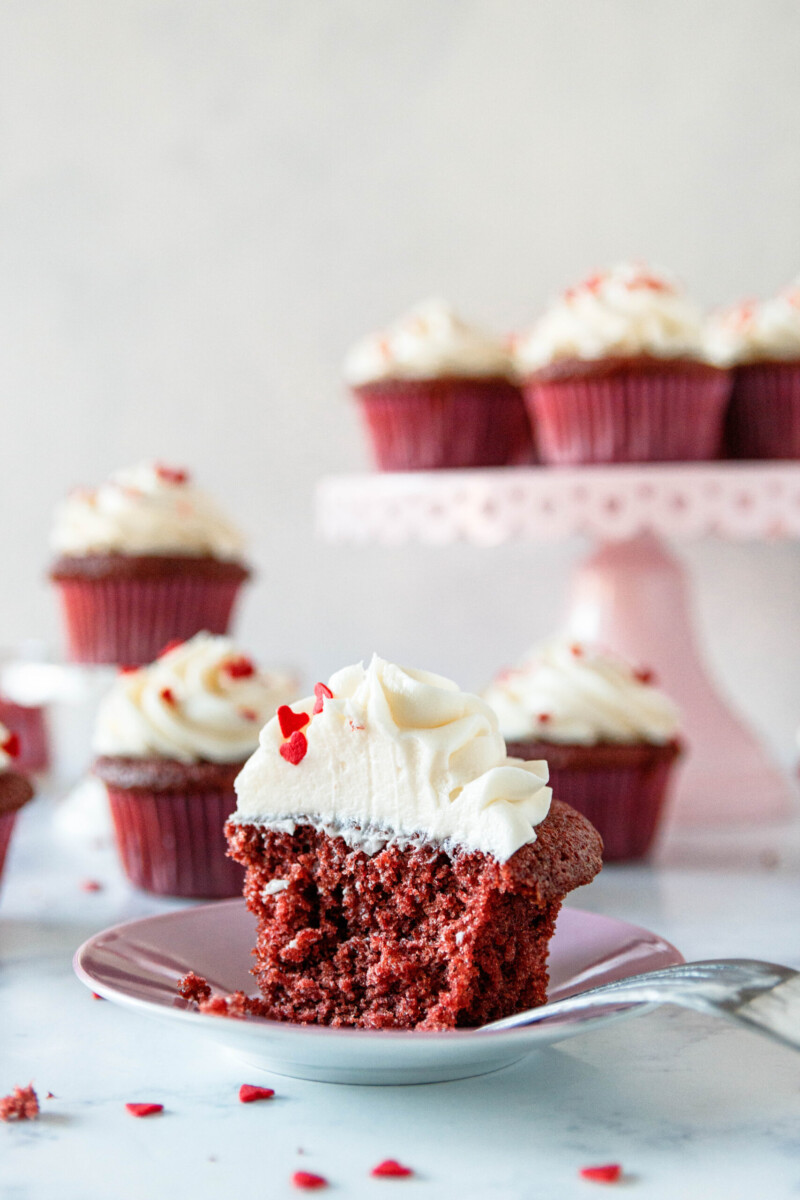
Red velvet cake isn’t red flavored chocolate cake. It’s a buttermilk cake with a bit of a chocolate and vinegar tang. The resulting flavor shouldn’t be too sweet, and the cake should be very moist.
So to get this, use both white vinegar and buttermilk. The white vinegar is preferred to mild vinegar like apple cider vinegar. You want the strong tang from the white vinegar.
Second, buttermilk works better than milk for texture and flavor. I don’t always have buttermilk in the house, so often use a powdered buttermilk.
You can find it in the baking section on the shelf. After opening, refrigerate the container. Mix the buttermilk powder with your dry ingredients and use water. It works very well in cakes and cupcakes as a substitute.
If you don’t have powdered buttermilk or buttermilk, use 3 tablespoons of milk and 1 tablespoon of sour cream, creme fraiche, or yogurt (plain or vanilla) in the recipe.
To get a nice bold red color, you’ll need to use food coloring. A gel food coloring, found in the baking section at most craft stores, give you a bold red with just a few drops. The liquid red food coloring found at the grocery store isn’t as strong, so you have to use much more than a few drops.
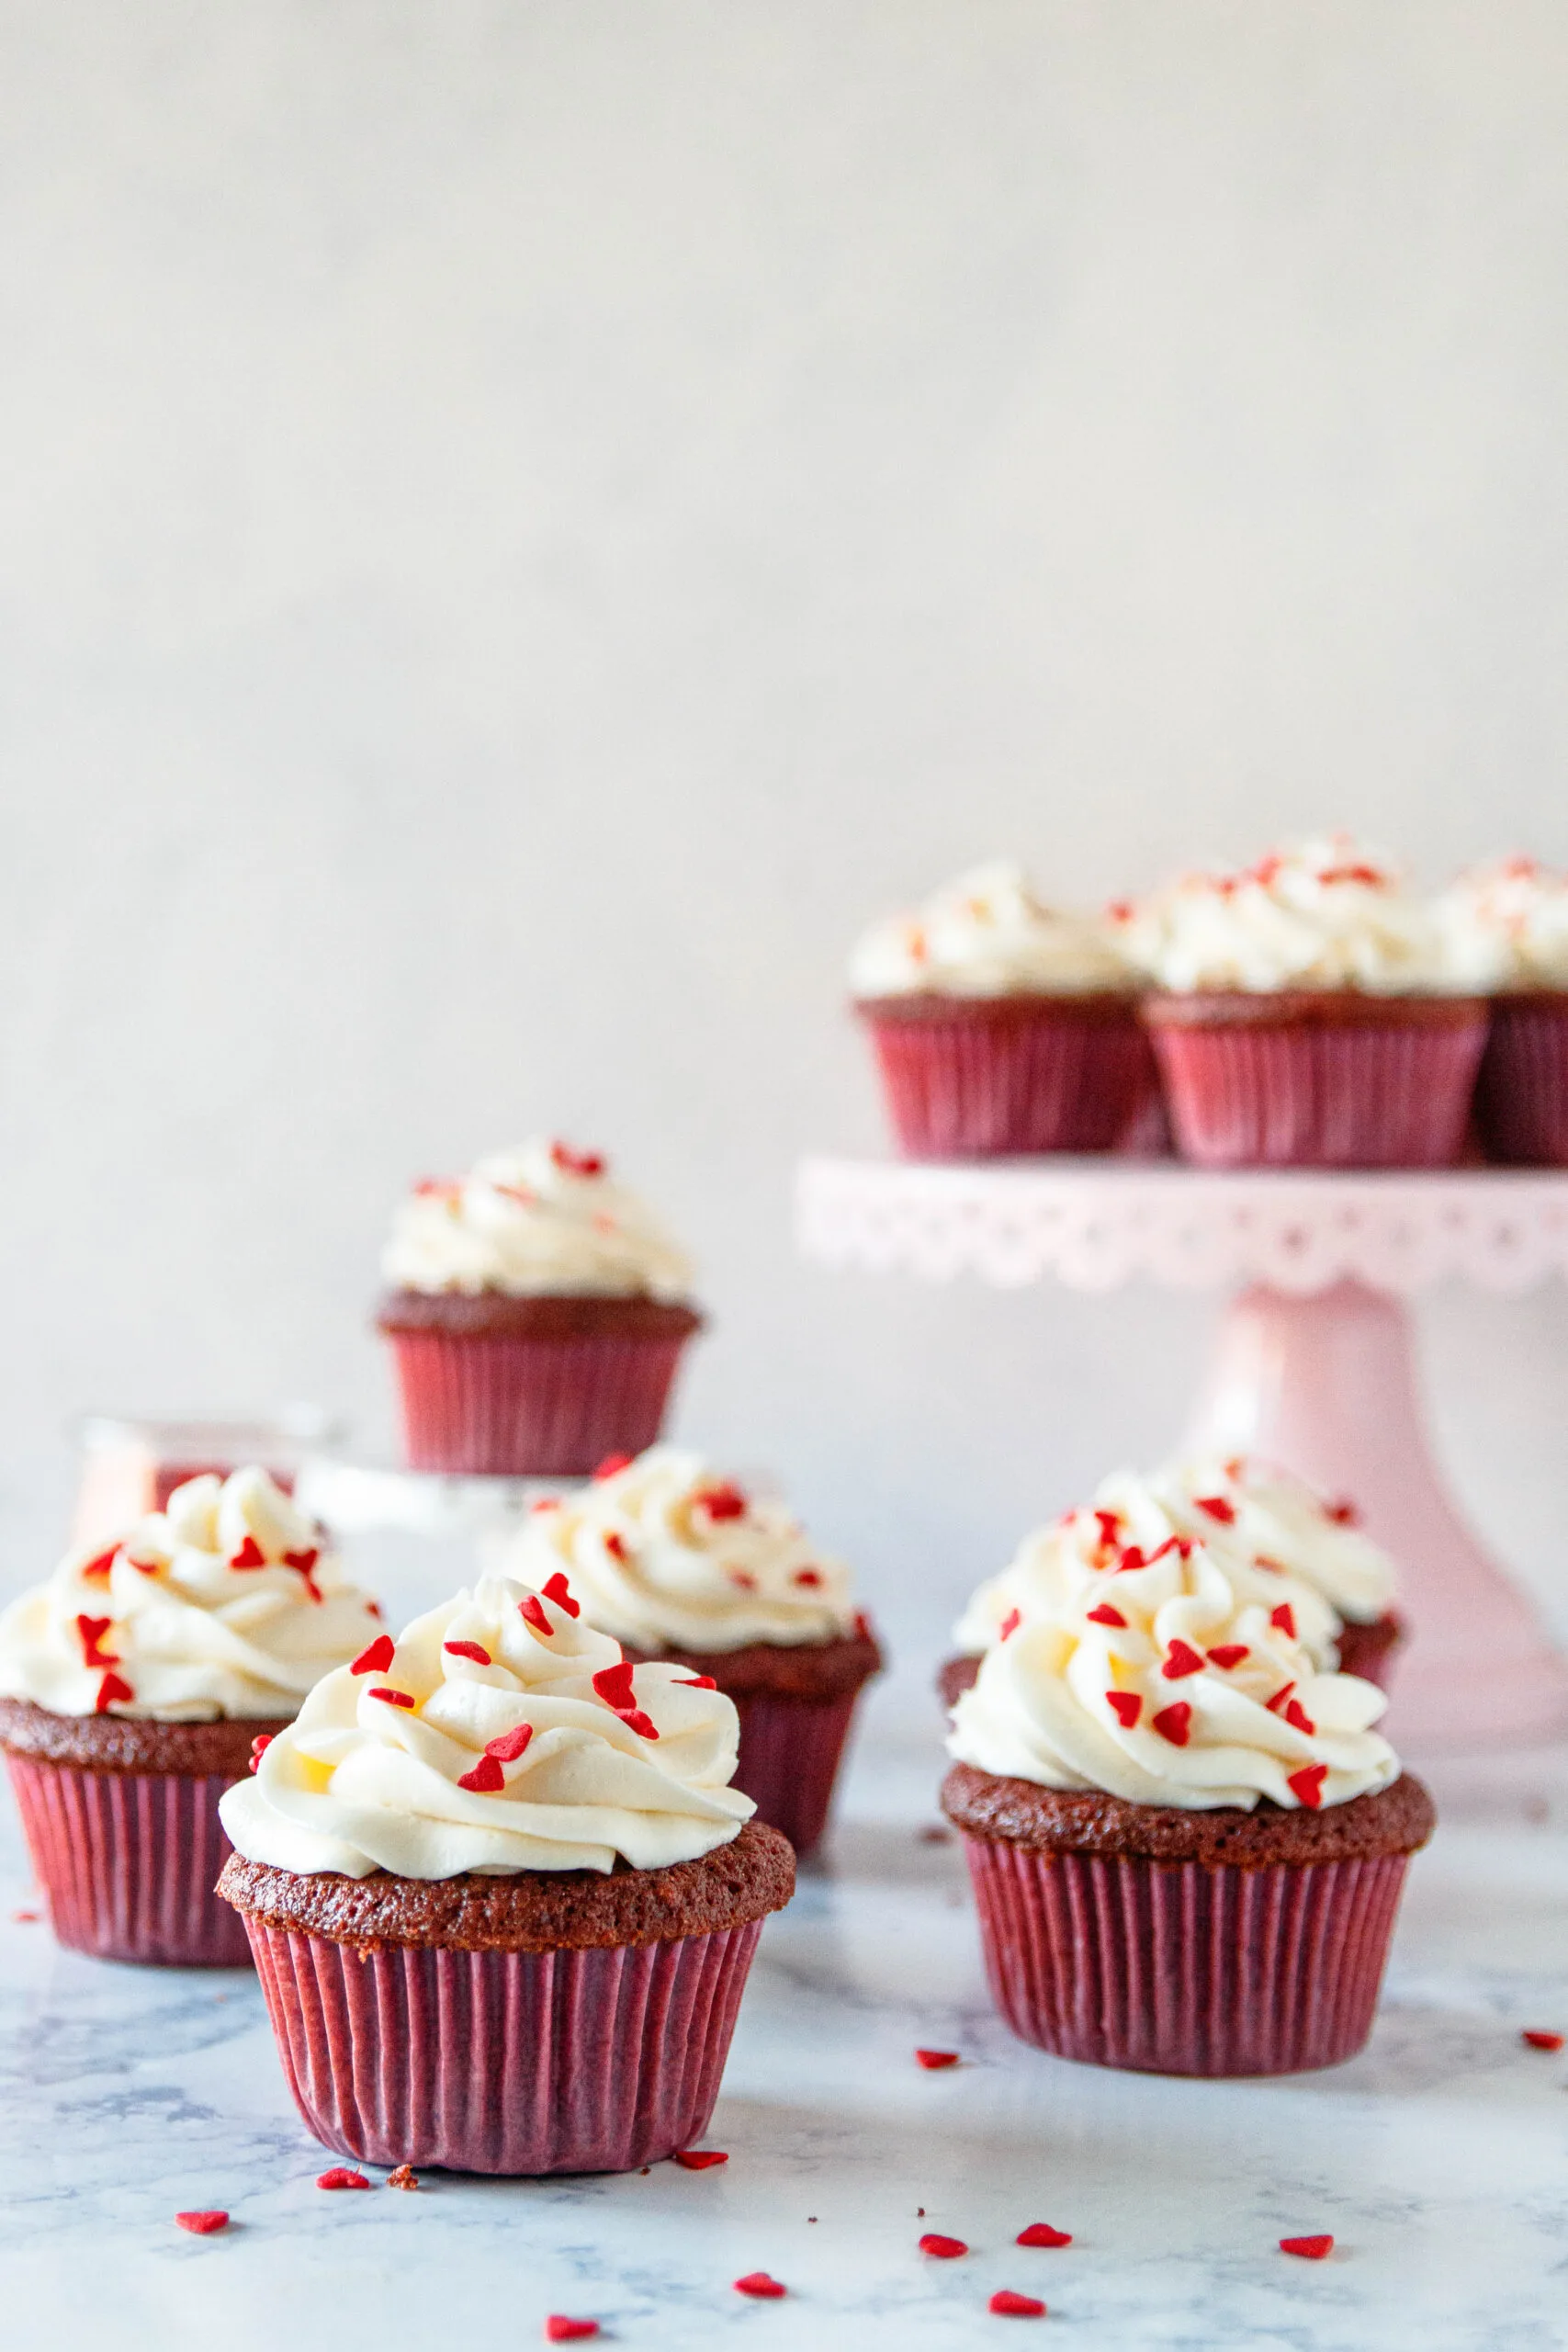
How do I frost red velvet cupcakes?
Did you know that the traditional frosting for red velvet cakes is a cooked flour ermine frosting?
But nowadays, cream cheese is preferred by most people. It’s also a little easier to mix. Therefore, I’ve included a recipe for cream cheese frosting in the recipe card.

It’s a really good frosting and easy to pipe. Just make sure you store the cupcakes in an airtight container in the refrigerator because cream cheese frosting isn’t shelf-stable.
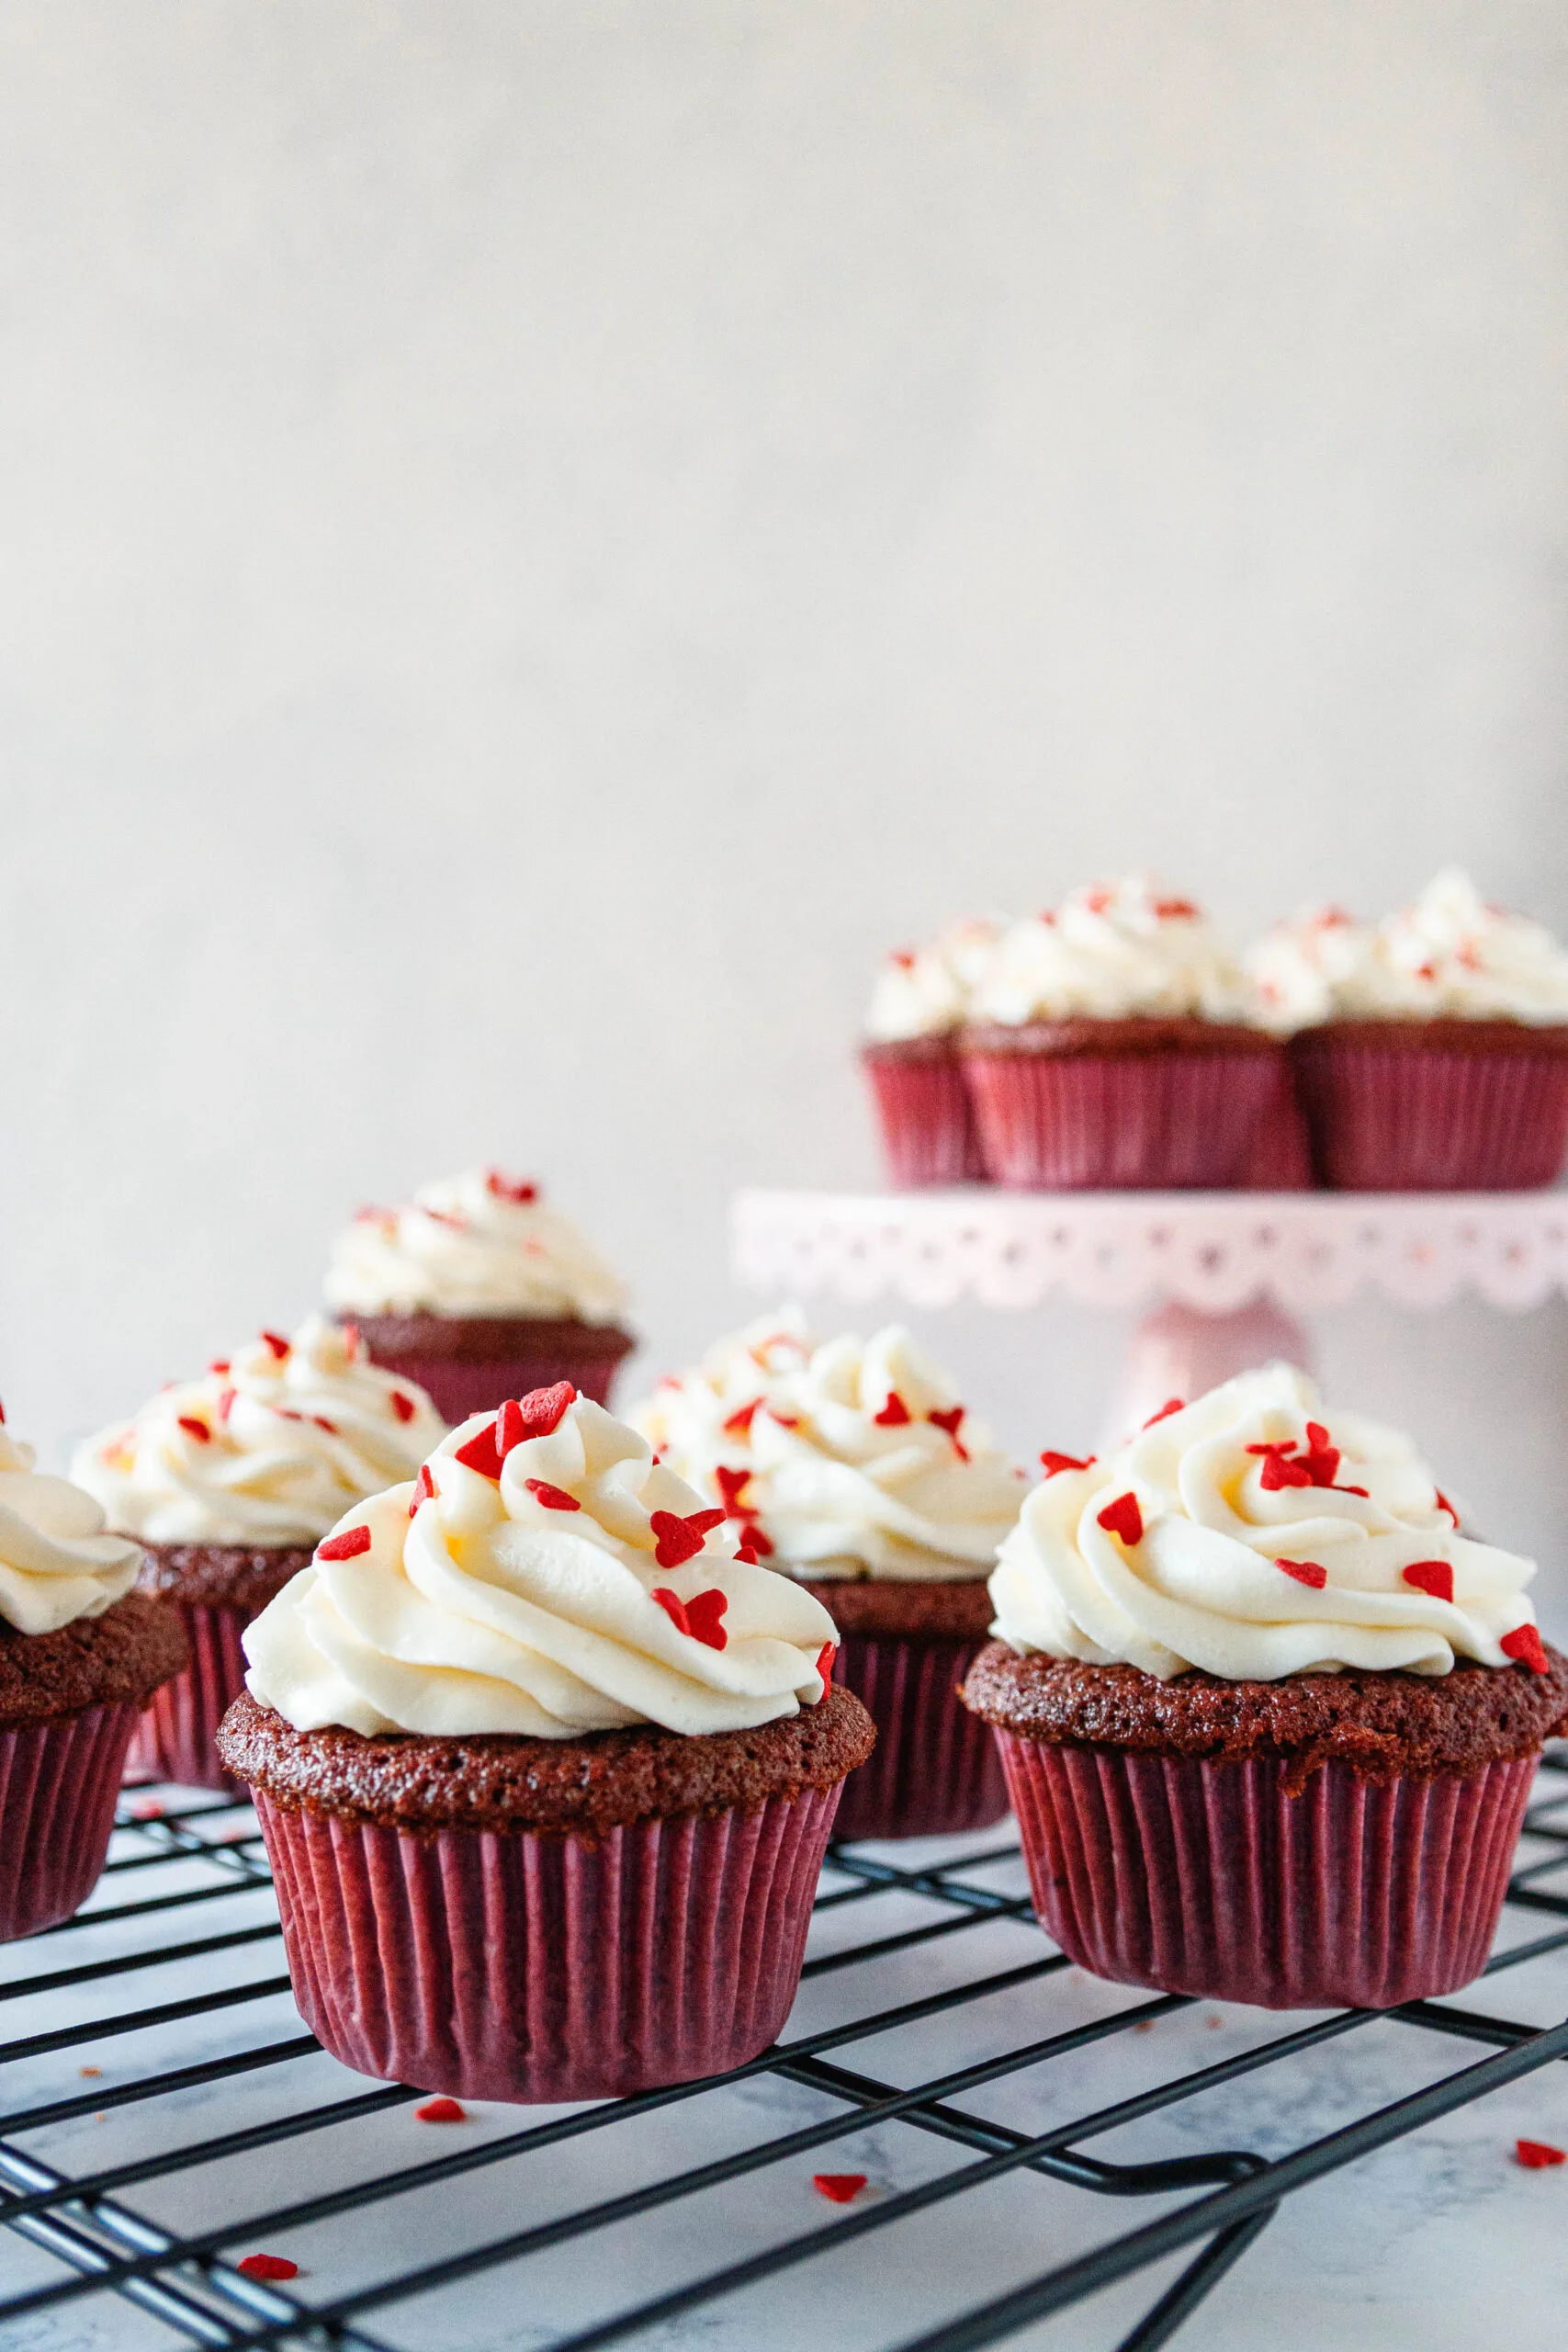
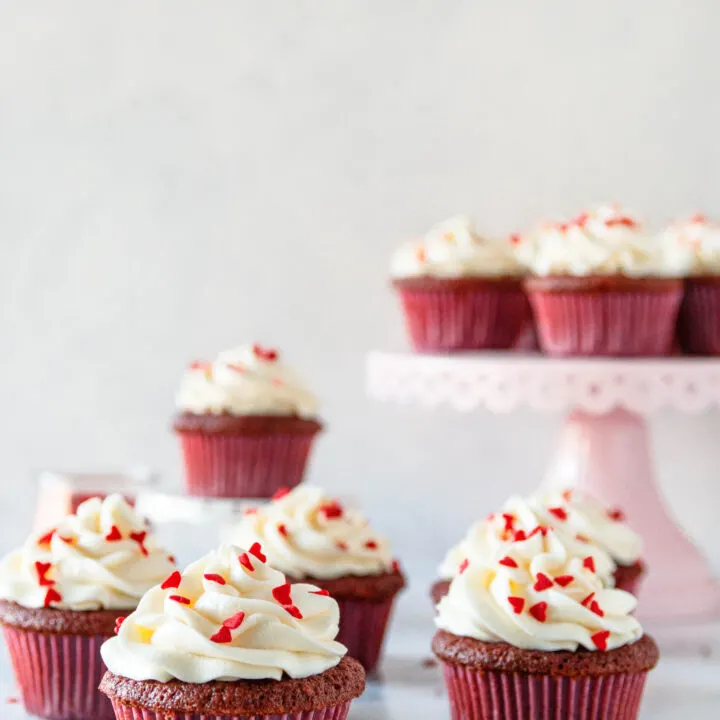
The recipe makes just enough frosting to pipe the swirls on the cupcakes as shown. If you’d like to add more frosting to each cupcake, increase the recipe by 1.5. To use less frosting per cupcake, cut down on the frosting recipe.
And just in case you’re at a place where you’re trying your best to provide homemade baked goods but it’s all feeling a little daunting, buy the frosting.
I know that’s not what you’d expect to read in a food blog, especially one written by someone who used to be obsessed with making everything from scratch. But the reality is, as in most areas of life, this isn’t an all-or-nothing situation.
So if you’re a newer baker, or just in a really busy season, bake with joy what you can, then take shortcuts where you need. Sometimes, this is what self-care looks like.

I hope you love this cupcake recipe, darlings! May the process of baking bring you joy, and sharing make your heart overflow. Enjoy!

Red Velvet Cupcakes
Fluffy, easy, and with the classic red velvet flavor you love, this red velvet cupcakes recipe is a keeper! Ready for the oven in just a few minutes, this makes one dozen perfect red velvet cupcakes!
Ingredients
Cupcake Batter:
- 1/2 cup unsalted butter, softened
- 1 cup granulated sugar
- 2 large eggs, room temperature
- 1 1/4 cup all-purpose flour
- 2 tablespoons unsweetened cocoa powder
- 1/2 teaspoon baking soda
- 1/4 teaspoon kosher salt
- 1/2 cup buttermilk, room temperature
- 1 tablespoon white vinegar
- 1 teaspoon vanilla extract
- red gel food coloring (optional)
Cream Cheese Frosting:
- 8 ounces cream cheese, softened
- 8 tablespoons butter
- 3-4 cups powdered sugar, sifted
- 1 teaspoon vanilla extract
- sprinkles (optional)
Instructions
- Preheat your oven to 350 F and line 12 cupcake wells with liners. Set aside.
- In the bowl of a stand mixer fitted with the paddle attachment, or using a hand mixer with a large mixing bowl, cream together the butter and sugar until light and fluffy. Scrape the sides of the bowl.
- Stir in the eggs, one at a time, scraping the sides of the bowl after each addition.
- In a smaller bowl, sift together the flour, baking soda, salt, and cocoa powder. Set aside.
- In a measuring cup, stir together the buttermilk, white vinegar, and vanilla extract.
- Add 1/3 of the flour mixture to the large mixing bowl and stir just to combine. Pour in half the liquid. Stir to combine and then scrape the sides of the bowl.
- Add another 1/3 of the flour mixture, stir just to combine, and then add the remaining liquid plus 2-3 drops of your gel food coloring (if using). Stir until just combined, then scrape the sides of the bowl.
- Finish with the remaining flour mixture, being sure to mix until just combined.
- Use a piping bag or medium cookie scoop to fill each cupcake well 2/3 of the way full.
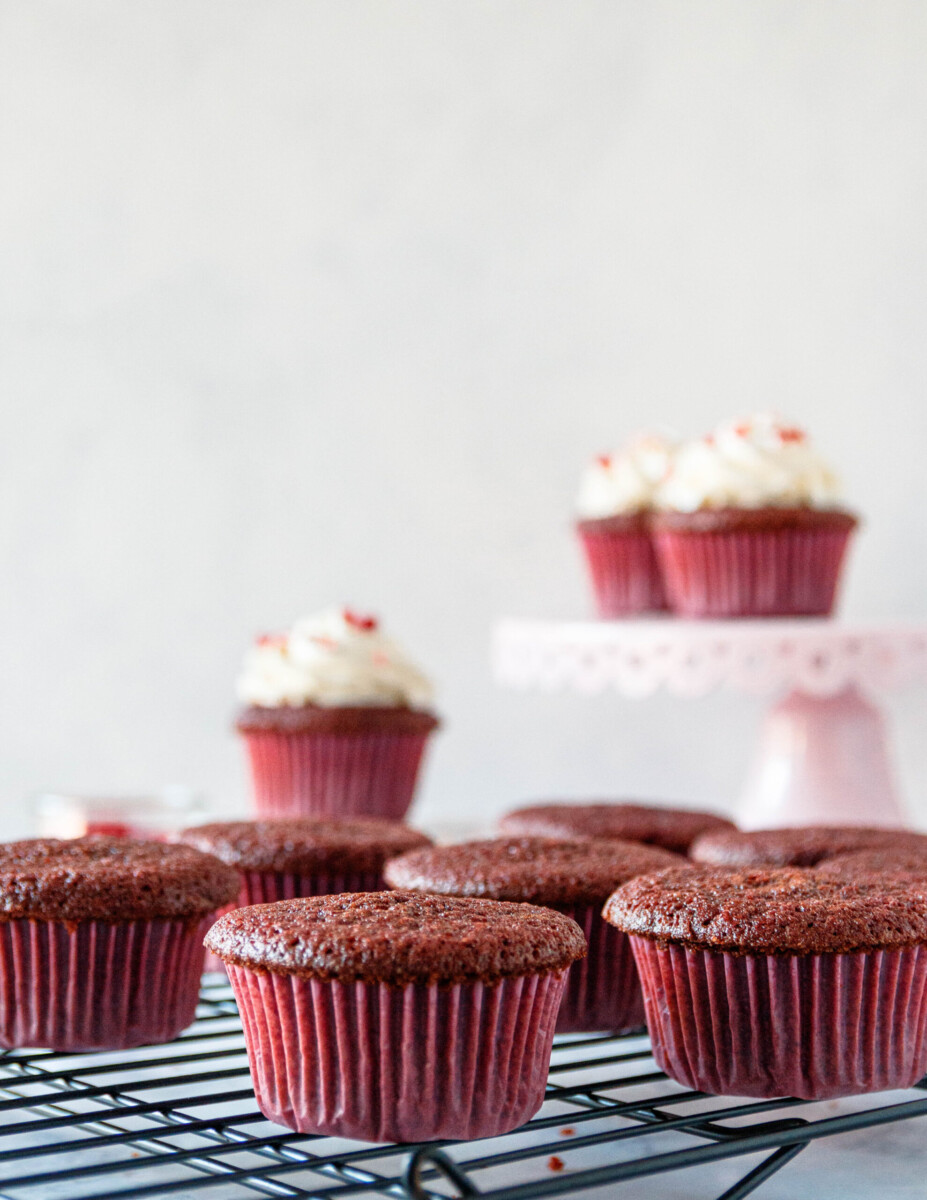
- Bake the cupcakes for 18-23 minutes until a tester inserted in a center cupcake comes out clean and the center of the cupcakes lightly springs back when touched.
- Remove the cupcakes from the oven and allow them to rest in the cupcake wells for 5 minutes before transferring to a rack to cool completely. Once the cupcakes have completely cooled, make the frosting and pipe onto the cupcakes. Enjoy! See notes for cupcake storage.
- To make the frosting: In the clean bowl of your stand mixer, or a clean mixing bowl, beat the softened butter and cream cheese until smooth. Start at low speed and work your way up to medium, scraping the sides of the bowl as needed.
- Add the vanilla extract and the powdered sugar, 1 cup at a time, for the first 3 cups. If your frosting is at your desired consistency, you're ready to pipe! If the frosting is too thin, add more powdered sugar, a tablespoon or two at a time until the frosting is thick enough. If the frosting feels too thick, add milk a teaspoon at a time to thin.
- Spread or pipe the frosting on your cupcakes and top with sprinkles, if desired.
Notes
- Gel food coloring, found at most craft stores, will provide the most vibrant red color with the least amount of coloring needed.
- You may bake cupcakes in advance and store them, once they are completely cool, in an airtight container at room temperature without frosting for up to two days. If you use the cream cheese frosting, you must refrigerate the cupcakes.
- Refrigerated cupcakes will start to dry out after a day. We have still enjoyed them up to 3 days later, but for baking in advance to serve as fresh, I recommend baking and frosting no earlier than the day before.
Recommended Products
As an Amazon Associate and member of other affiliate programs, I earn from qualifying purchases.