
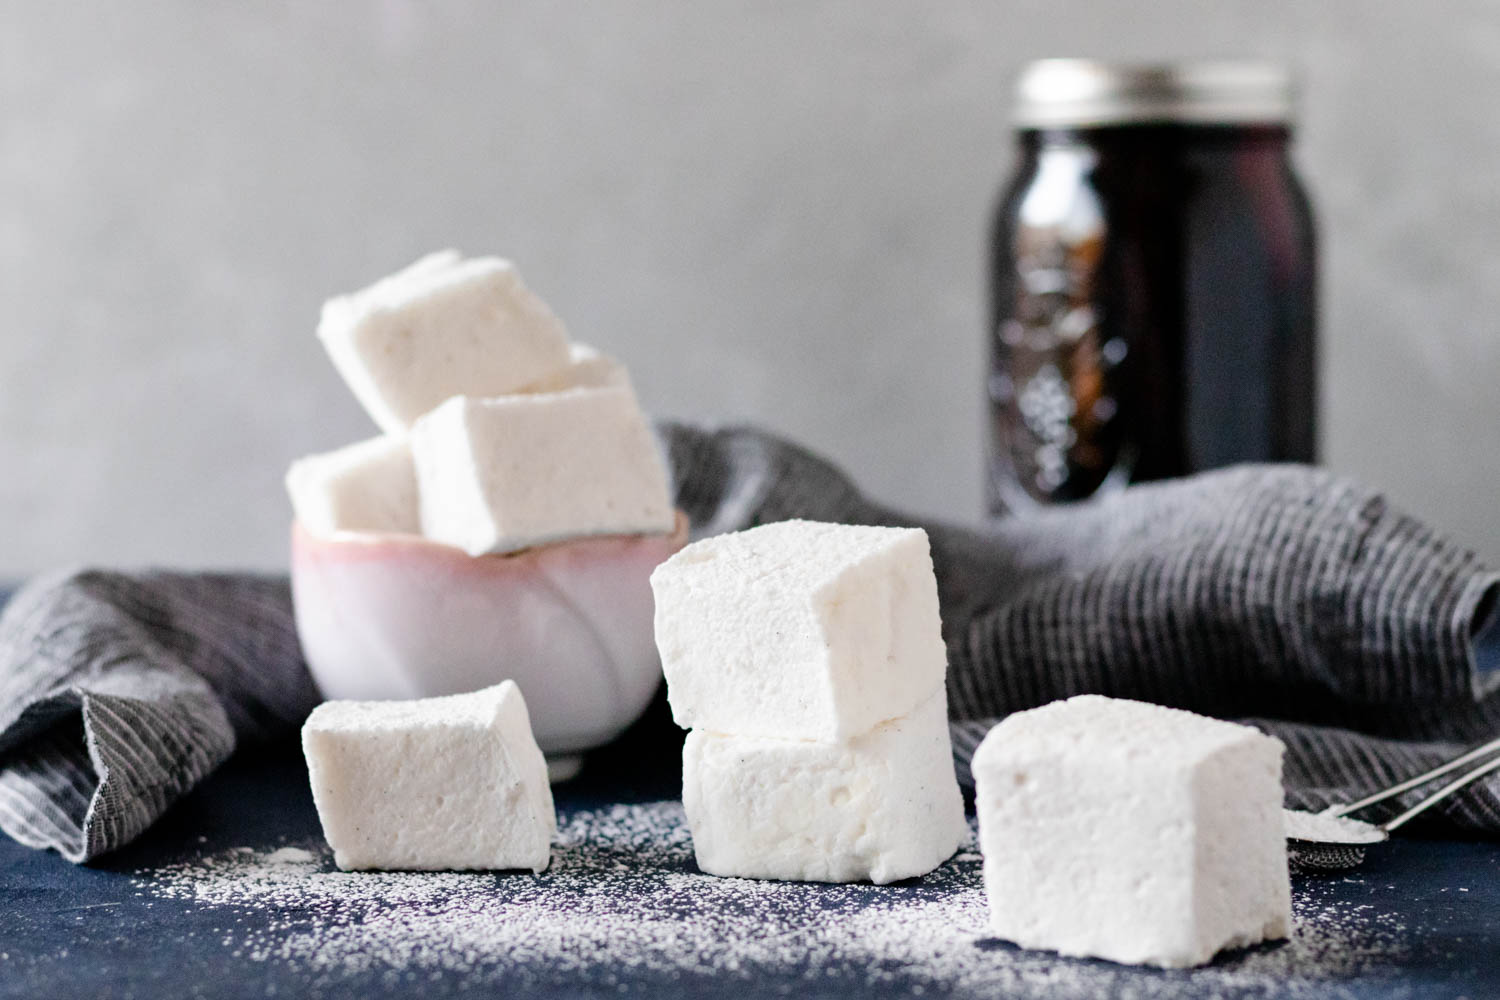
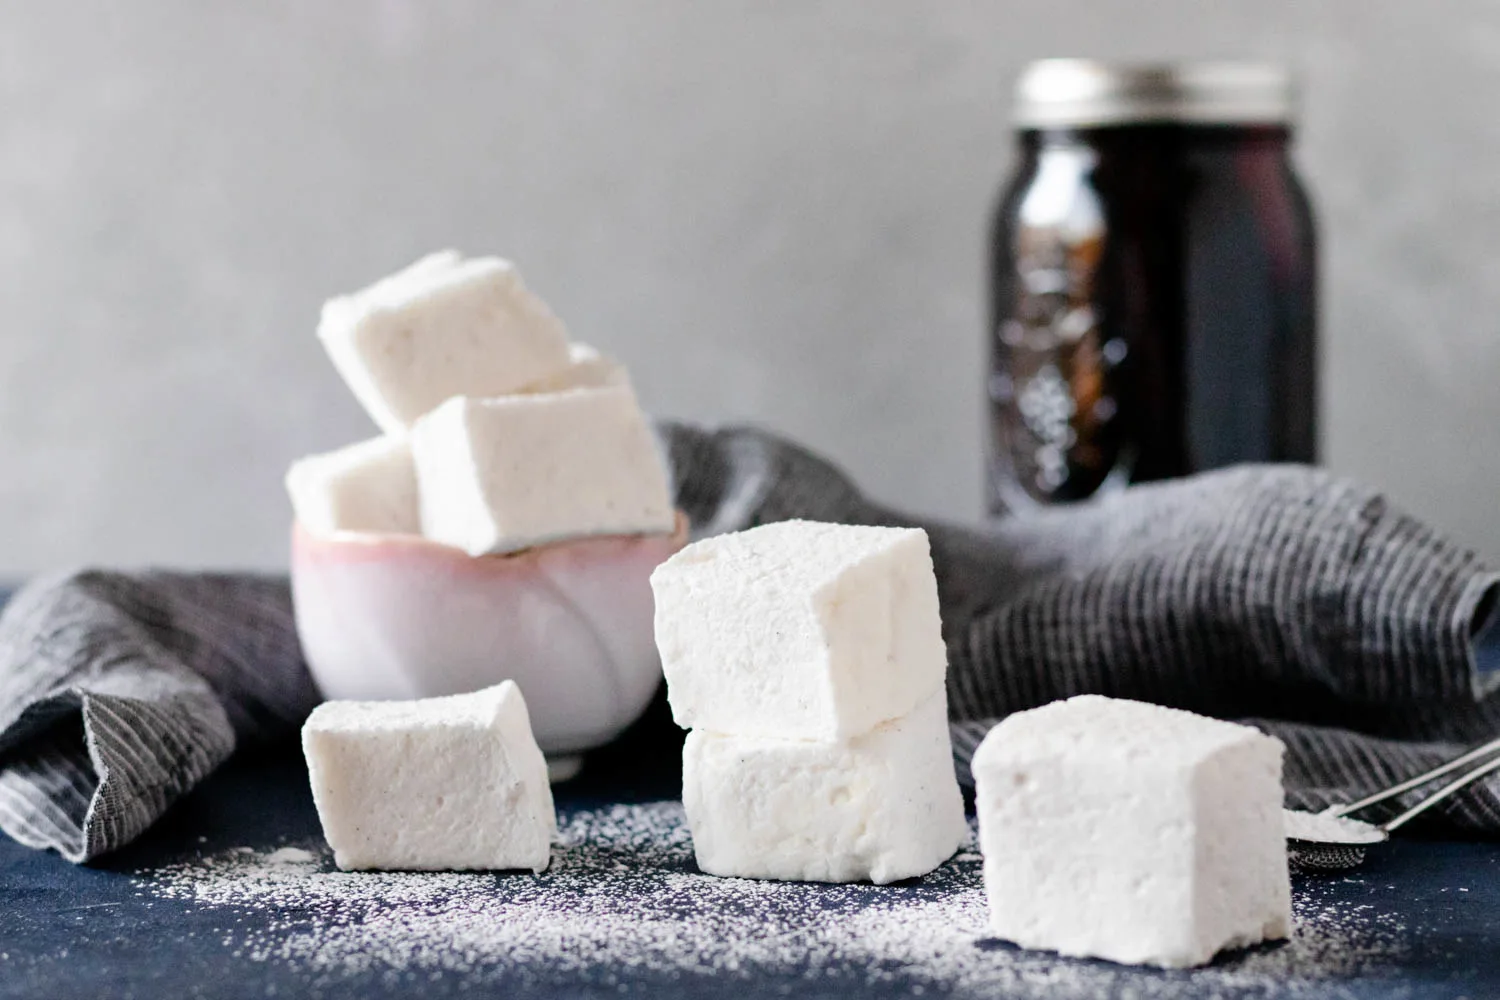
Homemade marshmallows are an easy and delicious treat! With this easy-to-follow vanilla marshmallow recipe, you’ll know how to make marshmallows at home that are fluffy and way better than anything you can buy at the store.
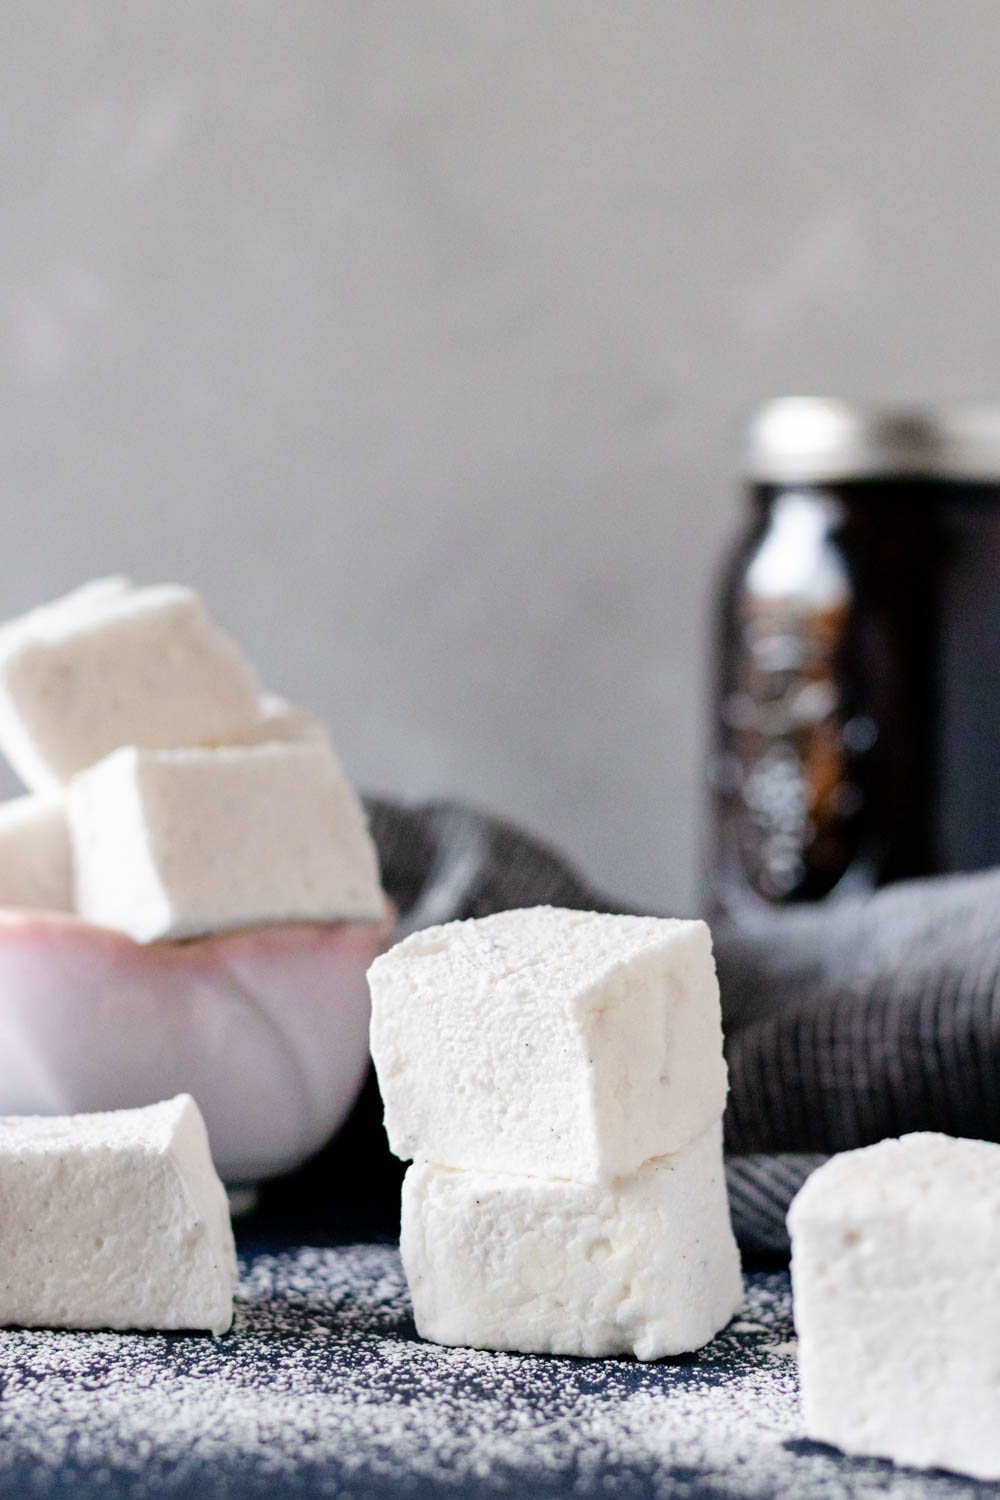

Until this recipe, I thought I didn’t like plain marshmallows. Darlings, I was so wrong. It turns out, I was simply waiting for the good stuff. No store-bought marshmallow can hold a candle to the fluffy, pillowy goodness that you get from this marshmallow recipe! It’s rather magical, and I can’t wait to show you how to make your own…
If you’ve never made marshmallows before, have no fear! It’s easier than you think, and I’m not just saying that.
Years ago, I told someone I wasn’t going to make marshmallows ever because they looked intimidating. That is, until one day I realized how silly that sounded and decided to try it anyway.
Guess what? Not only did I find that making homemade marshmallows is easy, I learned that I do love a good marshmallow after all!
Marshmallow making equipment
You don’t need a lot of fancy equipment to make marshmallows. In fact, the only “specialty tool” I recommend is a candy thermometer.
Can you make marshmallows without a candy thermometer? Yes, but it’s much easier to make them with one, especially since thermometers are pretty inexpensive and take up little space.
Beyond that, you’ll need a pot, a heatproof bowl, and a hand mixer or stand mixer with the whisk attachment, a straight-edged dish for the marshmallows (more on that in a bit), and plenty of powdered sugar and cornstarch. Making marshmallows can get a little messy!
Do my homemade marshmallows have to be square? How can I shape them like a cylinder?
No. I make mine square most of the time because it’s just easier. If you’d like to pipe your marshmallows into other shapes, you may. Double the cornstarch and powdered sugar mixture. You’ll need the extra to keep the marshmallows from drying out.
If you do choose to pipe the marshmallows, line baking sheets with parchment or silicone sheets, then spray the sheets and dust them with the powdered sugar and cornstarch mixture. Use a large piping bag to pipe the mixture in columns (if you’re looking for the classic store-bought cylinder shape). Cut a small opening for minis and a larger opening for larger marshmallows.
Dust the rows of piped marshmallows with powdered sugar and cornstarch and allow them to set for a few hours. Piped marshmallows do not require the same drying time as thicker square marshmallows in a pan.
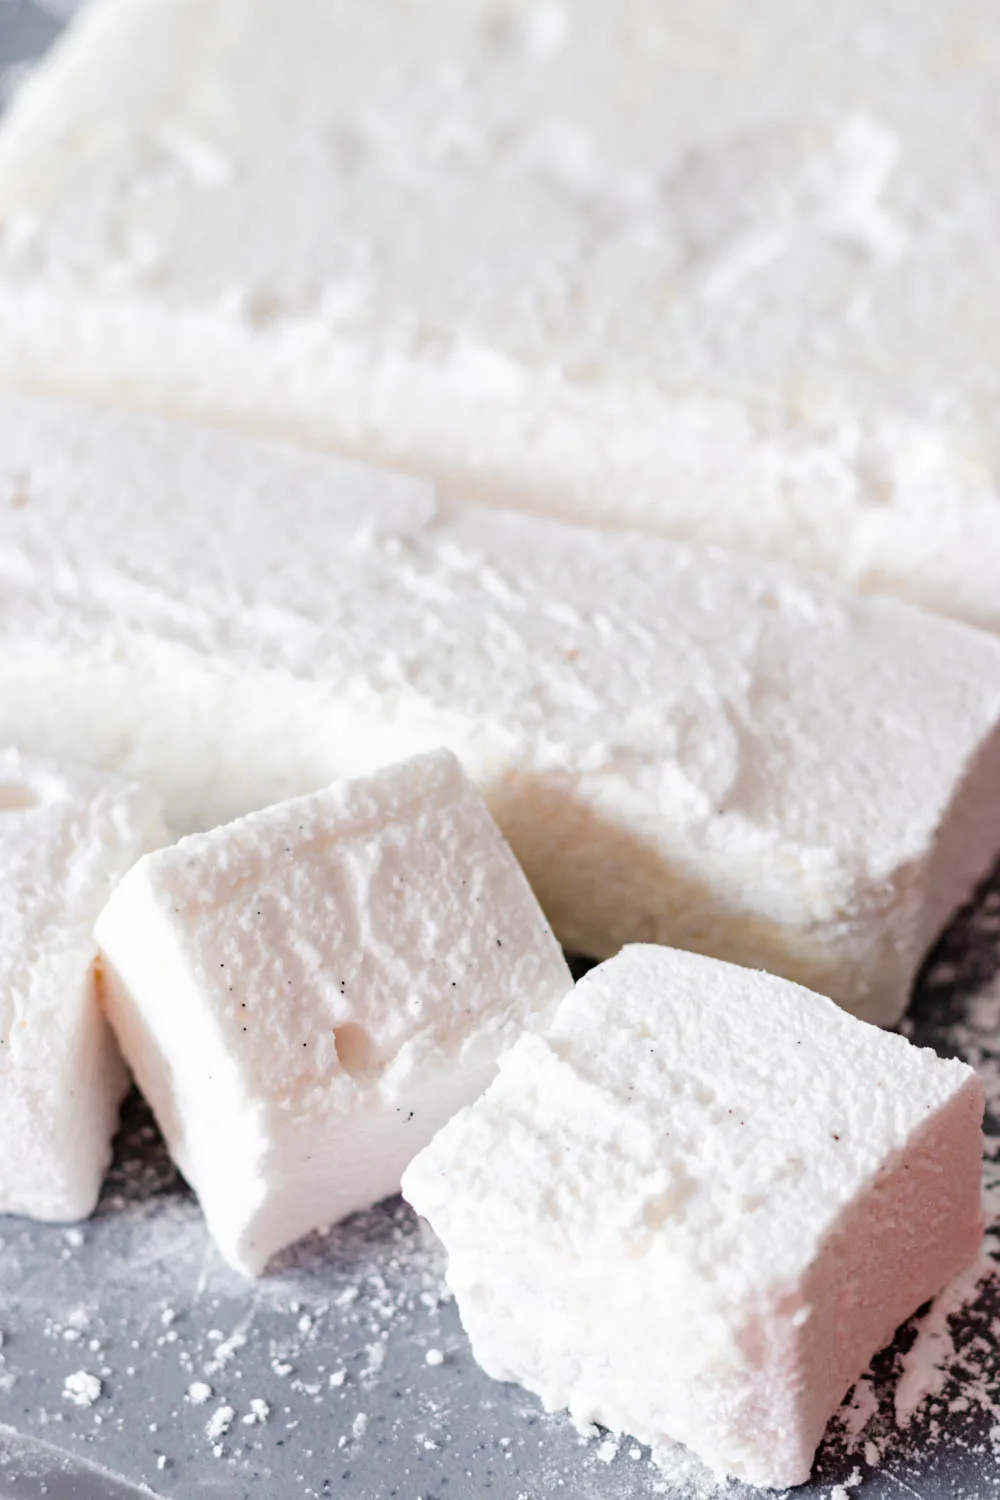
Once they are set, use a straight edge, pizza roller, or knife dusted in powdered sugar and cornstarch to cut into your desired size.
Dunk the freshly cut sides into your bowl of powdered sugar and cornstarch, then store in an airtight container.
This is a little more involved than cutting them into squares as you can see, but if you really want the cylindrical shape, this is close. It won’t be perfect, but if people are judging your tasty homemade marshmallows, they don’t need one. More for you.

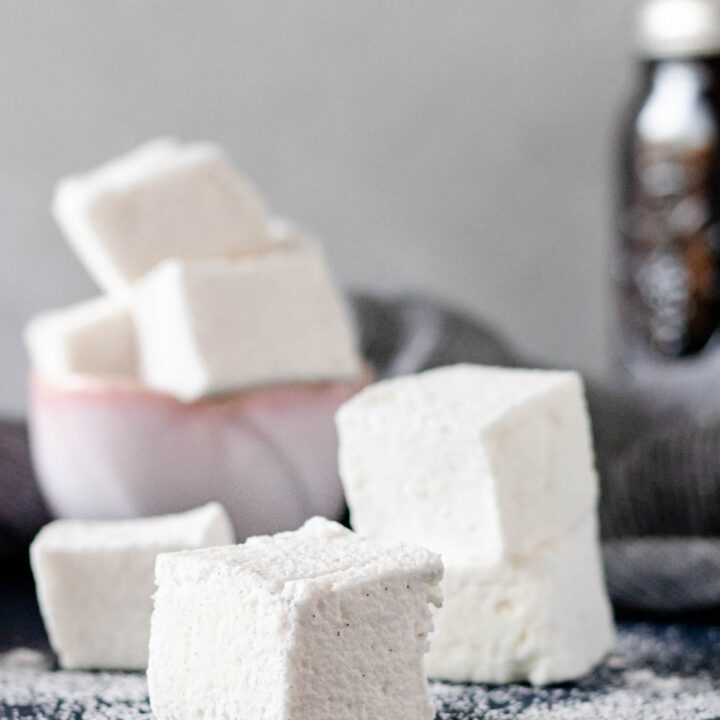
What if I don’t have vanilla beans?
If you want the classic vanilla marshmallow flavor, you don’t have to use vanilla beans!
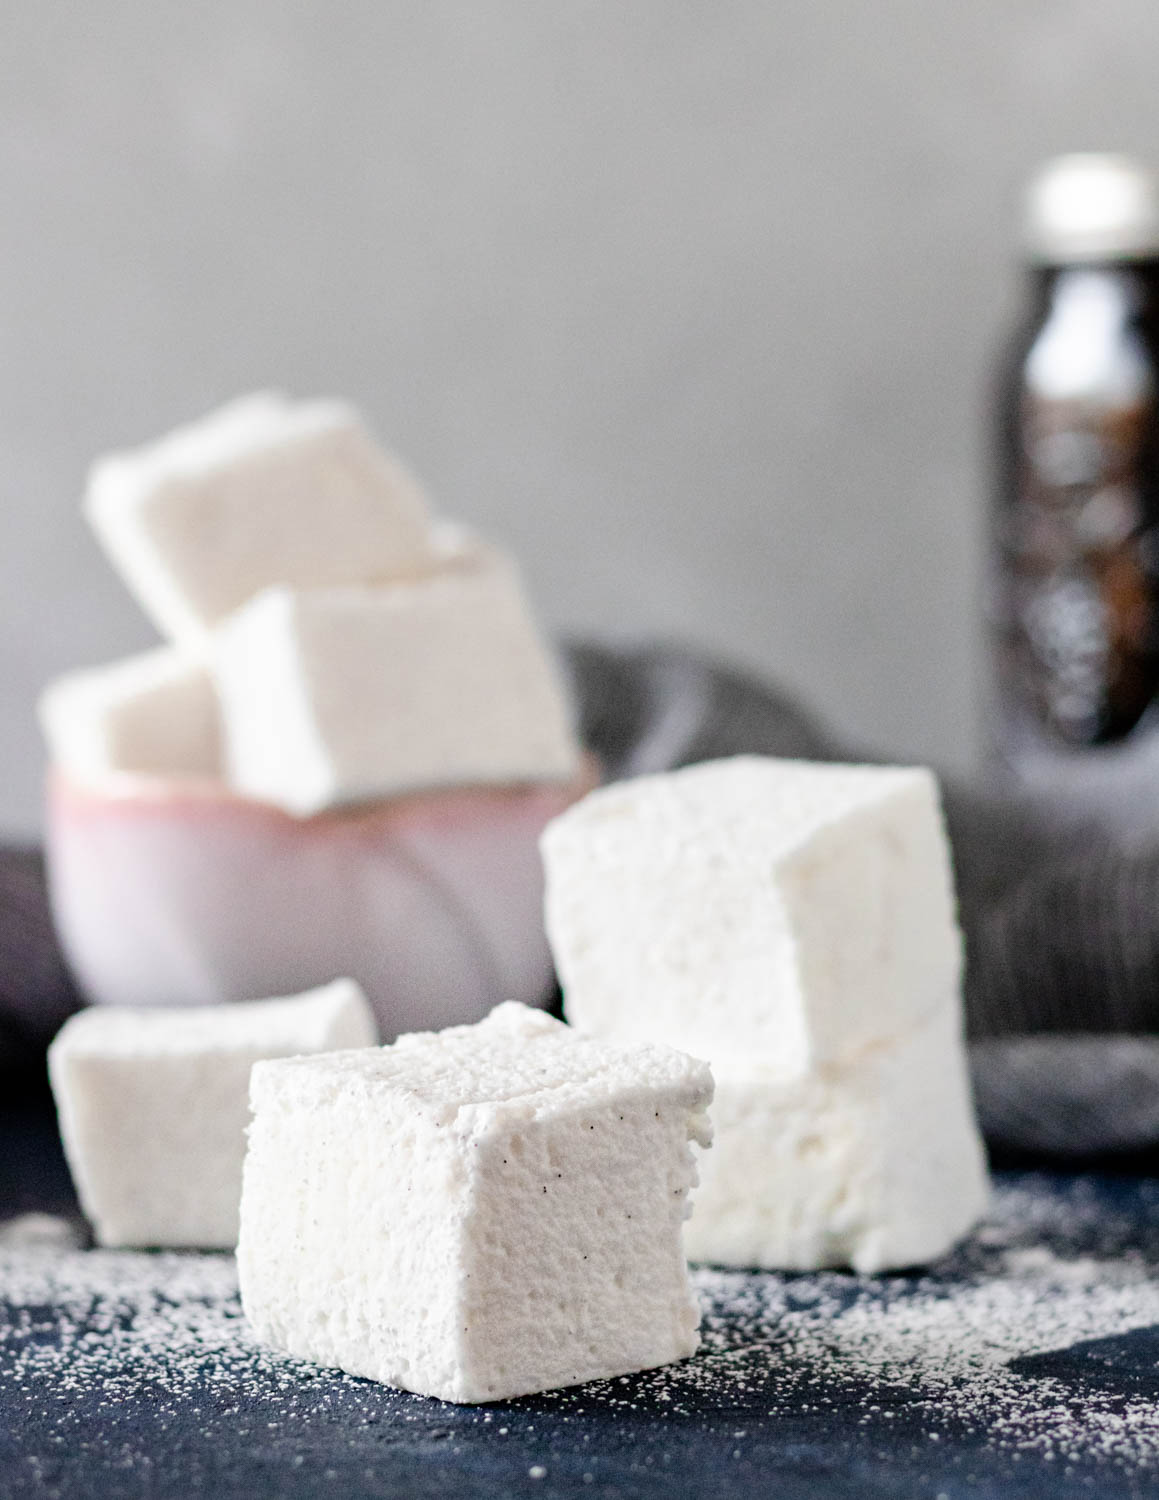
When I have them, I like to use vanilla beans or vanilla bean paste for the pretty vanilla flecks. But if all you have is vanilla extract, that works great! Homemade vanilla marshmallows don’t need to have flecks to have all the classic flavor you love.
Of course, the cool thing about marshmallows is the myriad of flavoring options! If you’d like some fun flavors, check out these recipes:
- Caramel Latte Marshmallows
- Matcha Marshmallows – these blossom into flowers!
- Raspberry Marshmallows
Can I make these marshmallows without gelatin?
You can, but it involves more than a straight substitute of agar agar for gelatin. Agar is a seaweed-based thickening agent that works almost like gelatin in many recipes.
I really like using it to stabilize whipped cream in a way that’s vegetarian-friendly!
Unfortunately, it doesn’t work as a 1:1 substitute in this vanilla marshmallow recipe. The best vegetarian/vegan-friendly marshmallows are made with a combination of agar agar and aquafaba (chickpea can water), using a slightly different method than here.
Since I’ve only made marshmallows using gelatin, I’m going to refer those of you looking for gelatin-free marshmallows to a fellow blogger who’s got a great-looking recipe on her site! Head over to Make It Dairy-Free for a vegan-friendly marshmallow recipe.
How far in advance can I make homemade marshmallows?
As long as your store your prepared marshmallows in an airtight container, you can keep them for about 3 weeks at room temperature! This is not a scientific guess, it’s about how long I’ve kept mine without them going stale.
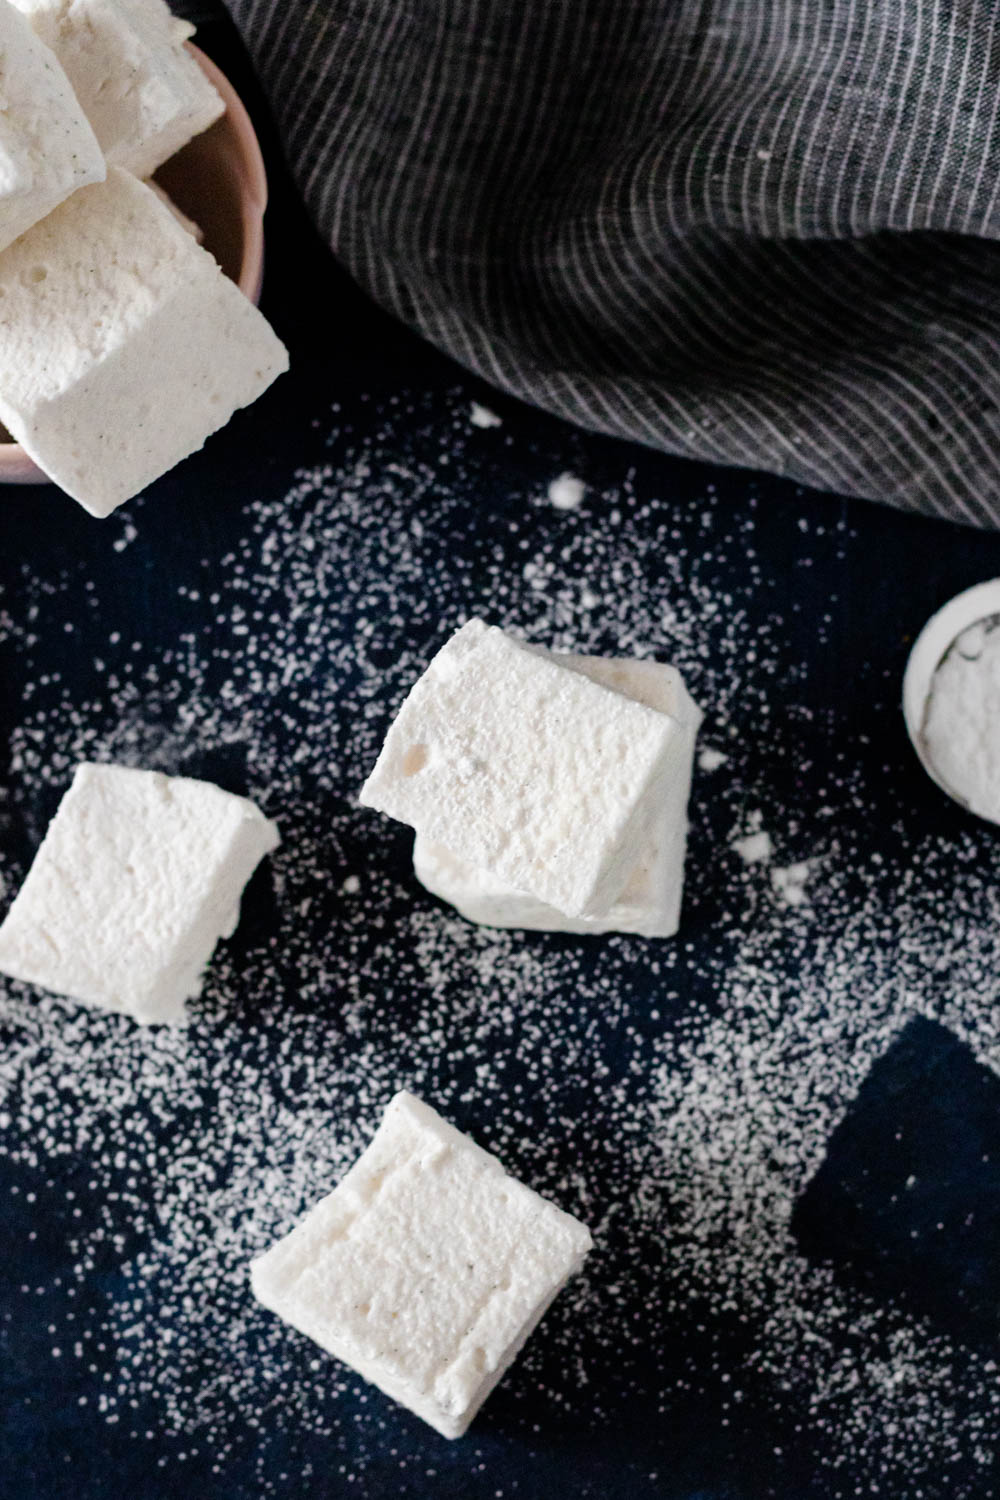
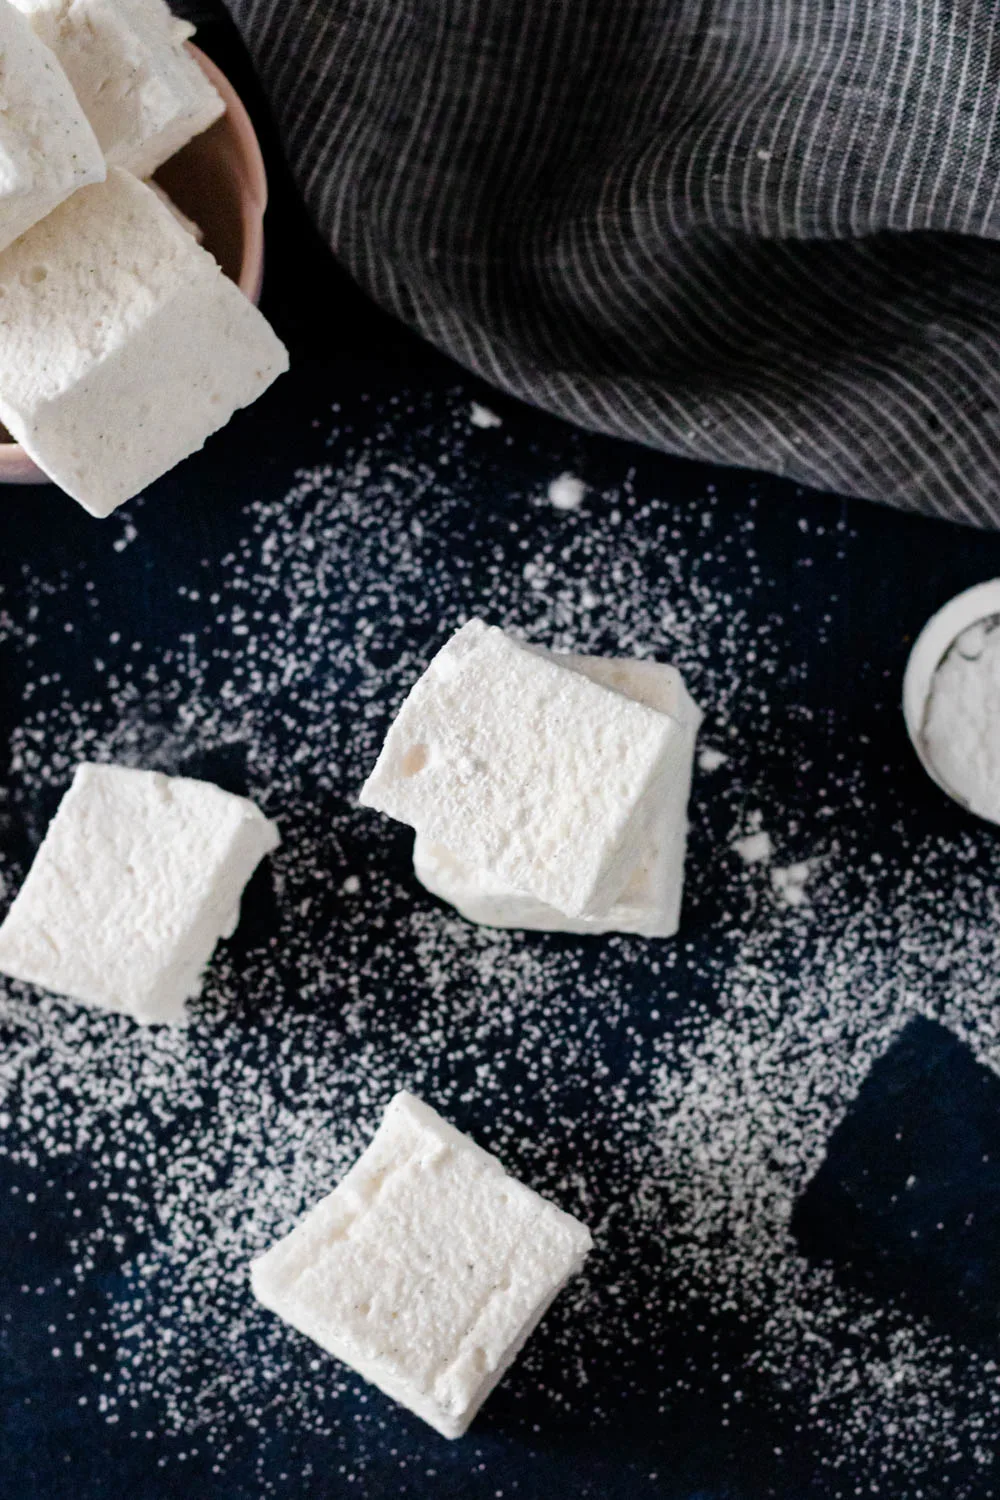
From time to time, the marshmallows might get a little sticky. If they do, toss them with a little extra powdered sugar and cornstarch to keep them soft.
You can also freeze marshmallows! They don’t actually freeze solid, so while they won’t be super fluffy coming out of the freezer, you can eat them. Otherwise, let them thaw for a few minutes at room temperature and they should puff right back up to their former delicious puffy goodness. Just be sure to use an airtight container.
How can I use homemade vanilla marshmallows?
Any way you’d like! Homemade vanilla marshmallows are incredibly versatile. Not only are they 1000 times better than store-bought for snacking, but they also toast beautifully!
Use these marshmallows for your next s’mores board at fire night, put some in hot chocolate, or dip them in chocolate for a beautiful and naturally gluten-free dessert!

I hope you love this delicious vanilla marshmallow recipe, darlings!

Vanilla Bean Marshmallows
Ingredients
Marshmallow
- 3 packages unflavored gelatin (1 1/2 tablespoons gelatin)
- 1 1/3 cup cold water, divided
- 1 1/2 cups granulated sugar
- 1 cup light corn syrup
- 1/4 teaspoon kosher salt
- 1 vanilla bean, scraped or 1 tablespoon vanilla extract
Coating
- 1/2 cup confectioners' sugar
- 1/2 cup cornstarch
- Nonstick spray
Instructions
- Put the three packets of gelatin and 2/3 cup of water in the bowl of a stand mixer fitted with the whisk attachment. Don't stir, just allow it to sit while you prepare the sugar syrup.
- Combine the other half cup of water, sugar, corn syrup, and salt in a small saucepan with a lid.
- Cook, covered, over medium heat for 3 minutes until the sugar has dissolved.
- Uncover and clip the candy thermometer onto your saucepan. Continue to cook until the mixture reaches 240 F. This takes about 7 minutes. Swirl the pan gently once midway through cooking to allow for even heat distribution. Once it reaches 240 F, remove it immediately from the heat.
- Turn the mixer on to low and slowly pour the sugar syrup into the mixing bowl. Once all the syrup has been added, bring the mixer up to high and let it run another 13 minutes until the mixture is light and fluffy, and lukewarm.
- While the marshmallows are mixing, spray a 9x13" pan* well with nonstick spray. Combine the powdered sugar and cornstarch well, and sprinkle liberally over the pan. Move around to coat the pan well and then reserve the excess coating mixture to use later.
- After 13 minutes, or when the mixture is white, fluffy, and starts to form very soft peaks, add the vanilla bean scrapings (or extract) to the mixer bowl and mix an additional minute.
- Pour the marshmallow mixture into the prepared pan and smooth with an offset spatula spritzed with nonstick spray.
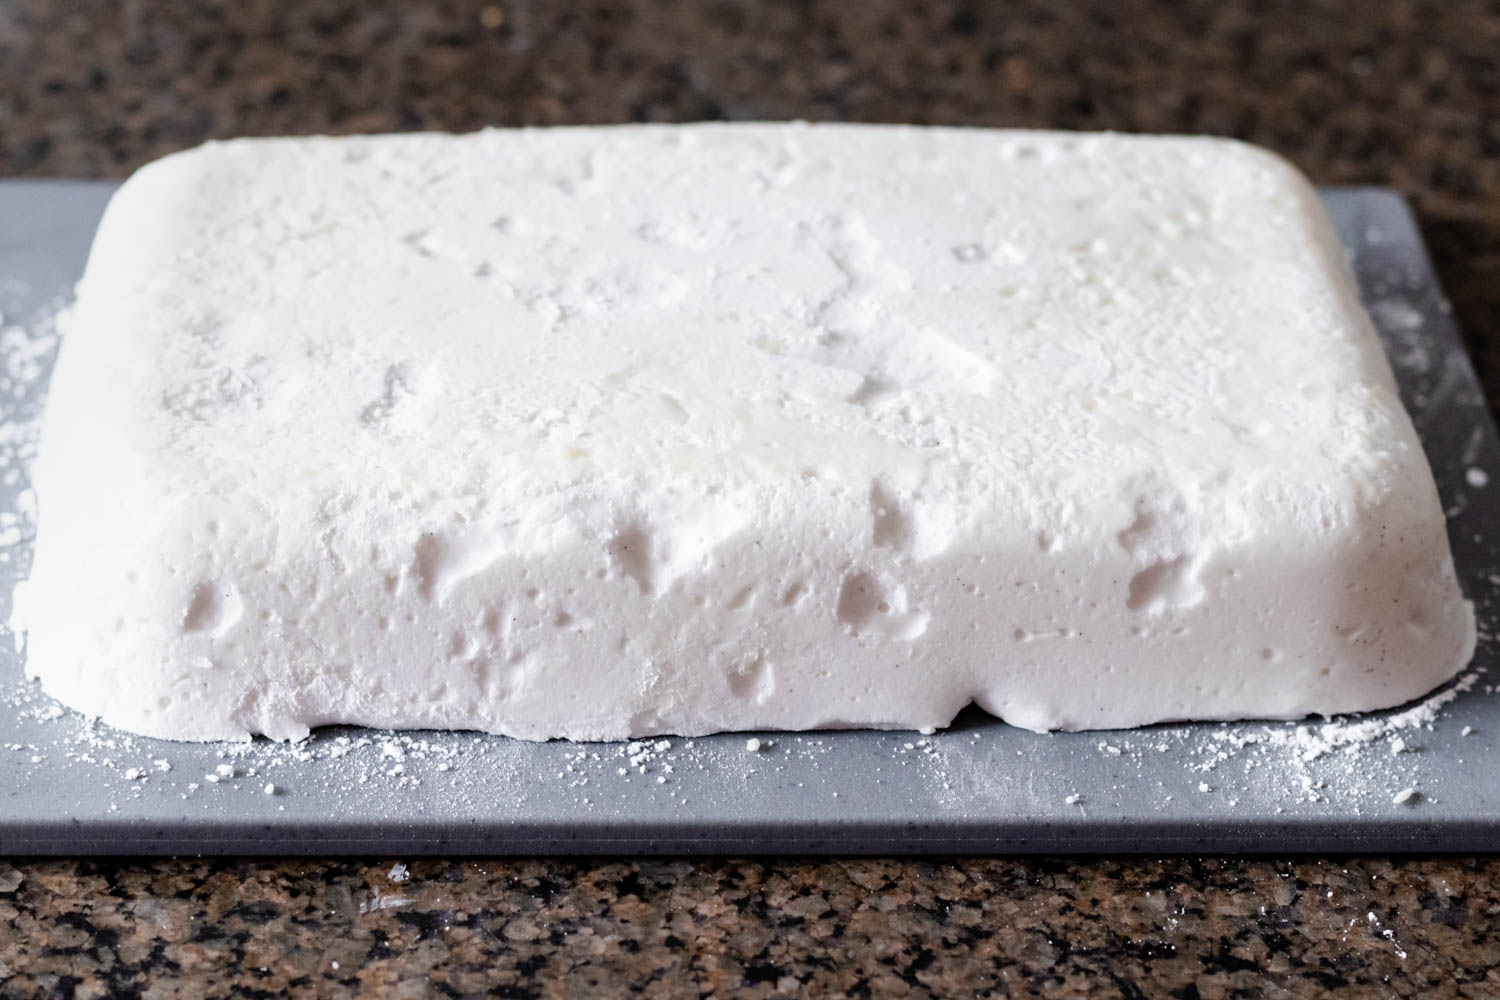
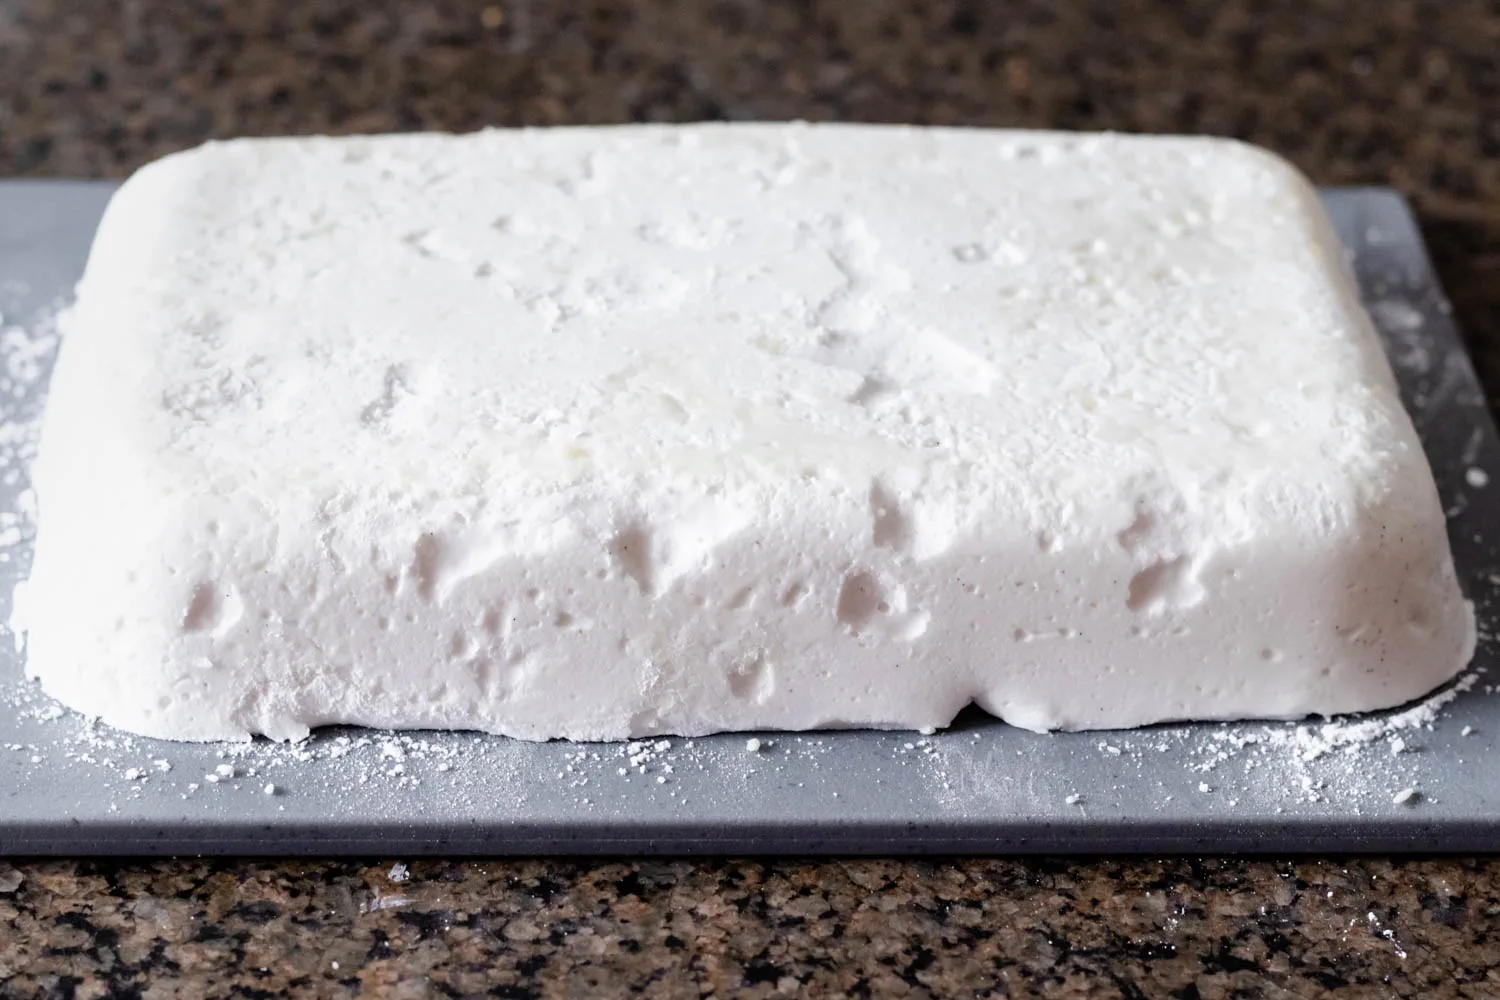
- Sprinkle evenly with a light dusting of the coating mixture and top with a sheet of parchment paper. Allow the marshmallows to set at room temperature for 4-6 hours or to overnight.
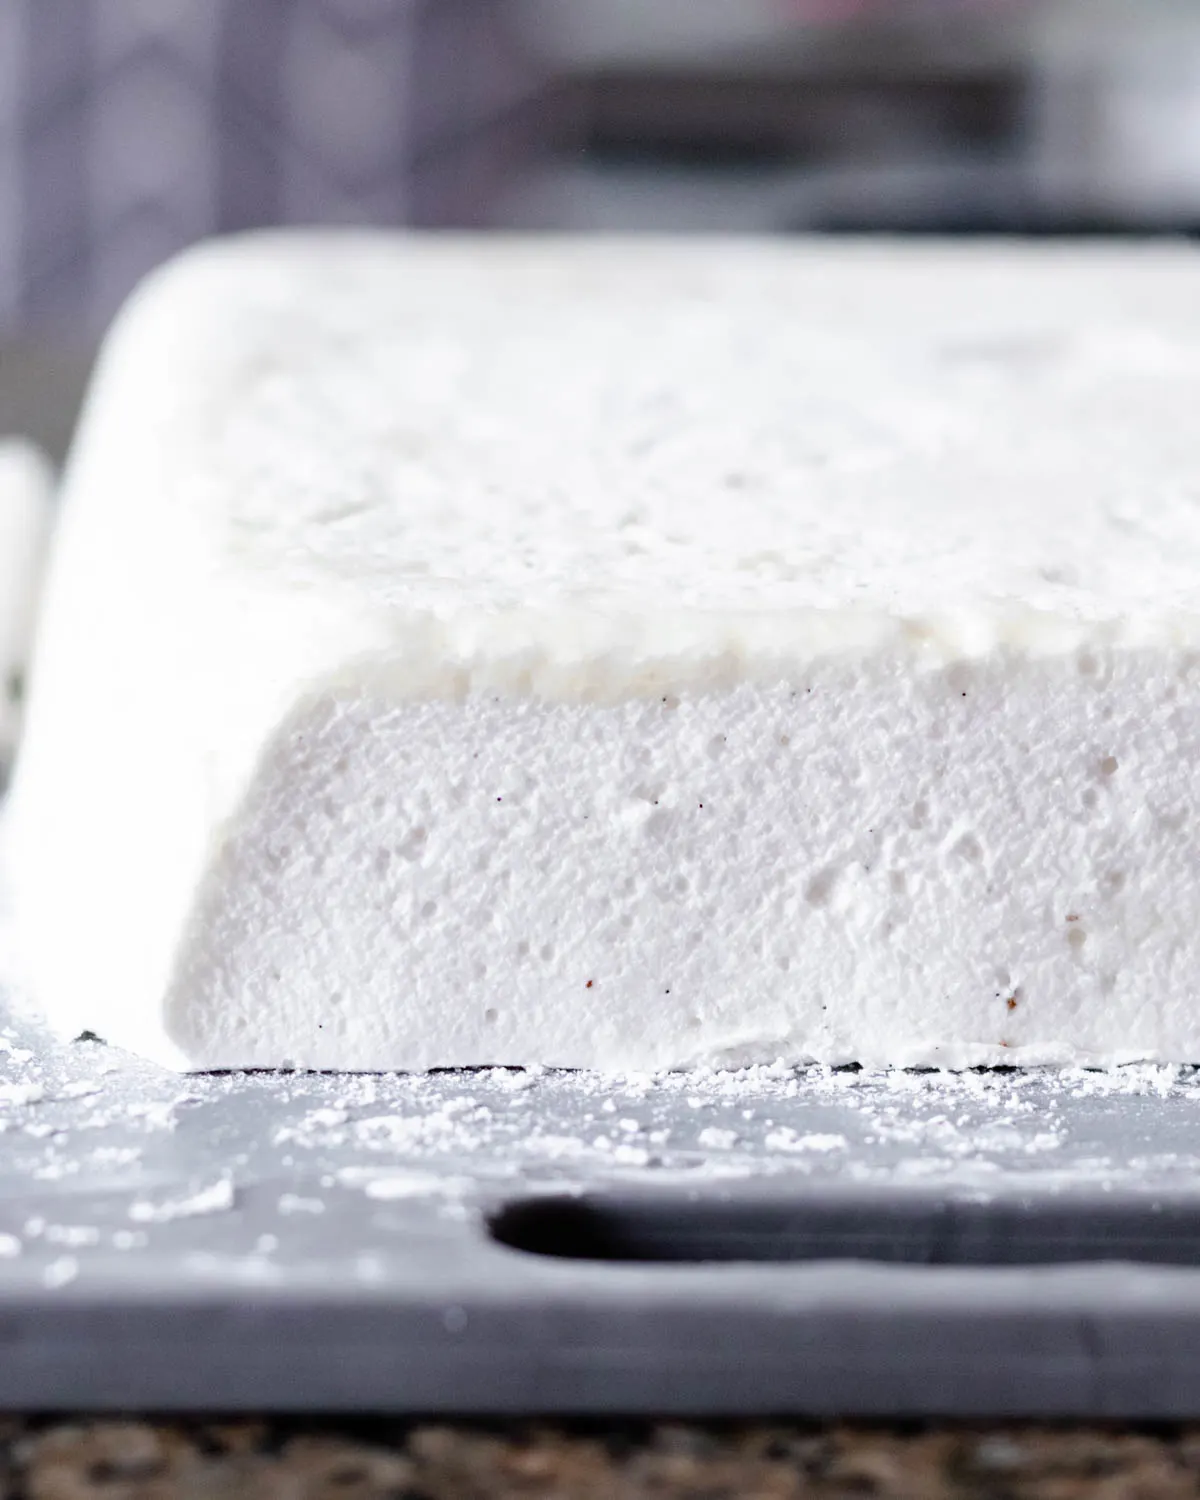
- To cut, use a butter knife to ensure the marshmallow isn't stuck to the edge of the pan (it shouldn't be), and flip onto a cutting board.
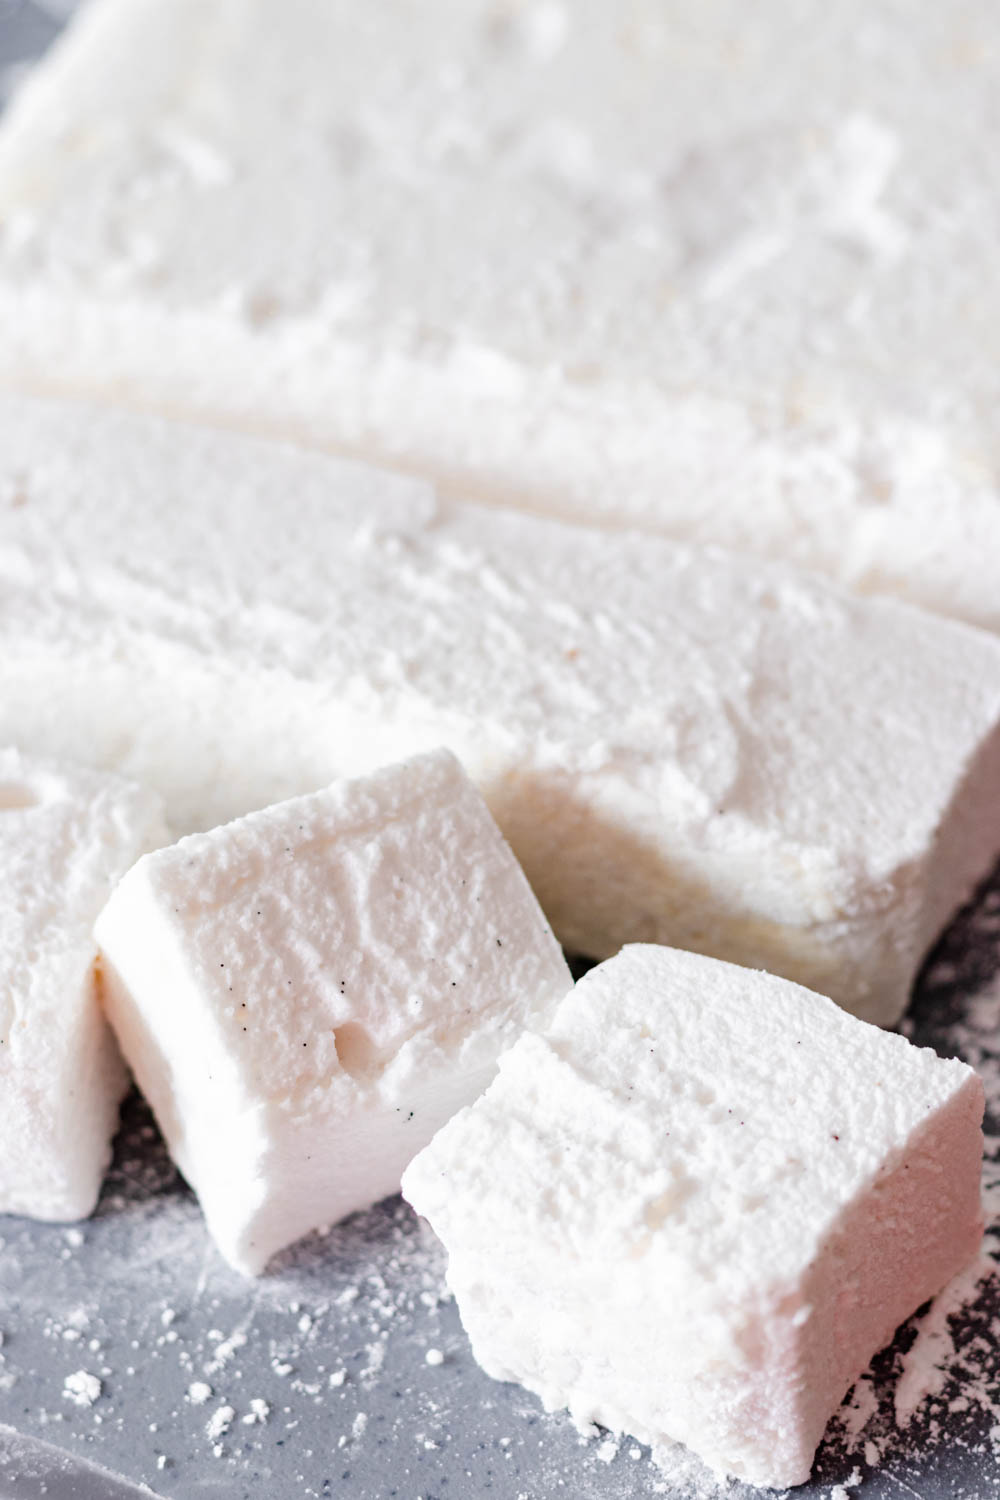
- Dust a pizza cutter with some of the coating mixture and cut the marshmallows into squares.
- Dab the edges of the marshmallows with the coating mixture, shake off the excess, and store the marshmallows in an airtight container at room temperature for up to three weeks.
Notes
- A 9x13-inch pan will make thinner marshmallows. This recipe will completely fill a 9x11-inch glass Pyrex casserole dish for thicker marshmallows.
- The exact yield of the recipe varies depending on how you cut the marshmallows.
- If you wish for straight-sided marshmallows, use a straight-sided pan. Otherwise, trim the curved edges of the marshmallows before cutting your squares.
Recommended Products
As an Amazon Associate and member of other affiliate programs, I earn from qualifying purchases.
