

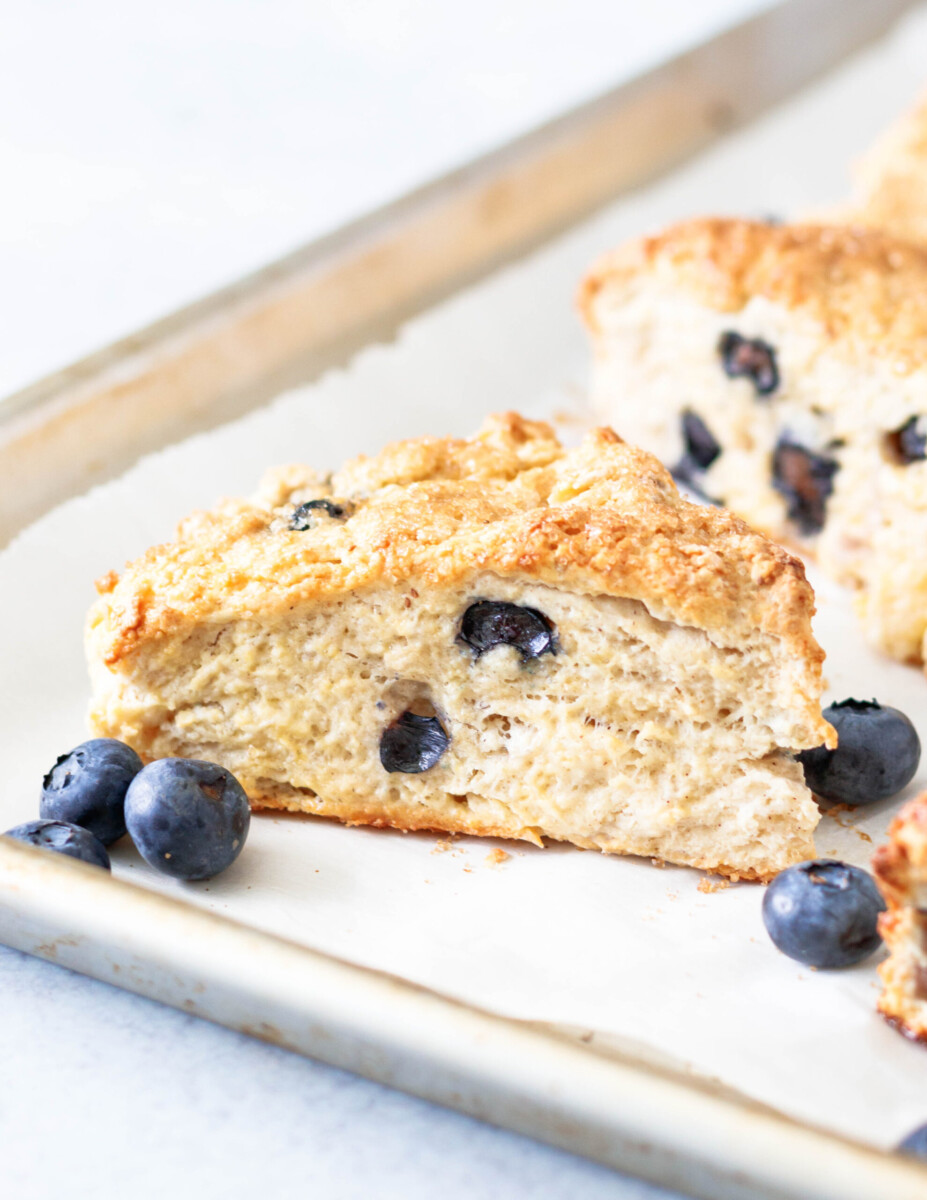
When you want fluffy, tender blueberry scones, this is your recipe! This delicious blueberry scone recipe tastes just like your favorite corner bakery and stays moist for days. These scones are a great make-ahead breakfast option or afternoon snack.
A good blueberry scone recipe is one to be cherished. If baked goods were items of clothing, I think a scone would be jeans. Scones come in many varieties, one to suit just about any occasion, and they’re comfortable. Who doesn’t love a good scone!? Just warm and paired with a cup of hot coffee or tea, and possibly a good book, we should bake some scones now!
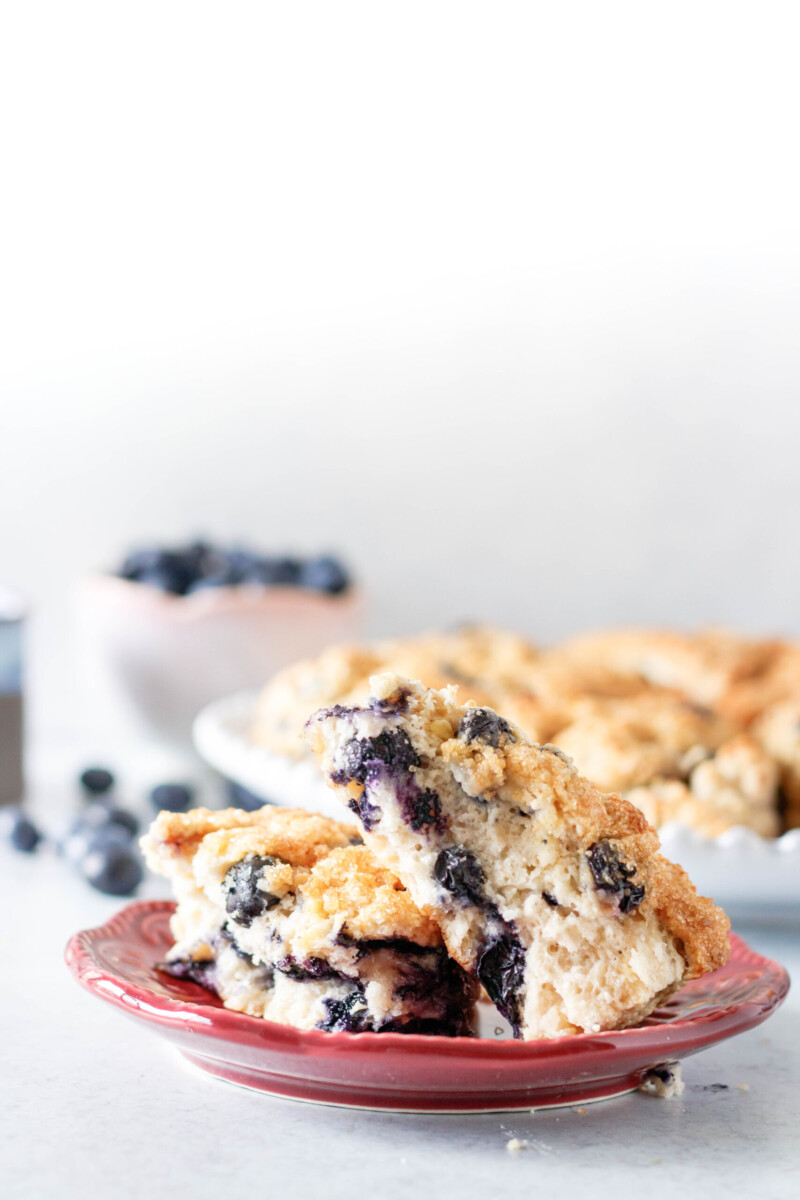
But first, I’d like to share a bit about this recipe. Inspired by a *huge* blueberry scone we bought at a corner bakery in Nantucket this summer, it’s so different from my usual recipes.
For example, this one has no heavy cream! Usually, I’m a cream scone girl. Instead, we get fluff and a gloriously tender scone texture by using yogurt.
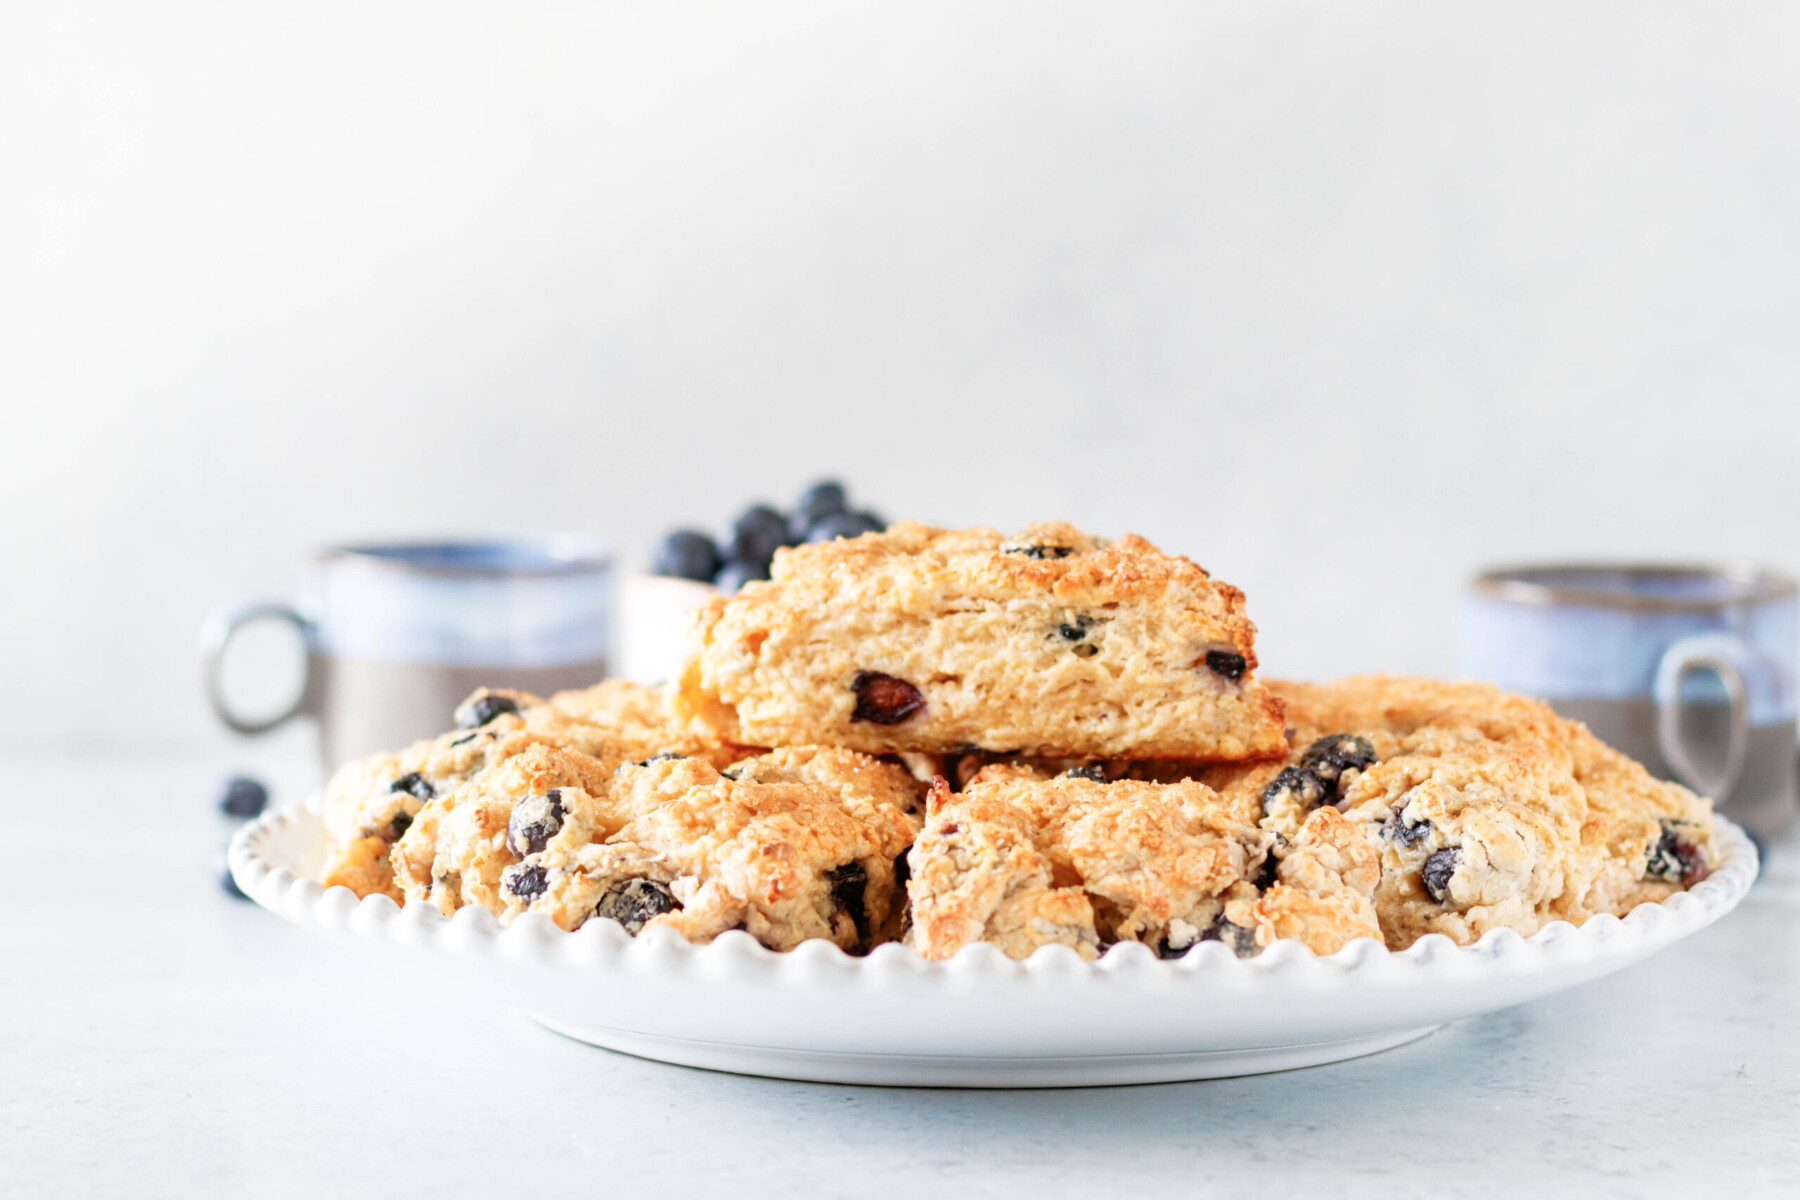

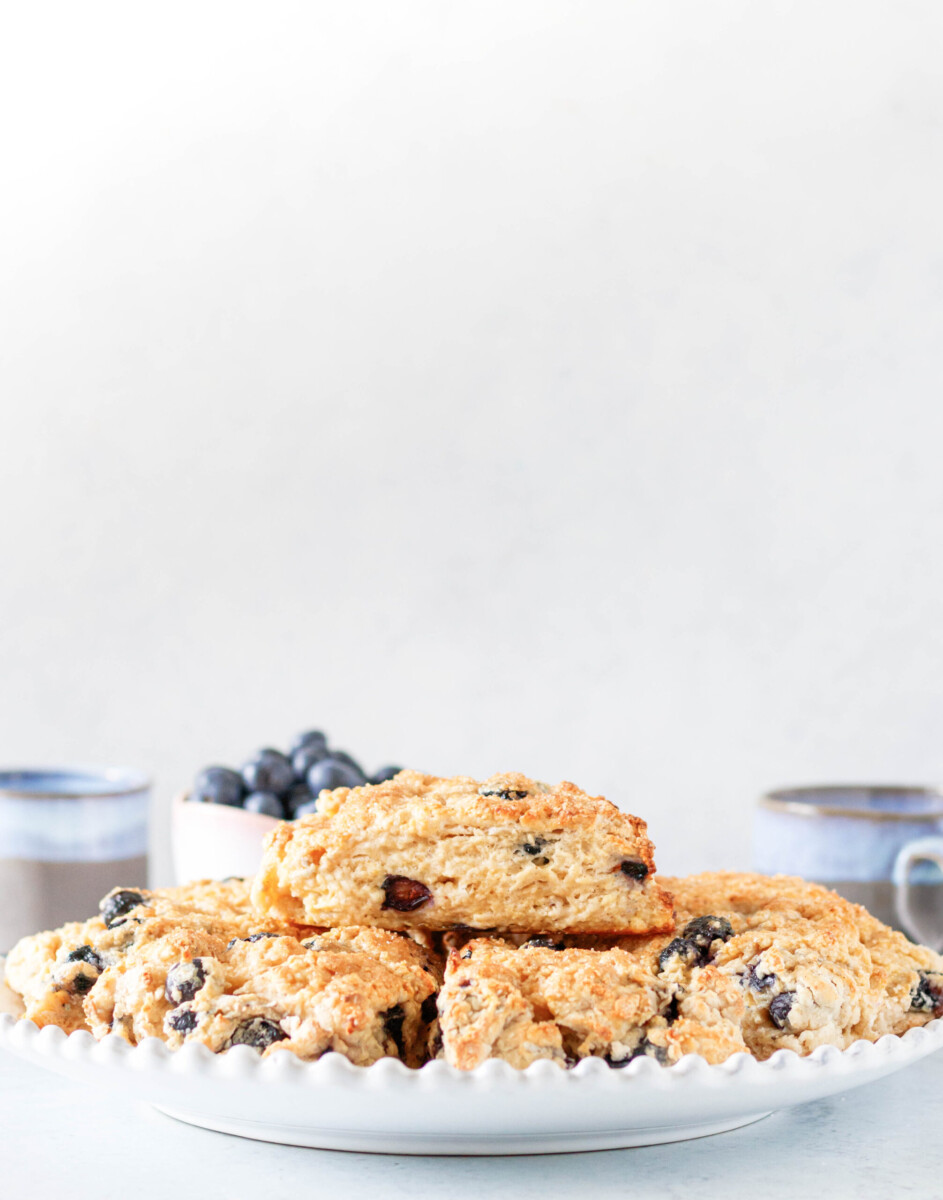
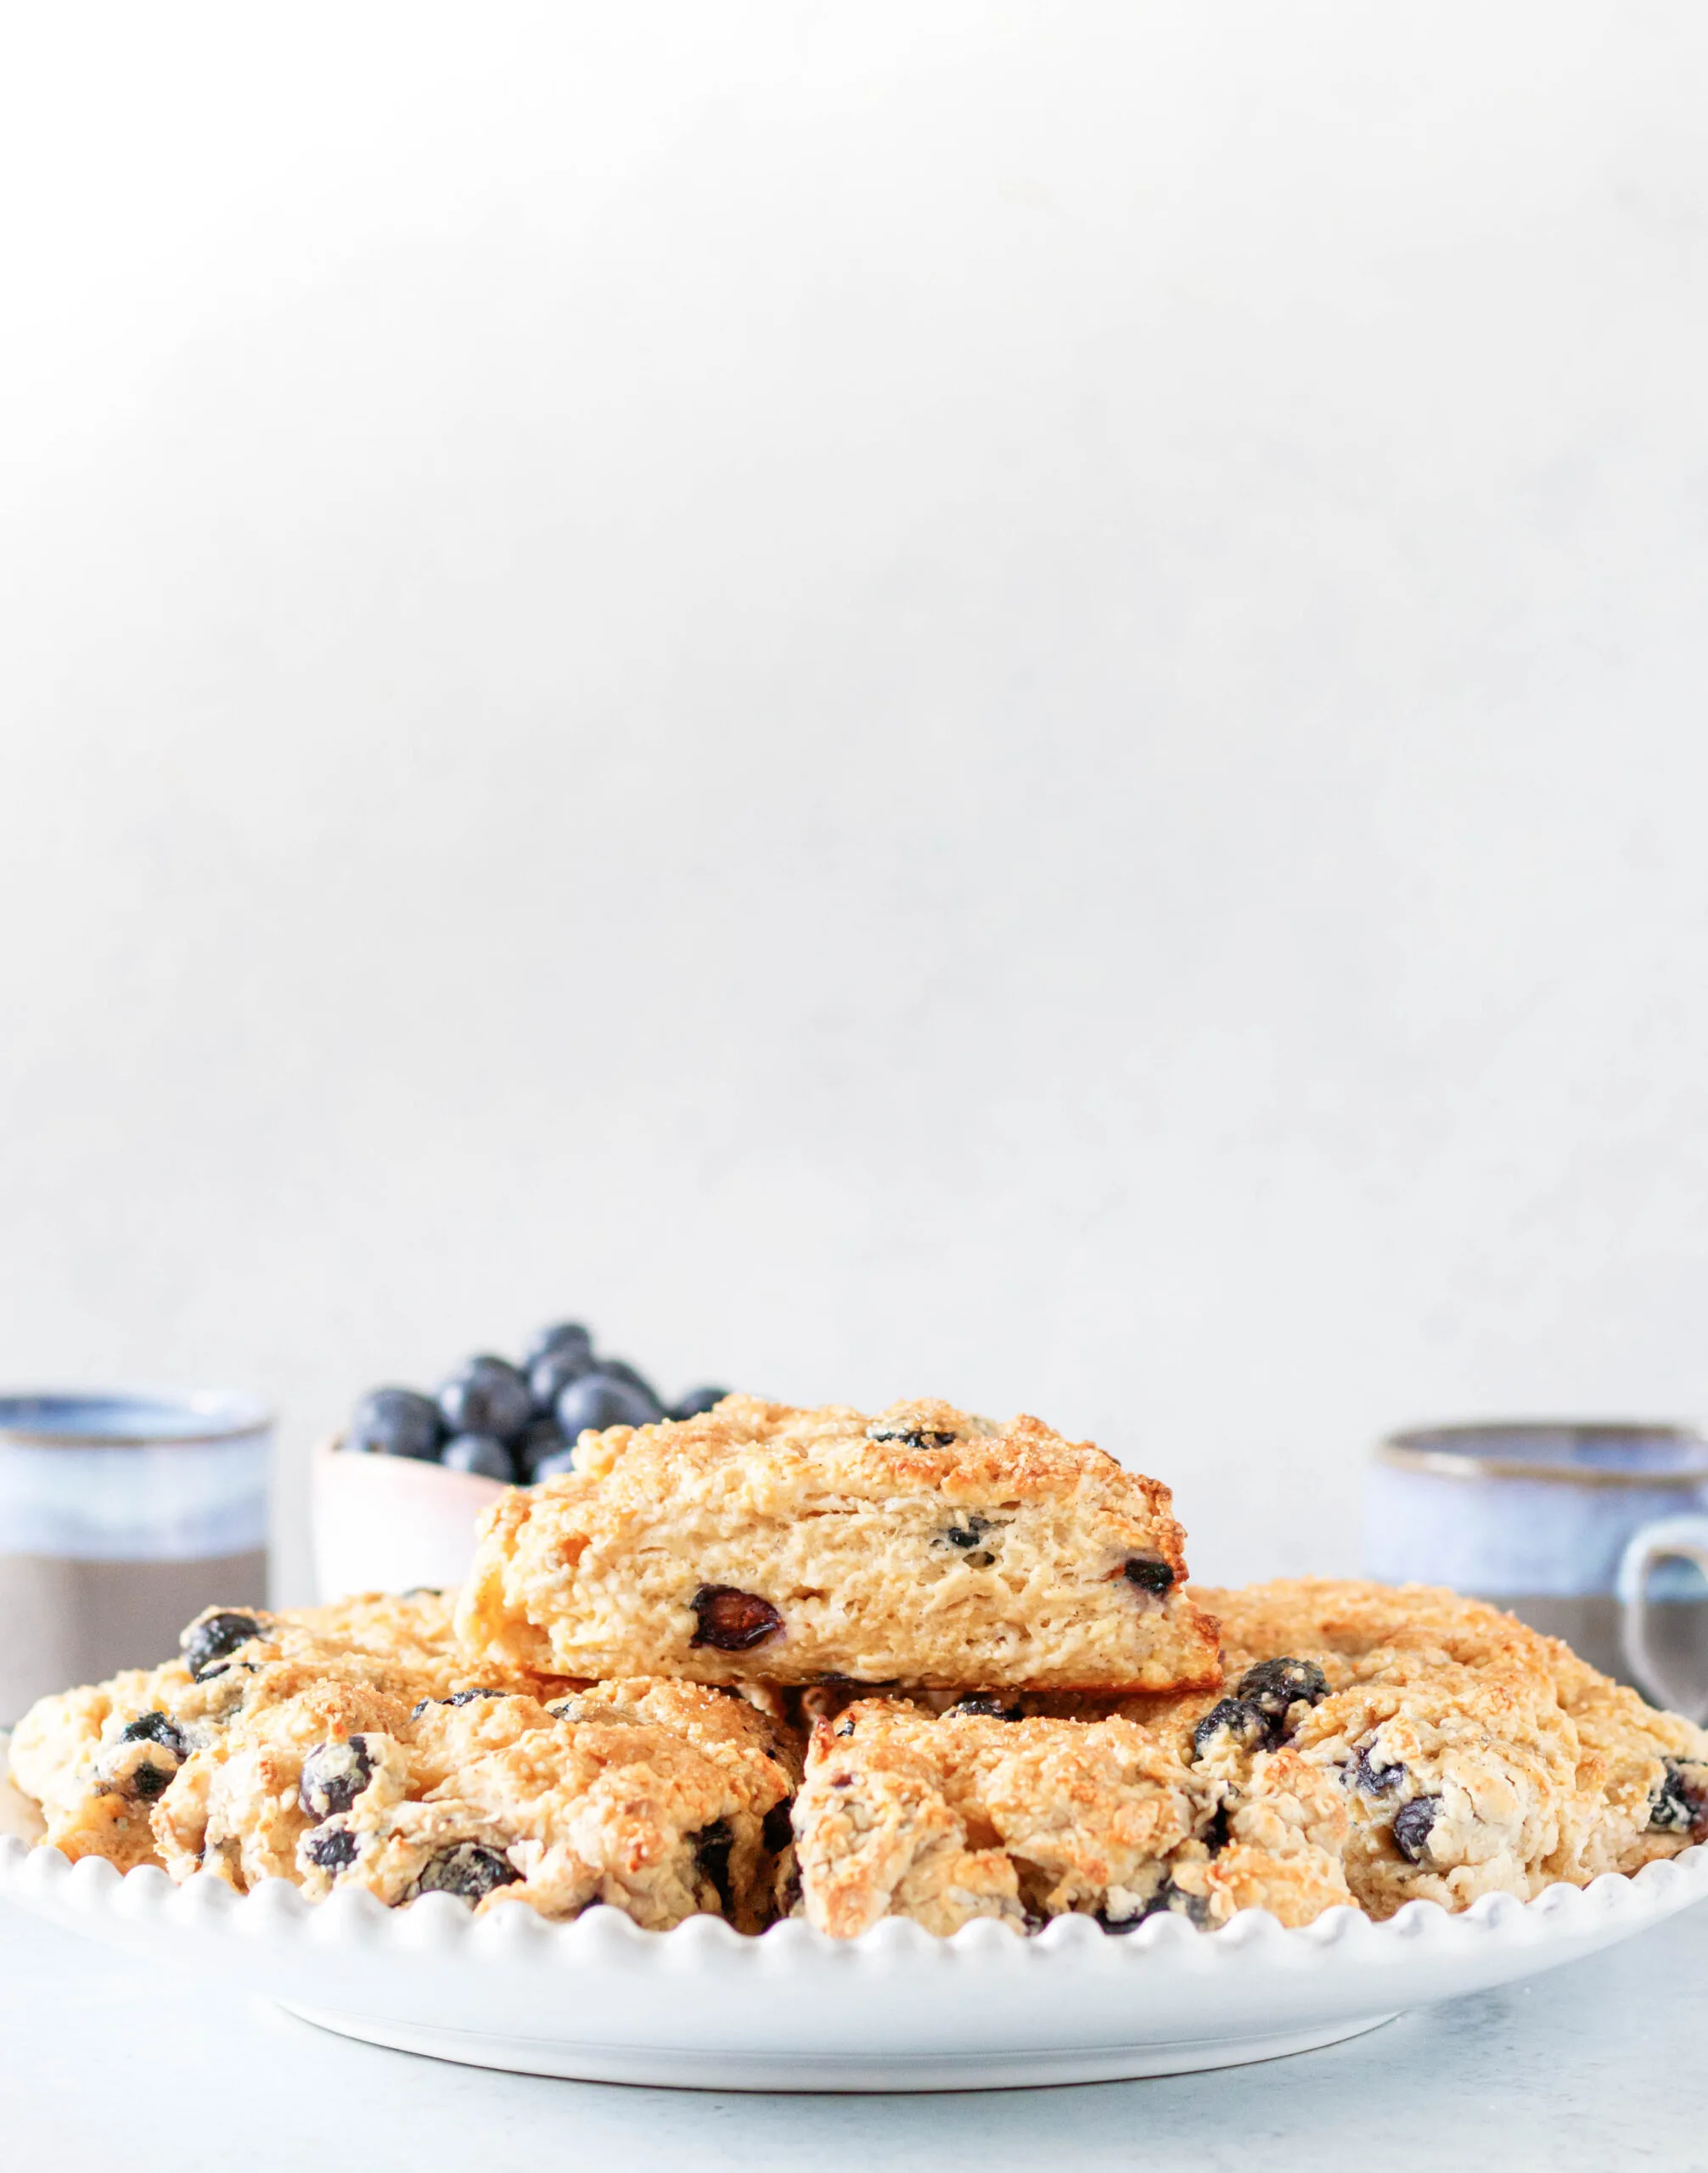
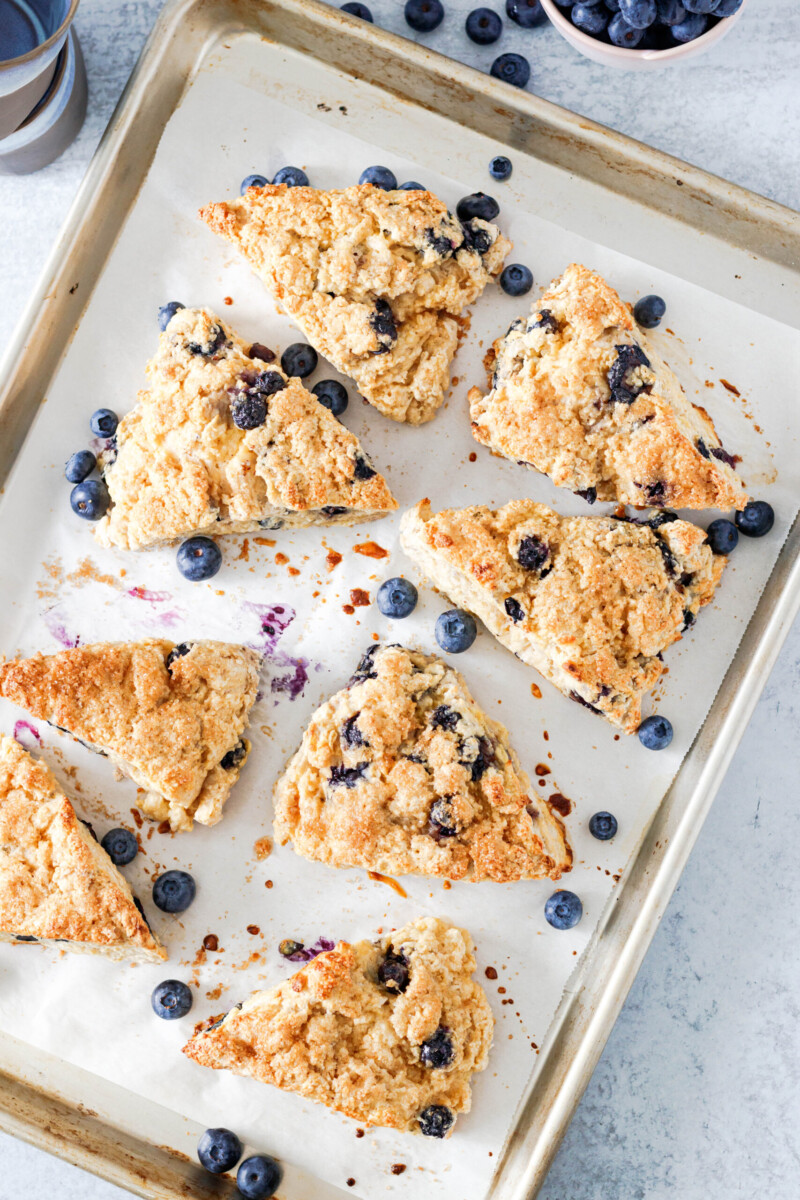
We also get really into the bakery vibe with a crunchy topping of turbinado sugar for sparkling blueberry scones. Don’t they look gorgeous piled on a plate? Love it.
Tips for success with this blueberry scone recipe…
The first tip for scone success is… don’t add too much flour! Really, this is the number one tip for cakes, cupcakes, bread, and pretty much any baked good with flour ever.
Spoon the flour into the dry measuring cup (not the glass cups for liquid measurements) and level with a flat edge. The flat edge of a butter knife works really well here. Or, use a food scale. A cup of flour is 120 grams. So for this recipe, you’d need 320 grams of flour.
We use self-rising flour in this recipe because it helps provide that light, fluffy scone texture! Self-rising flour has baking powder and salt already mixed in, so you get a lovely even rise.

If you don’t have self-rising flour, here’s how you make your own. For every cup of self-rising flour called for in a recipe, measure out one cup of flour and then add 1/4 teaspoon salt and 1 1/2 teaspoons of baking powder. Whisk together very very well to combine and proceed with the recipe! For this recipe, you’d need to add 3/4 teaspoon salt and 4 teaspoons of baking powder.
Next up, and this is true whether you use a food processor or a pastry blender to cut by hand, is to pre-cut your cold butter. It’s just easier to cut your butter into smaller cubes before you cut it in until it’s in pea-sized chunks.
This helps you to not overwork your dough. The more you have to mix your dough, the more you encourage gluten development, the higher the risk you end up with tough scones.
Let’s talk about the Greek yogurt in this recipe…
This gets its own section because I think it’s such a great idea! Some scones use eggs in the dough to add moisture and structure. But eggs can also cause a firmness in texture we don’t always want with scones. The alternative is to use yogurt or sour cream!
I use a low-fat plain Greek yogurt, and it works beautifully. The richest result will come with full-fat yogurt or sour cream.
If you’re like me and try to keep some balance in your food, you’ll probably like Greek yogurt too. Plain or vanilla works well, as the flavors complement the blueberries well. Greek yogurt also adds extra protein to the scones, which makes my mama self feel a bit better when that’s all the kids want for breakfast.

Using yogurt seems to keep everyone satisfied longer, but I haven’t exactly done research on this. Just an observation after making these a few times for the family.
You can use non-dairy yogurt. It can be really hard to find a plain flavor, so use vanilla. Of course, if you are making this recipe non-dairy, use non-dairy butter sticks and non-dairy milk. Those with creamier textures will give the best results.
Back to the last few recipe tips…
Even if you use the food processor to cut in the butter, stir in the yogurt (or sour cream), vanilla extract, and milk by hand. This is because there’s a bit of leeway in exactly how much milk you’ll need.
If it’s a particularly humid day, you will need less milk to get your dough to come together. On dry days, you’ll need all 6 tablespoons.
Start with 4 tablespoons of milk and then add as needed. You don’t want wet and sticky dough or the scones won’t rise properly. It’s easier to add more liquid than fix a wet dough. You can see in the video I had to add a few tablespoons of milk as I mixed so I didn’t end up with dry flour.
You can use fresh or frozen berries! If you’re using fresh blueberries, wash and dry them, checking for any stems. If you’re using frozen berries, don’t thaw them. Just toss them right into the batter and that’s it! You may need to extend baking time by 2 minutes or so, but not always.

Blueberry scones are a great recipe to make ahead of time! You can freeze unbaked scones for up to 2 months and bake right from frozen. I love to do this when I have a lot of fresh blueberries to use or I’m preparing for company.
Scones are also a fun treat for back-to-school breakfasts or exam weeks. Baked scones will keep 2 days at room temperature. You may also individually wrap them and keep them in the fridge for about a week. Freeze for longer storage.
To reheat your scones, microwave them for 20 seconds at 50% power. Or, my personal favorite, pop them in the toaster oven (or regular oven) for about 10 minutes at 250 F. They come out almost like fresh-baked!


I hope you love this blueberry scone recipe, darlings! Happy baking!


Blueberry Scone Recipe
When you want fluffy, tender blueberry scones, this is your recipe! This delicious blueberry scone recipe tastes just like your favorite corner bakery and stays moist for days. These scones are a great make-ahead breakfast option or afternoon snack.
Ingredients
- 2 3/4 cups self-rising flour
- 1/2 teaspoon kosher salt (see notes)
- 1 teaspoon baking powder
- 3 tablespoons granulated sugar
- 1/2 teaspoon ground cinnamon
- 6 tablespoons unsalted butter, chilled and cut into cubes
- 3/4 cup Greek yogurt (plain or vanilla) or sour cream
- 4-6 tablespoons milk (see notes)
- 1 teaspoon vanilla extract
- 1 cup fresh or frozen blueberries
Topping:
- 1 large egg
- 1 tablespoon milk
- 1/3 cup turbinado sugar (see notes)
Instructions
- In a large mixing bowl or the bowl of a large food processor, whisk together the flour, sugar, salt, baking powder, and cinnamon.
- Top the flour mixture with your chilled, cut butter, and use a pastry blender or two knives to cut the butter into the flour until the butter is in pea-sized chunks. If you are using a food processor, pulse 3-4 times until the butter is in pea-sized chunks.
- Stir in the yogurt or sour cream, vanilla, and 4 tablespoons of milk. Stir. If needed, add more milk 1 tablespoon at a time until the dough just comes together. It will still look shaggy, but there shouldn't be a lot of dry flour.
- Use a rubber spatula to stir in the blueberries.
- Turn the scone dough onto a clean, lightly floured work surface. Knead 3-4 times to bring the dough together and then shape it into a disc.
- Use a knife or bench scraper to cut the dough into 8 equal wedges for standard-size scones. If you'd like to make minis, shape the dough into a square, cut that into 4 squares, then cut each square on each diagonal to make 16 mini-scones.
- Place the scones on a parchment paper-lined baking sheet.
- In a small bowl, whisk together the egg and milk.
- Use a pastry brush to brush the egg mixture onto the scones and then top with the turbinado sugar.
- Place the scones in the fridge or freezer to chill while you preheat your oven to 425 F.
- When the oven has reached temperature, place the scones on the middle rack and bake for 15-18 minutes until golden brown.
- Remove from the oven and allow to rest on the baking sheet for 5 minutes before transferring to a cooling rack.
- Scones are best enjoyed the day of baking, slightly warm or at room temperature. Leftover scones may be stored loosely covered at room temperature up to 2 days, or individually wrapped once completely cool and placed in an airtight container in the freezer for up to a month.
Notes
- If you are using salted butter, omit the salt in the recipe.
- You will get the moistest results with full-fat yogurt or milk. I typically use low-fat because it's what I have on hand most of the time and the results are still great! The scones in the video were made with low-fat yogurt!
- If you want to make the scones dairy-free and/or egg-free... replace the butter with non-dairy butter sticks and the milk and yogurt with your favorite non-dairy alternatives. Omit the egg in the wash and use just the milk. The crust won't end up as golden, but the sugar will stick and that's what we want!
- This is a general idea... you may or may not use all of it. Sprinkle with your heart.
- To reheat frozen scones: Place the scone in a toaster oven or a conventional oven at 250 F for 10-15 minutes until thawed and warmed through.
Recommended Products
As an Amazon Associate and member of other affiliate programs, I earn from qualifying purchases.
-
 ExcelSteel Heavy Duty Handles and Self-draining Stainless Steel Colander, 5 Qt
 -

 OXO Good Grips 7-Piece Nesting Measuring Beaker Set, Multicolored
 -

 AmazonBasics Multi-purpose Stainless Steel Bench Scraper and Chopper - 201
 -
 Nordicware Natural Aluminum Commercial Baker's Half Sheet (2 Pack), Silver
 -

 Pastry Cutter Set, EAGMAK Pastry Blender and Dough Scraper
Nutrition Information:
Yield: 8 Serving Size: 1Amount Per Serving: Calories: 350Total Fat: 14gSaturated Fat: 8gTrans Fat: 0gUnsaturated Fat: 5gCholesterol: 60mgSodium: 676mgCarbohydrates: 49gFiber: 2gSugar: 16gProtein: 6g
These nutrition values are estimates. Exact values will vary depending on the ingredients, brands, and quantities used.
Pete
Saturday 7th of August 2021
How thick is disc before cutting?
Mary (The Goodie Godmother)
Tuesday 14th of September 2021
About an inch thick. The circle is about 8 inches in diameter