

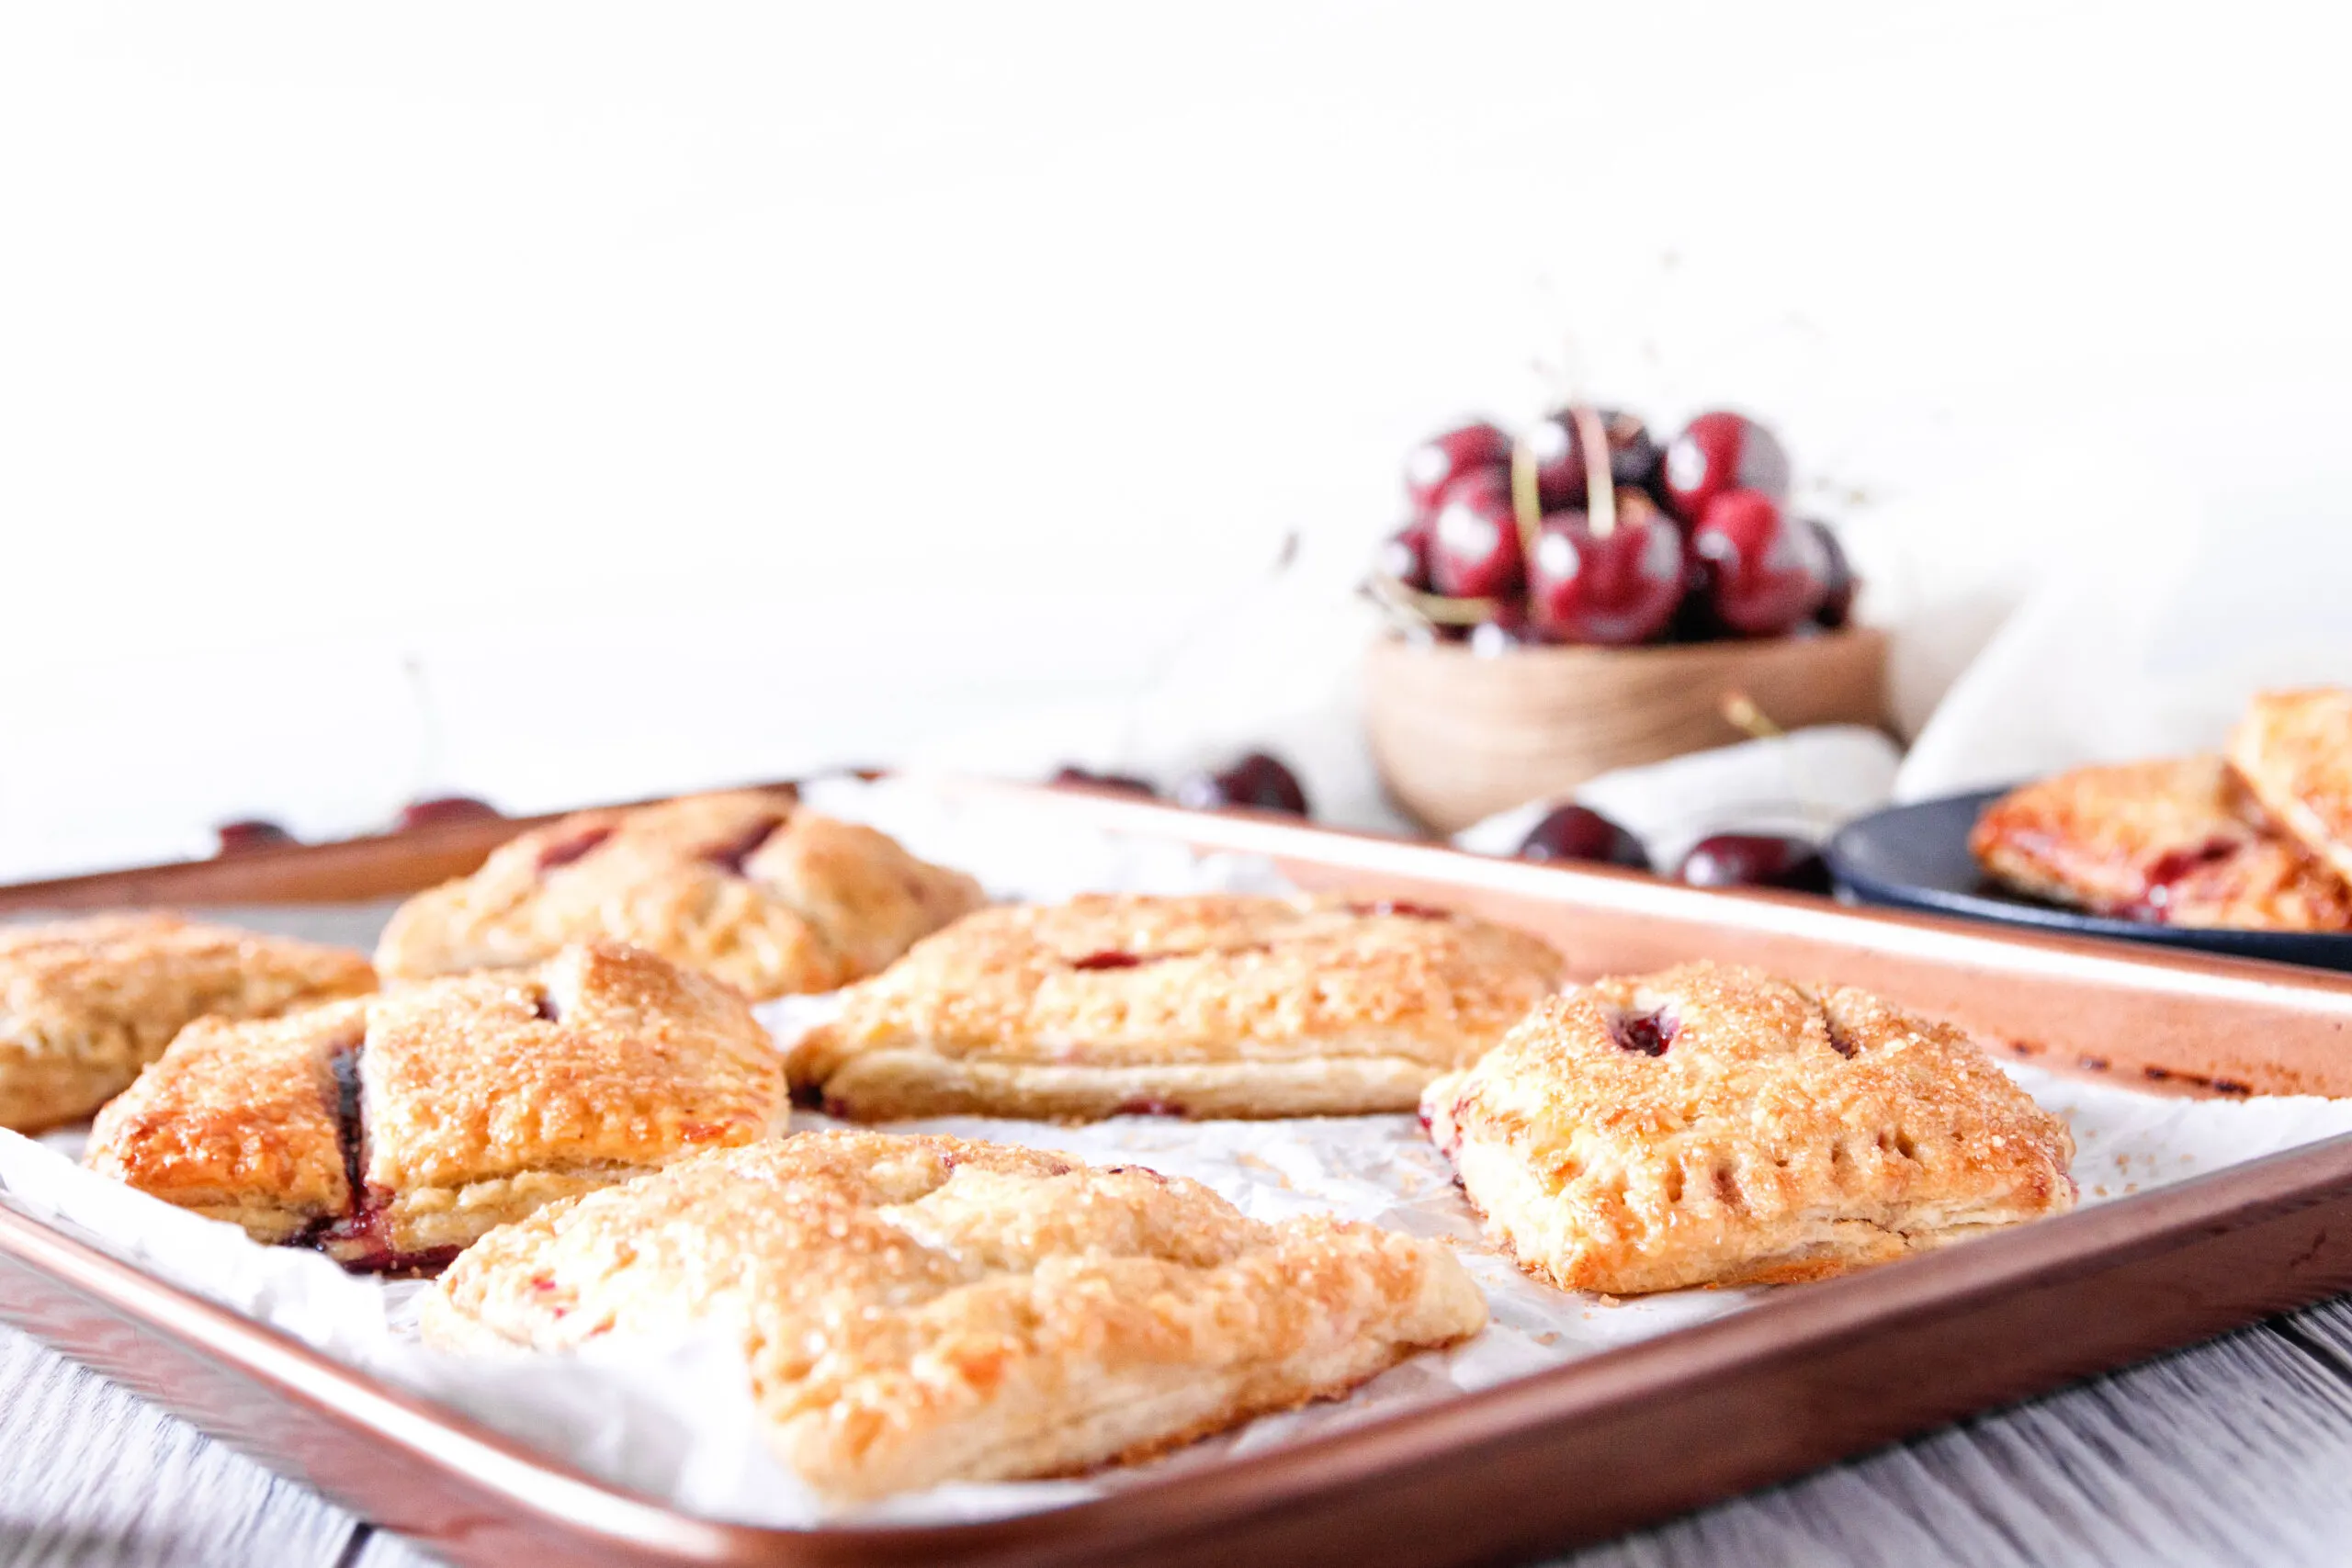
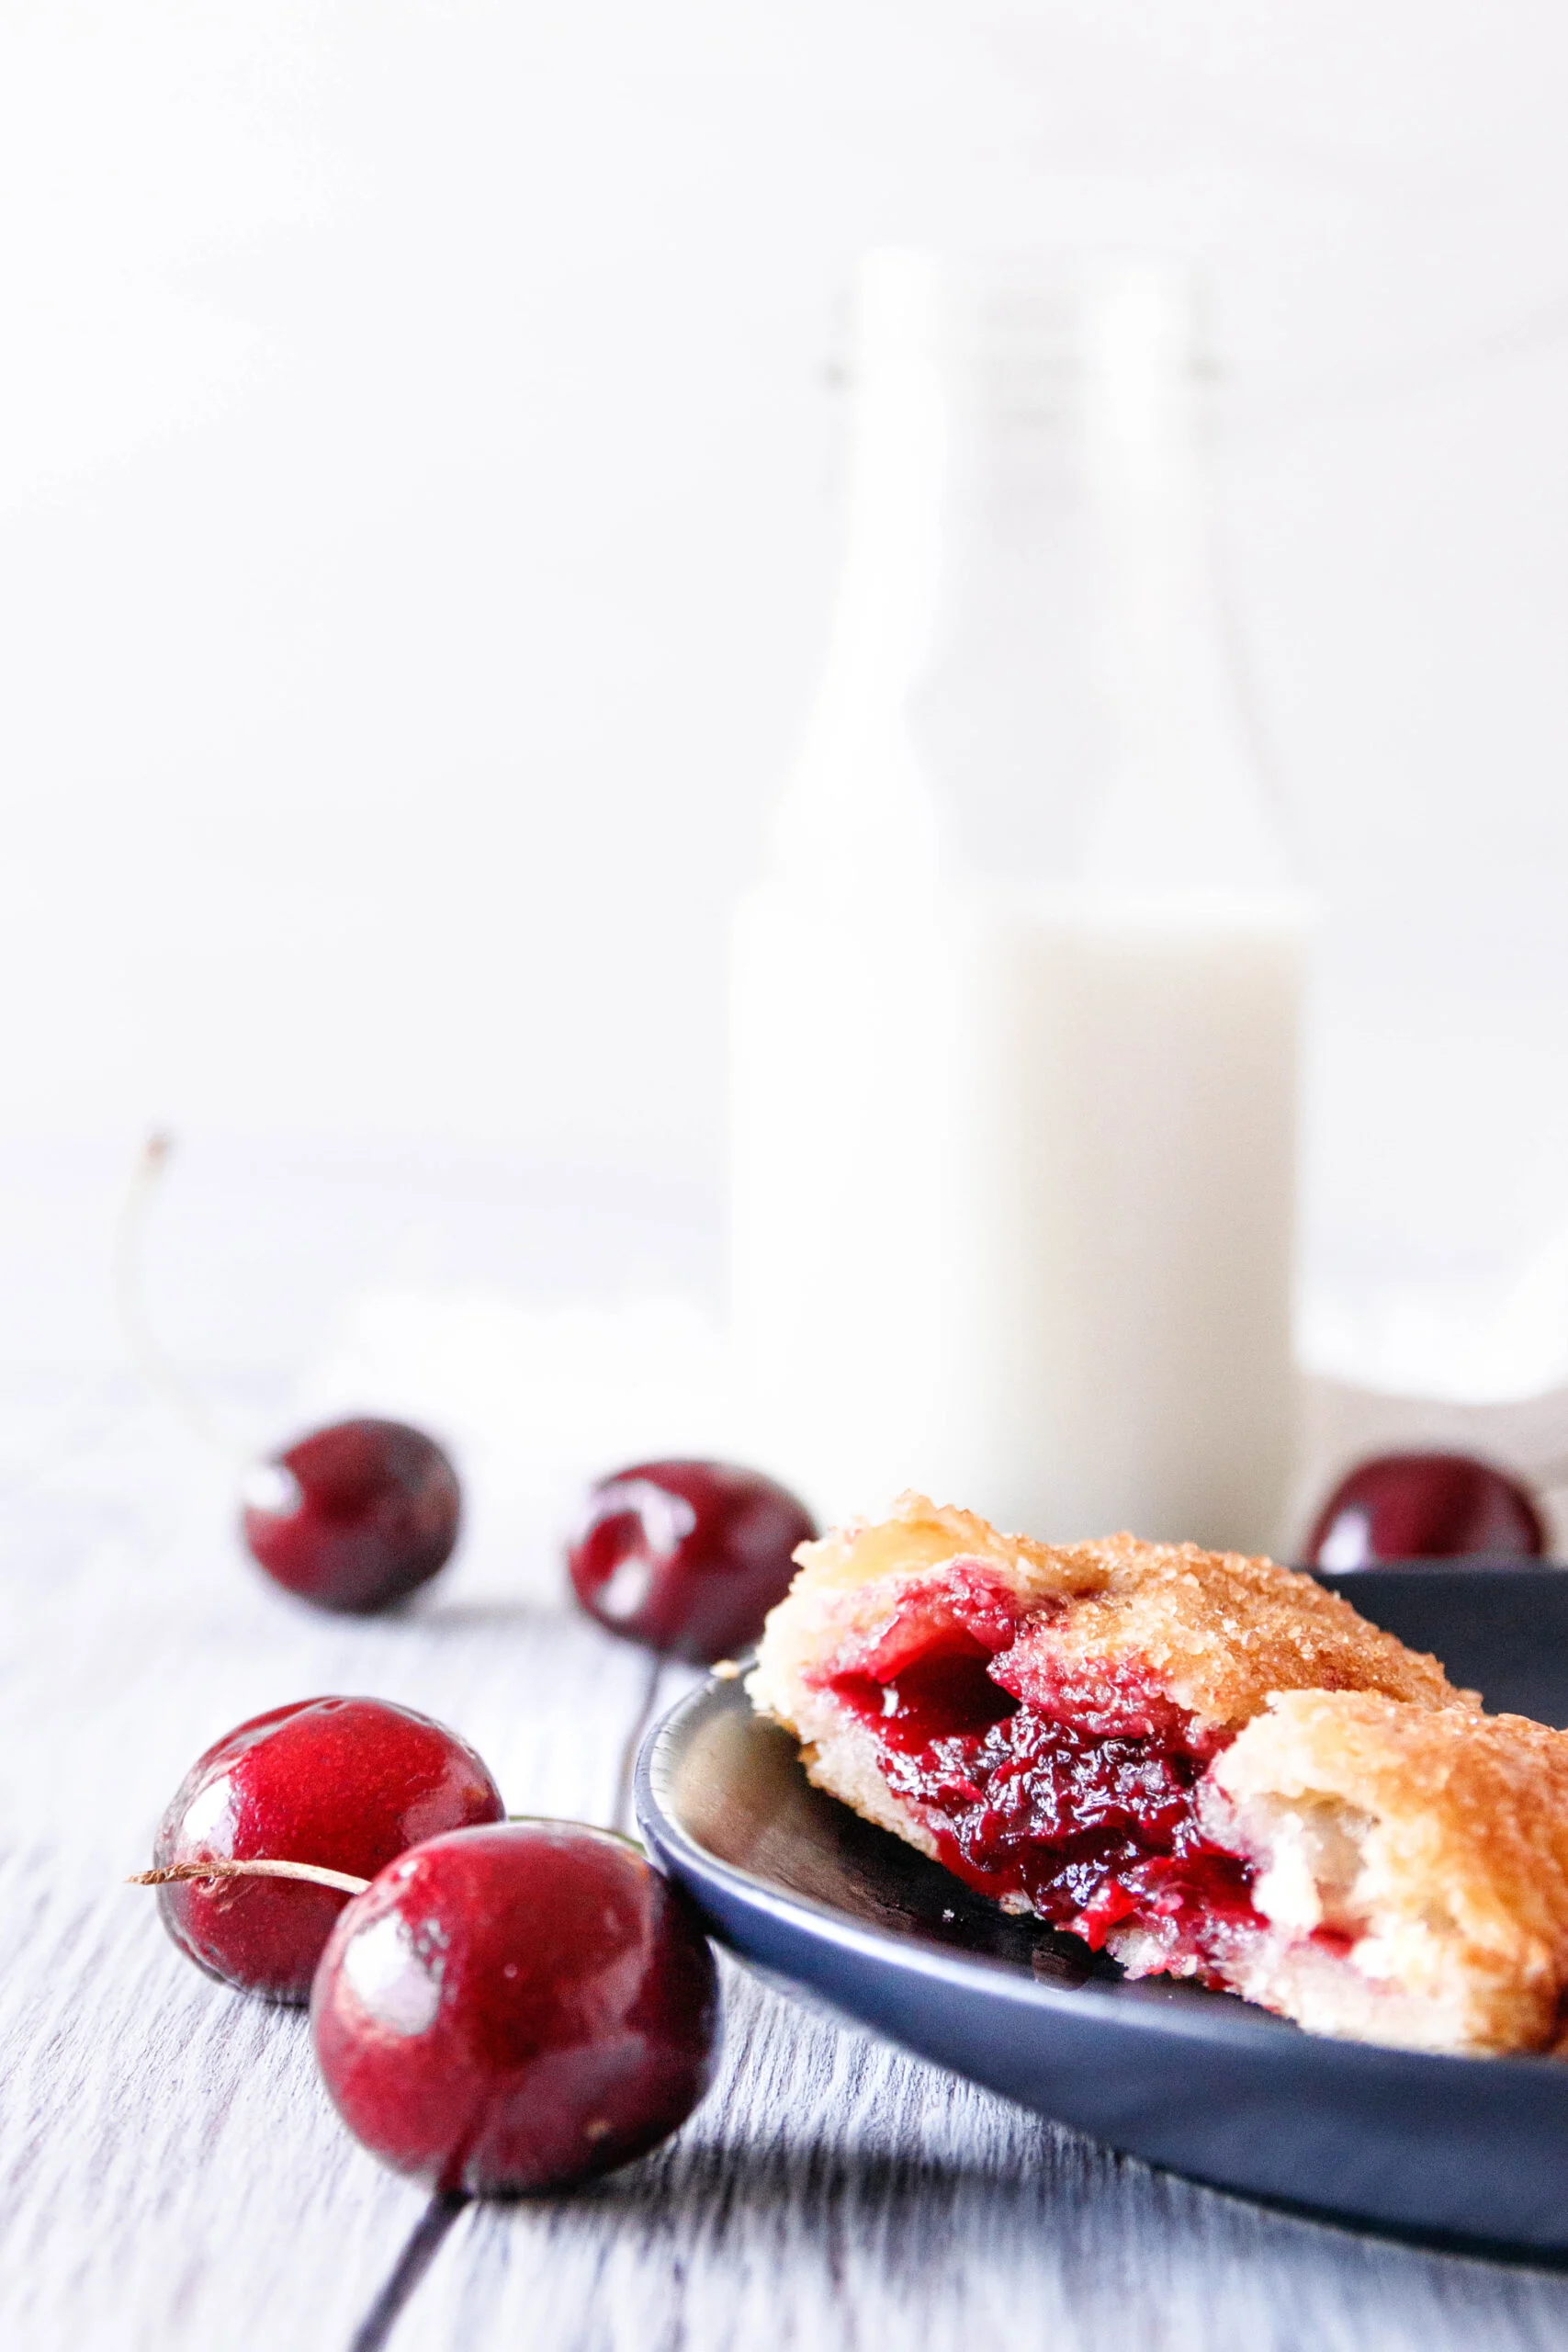
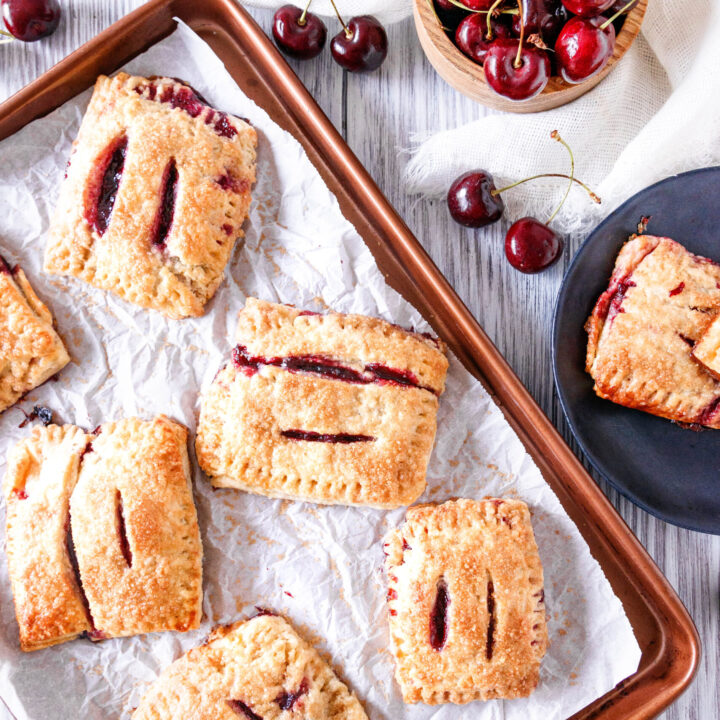
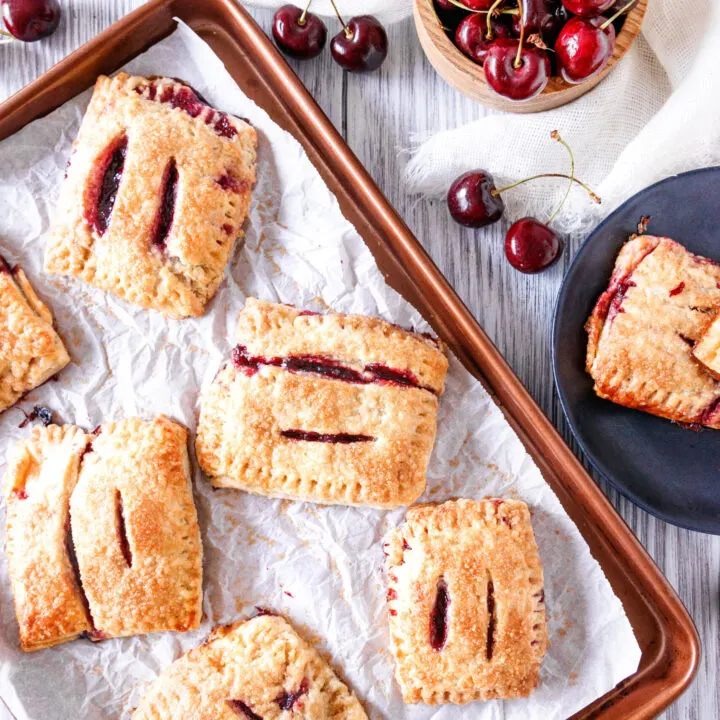
Celebrate summer’s sweet cherries with these classic cherry hand pies! Use fresh or frozen cherries to make these perfectly portable easy-to-share hand pies. The flaky pastry dough is easy to mix, tender like a good pie crust, but sturdy enough for these beautiful pies!


When we found a great deal on some gorgeous sweet cherries, my oldest asked if we could make pie! Not quite feeling a big pie, and not wanting to make a slab pie, we opted to make hand pies. The individual serving size makes them so simple to set out for dessert, and if you’re a crust lover, you’re in luck. The ratio of crust to filling is a little higher than classic pies for lots of satisfying crunch.
Let’s talk pastry dough for these classic cherry hand pies!
Because really, crust makes or breaks a pie of any sort.
A few years ago, I posted a recipe for peach hand pies on the blog, using a more traditional pie crust. It’s good, flaky, all the usual things. I’ve even made strawberry rhubarb pie cookies using store-bought pie crust. But when I make hand pies, I want something that feels a little simpler and possibly just a tiny bit sturdier.
Then I came across a recipe for some blueberry hand pies on King Arthur Baking that’s been my go-to for about the past year. It’s almost like a traditional pie crust, but it’s different. Personally, I think it holds up a little better over a few days than a traditional pie crust.

In fact, it’s basically the recipe we use here. I just increase the amount of salt because I use kosher salt and the dough felt a bit bland with only a half teaspoon. I’m assuming they use finer table salt in their recipe, hence the difference.
You can mix this crust using a food processor really easily. Or if you want to squeeze in a little extra upper body work, grab your pastry cutter to dice in the butter. This method always feels like fewer dishes to me too than using the food processor. Same for you?
Anyway, mix this up and let it chill for at least 30 minutes (15 in the freezer if you’re rushing), then roll it out and it’s bake time!
I have never tried freezing this dough to use later. I’m sure you could, but hand pies are for satisfying pie cravings quickly. If you are working in advance, say to make a bunch of hand pies for a party, you can refrigerate the dough up to 3 days.
Cherry hand pie filling…
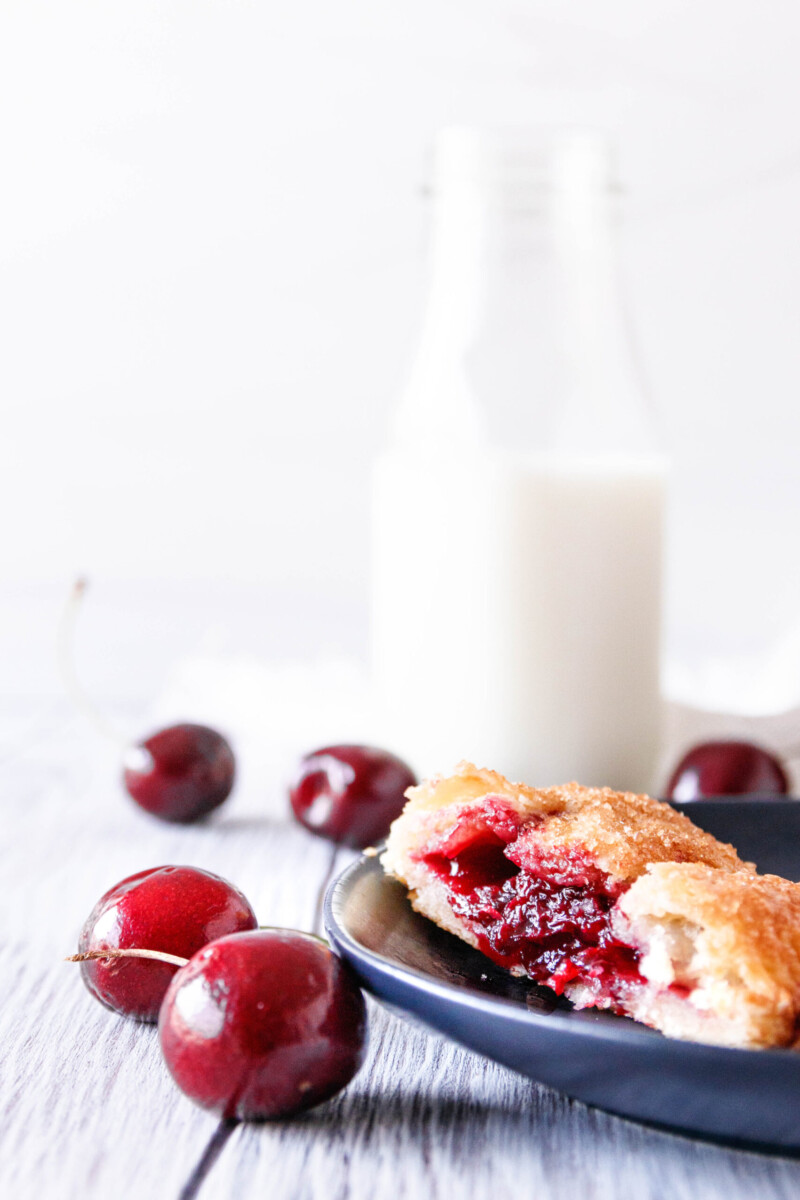
For the best results, cook your filling. You don’t have a lot of available space when filling your hand pies. The last thing you want is to have your fruit filling shrink to nothing.
No matter how good a pie crust we have, there must be a balance between crust and filling. To maintain that balance, the best filling for these cherry hand pies is a cooked filling.
You can use fresh or frozen cherries in this recipe. Thaw the frozen cherries first (the microwave is fine) and drain the extra juice. I prefer this method instead of adding extra thickener because too much cornstarch can make the filling feel gummy.
You can also use arrowroot powder as a thickener if you don’t want to use cornstarch. It’s a 1:1 substitution. Use an equal amount of arrowroot powder as cornstarch.

The filling can be made a few days in advance and refrigerated until you need it. That’s a great way to break up the work if you’re making a lot of hand pies or are short on time. I recently made a double batch of the hand pies for these photos, and that’s how I broke up the work. Filling one day, crust, and baking the next day.
And now… the secret to the most perfect crust ever!
How to get hand pies to bake perfectly every time!
There is a trick I figured out recently to getting bakery-worthy hand pie crusts and I can’t believe I didn’t figure it out sooner! Even if you don’t make this recipe, you’re going to use this tip, I promise.
The biggest challenge when baking pies is getting that elusive crispy, tender crust. This is where all these tricks about using shortening, vodka, frozen butter, etc come from. If you want to talk about pie crusts for standard pies, I highly recommend you check out my all-butter pie crust recipe here.
For hand pies, getting a perfect crust is so simple! In fact, it’s all in the timing and baking technique.

One day, as I was making hand pies, I started thinking about baking bread. Specifically baking pita bread. When you bake pita, you rest the dough outside the oven but heat the baking stone in the oven. To bake, you toss the dough in and close the door to get the pita “puff”.
Should work for hand pies too, right?
Instead of chilling my entire baking sheet with the classic cherry hand pies while heating my oven, I put the pies on a large cutting board. Then, I placed my prepared baking sheet, parchment and all, in the oven during the preheat.
When the oven was ready, I pulled out the baking sheet using a mitt, carefully transferred the cold pies, and baked. Hands down, the best hand pies ever! Beautiful, crispy, no huge pools of melted butter.
For research, I baked another batch the old way, and the results weren’t as good. So we don’t do that anymore. There’s no going back once you try this!
Seriously, it’s life-changing.
So anyway, let’s get to the cherry hand pie recipe, yes? Happy baking darlings!
Classic Cherry Hand Pies
Celebrate summer's sweet cherries with these classic cherry hand pies! Use fresh or frozen cherries to make these perfectly portable easy-to-share hand pies. The flaky pastry dough is easy to mix, tender like a good pie crust, but sturdy enough for these beautiful pies!
Ingredients
Pastry Dough:
- 2 cups all-purpose flour
- 1 teaspoon kosher salt
- 1/2 teaspoon baking powder
- 16 tablespoons unsalted butter, chilled
- 1/2 cup Greek yogurt or sour cream, chilled
- 2-4 tablespoons ice water, as needed
Cherry Pie Filling:
- 2 cups fresh cherries, pitted, stems removed
- 1/4 cup granulated sugar
- 1 tablespoon cornstarch
- 1 tablespoon lemon juice
- 1 teaspoon vanilla extract
Topping:
- 1 large egg
- 2 teaspoons water
- 1/4 cup turbinado sugar
Instructions
- Start by making the cherry filling. Combine the cherries, cornstarch, and sugar in a small pot, stir to combine.
- Add the lemon juice and vanilla extract to the pot and stir.
- Place your saucepan over medium heat and cook for about 10 minutes, stirring often, until the cherries are soft and the mixture thickens slightly. It will continue to thicken as it cools.
- Take a potato masher and press down on the cherries to break them up a bit so you can get more fruit in each pie.
- Transfer the cherry pie filling to a heat-proof container and set it aside to cool to room temperature (see notes).
- To make the pastry crust... In a large bowl or food processor, whisk together the flour, kosher salt, and baking powder.
- Cut the butter into tablespoon-sized squares and sprinkle over the top of your flour mixture. Pulse the food processor a few times until the butter is in pea-sized chunks. Alternately, you may use a pastry mixer to cut in the butter.
- Using a rubber spatula, stir in the Greek yogurt or sour cream (see notes). If you need to, add water a tablespoon at a time, until the dough just comes together. It shouldn't be wet or sticky at all.
- Turn the dough onto a lightly floured surface and knead 2-3 times, then roll into about a rectangle, about the size of a sheet of paper. Fold one short end in 2/3 of the way, then fold the other short end over the first fold (you're folding the dough in 3rds). Rotate your rectangle of dough 90-degrees and repeat the process.
- Once you've finished your second fold, wrap the dough in plastic wrap. Refrigerate for at least 30 minutes, up to 2 days.
- When you are ready to make the pies... Remove the dough and filling from the refrigerator.
- Place the dough on a lightly floured surface and, using a lightly floured rolling pin, roll into a square about 14-inches per side.
- Use a pizza cutter to cut out 4 equal columns and 4 equal rows, resulting in 16 squares of dough.
- Measure out about a tablespoon of your cherry pie filling onto 8 of the squares. Top each of those squares with one of the blanks squares.
- Use the tines of a fork to press along the edges of each pie to create a seal (see notes).
- Once the pies have been sealed, transfer them to a parchment paper-lined cutting board or extra baking sheet.
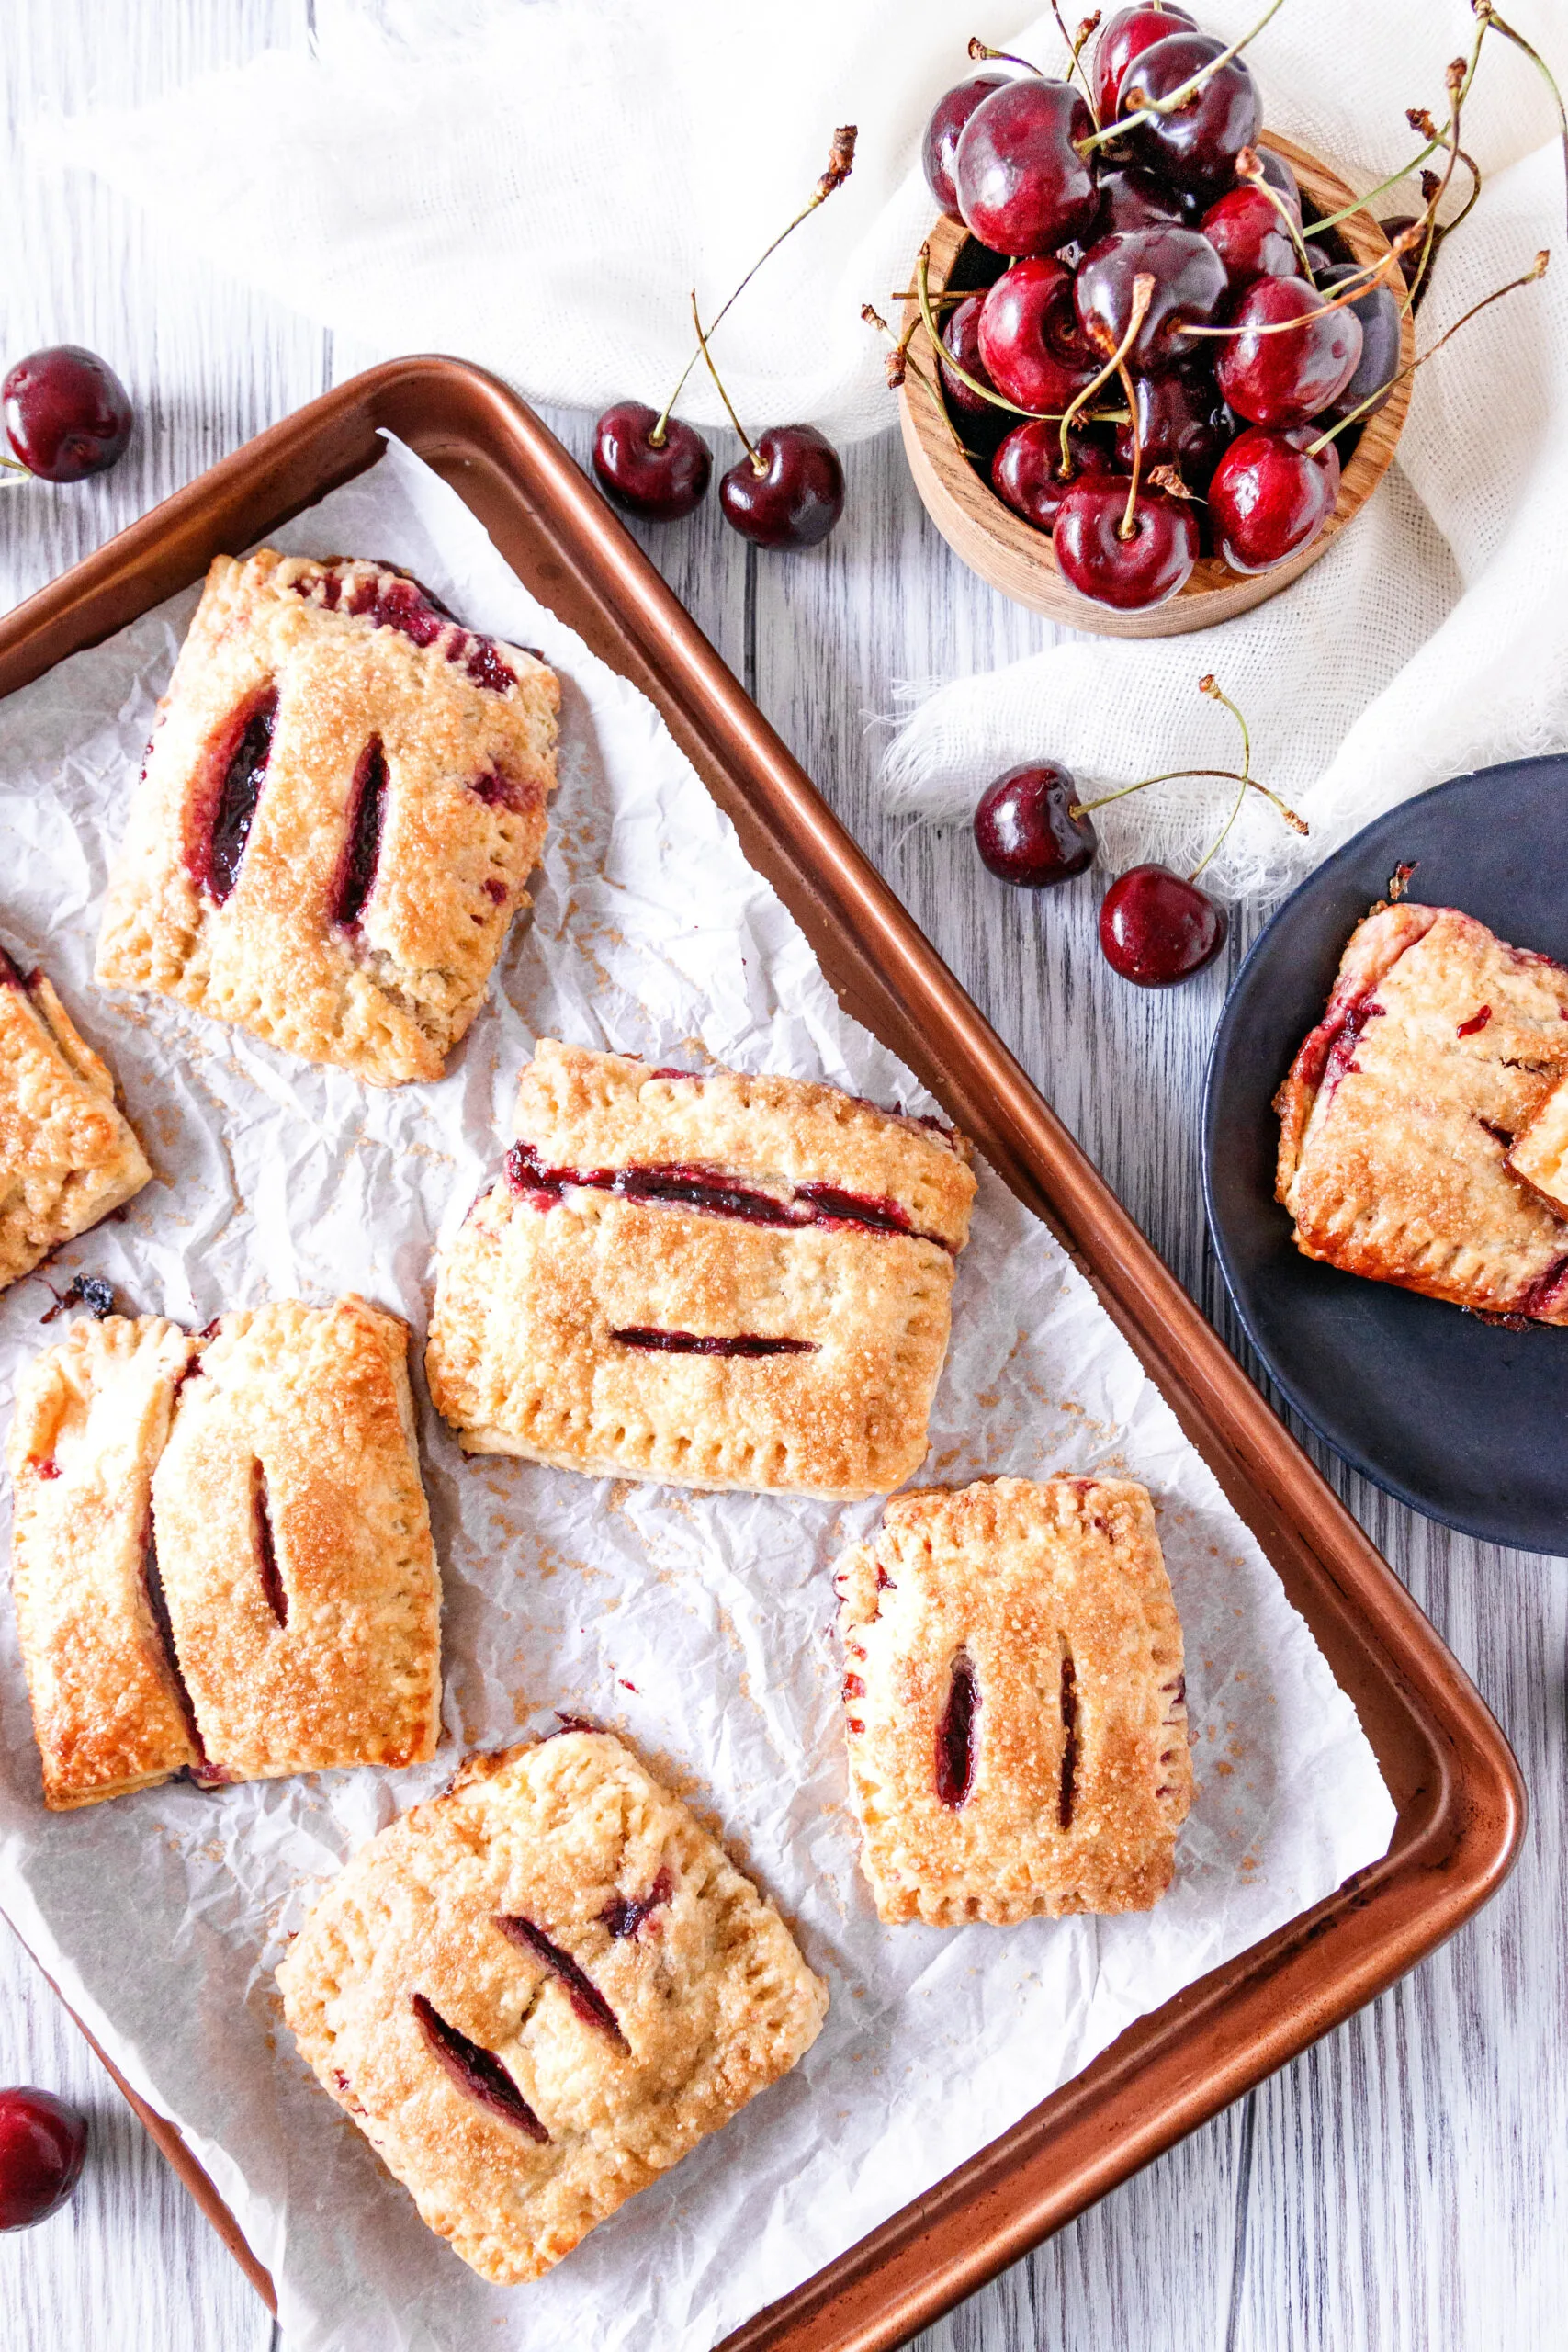
- Use a paring knife to cut 2-3 vents in the top of each pie.
- In a small bowl, whisk together the egg and water for the topping. Use a pastry brush to generously brush the egg mixture on top of the pies. Top each pie with turbinado sugar. Place the pies in the freezer while you preheat your oven.
- Line the rimmed baking sheet you are using for your pies with parchment paper and place it on the middle rack of your oven. Preheat the oven to 425 F.
- When the oven reaches temperature, use an oven mitt to carefully remove the hot baking sheet from the oven. Place it somewhere safe.
- Take your pies out of the freezer and transfer the cold pies to the hot sheet quickly, then return the baking sheet to the oven.
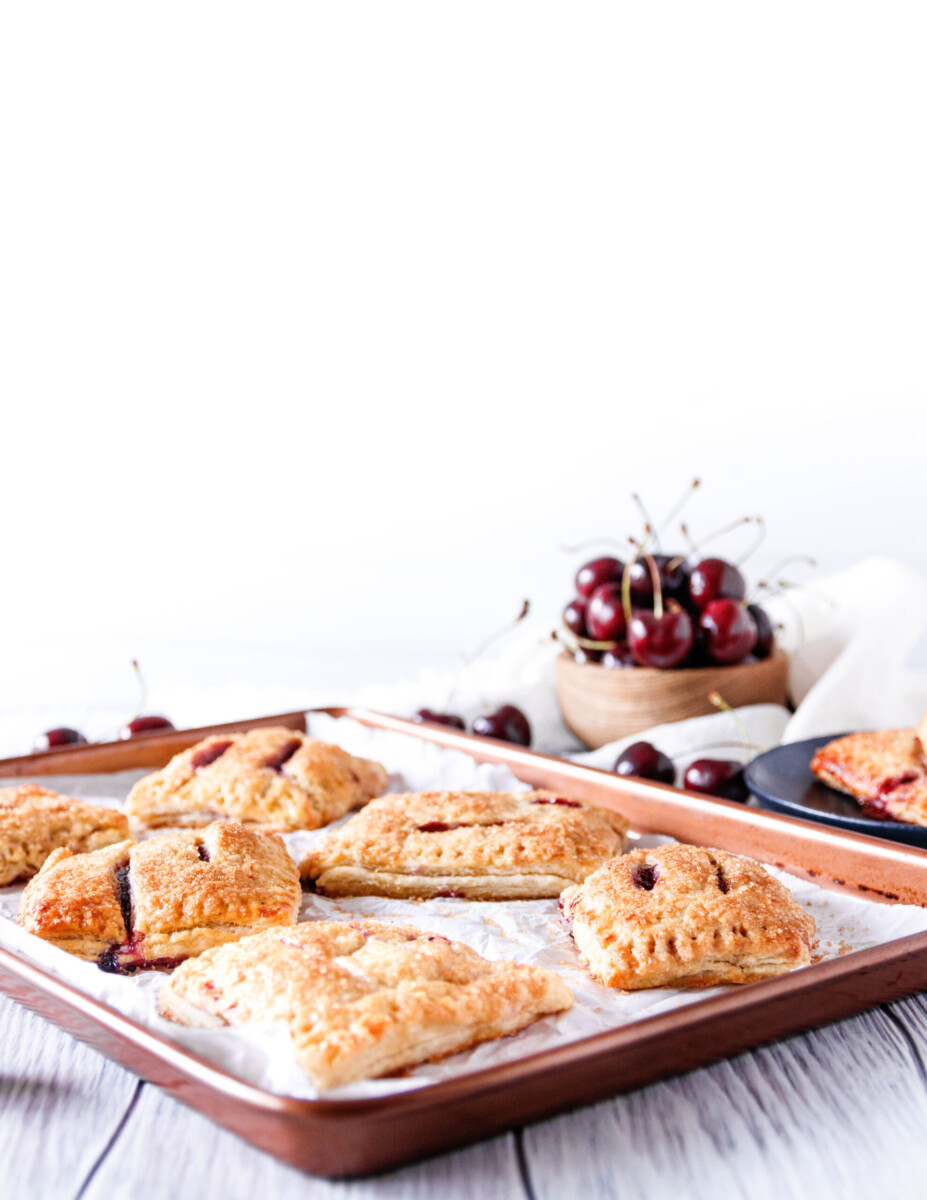
- Bake the pies for 18-20 minutes until golden brown along the edges.
- Remove and allow to set on the rack for 5-10 minutes before transferring. Enjoy warm or at room temperature.
- Extra pies may be stored loosely covered at room temperature for 2-3 days.
Notes
- If you want to use frozen cherries, thaw and drain them first. It's just an easier way to manage the extra liquid.
- To speed up the cooling process, you may press a piece of plastic wrap or parchment paper over the top of the cherry filling and refrigerate it. Stir occasionally to help with heat distribution.
- You may make the cherry pie filling up to 4 days in advance.
- I've used both sour cream and Greek yogurt. My favorite option is to use a lowfat plain Greek yogurt (3%) for the best combination of flavor, with a bit less fat.
- If your kitchen is warm and the fork starts to stick, dip the tines of the fork in a bit of flour as needed. Shake off the excess.
Recommended Products
As an Amazon Associate and member of other affiliate programs, I earn from qualifying purchases.
-
 OXO Good Grips Silicone Basting & Pastry Brush - Small
 -
 Nordic Ware Natural Aluminum Commercial Baker's Half Sheet (2 Pack), Silver
 -
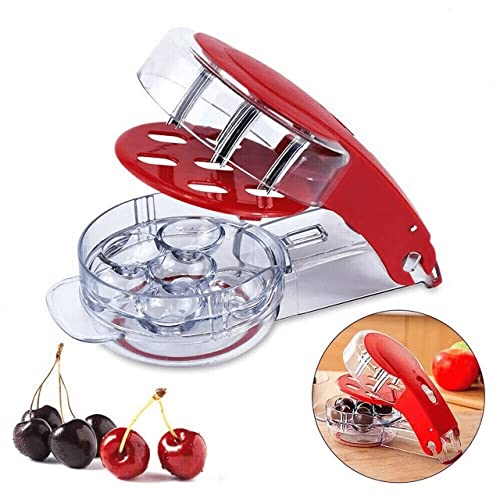 Locisne Cherry Pitter, Cherry Pitting Tool with 6 Groove Cherries Stoner Remover
 -

 Adjustable Rolling Pin with Thickness Rings and Pastry Mat Set for Baking - Stainless Steel Roller Pin, Red Mat
 -
 Glasslock 11345 Mixing Bowl, 2-Quart
 -

 Pastry Cutter Set, EAGMAK Pastry Blender and Dough Scraper