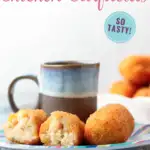
Cuban-style croquetas de pollo, aka chicken croquettes, are a must if you’re craving Miami street food. This classic chicken croquetas recipe is perfect for parties or tapas night at home. Make a big batch – this appetizer recipe is freezer friendly!

Darlings! I’m so excited about this recipe finally hitting the blog. You see, getting a perfect chicken croquettes recipe has been a request for a while.
The thing is, growing up in South Florida with a father from Spain and now having a husband with a Cuban background, croqueta snobbery abounds! There will be no recipe posted unless it’s perfect.
The texture has to be on point – crunchy and creamy. And the flavor had better transport you immediately to either a tapas restaurant or a cafecito walk-up window. If both of these things don’t happen, it’s a no go.
I was all set to post this recipe almost a year and a half ago after I made almost 200 croquetas for our last whole-hog roast in our last neighborhood. Half were ham using this reader-favorite recipe, and the rest were chicken.
All of the croquettes disappeared in the first hour and a half of the party, so I know they were good.

But the Godfather and I decided they were 97% ready. Life happens, so it took a minute to work out the last 3%. Good things take time, right?
So now that we’re here, let’s talk recipe, shall we?
Croquetas de Pollo Filling
This is actually the trickiest part to making amazing croquetas at home. The filling needs to be substantial enough to hold together, well seasoned, and remain creamy after cooking.
I use a roux-based filling for my croquetas, which means that fat and flour are cooked to a paste that holds together during shaping and frying (or baking).
The good thing about using a roux is that if for some reason it’s a little thin, cook it just a little longer. It thickens right up!
Also, you can use chopped chicken for the filling. I highly recommend using finely chopped shredded chicken instead of cooking up ground chicken. The texture for ground chicken is very different and not ideal for croquetas.
You can use chicken breast, chicken thighs, or a mix. One of my favorite shortcuts is to just purchase a plain rotisserie chicken and pull off the meat! I keep the bones for a batch of chicken stock and pulse the chicken in my food processor a few times so it’s very fine.
If you would rather hand-chop the chicken, that works too. Just try to keep the pieces very small. The smaller the pieces of chicken, the easier it is to shape smooth croquetas like the ones you find at the Cuban and Spanish restaurants.
How to shape and bread chicken croquetas
First, don’t try to shape the croquetas while the filling is still warm. You’ll just have a mess on your hands and the whole process will take longer than necessary.
You can make the filling for croquetas de pollo up to 2 days in advance and refrigerate until you’re ready to roll. I highly recommend splitting the work between two cooking sessions if possible. Make the filling first, then let it refrigerate until well chilled. Roll, bread, and fry or bake once the filling is cold.

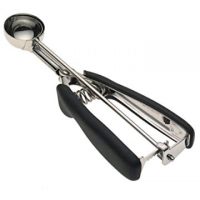
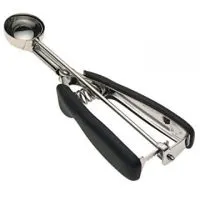
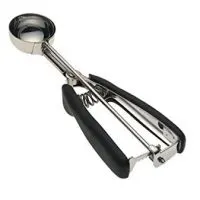
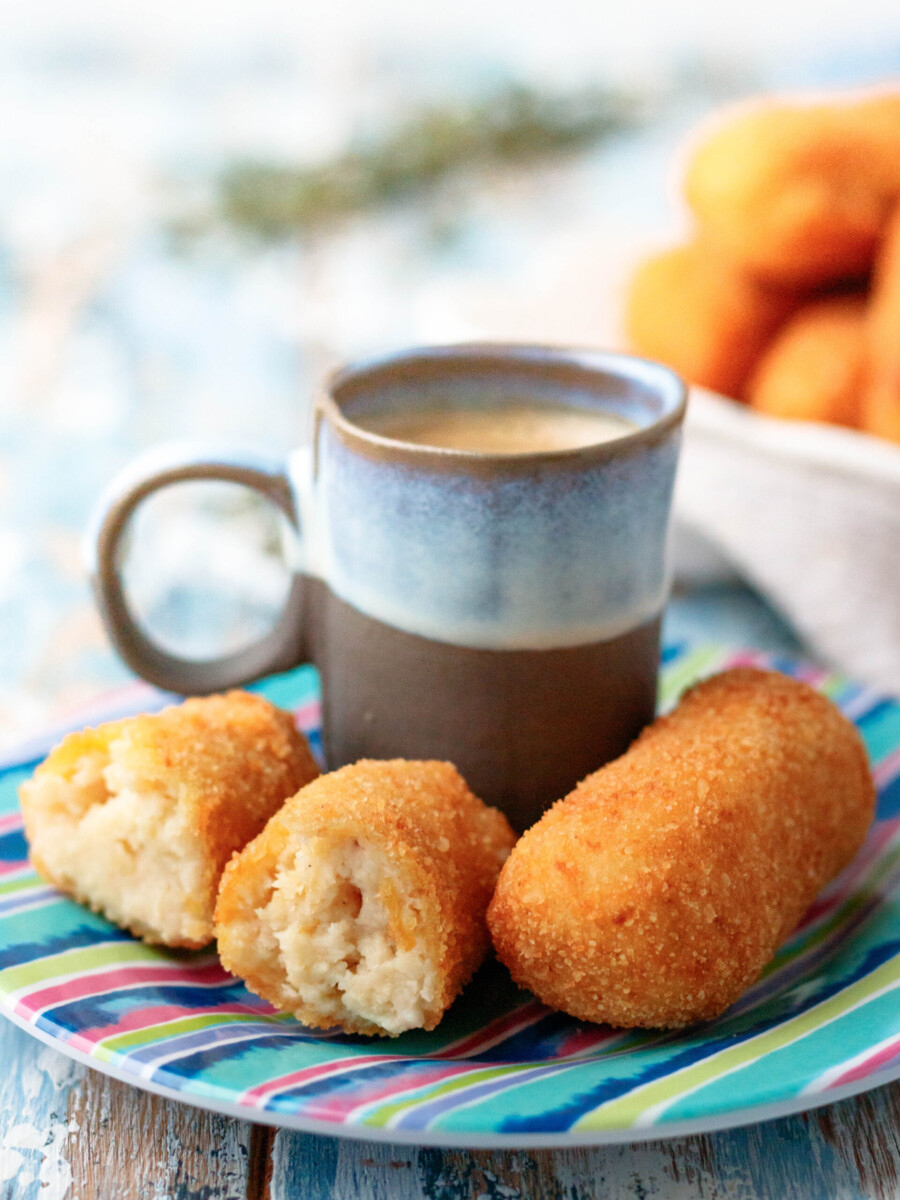
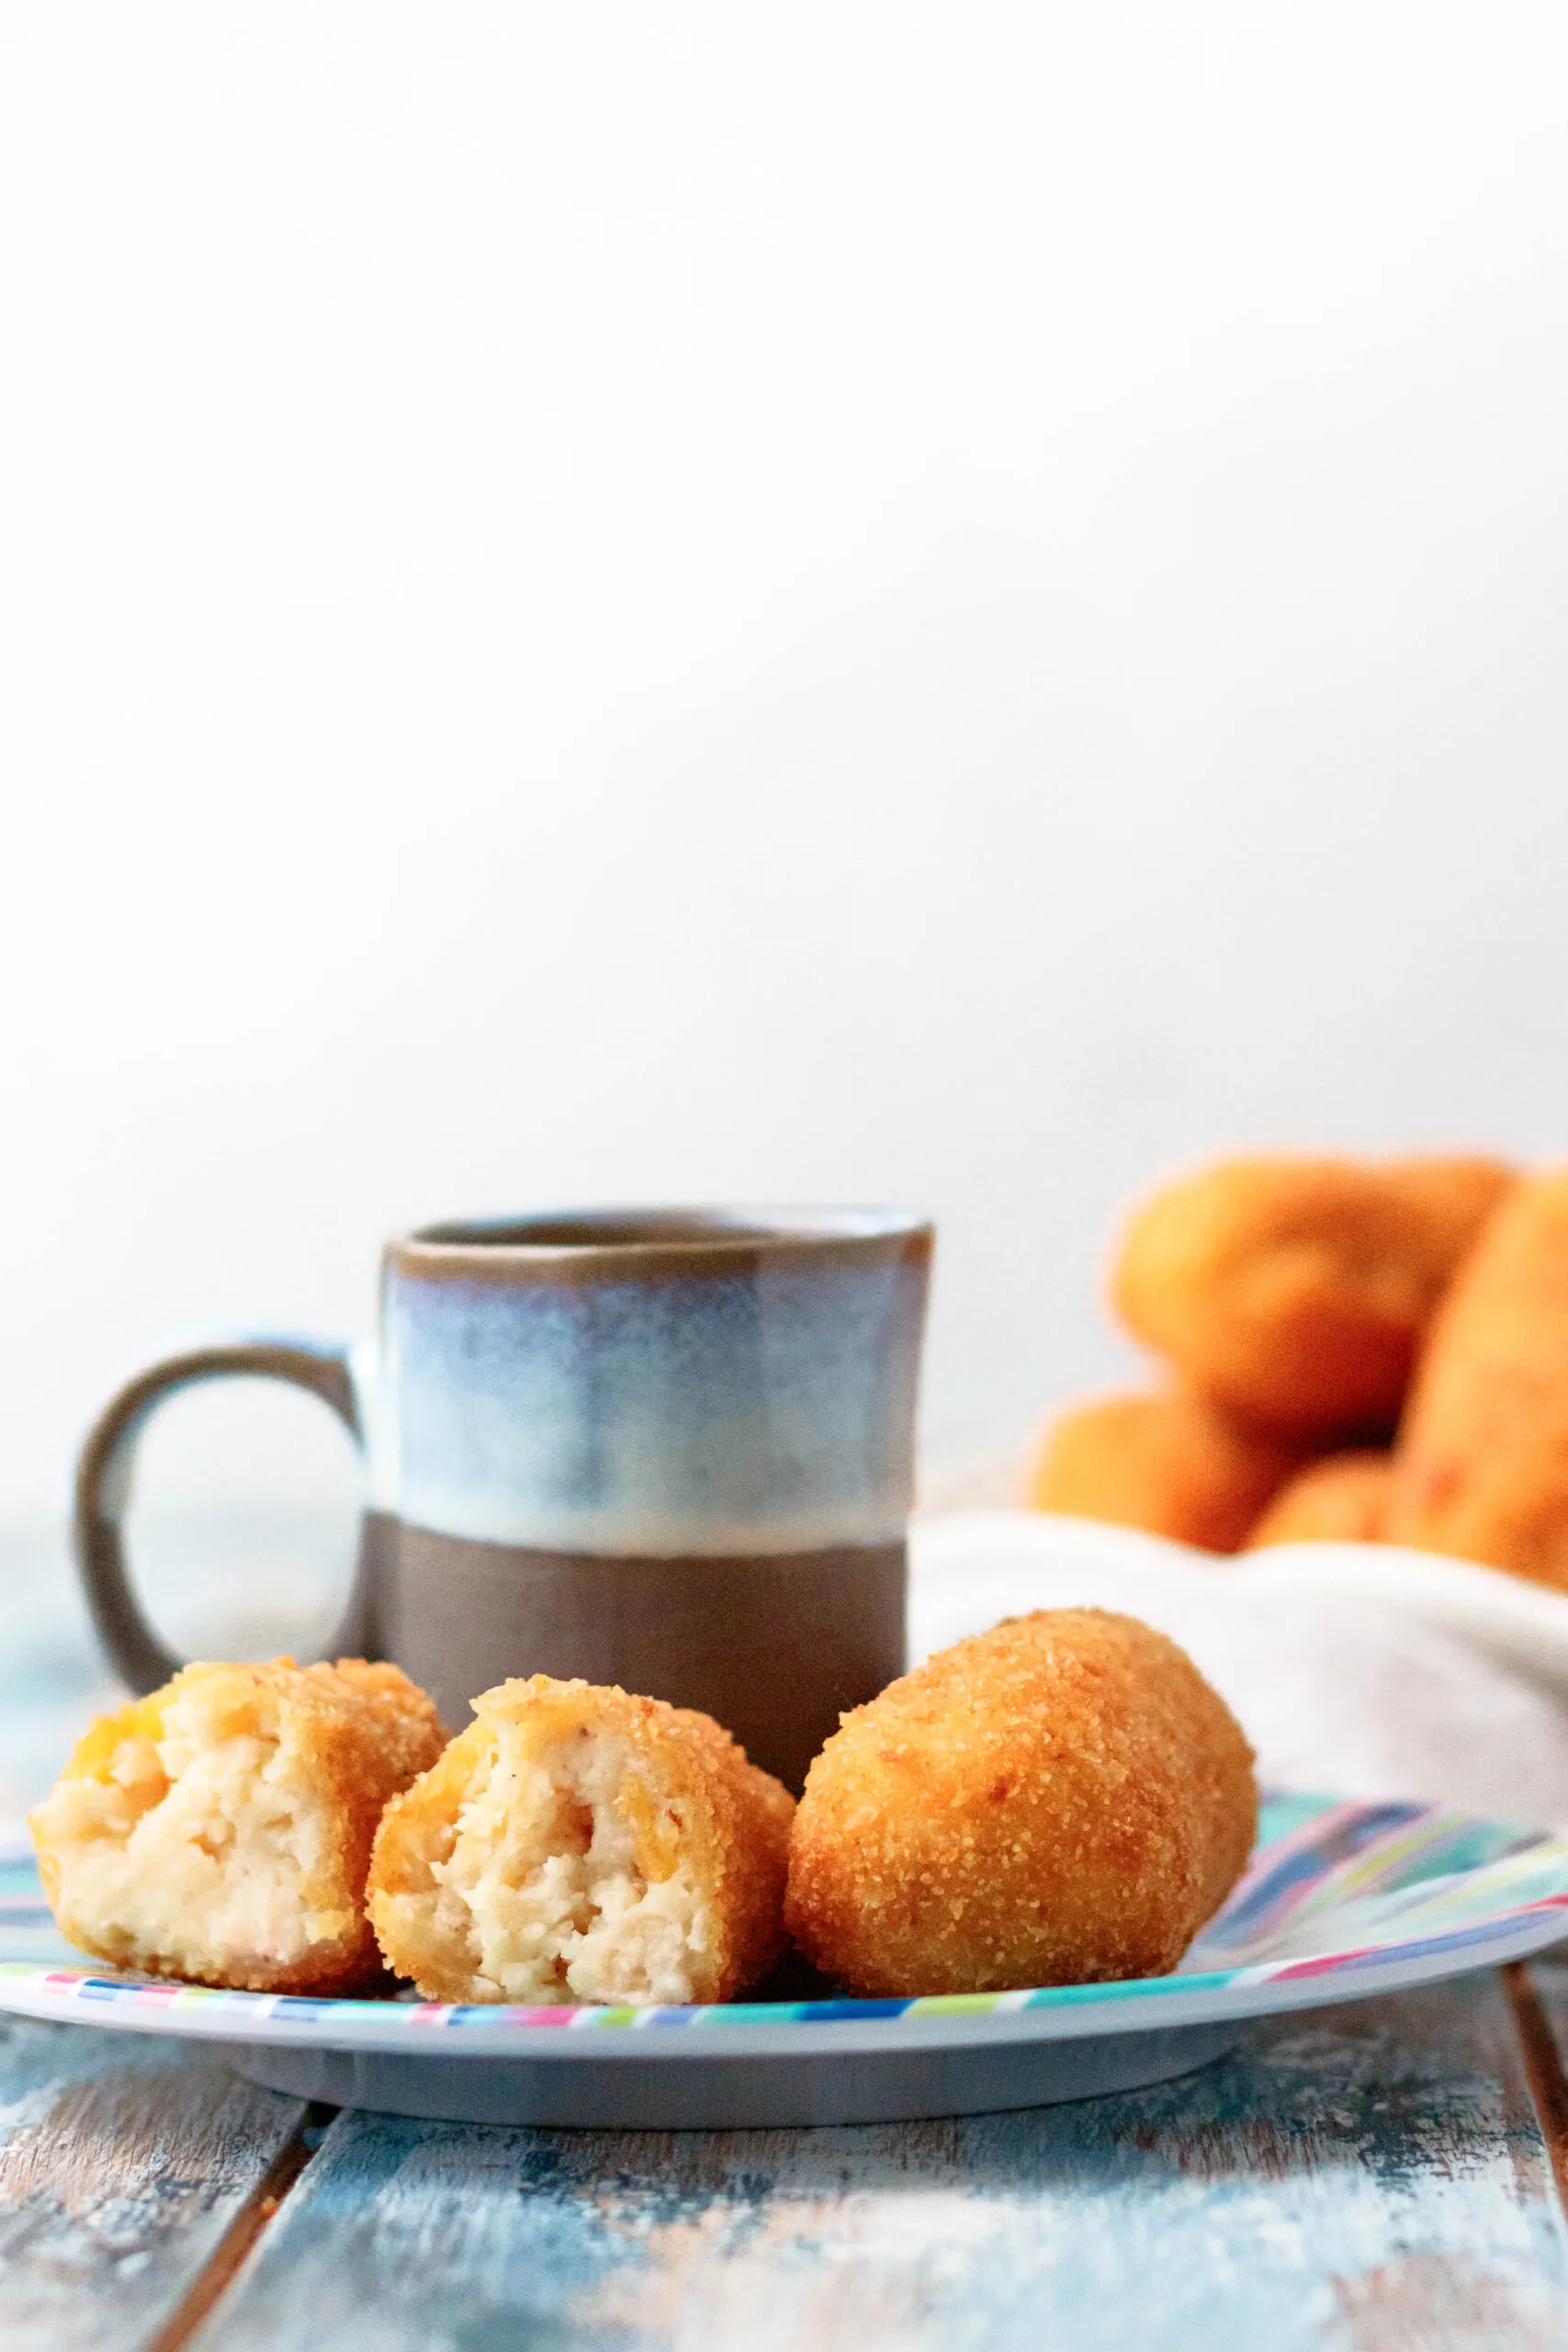
Use a cookie scoop to evenly portion out your filling. I like to use a medium cookie scoop for slightly larger croquetas. They’re about the size you’d find at a walk up window where people buy 1-2 for a light snack with their coffee. Restaurant sizes vary.
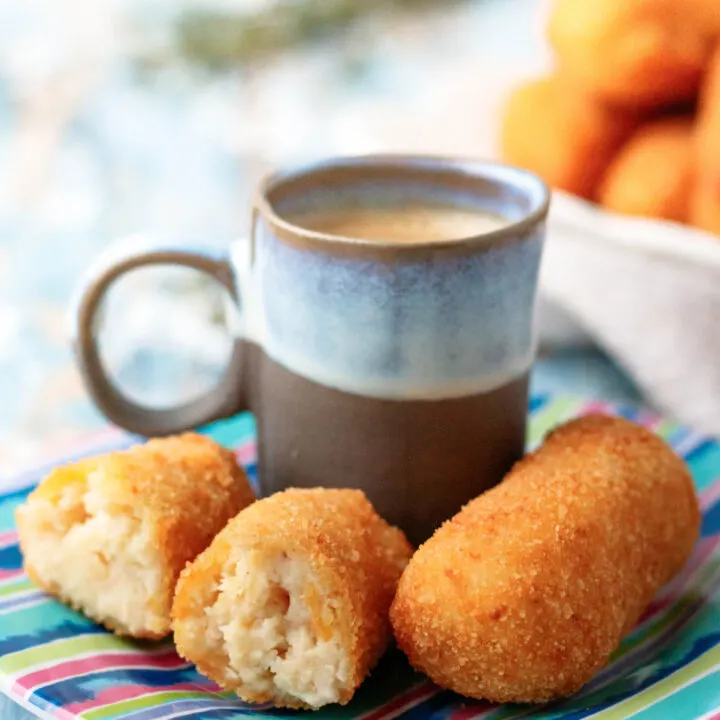
If you’d like to make rods, as pictured, the larger size is easier to work with and provides the best filling per bite ratio. If you’d rather make these as balls, use a small cookie scoop to keep them at no more than a tablespoon.
For a crunchy filling, double coat the croquetas. Use fine bread crumbs for an even coating. Roll the shaped croquette filling in the bread crumbs, then dip in egg wash and roll in the crumbs again.
It’s a messy process, so set up your work space in advance and use food gloves to keep your hands clean!
After coating, you can freeze the croquetas! Chicken croquettes can be baked or fried right from frozen. It will take an extra minute for them to heat all the way through, but since the filling is already cooked, you are just reheating, not worrying about internal cooking temperature.
Should I deep fry, air fry, or bake chicken croquettes?
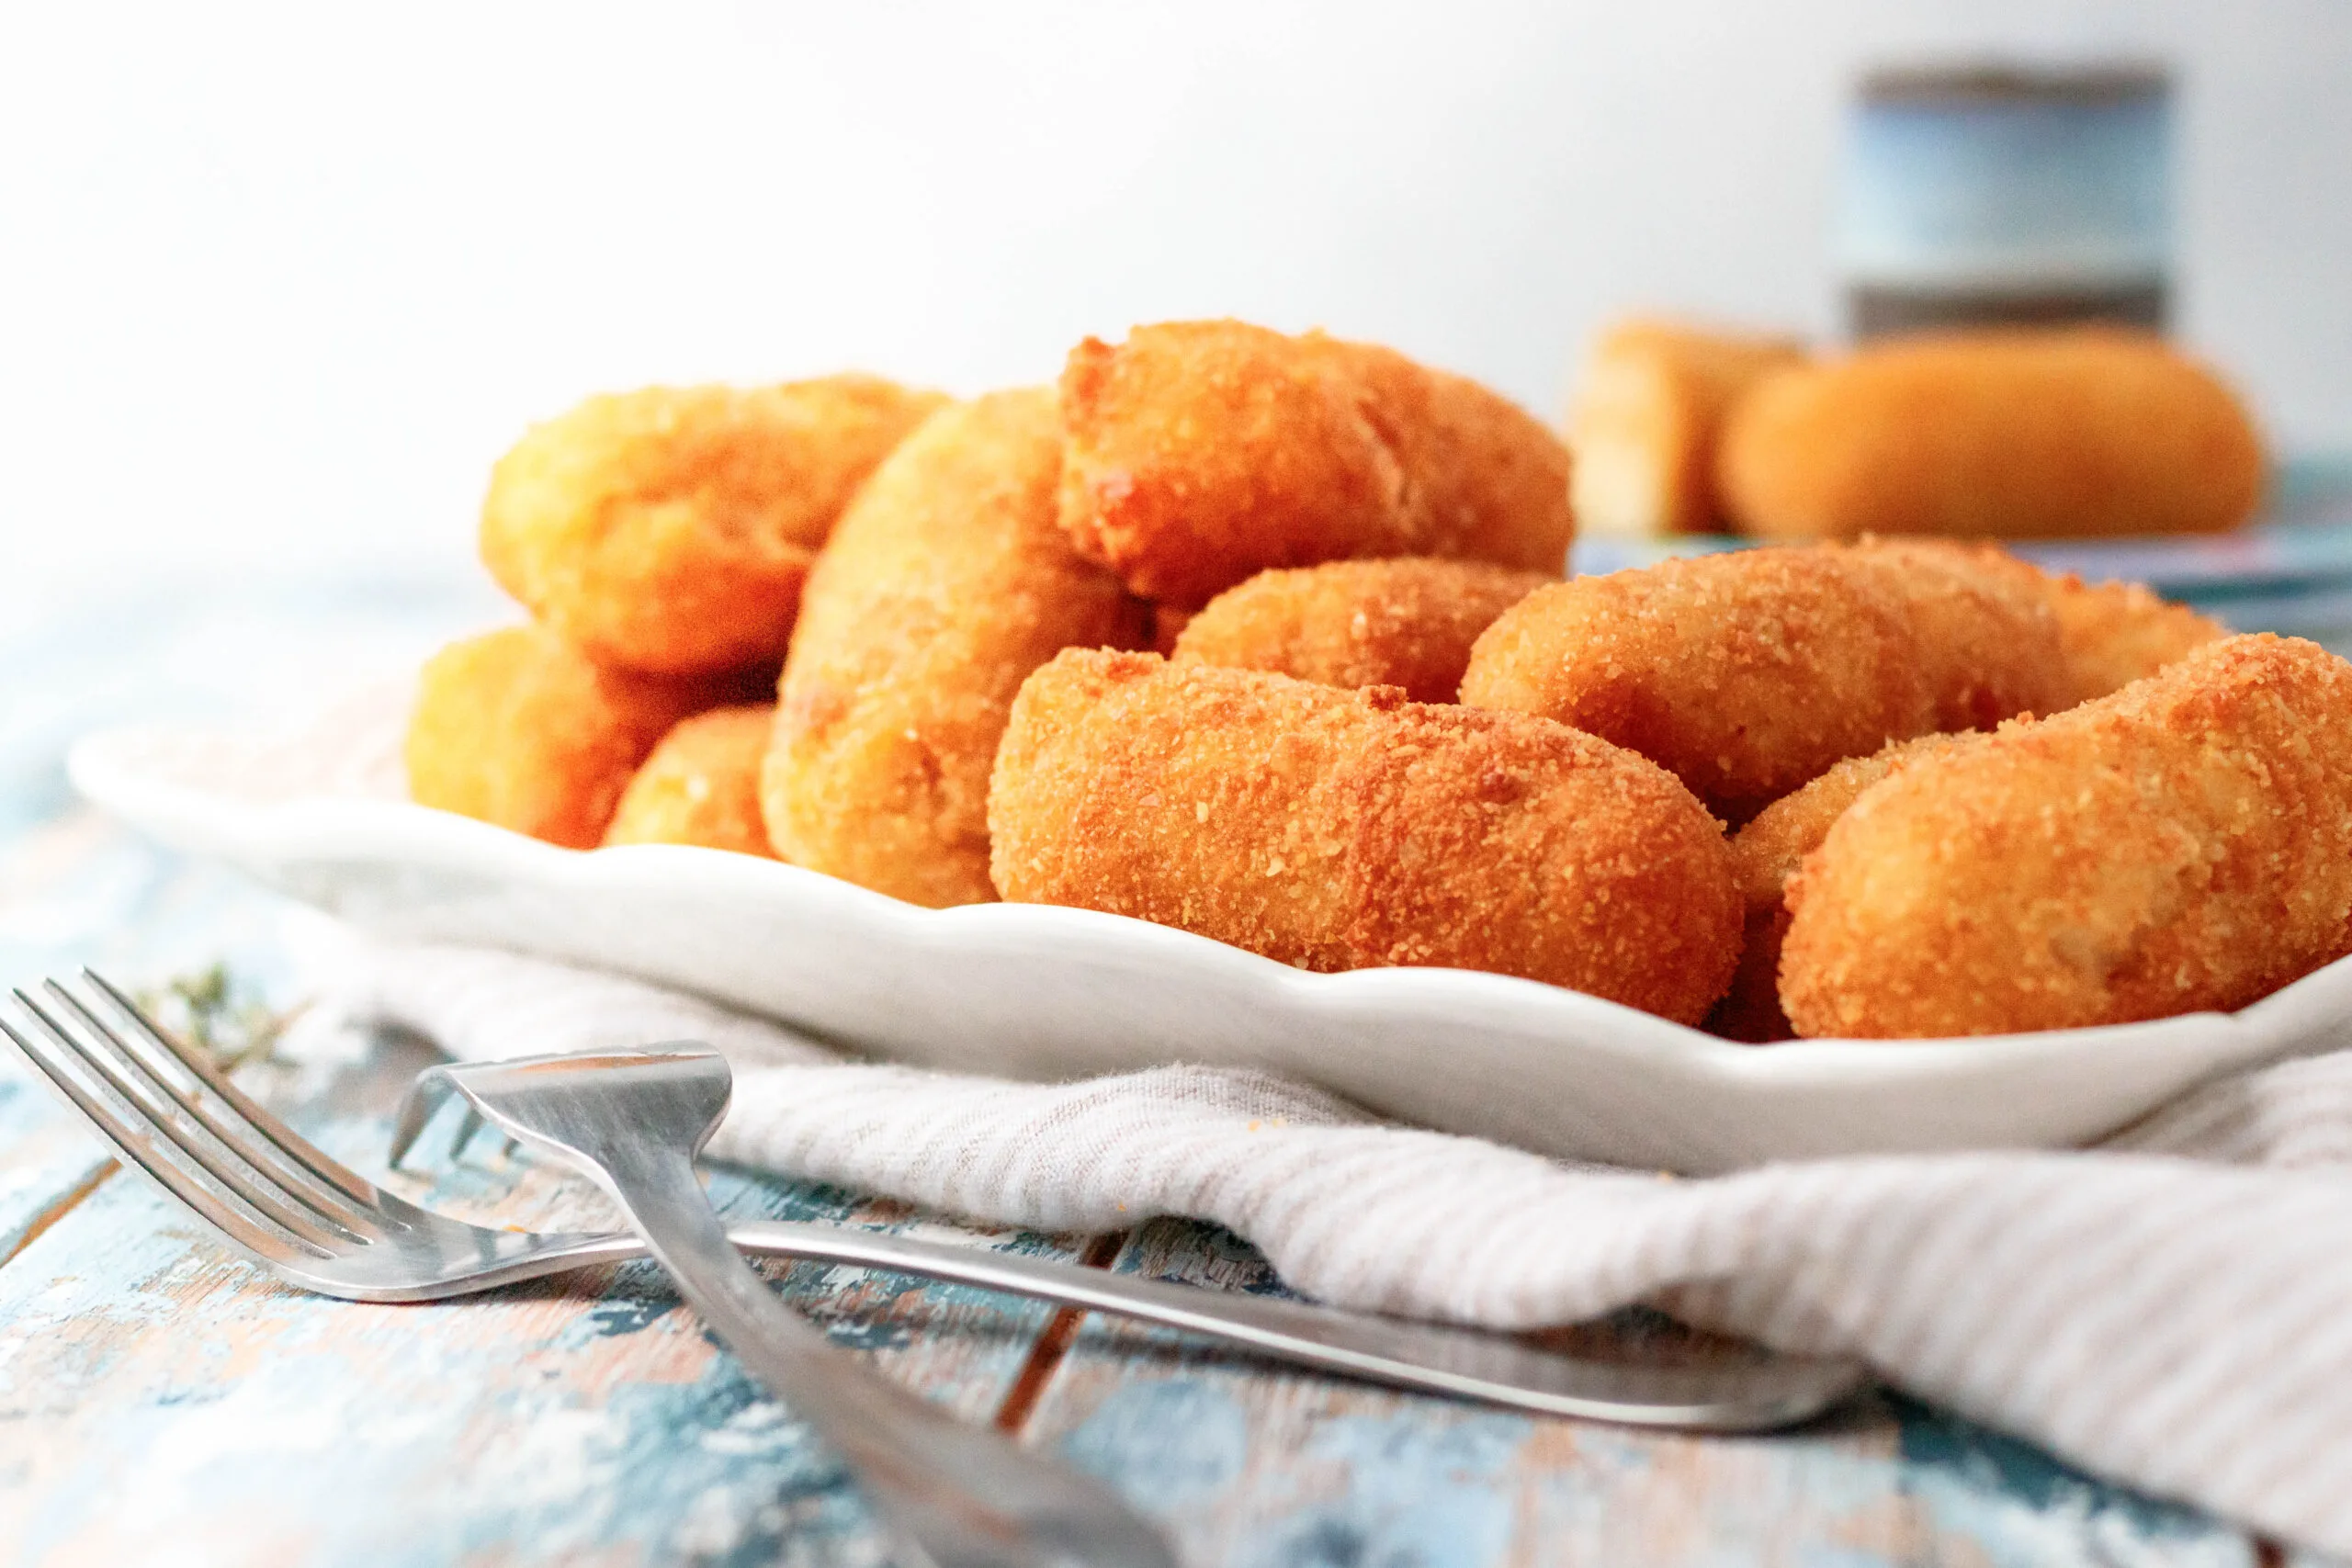
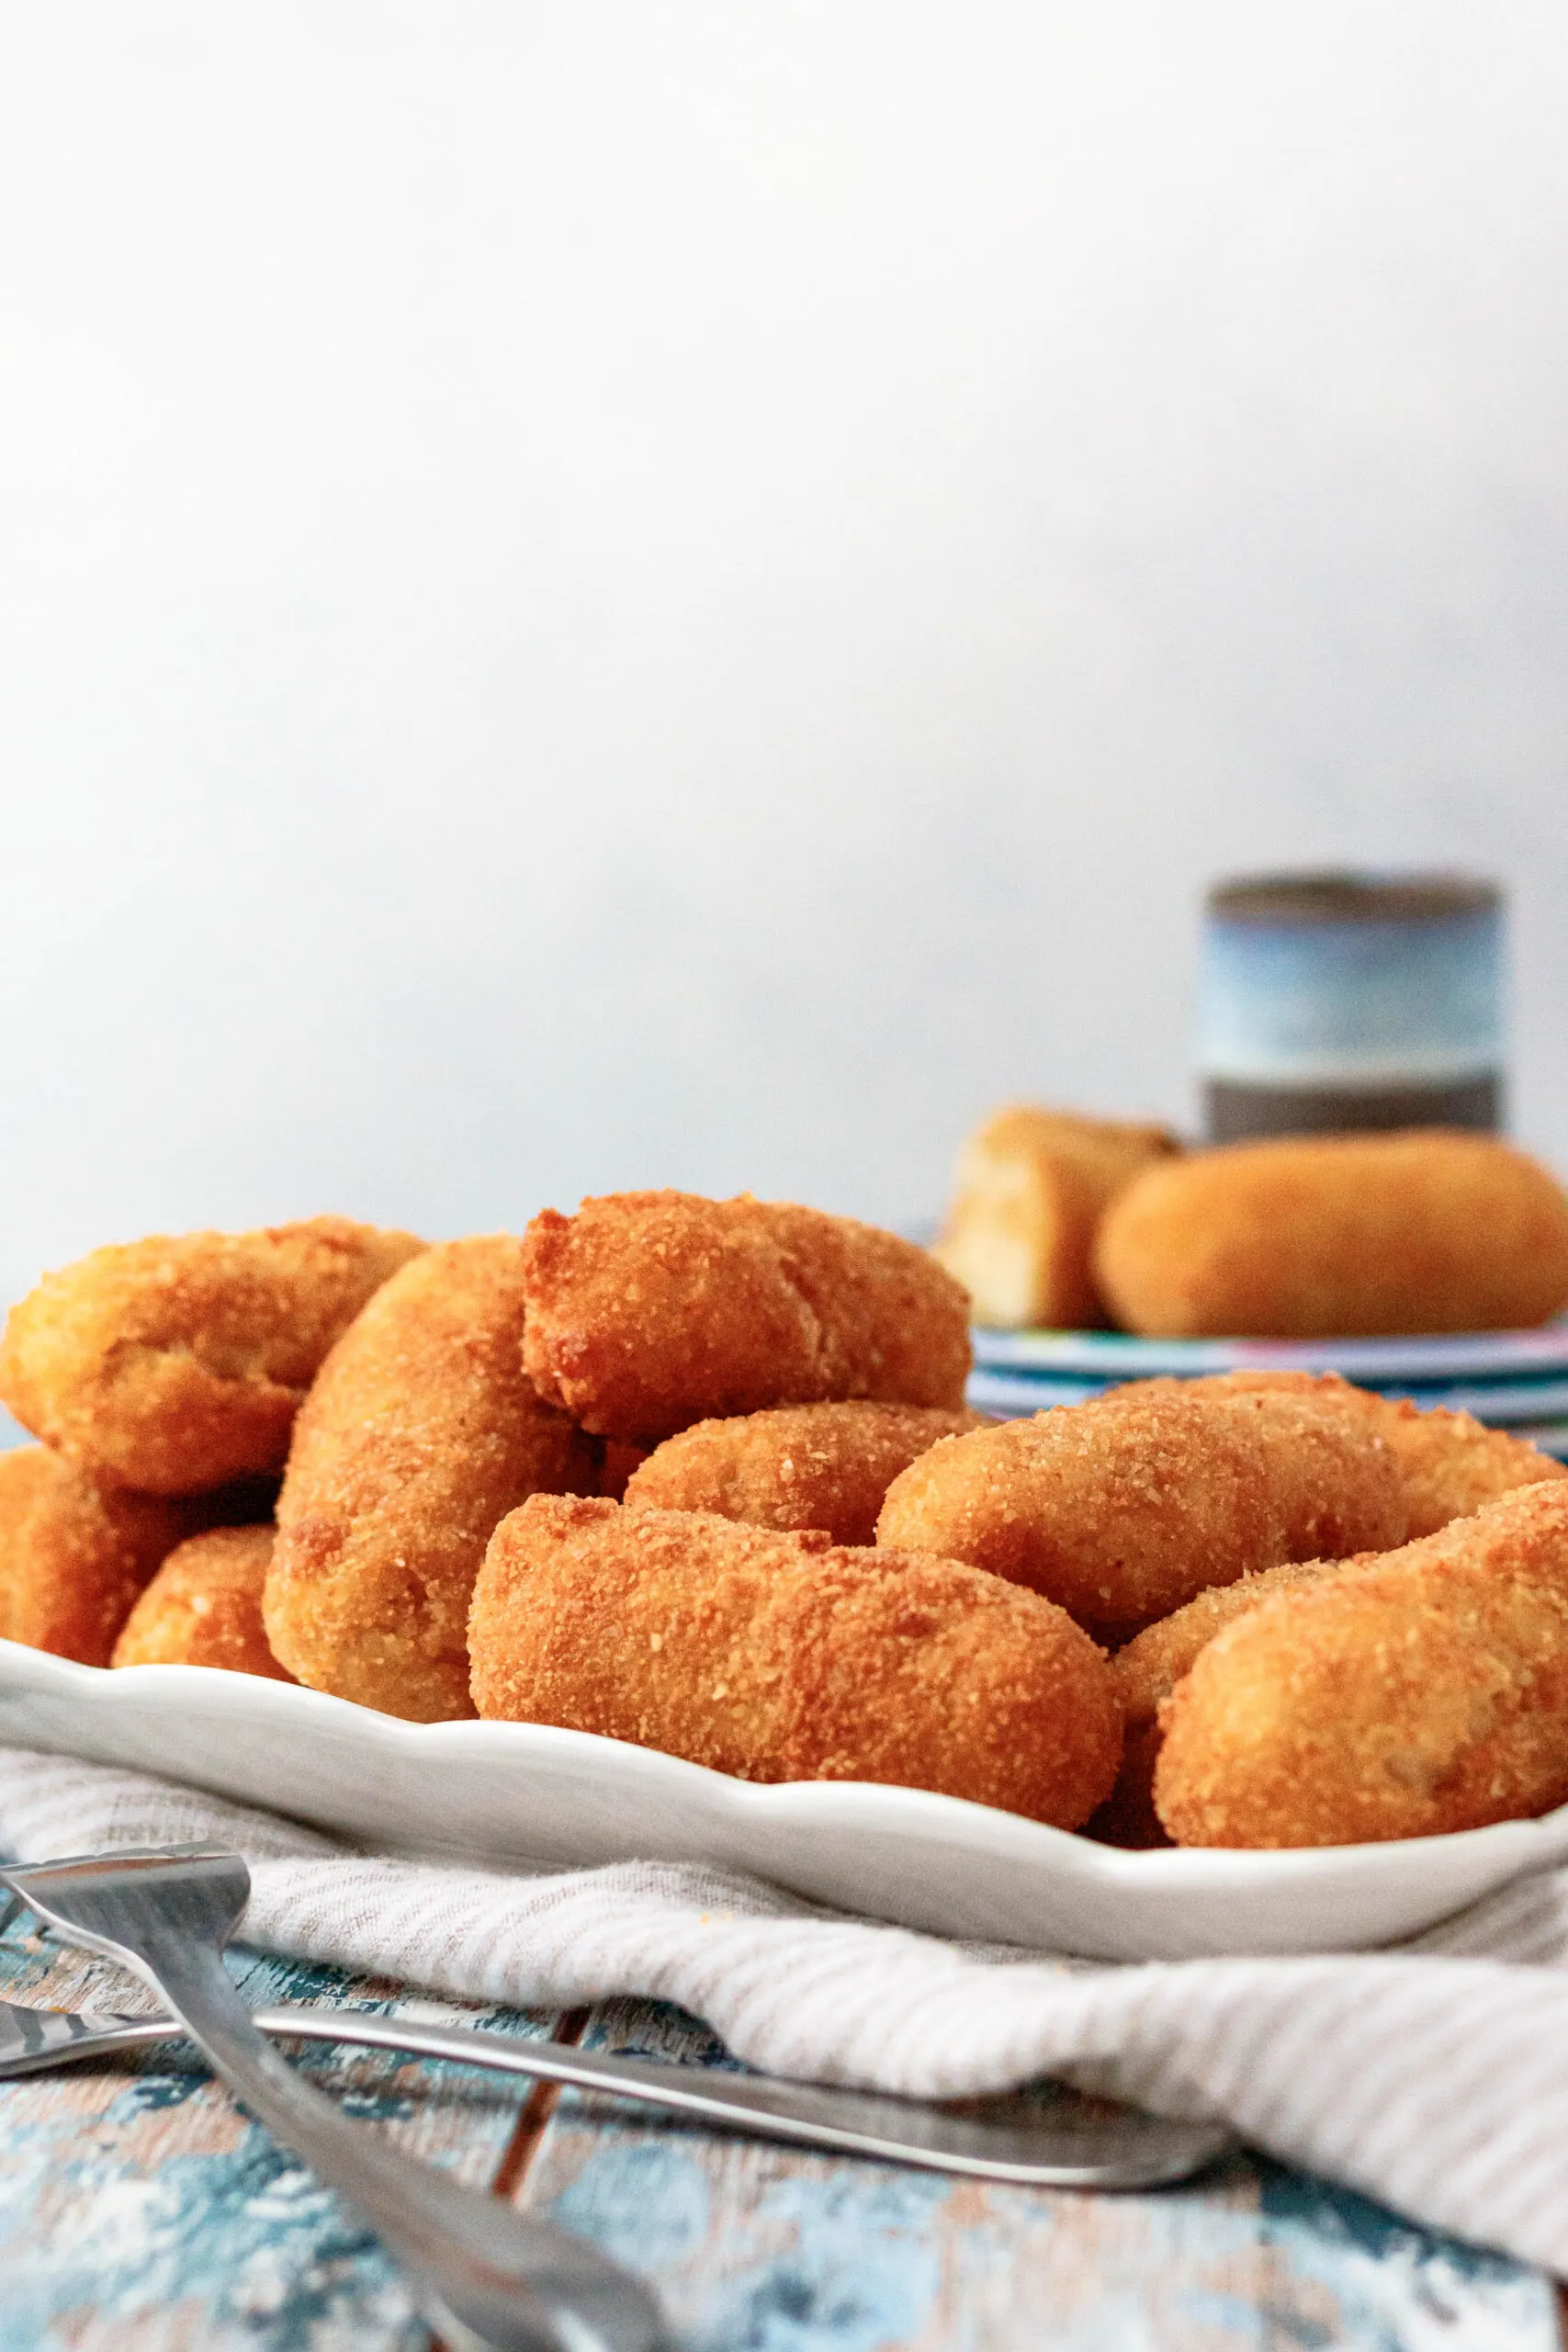
You can do any of the above! Deep frying will give you a lovely, even golden color. Air frying results in a satisfying crunch with a fraction of the oil. Baking requires no more than a greased or nonstick sheet!
Either of these options is great, and we use all of them depending on time, mood, and desired result. When we are really wanting the most street food experience, with a perfect social media golden color, deep fry.
Most of the time, I use the air fryer. It’s as fast as frying, no messy oil cleanup, and the croquetas turn out nice and crispy.
Whichever cooking method you try, let me know your favorite!

I hope you love this delicious chicken croquetas recipe, darlings. Happy cooking!

Croquetas de Pollo
Cuban-style croquetas de pollo, aka chicken croquettes, are a must if you're craving Miami street food. This classic chicken croquetas recipe is perfect for parties or tapas night at home. Make a big batch - this appetizer recipe is freezer friendly!
Ingredients
- 1 stick butter
- 1 cup all-purpose flour
- 1 cup cold milk (see notes)
- 1 cup heavy cream
- 10-16 ounces cooked chicken, diced or minced fine (see notes)
- 1 tsp salt
- 1 teaspoon ground nutmeg
- 1 teaspoon garlic powder
- 1 cup fine bread crumbs
- 2 large eggs, beaten
- oil for deep frying (optional)
Instructions
- Melt the butter in a medium saucepan, then stir in the flour. Keep stirring for 2 minutes. The mixture will look a little crumbly.
- Slowly add the milk and cream, stirring to incorporate and make a nice smooth base. It should feel like a thick paste.
- Add your spices and the chicken and cook an additional 2-3 minutes, stirring constantly. You want the meat to be well incorporated. Remove from the heat and adjust the seasoning, if needed. The flavor in the croquetas comes from the filling, so you want it to be well seasoned.
- Transfer the mixture to a container, then press plastic wrap over the top and refrigerate for 2 hours, until well chilled. Prep tip: Make the filling up to 2 days before you plan to roll and shape the croquetas.
- When you are ready to roll the croquettes, set up your prep station. Lightly beat the eggs with a teaspoon of water in one bowl, place your bread crumbs in another bowl, and have a rimmed baking sheet or large cutting board lined with parchment paper nearby.
- Scoop the chicken filling into equal portions. For small croqetas, use a small cookie scoop. For the larger croquetas found at restaurants, use a medium scoop.
- Shape the filling into logs, then roll in the breadcrumbs. Dip into the egg mixture, re-roll in the breadcrumbs, and set aside. Repeat until you're done! At this point, you can freeze the croquetas in a single layer until solid. Then transfer to an airtight container and keep frozen until you're ready to cook.
- To deep fry: Heat about 2 inches of oil in a small saucepan over medium heat. Fry the croquetas for about 3-4 minutes each, until warmed through and golden brown. Set them on a paper towel to drain. Lower the heat if the croquetas are browning too quickly. You will need to work in batches so you don't crowd your pan.
- To bake: Preheat your oven to 420 F and bake the croquetas for 12-15 minutes, turning halfway through if desired.
- To air fry: Working in batches, place croquetas in a single layer in the basket of your air fryer. Make sure to leave enough room for air circulation between each one. Spray lightly with oil or cooking spray then fry at 375 F for 3-4 minutes on one side, then flip and cook an additional 2-3 minutes on the other side until heated through.
Notes
- I've used all milk, half and half, and the milk and heavy cream mixture. They've all worked, but lower fat-content milk takes a bit longer to cook into a paste. If you need to make this dairy-free, you can! Just use plain, unsweetened, non-dairy milk.
- The exact amount of chicken is flexible. That's what makes this a great recipe for using leftovers! You may use as little as 10 ounces and as much as a little over a pound. As long as the paste holds together easily, you're good.
- A food processor is a great way to finely chop the chicken.
- Food gloves help you keep your hands clean during the shaping and rolling!
Recommended Products
As an Amazon Associate and member of other affiliate programs, I earn from qualifying purchases.