
Sweet and savory with a rich texture thanks to molasses and cornmeal, anadama bread will be a new favorite. This recipe for fluffy anadama rolls is great to serve with soups and stews, dip into fried eggs, or make sandwiches for a beach day!

You never know what gem of a recipe you’ll find when you open an old cookbook. I have an older baking book on my shelf. Every few years, it goes into the donation box and is retrieved. Some of the recipes are a mess, but others are a gem! This recipe is one of them.
Technically anyway. The original recipe was for loaves of bread but it must have been for older loaf pans?
The recipe was listed as making 2 loaves. I tried, but they were a bit small for modern loaf pans. One loaf was a bit too much. Thankfully, as with most bread recipes, you can adjust.

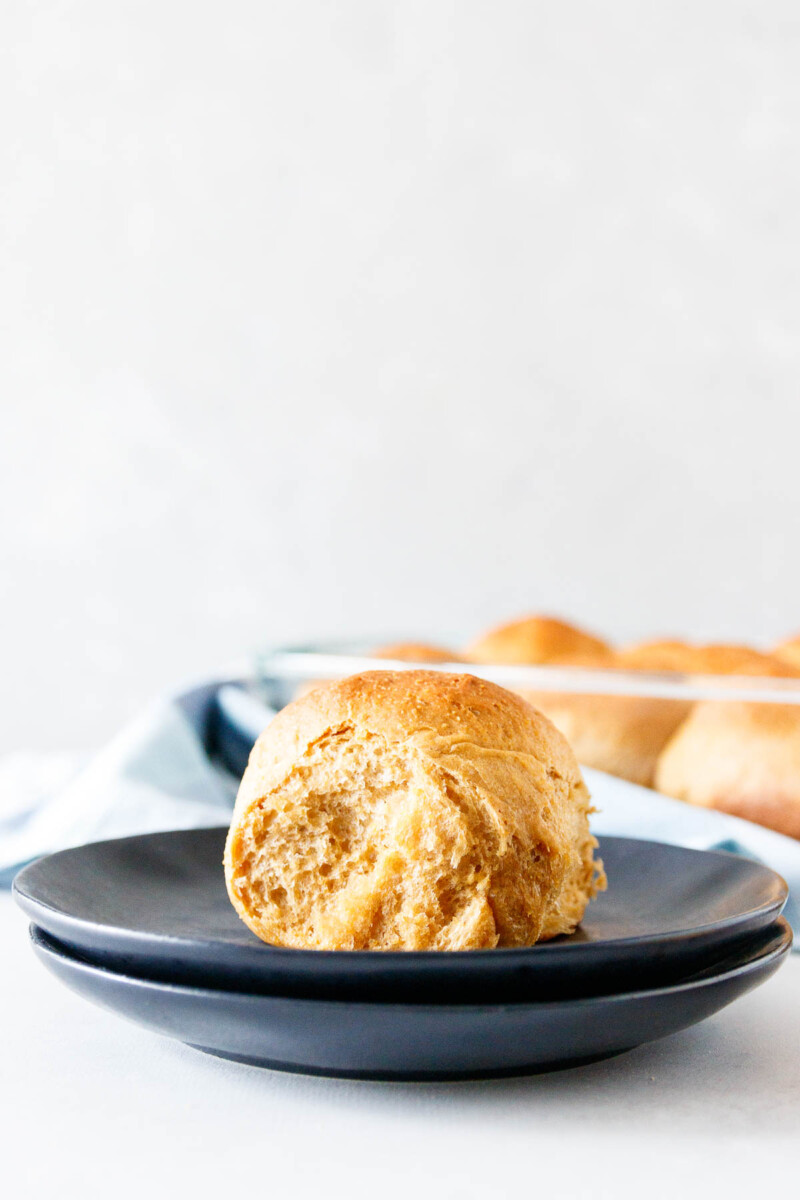
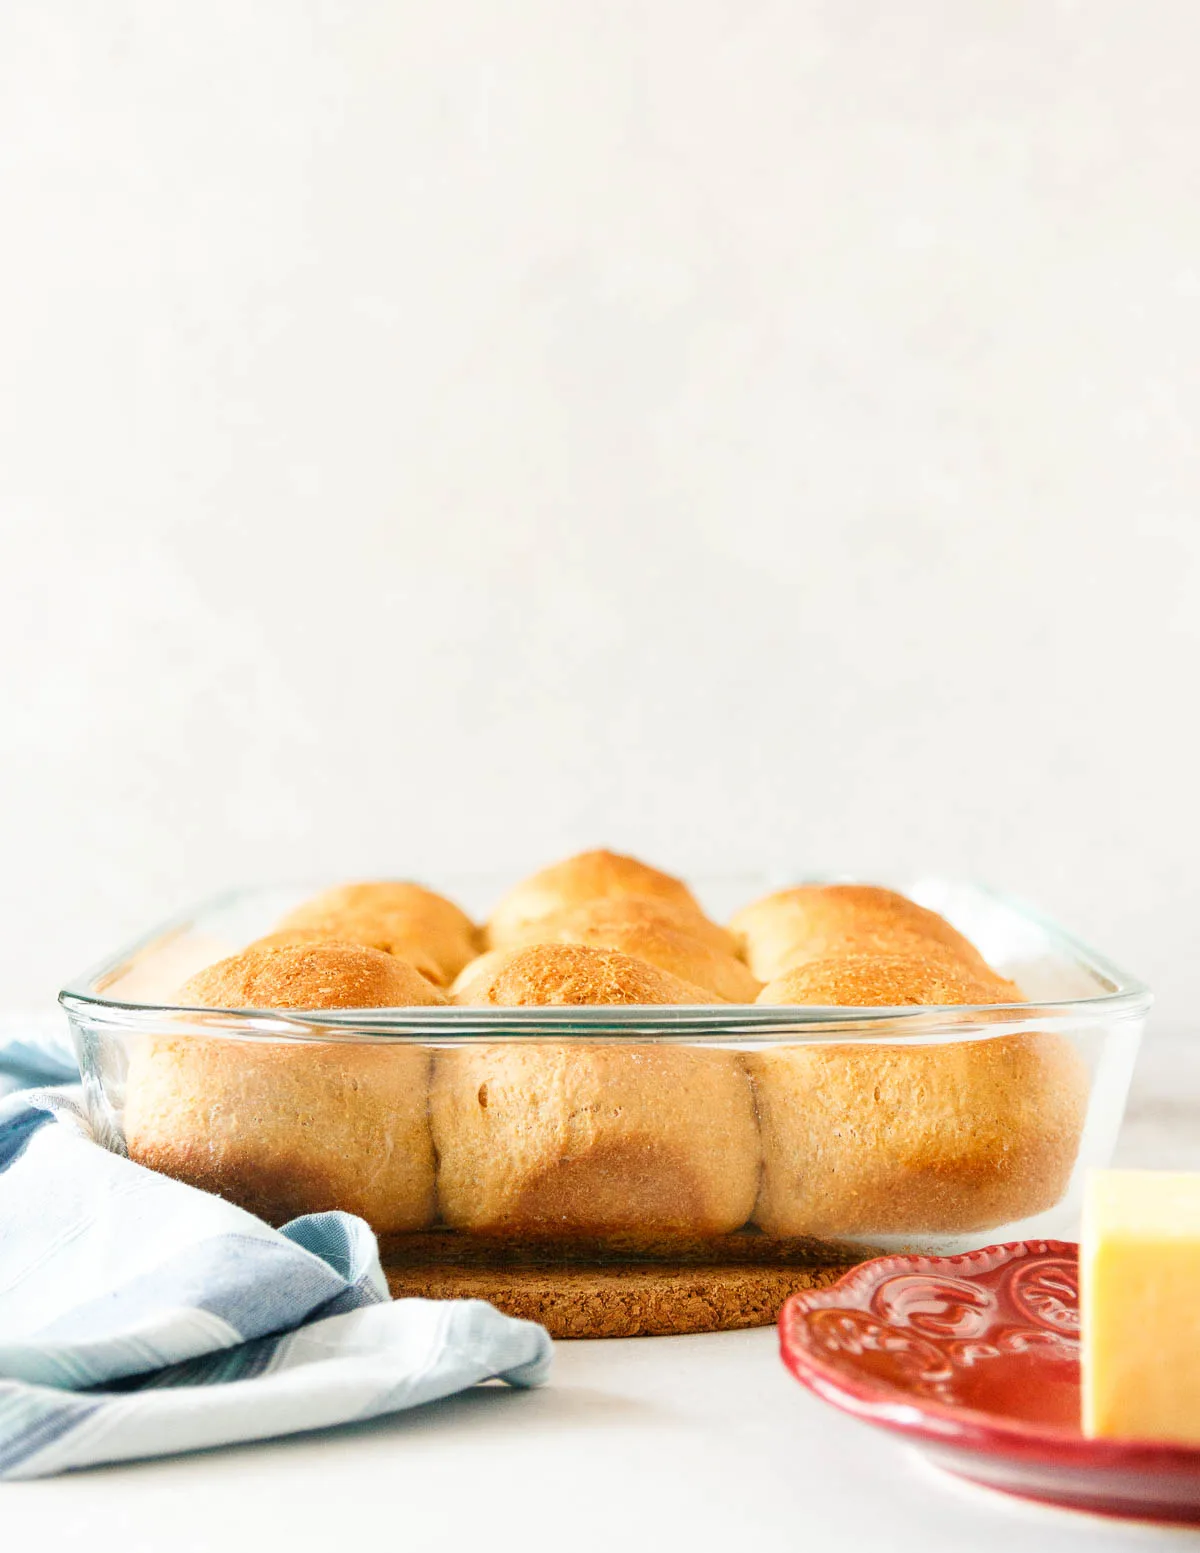
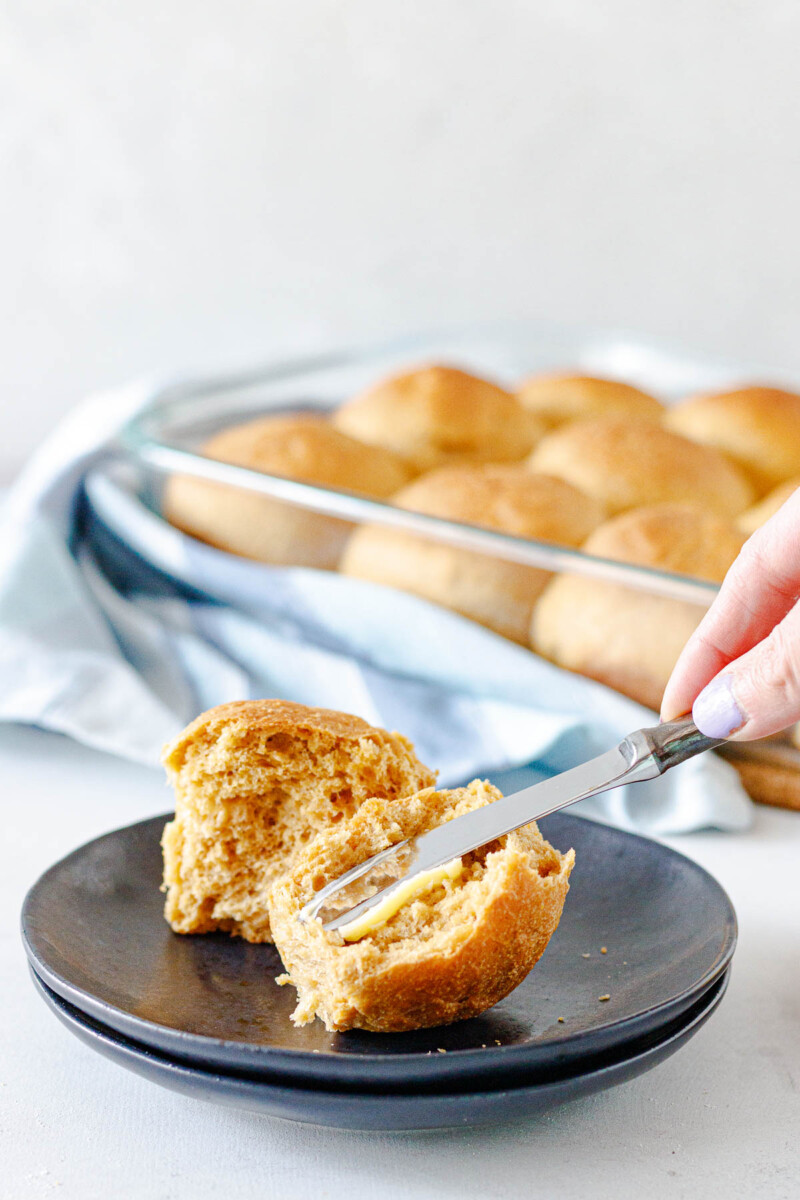
As it turns out, we liked the bread best in roll form. Not only is its unique texture and flavor a wonderful accompaniment to roasts and stews, but the size of the rolls in this recipe is also perfect for picnic sandwiches!
Lighter eaters will be satisfied with one, and those with heartier appetites pack 2.


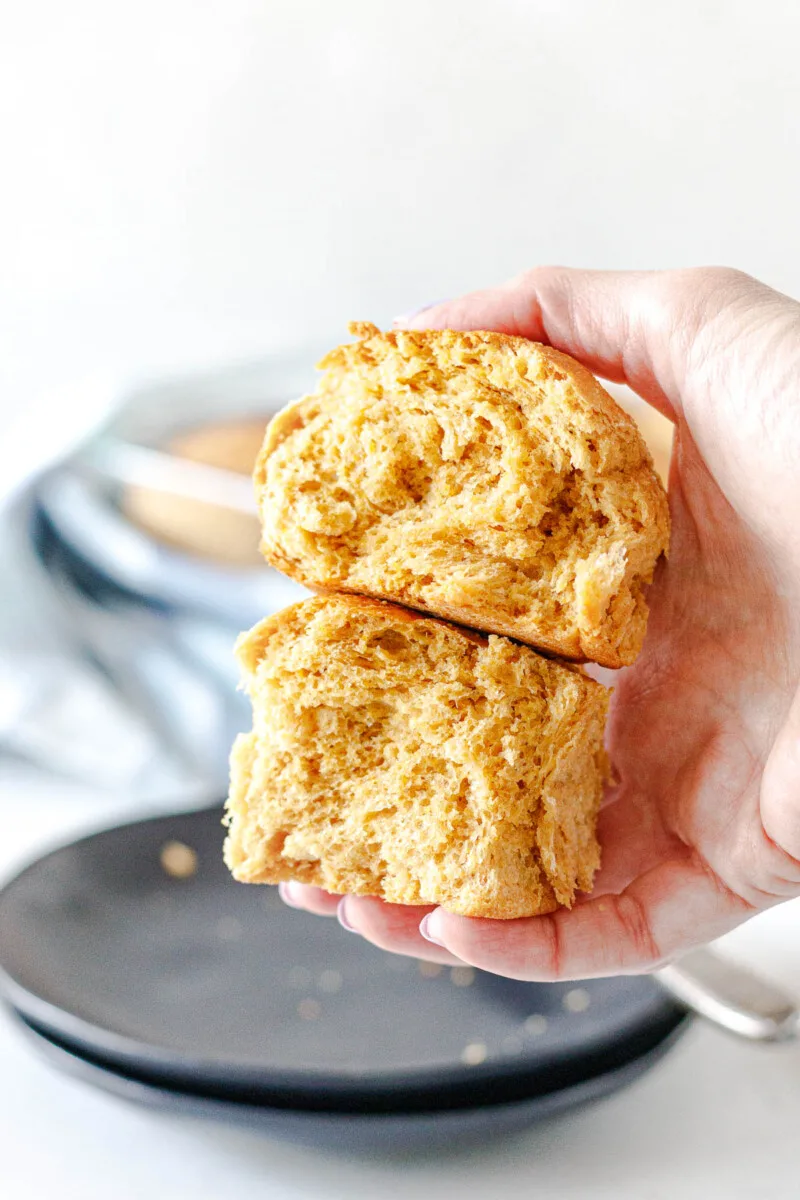
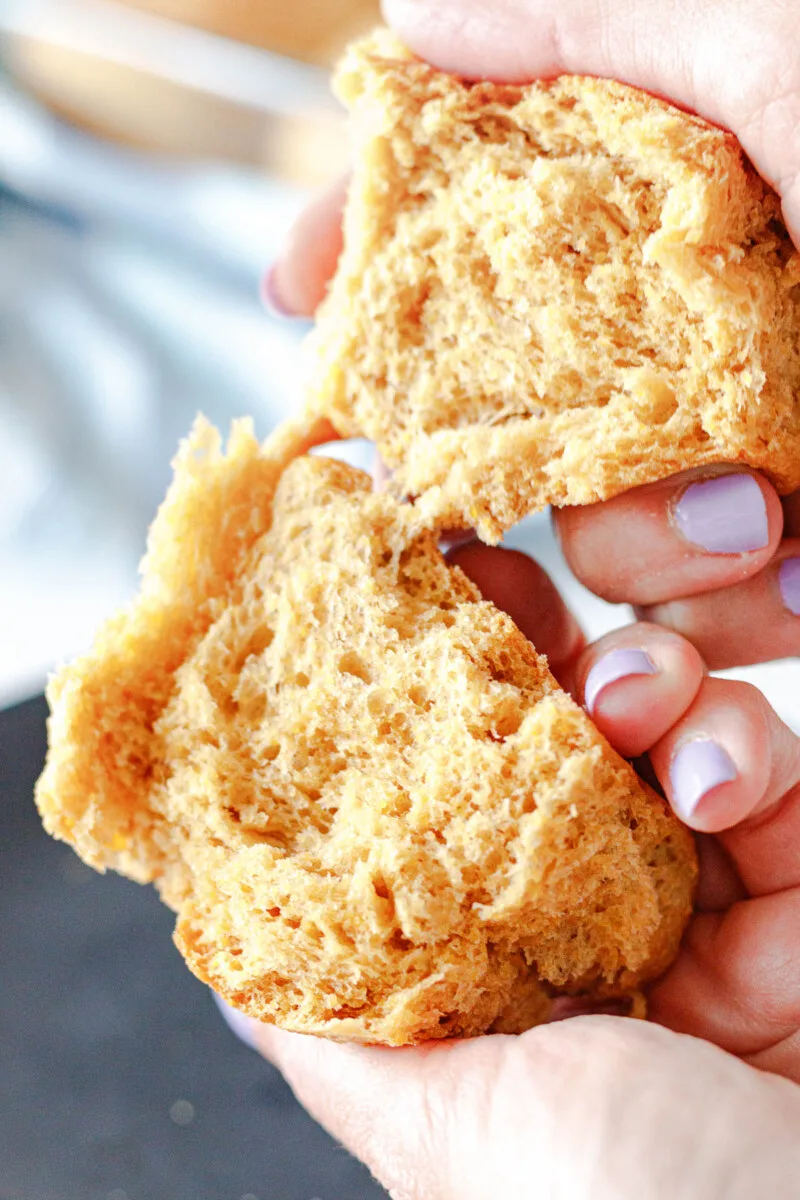
Get ready for a barrage of photos in this post. Not only do I think it will help guide you through each step of the bread-making process, but they’re so pretty! Look at that texture. Ugh. I can almost smell fresh bread.
What is anadama bread?
This brown bread recipe originated in the New England area of the United States. New England, for those unfamiliar, refers to the northeast area of the country from Maine down to anywhere between Connecticut and Maryland depending on who you ask.
This particular bread recipe though is credited to Massachusetts and the town of Rockport, once a fishing village.

Around the 1900s, a bakery opened in Rockport that baked and delivered bread daily on by horsedrawn cart. Eventually, a larger factory was built to bake the bread in bulk, and the recipe was adapted by smaller local bakeries. The factory closed in the 1970s after the owner at the time died.
Regional American cuisine is fascinating! This brown bread recipe is very local to the American northeast, and I’m so happy to share it (and the history) here today.
What does anadama bread taste like?
The primary ingredients in the bread are cornmeal, molasses, flour, and water.
Sometimes, rye flour is also used, but I don’t use it. The recipe in the cookbook didn’t call for it. Additionally, rye flour is a specialty, and if you’re a casual bread baker like myself, may not always have it on hand.
The bread is both savory and sweet, but not so sweet as to be considered a dessert bread. As mentioned earlier, we pair it with soups or use it for sandwiches. The flavor is rich and a bit nutty thanks to the cornmeal. There’s a depth to the sweetness too because of the molasses.

There’s a chain restaurant – the name escapes me – that serves a brown slightly sweet bread with butter. The flavor of anadama bread is similar to the restaurant brown bread, but richer.
Where did anadama bread get its name?
As lore has it, one day a fisherman – upset at being served cornmeal with molasses yet again for dinner – added flour and yeast while saying “Anna, damn her!” The concoction yielded this lovely sweet and savory bread, and the name stuck.
Is it true? No one knows, but it does make a good story, doesn’t it?
Recipe tips for anadama rolls
First, measure out all your ingredients at once. Since you’re adding hot water to the cornmeal, it puffs a bit, and the mixture is easier to stir while it’s still warm.

Because the dough is warm, you’ll also want to be careful about adding too much flour. When you get to the kneading, incorporate more flour slowly. You don’t want a sticky dough, but you don’t want to add too much flour either. Too much flour will make your rolls dense.
Second, use regular molasses, not blackstrap molasses. Blackstrap molasses is stronger in flavor and will completely overpower the bread. The standard dark molasses you get at any grocery store is perfect.

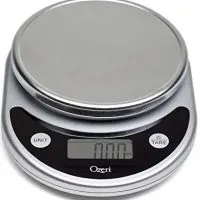
Third, use a scale to help you evenly distribute the dough into rolls. The average dinner roll weighs between 50-70 grams. I believe the rolls in the photos were about 70 grams each. I chose to make them on the larger side to use for sandwiches. This was a good all-purpose size for us.

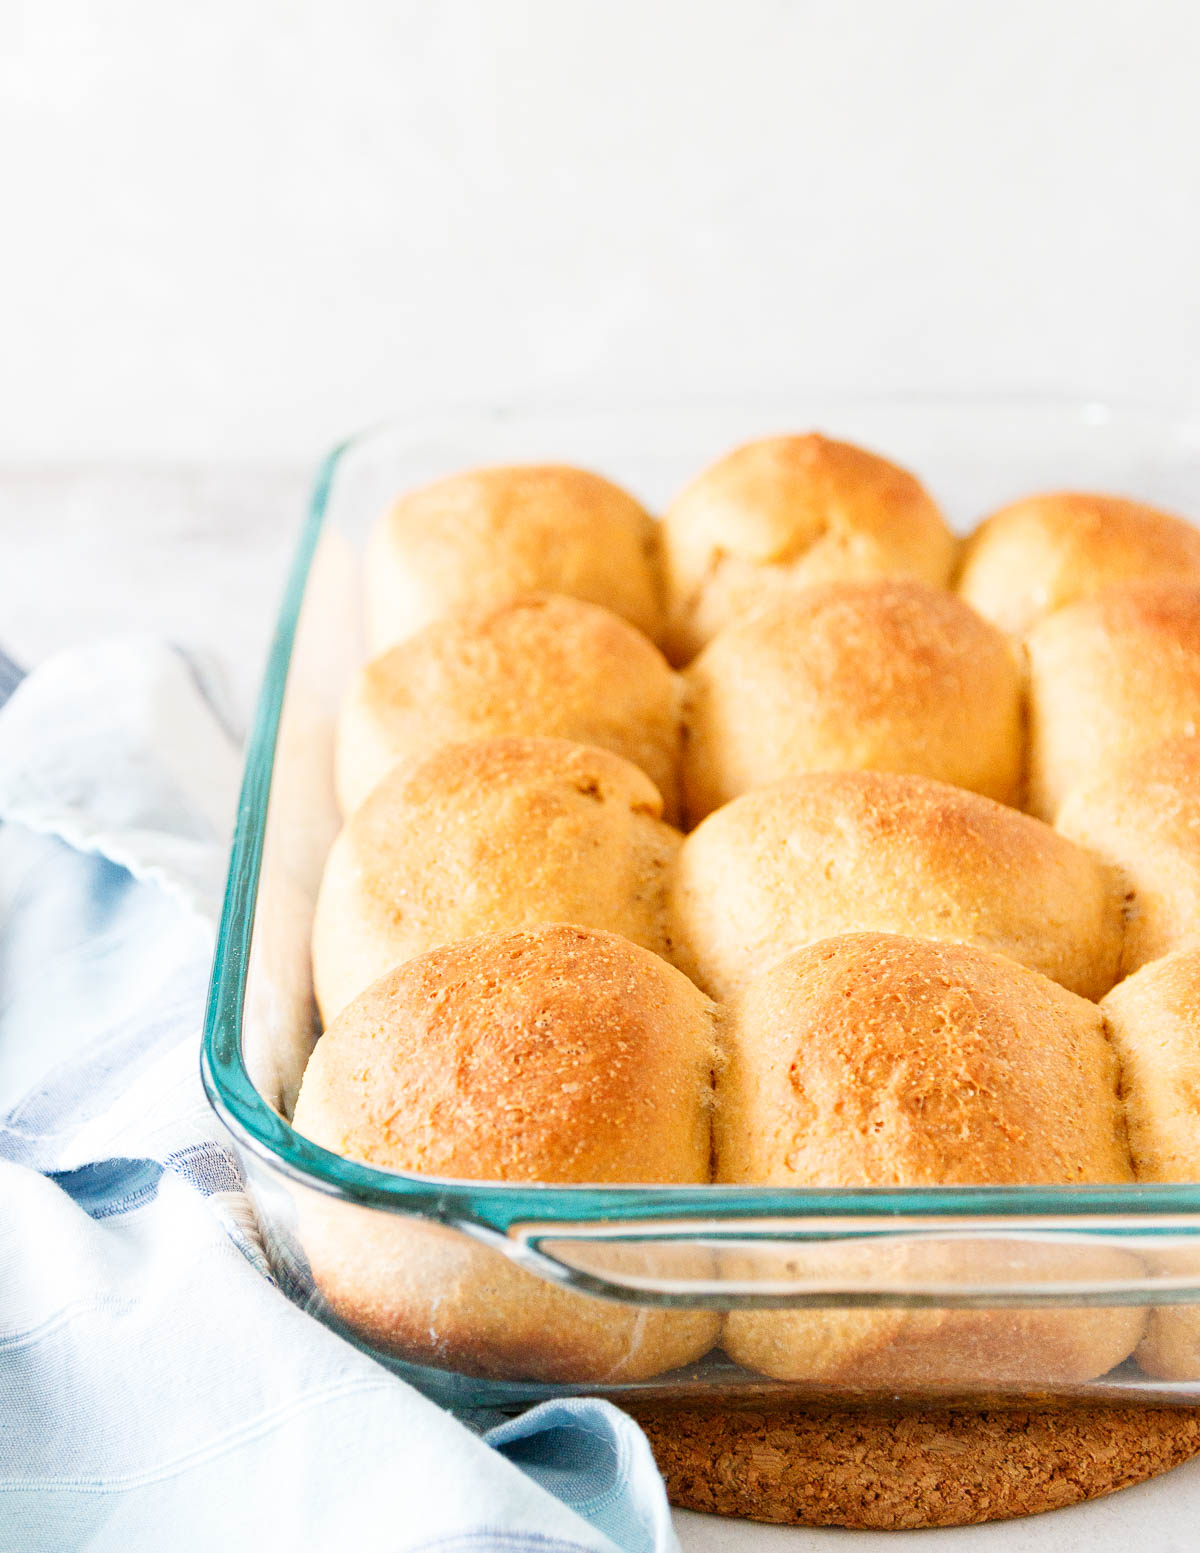
Finally, you won’t get the luxury of judging the doneness of this bread by color. Anadama rolls are already brown, darlings. Instead, use an instant read thermometer, your sense of smell, and tap the top of the bread lightly.

This isn’t a crusty bread. You can hear a bit of a hollow sound when you tap the rolls once they’re done.

I cool the loaves in the baking pan, so pull them out of the oven as soon as they’re ready! Bread continues to bake for a little bit during the cooling process, so you don’t want to let it bake too long. Thankfully, this is a pretty forgiving recipe, so don’t stress either.

Finally, don’t try to store your bread until it’s completely cool. You can absolutely enjoy the anadama rolls while still a little warm. Just don’t try to put them into a plastic bag or bread box until they’re cool.
What to eat with anadama rolls
Given its rather humble beginning, anadama bread is versatile! The flavor pairs so well with many things, but here are a few of our favorite ways to enjoy it:
- Served alongside “dippy” eggs – sunny side up or over easy, these rolls are great for dipping
- As bread for chicken salad sandwiches
- As a side dish for smoked turkey breast
- Of course, rolls are also the perfect pairing for chili or soup!

I hope you love this recipe, darlings! Happy baking!

Anadama Rolls {Anadama Bread Recipe}
Sweet and savory with a rich texture thanks to molasses and cornmeal, anadama bread will be a new favorite.
Ingredients
- 1 package active dry yeast (2 1/4 teaspoons)
- 1/4 cup lukewarm water
- 1/4 cup cornmeal
- 3 tablespoons unsalted butter
- 1/4 cup molasses
- 3/4 cup boiling water
- 1 large egg
- 3-3 1/2 cups all-purpose flour
- 2 teaspoons salt
Instructions
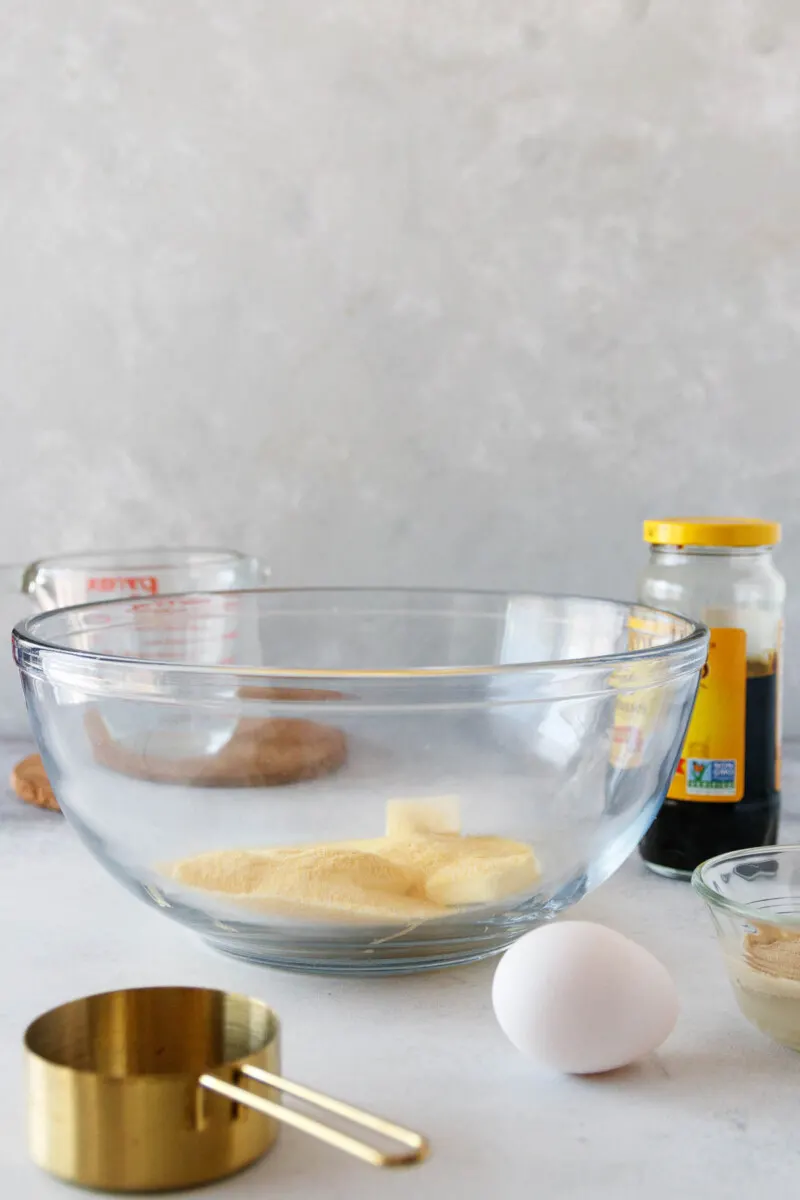
- In a small bowl, mix together the yeast and lukewarm water. Set aside for 5-10 minutes so the yeast can activate.
- In a large mixing bowl, or the bowl of a stand mixer, if using, measure out the cornmeal. If you are using a mixer, start with the paddle attachment.
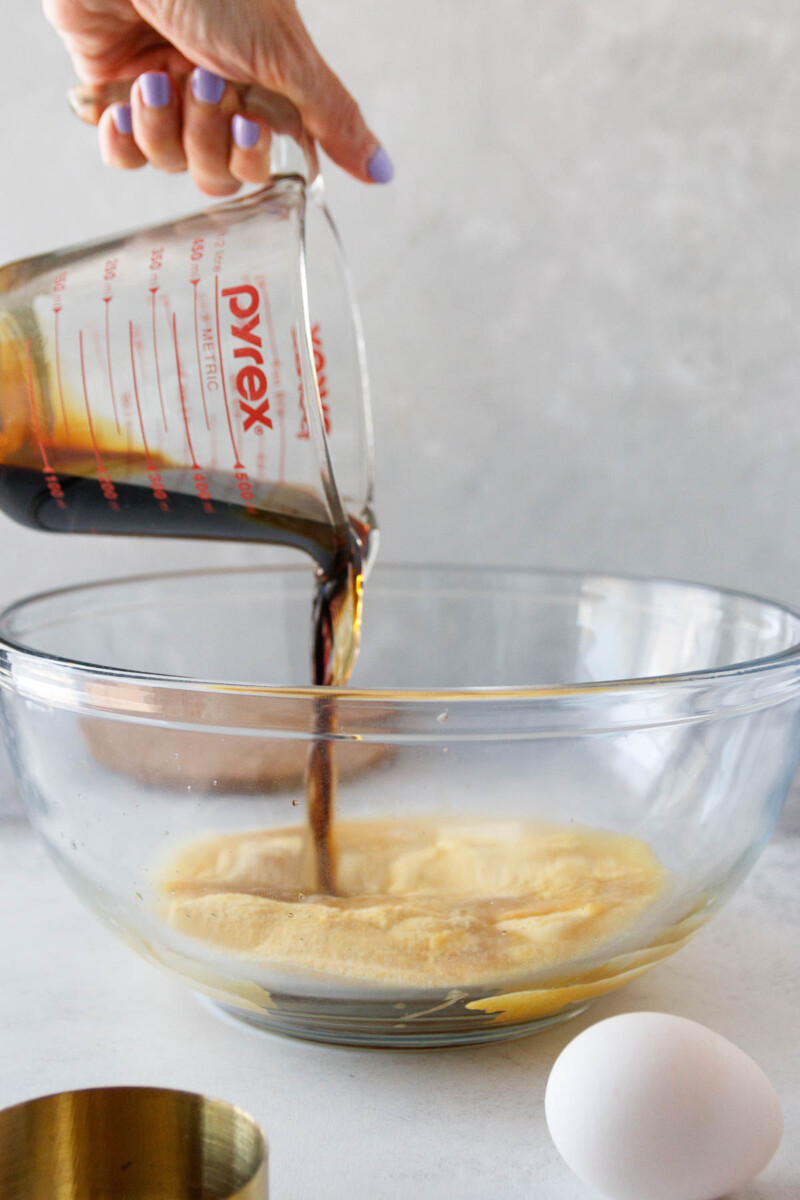
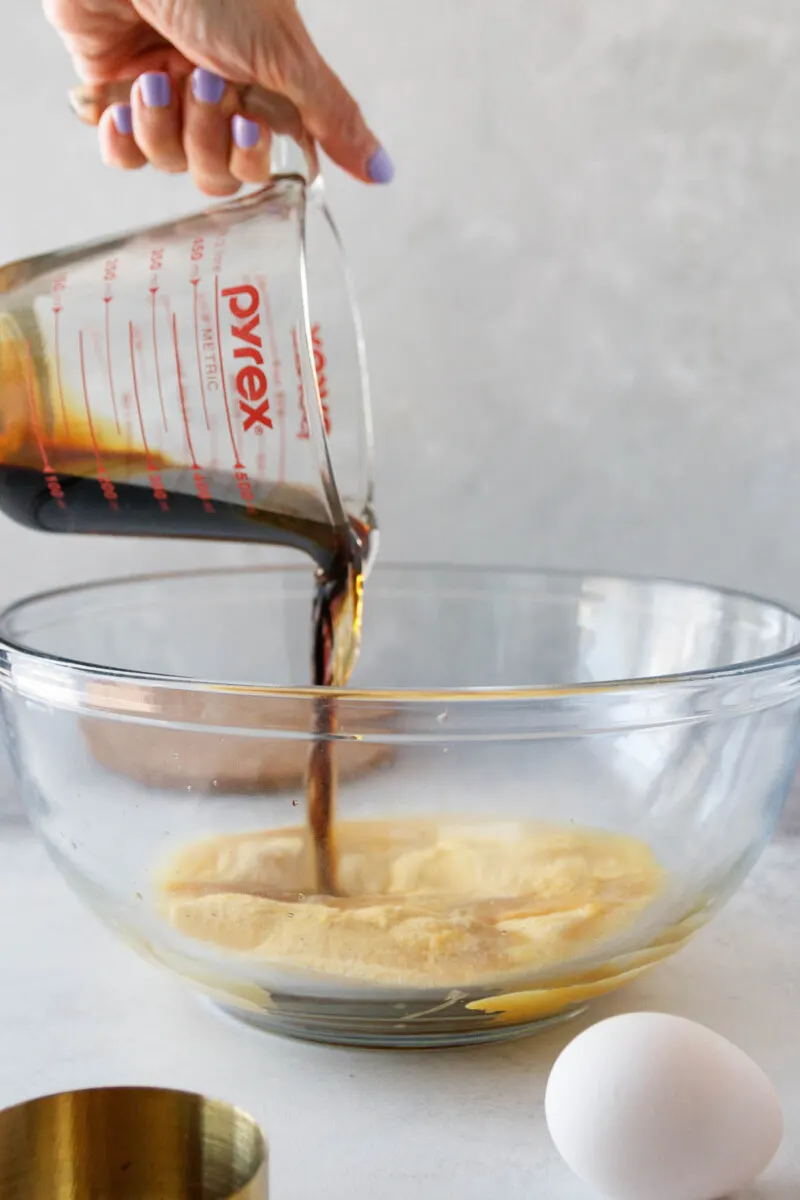
- Use a large glass measuring cup to microwave the remaining 3/4 cup of water until boiling. This takes about 2 minutes. Carefully drop in the butter, stir, then add the molasses.
- Pour the molasses mixture over the cornmeal and stir to combine. At this point, the mixture shouldn't be very hot, just warm, so you can safely stir in your activated yeast and water, the egg, and 1 1/2 cups of flour. Stir.
- Add the salt and another 1 1/2 cups of flour. Stir to combine. Scrape the sides of the bowl as needed. If you're using a mixer with the paddle attachment, switch to the dough hook now.
- Knead the dough by hand, or on low speed for about 3-5 minutes, until it is smooth and elastic. If it's too wet and you need to add more flour, add it 1 tablespoon at a time. If the dough is too dry, you can add water 1 teaspoon at a time.
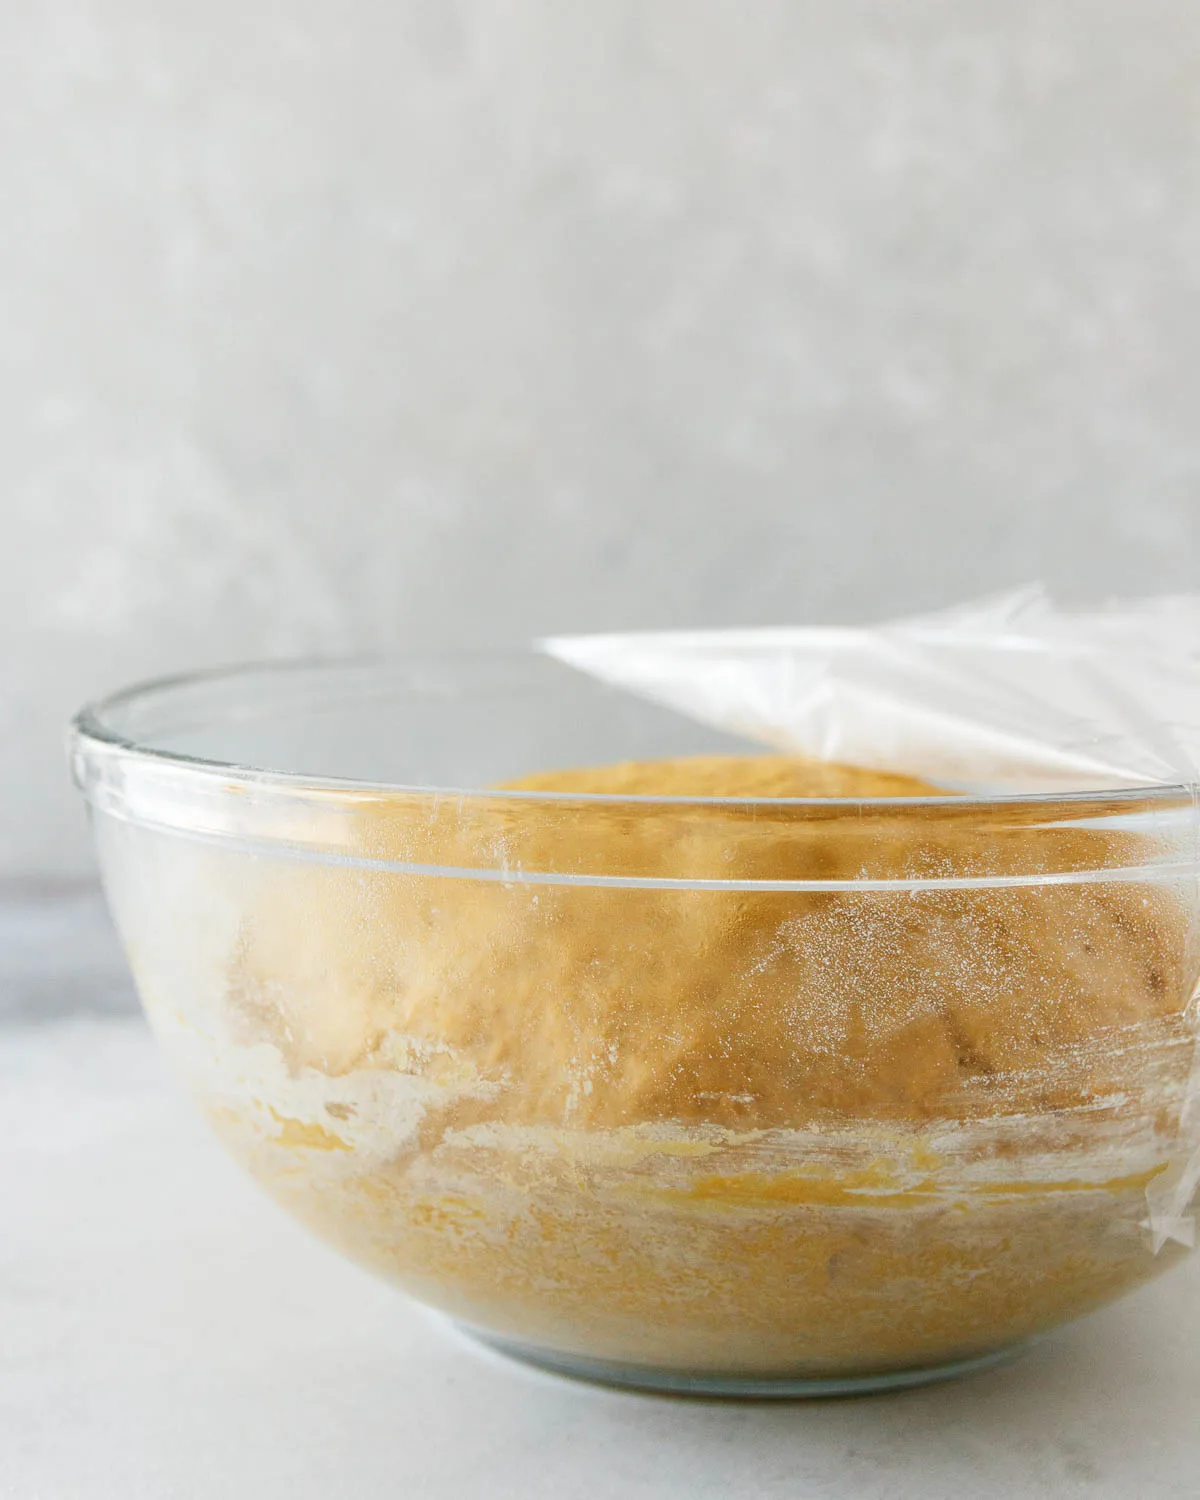
- Remove the dough from your mixing bowl and give the bowl a quick spray with nonstick cooking spray or a misting of oil. Return the dough to the bowl and cover with plastic wrap. Place in a warm, draft-free spot until doubled in size, about 45 minutes to 1 hour.
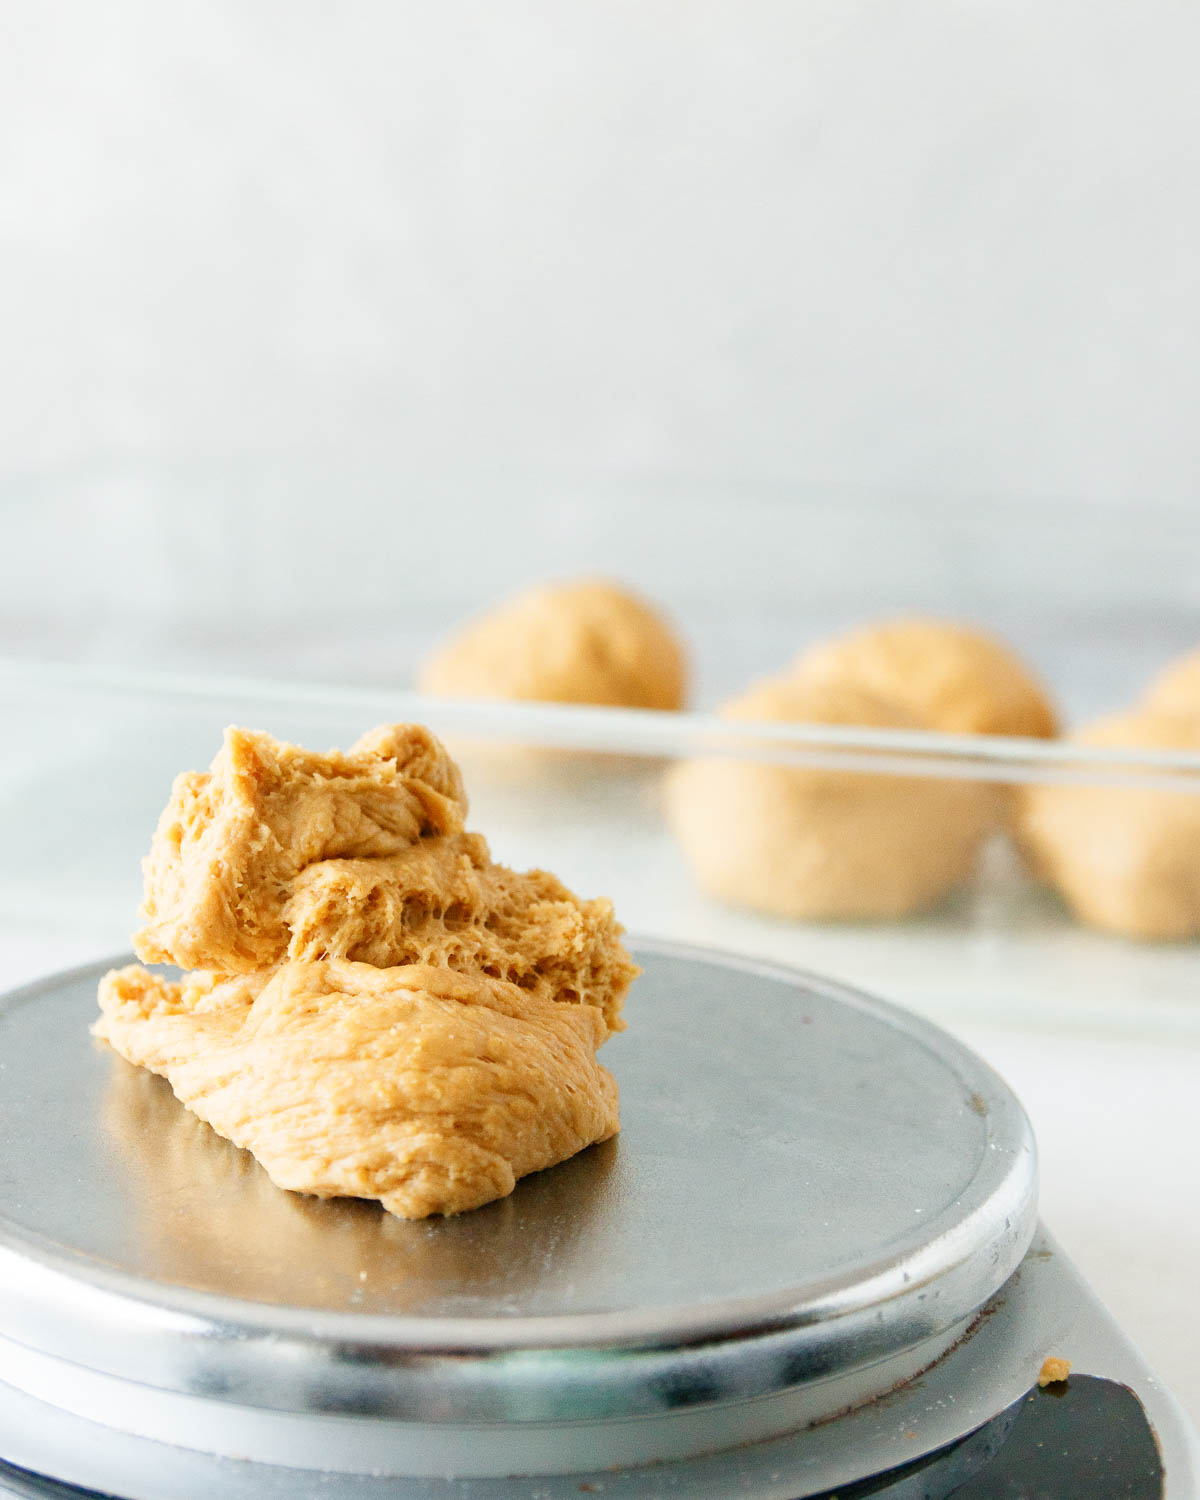
- Once the dough has doubled in size, gently press it down. Transfer the dough to a lightly floured work surface and divide it into 12 equal pieces. A kitchen scale comes in handy here.
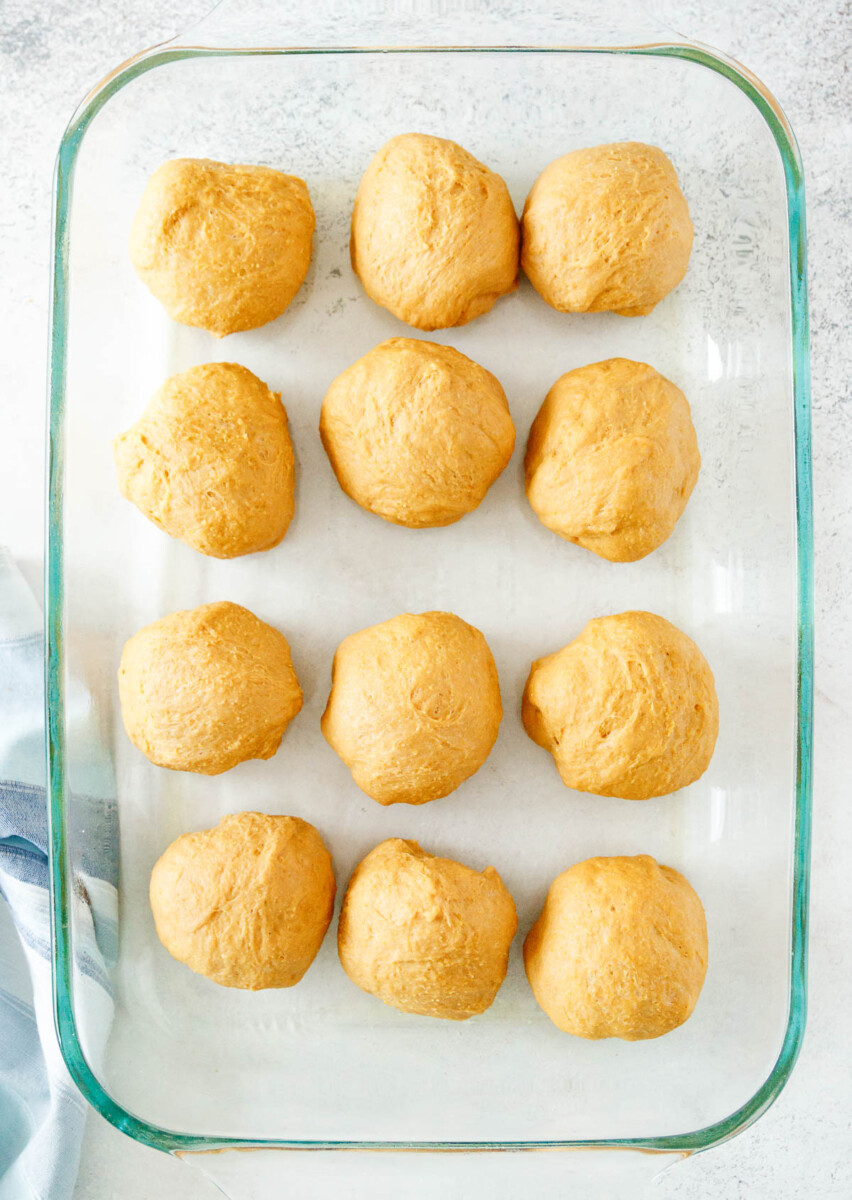
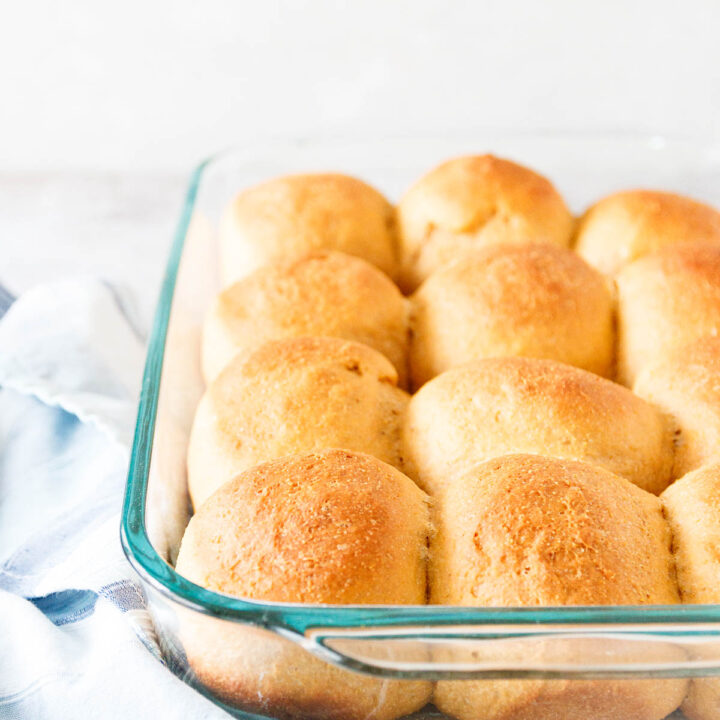
- Lightly grease an 11x13-inch baking dish and arrange the rolls in 4 rows of 3. If you'd rather not have the rolls touch, place them on a parchment-lined baking sheet with at least 2 inches of space between each roll.
- Cover the rolls with plastic wrap again or a clean tea towel and allow to rise for another 30 minutes until puffy.
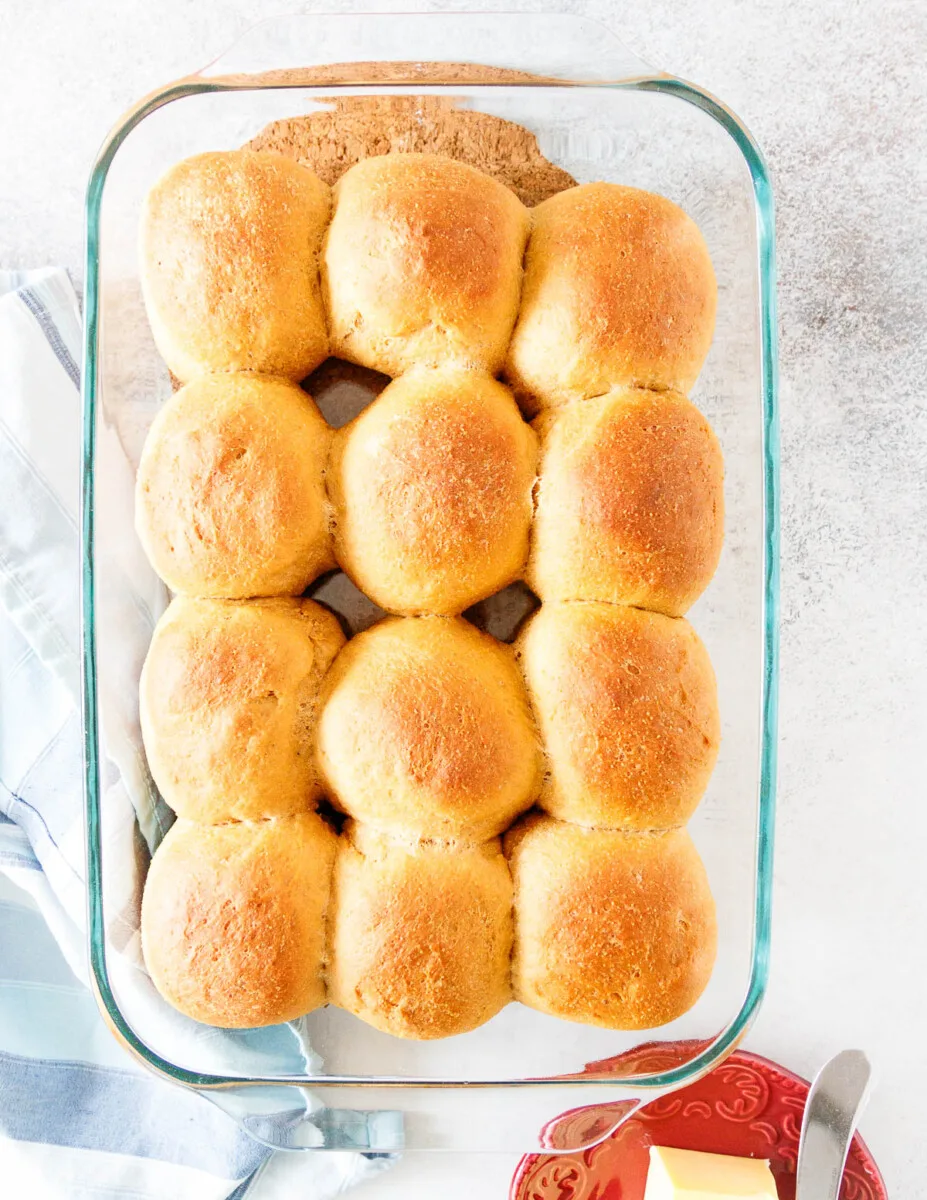
- Towards the end of the rising time, preheat the oven to 375 F. Bake the rolls for 30-35 minutes until fragrant and you hear a slightly hollow sound when tapping the top of a center roll. You can also check for an internal temperature of 170 F if using an instant-read thermometer.
- Remove the rolls from the oven and allow them to cool at least 10 minutes before enjoying!
- Completely cooled rolls can be stored in an airtight container for 3 days at room temperature or up to 2 months in the freezer. Thaw and reheat in the microwave in 30-second intervals or in a toaster oven.
Notes
- I use a large glass mixing bowl to mix this by hand most of the time. I stir the dough in the bowl until it comes together and then remove it to a lightly floured work surface for kneading.
Recommended Products
As an Amazon Associate and member of other affiliate programs, I earn from qualifying purchases.


Nutrition Information:
Yield: 12 Serving Size: 1Amount Per Serving: Calories: 460Total Fat: 4gSaturated Fat: 2gTrans Fat: 0gUnsaturated Fat: 2gCholesterol: 23mgSodium: 365mgCarbohydrates: 91gFiber: 3gSugar: 6gProtein: 12g
These nutrition values are estimates. Exact values will vary depending on the ingredients, brands, and quantities used.
Martha
Monday 12th of December 2022
We adore anadama, but mine always comes out dense and small. It doesn’t rise as well as regular dough.
Mary (The Goodie Godmother)
Friday 16th of December 2022
Have you tried adding less flour and ensuring it has a little extra time to rise? I find it's so easy to add too much flour, and I need to watch the rise more than usual.