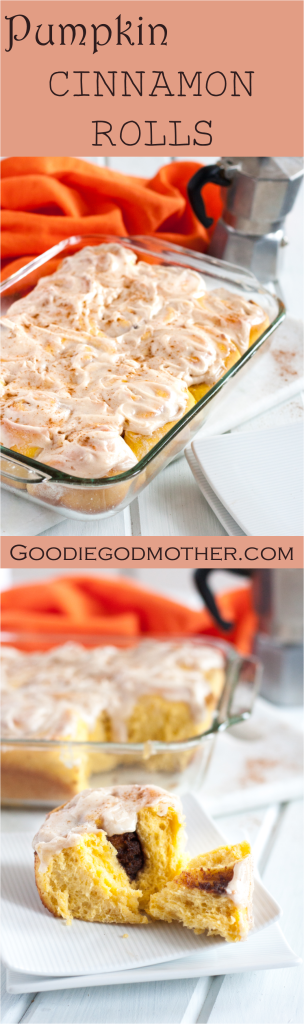
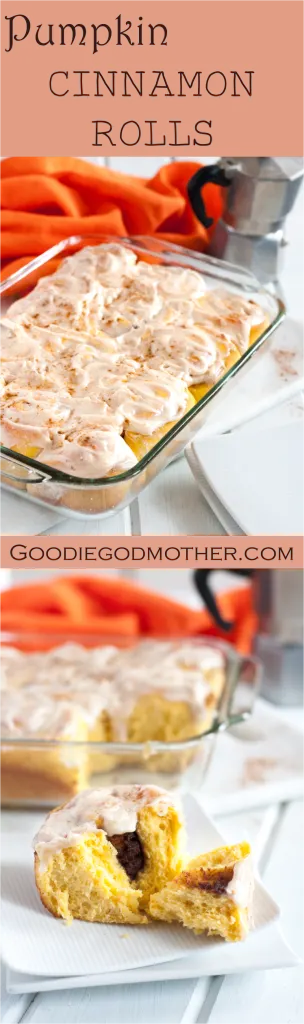
This Pumpkin Cinnamon Rolls recipe updated January 2016 as part of the #ThrowbackThursday photography project where I add better photos to already delicious recipes!

Would you like to know a sure-fire way of identifying a Type A personality (at least when it comes to things that are not laundry)? This post was supposed to go up Monday but I couldn’t bring myself to do it, and here’s why: I didn’t like the pictures. As you may have noticed, in June I picked up a DSLR camera, a much-needed upgrade from my iPhone. At first, I could barely remember how to turn the thing on, then getting a clear picture was a challenge, then came learning about other things like styling and adjusting basic settings to get the shots I wanted without resorting to the Automatic setting. Thou shalt never use the automatic setting. It’s in the Photographer’s Unwritten Bible I’m sure.
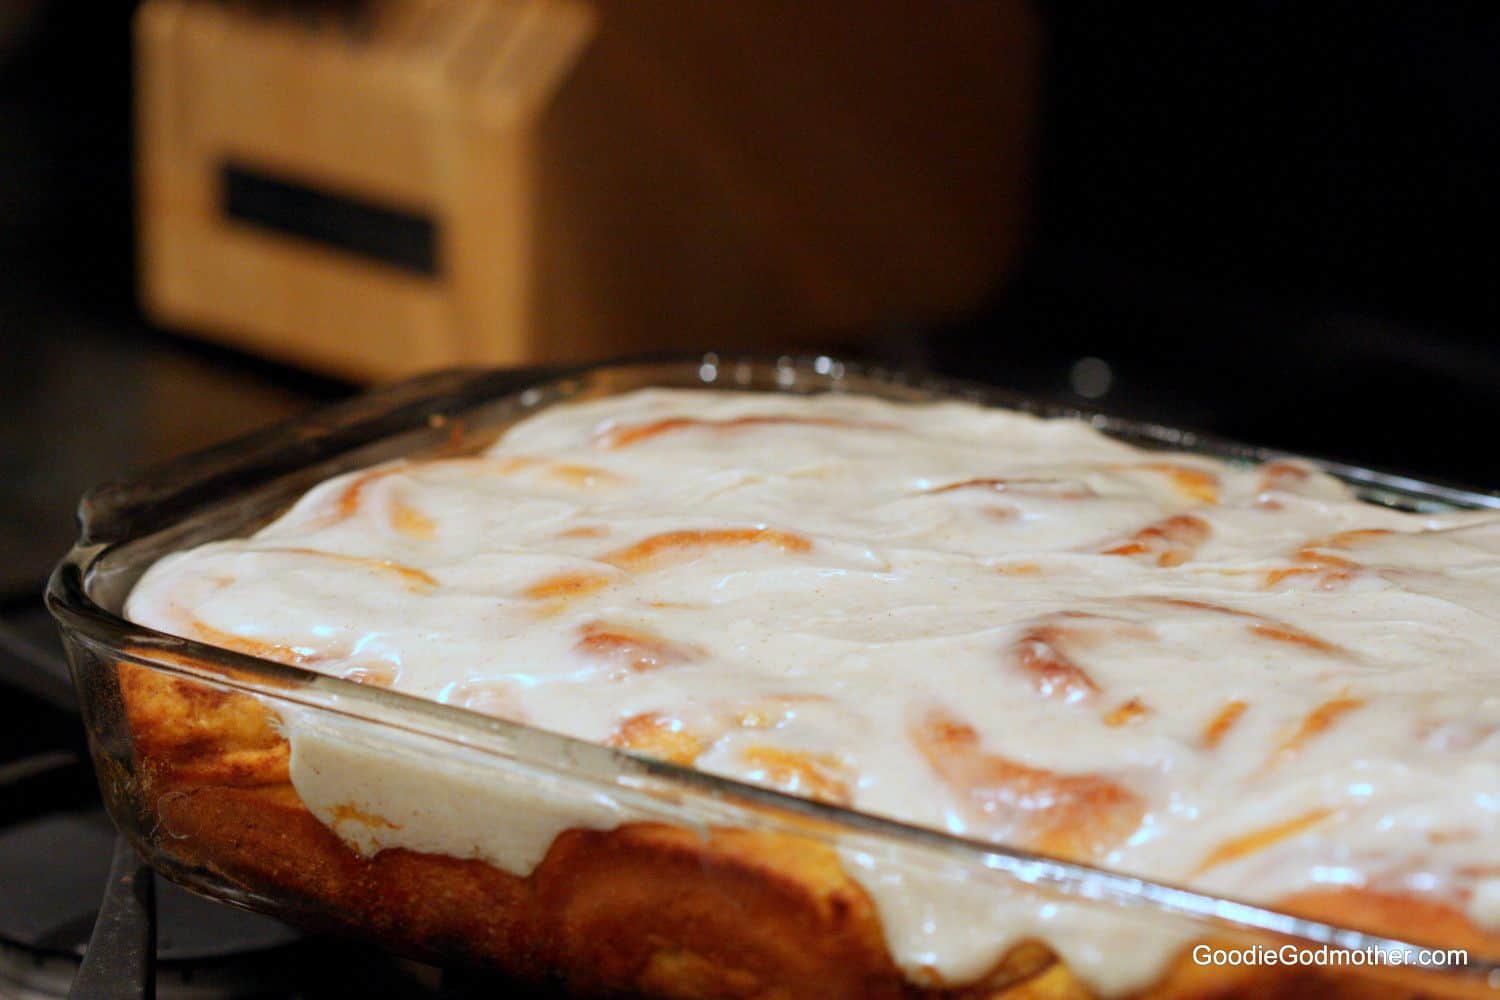
In the past few weeks, I feel like I’ve finally gotten to the point where I can usually identify good light and play with a few little settings to get proper photos. There was a phase where my photos were coming out clear, and even the styling was sort of coming together, but the light was very flat, so the pictures weren’t very good even for a total novice. It was during this time that I made this recipe for the blog and took the glamour shots. But a few weeks have passed, I’m better with the camera now, I’ve published some posts with photos I’m rather proud of for a beginner, and I just couldn’t put out the end product photos for this recipe with a clear conscience.

It just didn’t showcase how scrumptious these rolls really are. I know there are a zillion recipes out there on other blogs, but this one is a good one and the only way I can properly show that and encourage you to try it for yourself is with pretty pictures. So I made another batch (cue more finger-licking – literally – at the Godfather’s office) and took more pictures, keeping some of the prep photos from the first round since I had an extra set of hands with me to demo a few things.
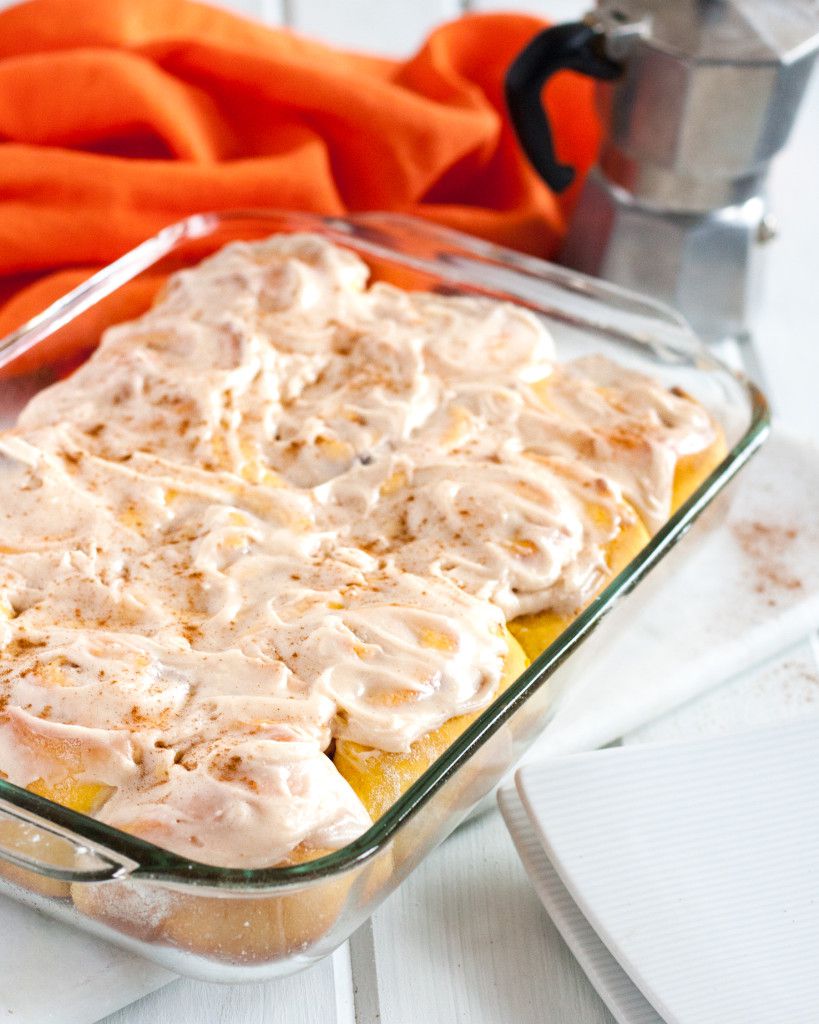

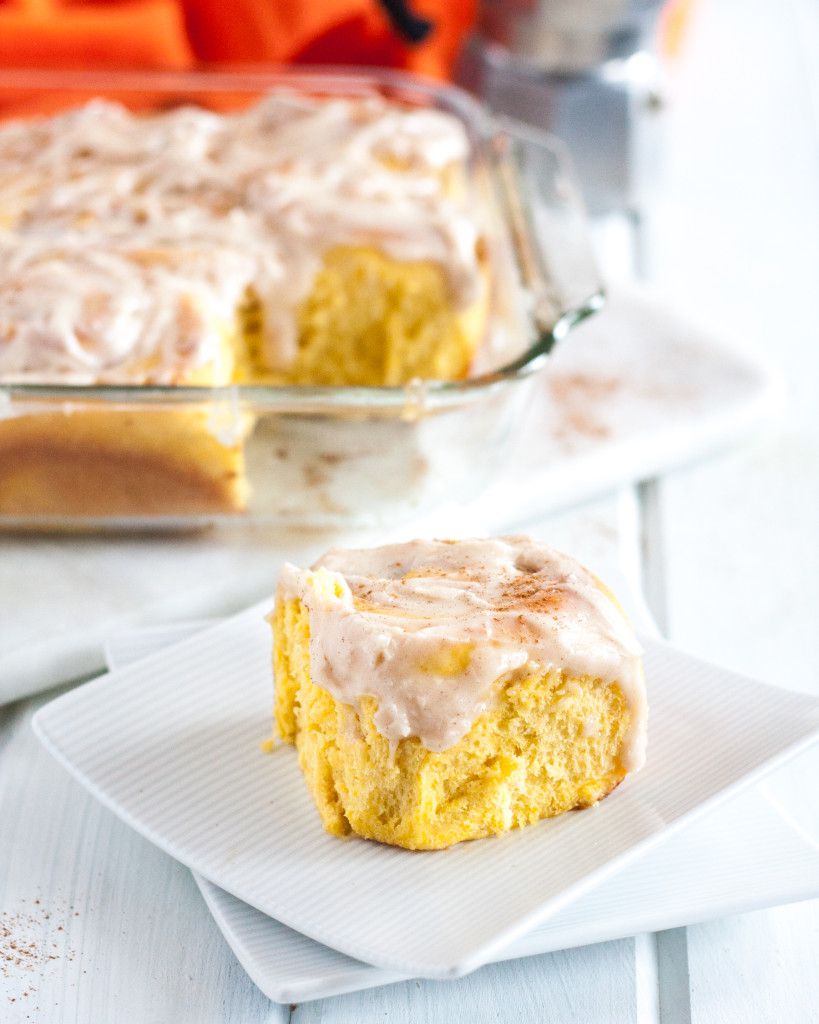
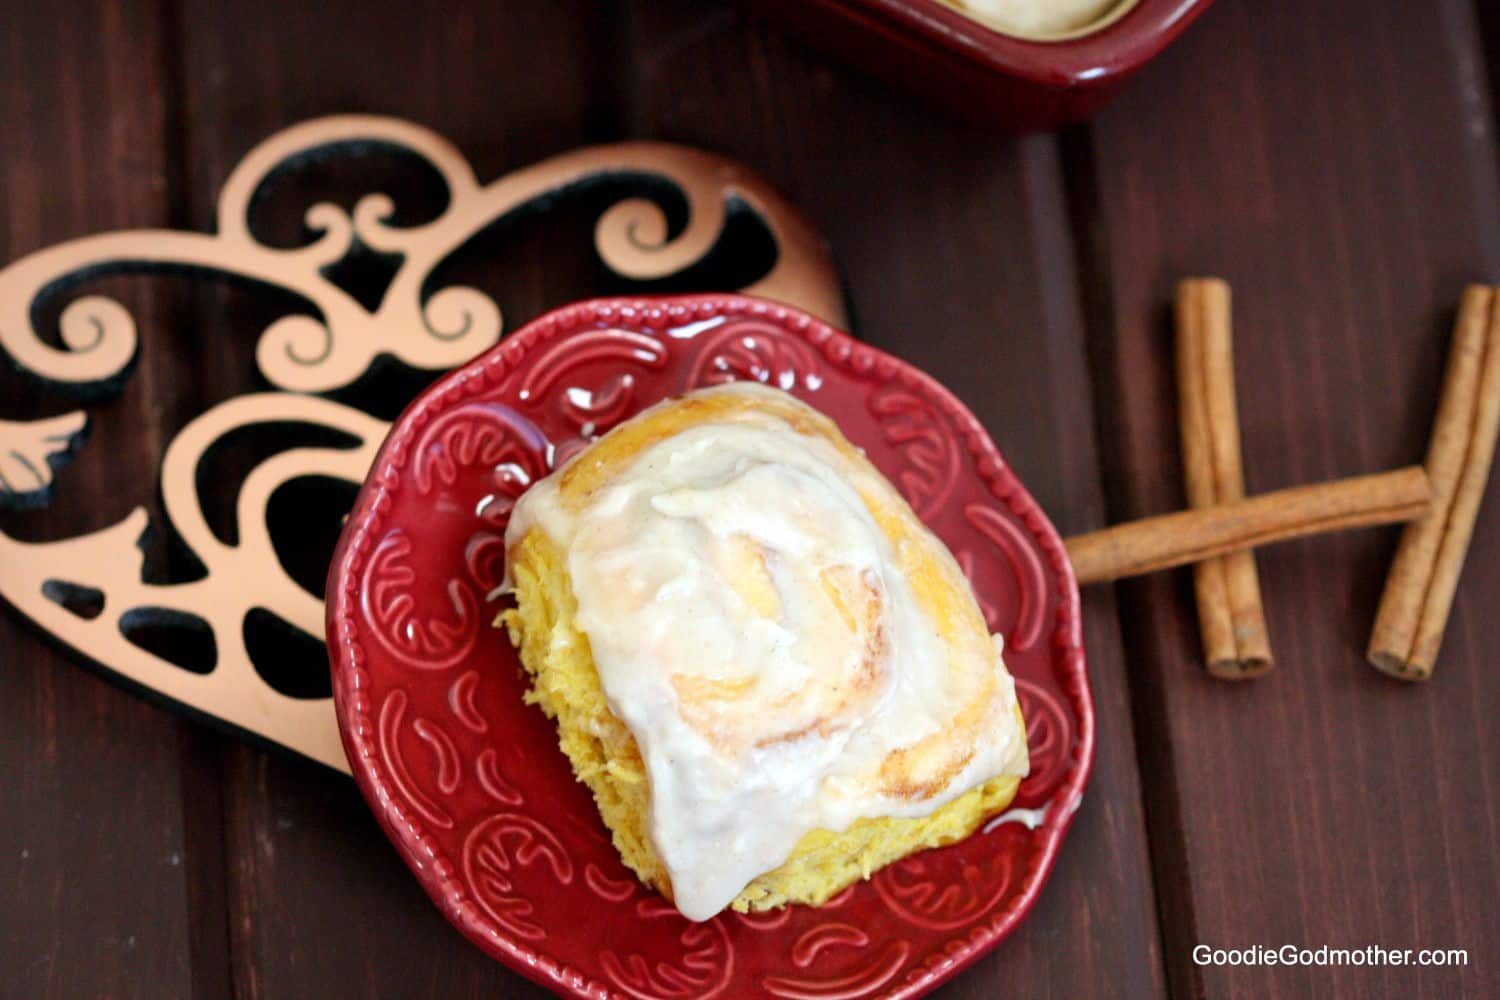
There’s nothing quite like homemade cinnamon rolls fresh from the oven. The smell wafts through the house (or apartment) filling each crevice with an intoxicating, inviting aroma. It’s like a hug for your nose, and an invitation to come eat. Cinnamon rolls make people happy.
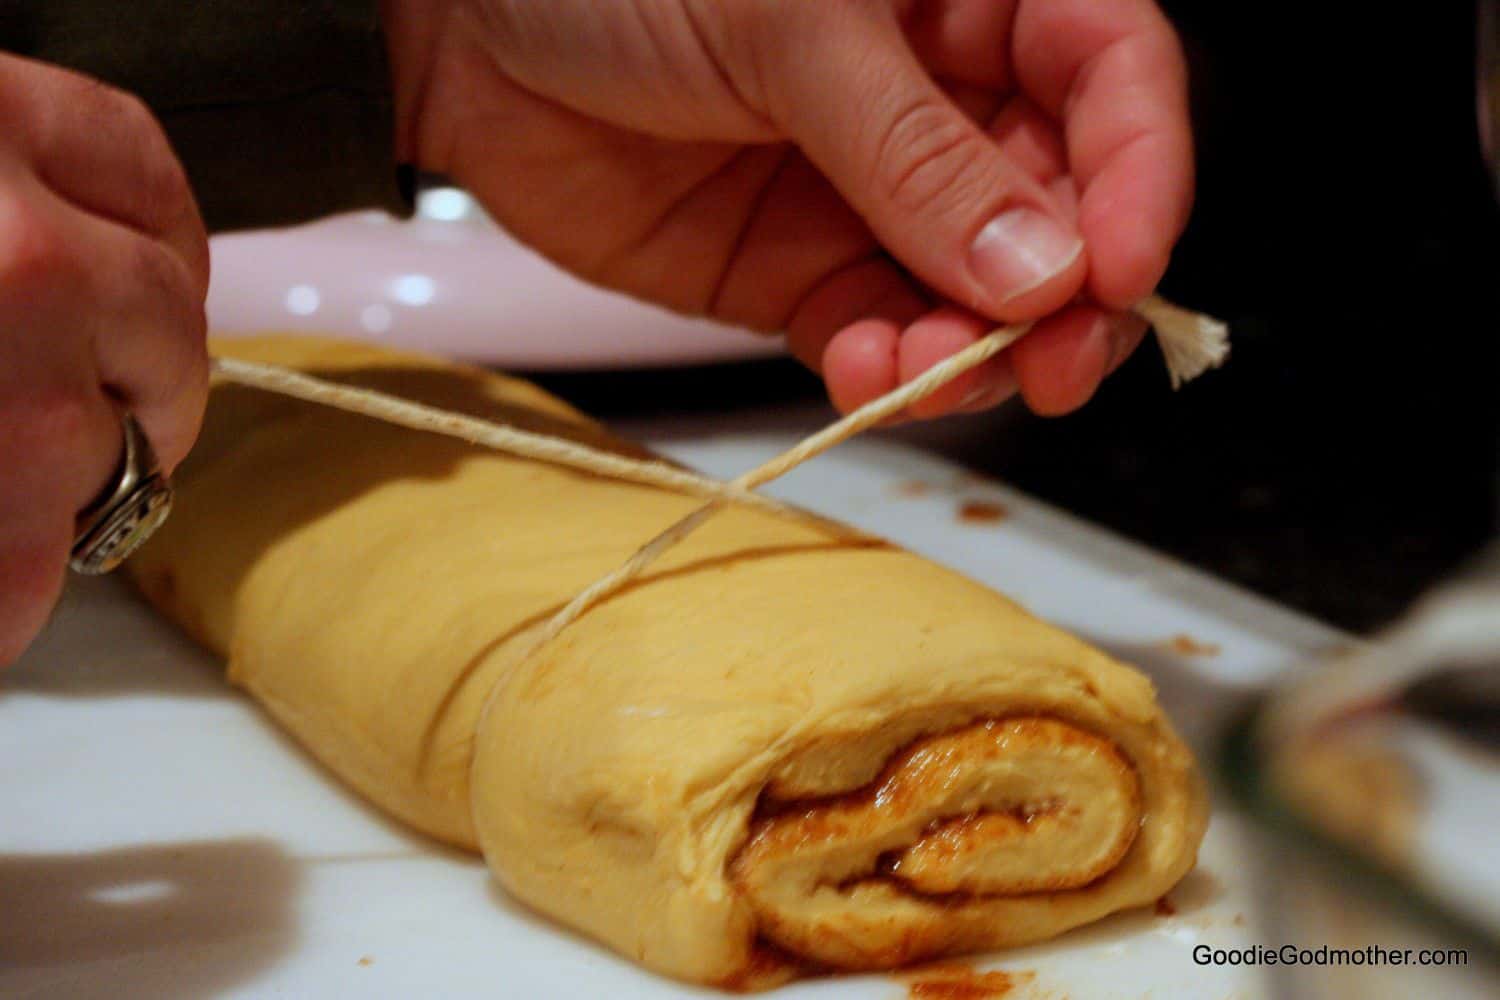
I recommend using kitchen twine to cut the cinnamon rolls as it makes a cleaner cut than a knife
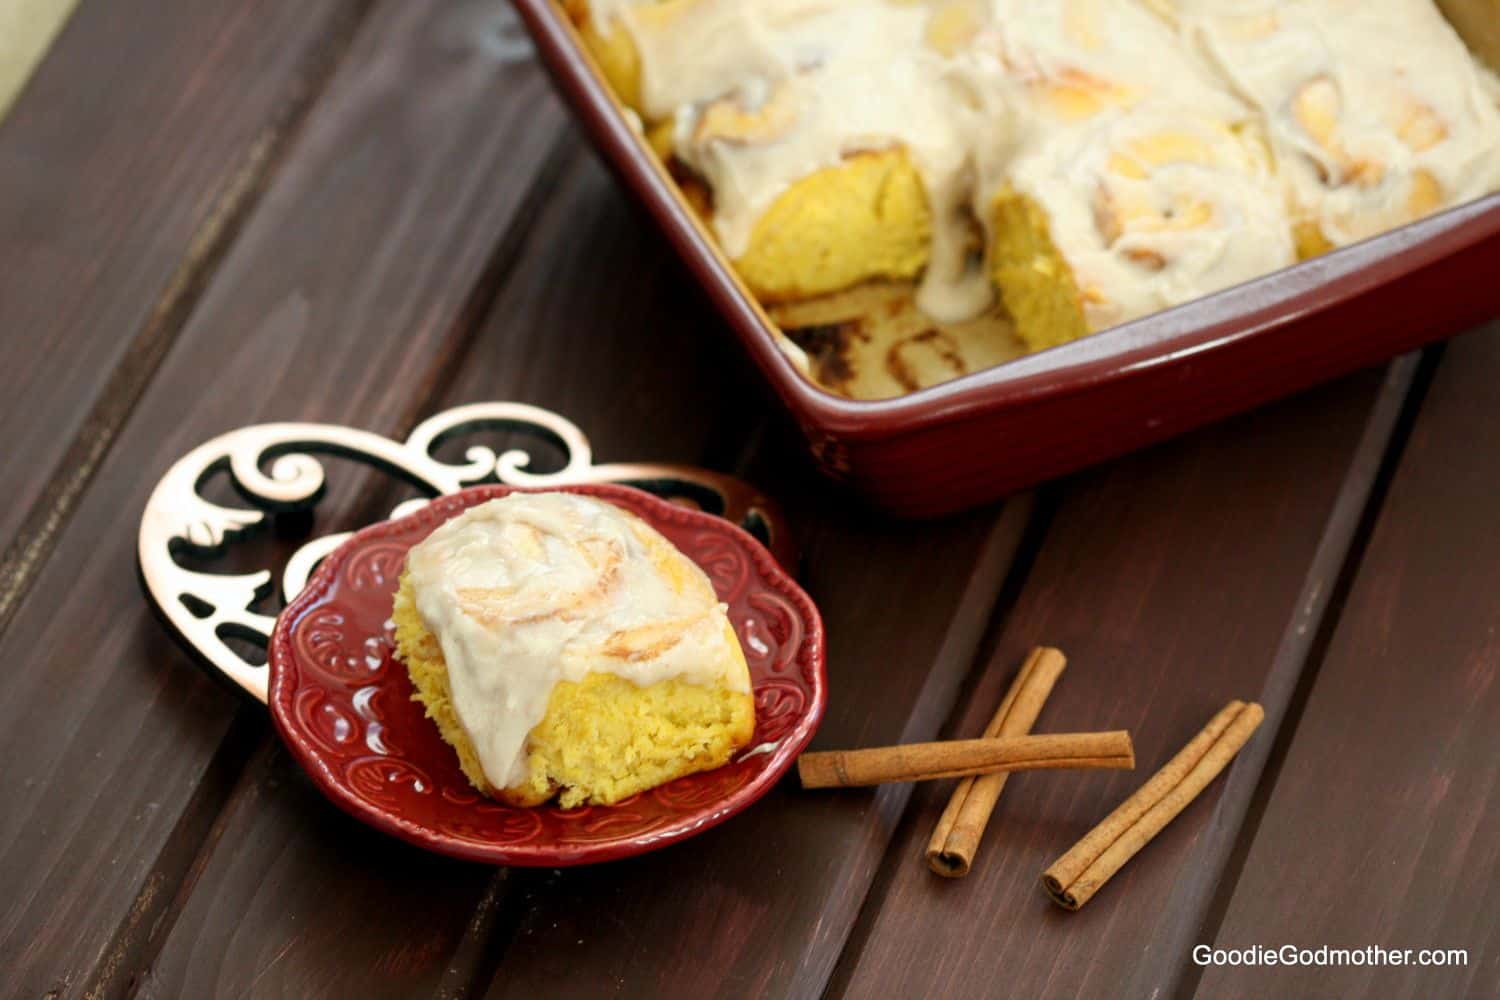
Pumpkin cinnamon rolls make pumpkin-loving people happy during pumpkin season (also known as Fall or Autumn). With a little planning ahead, these make such a lovely weekend breakfast. I made a whole pan on a weekday so I could pass most of them off to the Godfather’s office. I kept one for pictures and dessert that evening, and it almost didn’t make it. It took conscious effort not to pull perfect little cinnamon-spiced bits over the course of the day, leaving nothing for after dinner. I’m glad I didn’t though because it would have made the Godfather sad and cinnamon rolls are not for making people sad (see above).
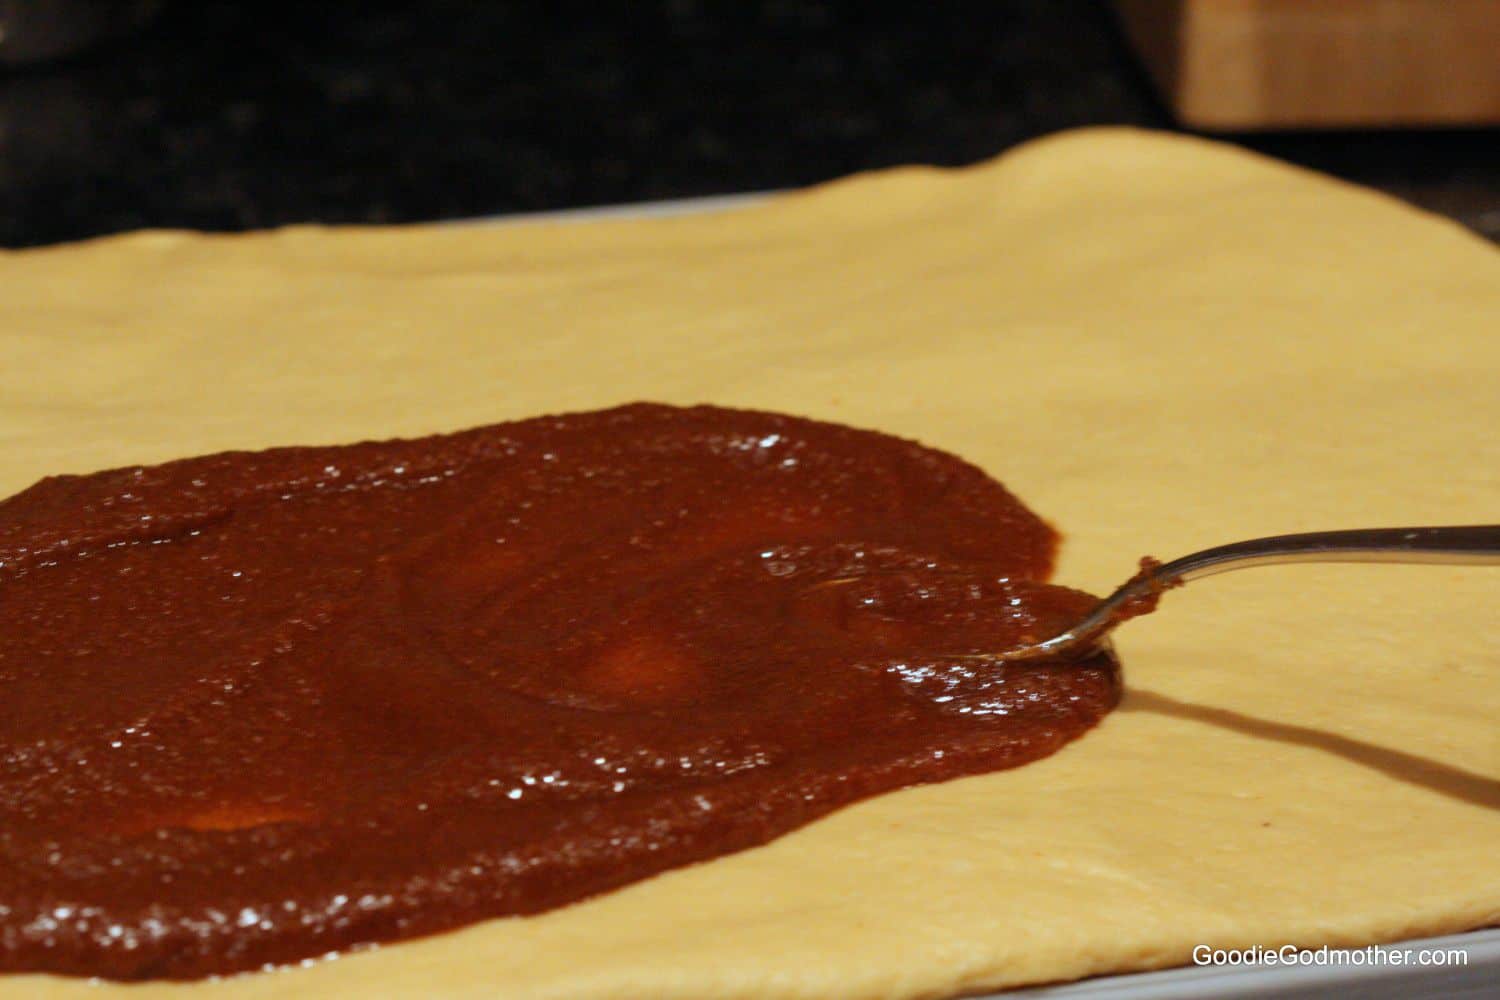
The dough for these rolls is very soft, so I would recommend rolling it out over a sheet of wax paper or a silicone mat so you can lift the edge of the mat and use it to help you create an even roll. Some of the pumpkin filling will likely spill out as you roll, but don’t worry about it, just wipe away any excess and keep going. Additionally, in one of the above pictures you’ll see the Godfather very glamorously modeling how to cut cinnamon rolls using kitchen twine. I would avoid a knife because the sawing motion messes up the pretty swirl look and changes the shape of your cinnamon rolls, which you don’t want. This is cleaner and then you have one less thing to wash.


Overnight Pumpkin Cinnamon Rolls
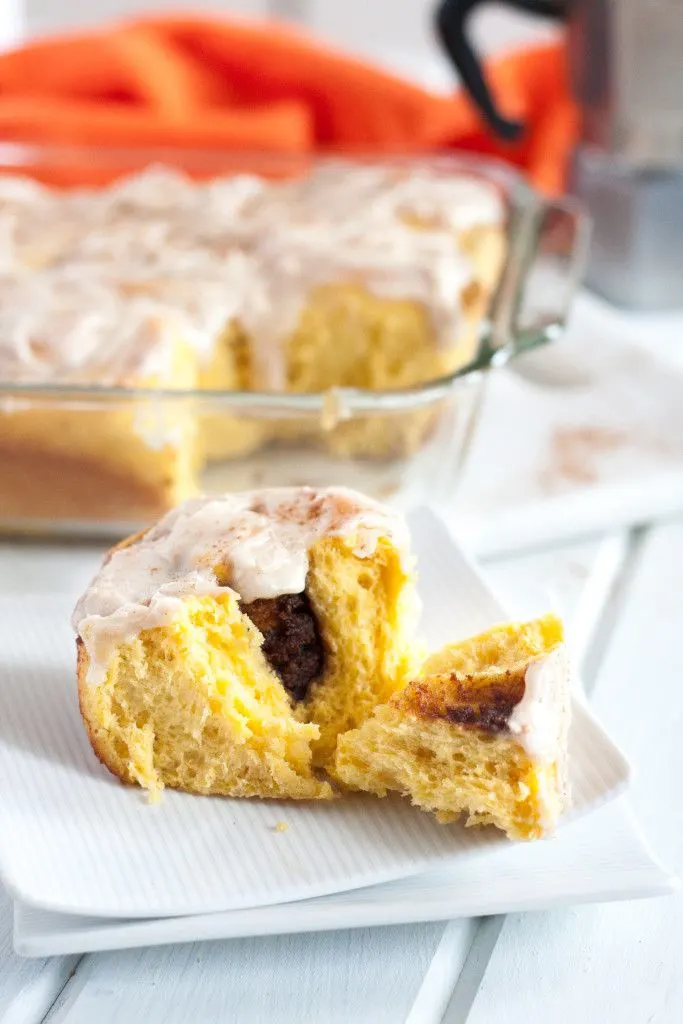
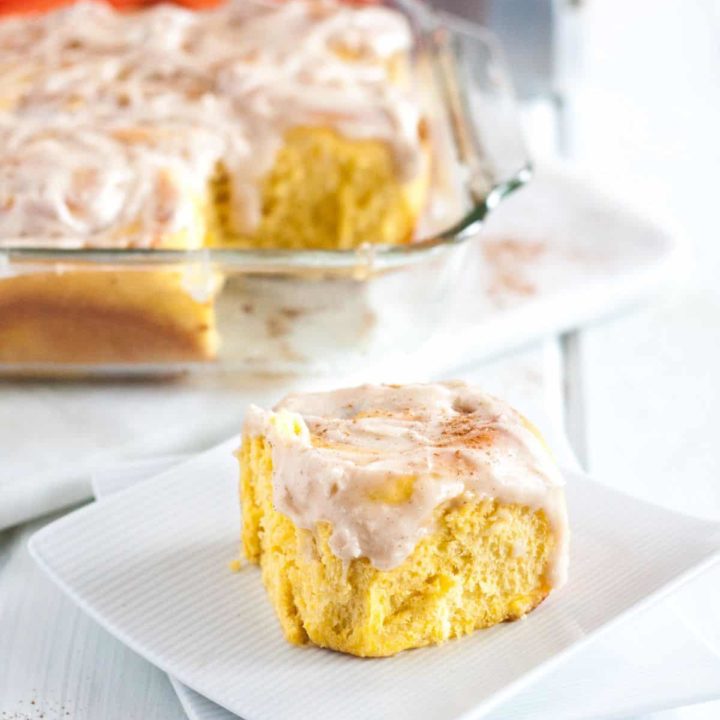
Pumpking cinnamon rolls with pumpkin in both batter and filling are perfect for breakfast on a cool fall morning.
Ingredients
Dough
- 3 whole eggs
- 3/4 cup warm milk or buttermilk (see notes)
- 1/3 cup pumpkin puree (not pumpkin pie filling)
- 8 tablespoons unsalted butter, softened and cut into slices
- 1/3 cup granulated sugar
- 2 1/4 teaspoons yeast (see notes)
- 4 cups all-purpose flour
- 1/2 teaspoon pumpkin spice seasoning mix
- 1 1/2 teaspoons kosher salt
Filling
- 2 tablespoons pumpkin puree
- 2 tablespoons unsalted butter (see notes)
- 2/3 cup lightly packed brown sugar
- 1 tablespoon pumpkin spice
Frosting
- 4 ounces cream cheese, softened
- 8 tablespoons unsalted butter, softened
- 1 1/4 cups powdered sugar
- 2 teaspoons vanilla extract
- 1/2 teaspoon cinnamon
- 1/4 teaspoon salt
Instructions
Prep day! 8-72 hours in advance
- Grease a large bowl and set aside.
- Combine the eggs, milk, and pumpkin puree in a large measuring cup or small mixing bowl and set aside.
- In the bowl of your stand mixer fitted with the paddle attachment, stir together the sugar, yeast, flour, pumpkin spice seasoning, and salt.
- Slowly add the egg and milk mixture to the dry ingredients, stirring on low to combine.
- Once the egg mixture is incorporated into the flour, add the butter a slice at a time, still running the mixer on low.
- Once you've added all the butter, increase the mixer speed to medium and mix until the butter is incorporated. This only takes about a minute.
- Use a spatula to transfer the sticky dough to the greased bowl, and cover it with plastic wrap. Let the dough rise at room temperature for 30 minutes.
- After 30 minutes, use a spatula or your fingers to pick up an edge of the dough, pull it up about 3 inches, and fold it back over itself towards the center. Give the bowl a quarter turn and repeat. Rotate the bowl fully twice - giving the dough 8 folds.
- Cover the dough with the plastic, rest another 30 minutes, and repeat the folding. Do this 2 more times for a total of 2 hours of rising time and 4 foldings.
- Tightly cover the bowl with plastic wrap again and refrigerate overnight (6-8 hours) or up to 72 hours. (See notes)
Baking Day!
- Lightly flour a clean work surface. Remove your chilled dough from the refrigerator and knead it 10-12 times to make it easier to work with. Sift flour lightly over the top of the dough ball, cover loosely with a tea towel or plastic wrap, and let rest for 20-30 minutes until the dough is nearly room temperature.
- While the dough is coming to temperature, make your filling by creaming together the butter, cream cheese, sugar, and pumpkin spice until it's a smooth spread.
- Grease a 9x13-inch pan with butter or nonstick spray and set aside. You may line the pan with parchment paper if you plan to lift out the rolls.
- Roll the dough into a rectangle about 12x18-inches in size. Spread the filling evenly over the rectangle, leaving about a 1/4-inch border on the 2 short sides and the top long side (the one furthest from you).
- Starting from the long end closes to you, carefully roll up the dough into a tight cylinder. Pinch the seam to seal.
- Cut the roll using a sharp serrated knife or kitchen twine and arrange the rolls evenly in your greased baking sheet, cut side up.
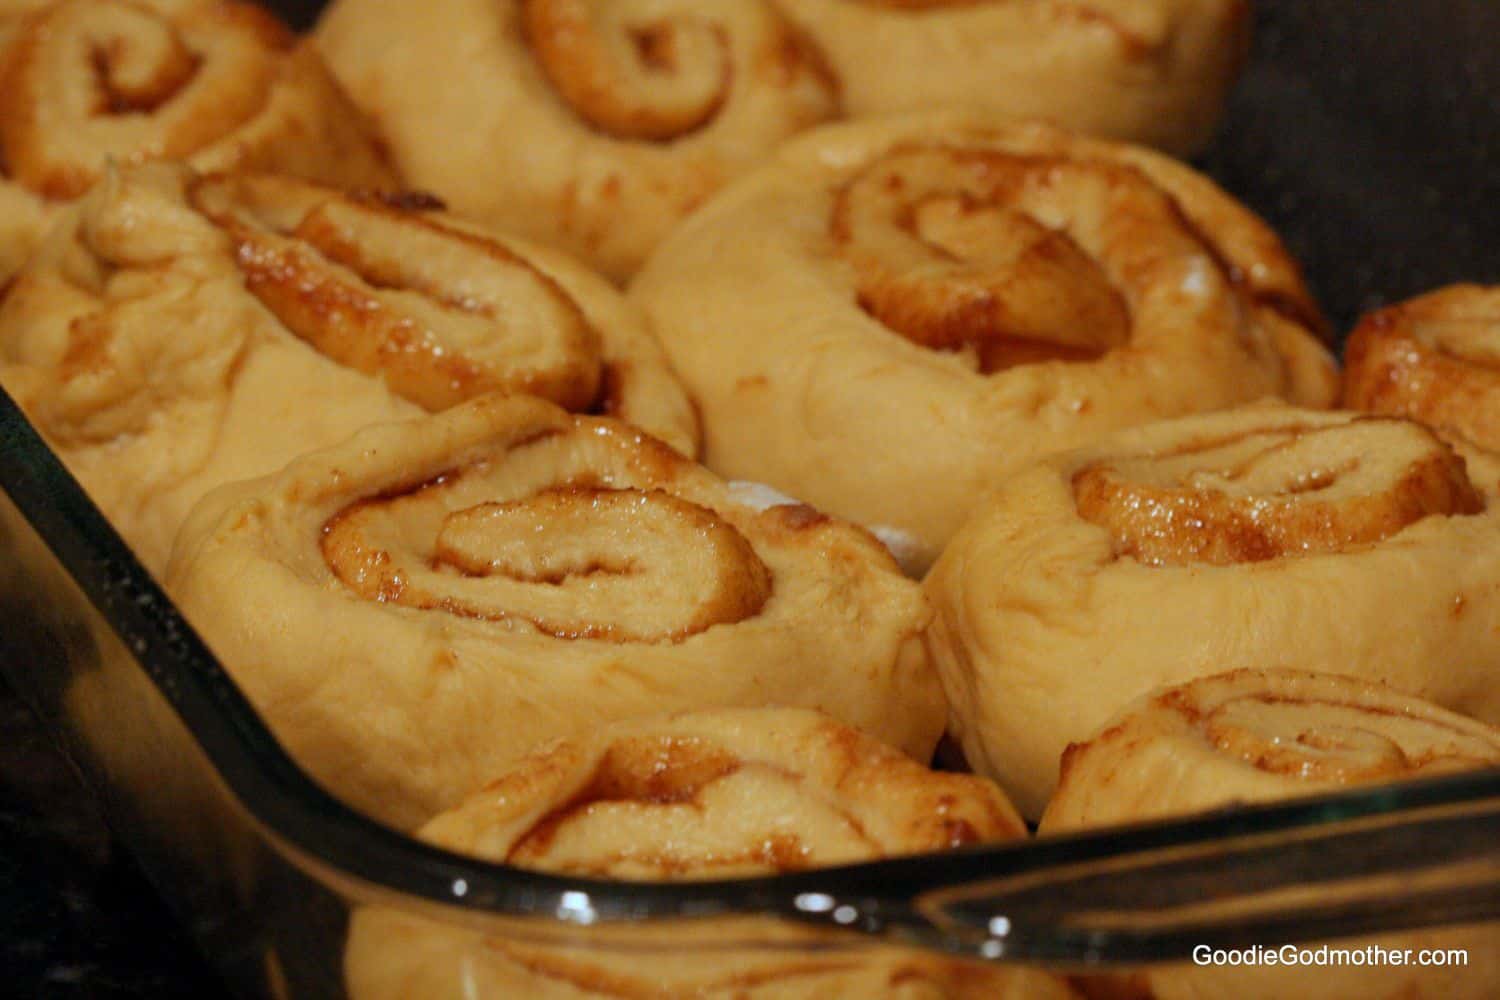
- Cover the rolls loosely with plastic and allow to rise until doubled, about 1-1.5 hours.
- Towards the end of the rising time, preheat your oven to 350 F, with a baking rack in the center.
- When the rolls have risen, remove the plastic and bake for about 30 minutes. They will look lightly golden around the edges when done. Depending on your oven and elevation, this could be as soon as 28 minutes, or as much as 34 minutes. Mix your frosting while the rolls are baking.
- Remove the rolls from the oven and place the pan on a rack to cool. Immediately spread about 1/4 of your cinnamon cream cheese frosting over the top of the rolls. Let them cool another 15 minutes before topping with the remaining frosting.
- Serve warm and enjoy!
Notes
- Whole milk or buttermilk will give the fluffiest results because of the fat content. You may use a low fat milk or even a non-dairy milk as a substitute. I've used all of them interchangeably with good results.
- If baking in higher altitudes, reduce the amount of yeast to 2 teaspoons. In my personal experience, this seems to work better and is anecdotal advice.
- This dough is sticky! The reason we fold it during the first rise is to activate the gluten and build structure without over-flouring the dough, which can make the rolls dry and tough.
- I've tested the rolls using this method and baking after an overnight chill and just before the 72 hour mark. Personally, I find the best results to happen between the overnight and 36 hour mark.
- For the filling, if you happen to have browned butter on hand, it's a delicious variation! If you don't, there is no need to add extra steps to this recipe.
Recommended Products
As an Amazon Associate and member of other affiliate programs, I earn from qualifying purchases.
-
 GreenLife Bakeware Healthy Ceramic Nonstick, 13" x 9" Rectangular Cake Baking Pan, PFAS-Free, Turquoise
 -
 Ateco 1385 Offset Spatula with 4.5-Inch Stainless Steel Blade, Wood Handle, 4.5 Inch, natural
 -
 King Arthur Flour, Vietnamese Cinnamon, Certified Kosher, Nut-Free, 3 Ounces
 -
 Pyrex Prepware 2-Cup Measuring Cup, Red Graphics, Clear
Nutrition Information:
Yield: 12 Serving Size: 1Amount Per Serving: Calories: 485Total Fat: 23gSaturated Fat: 13gTrans Fat: 0gUnsaturated Fat: 8gCholesterol: 104mgSodium: 334mgCarbohydrates: 63gFiber: 2gSugar: 29gProtein: 8g
These nutrition values are estimates. Exact values will vary depending on the ingredients, brands, and quantities used.