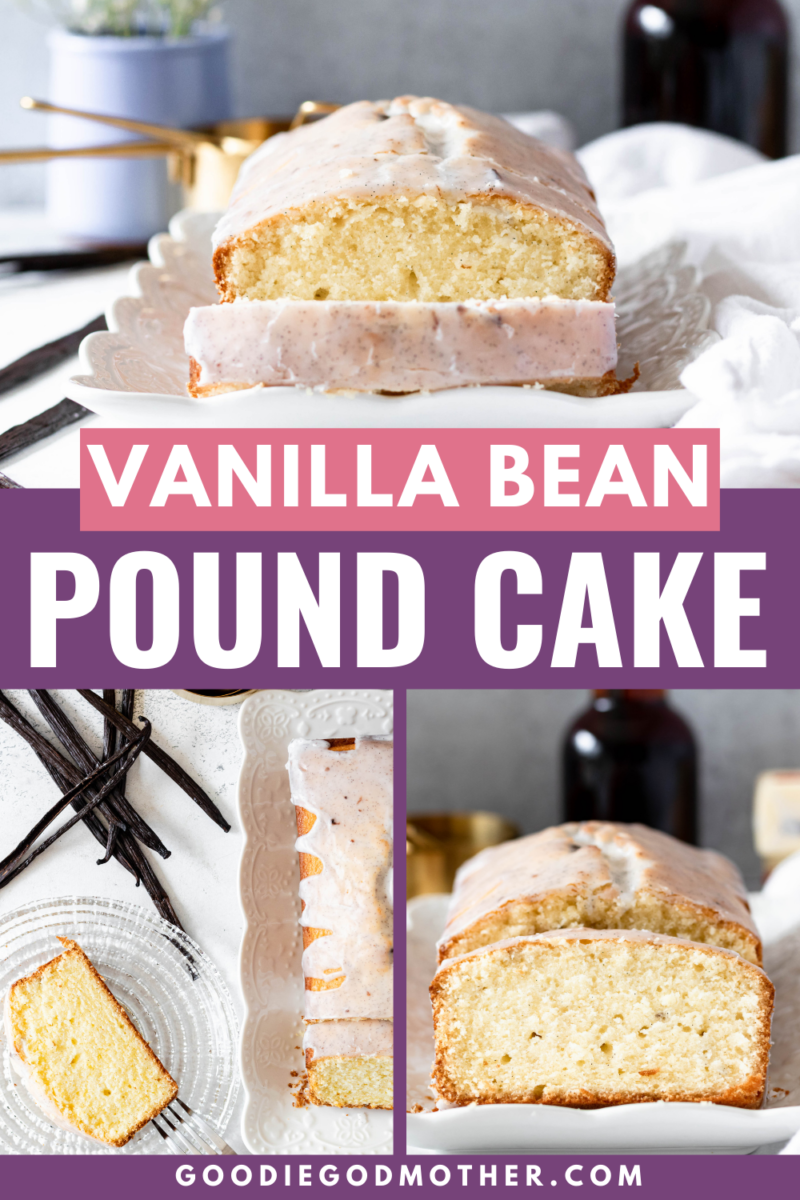

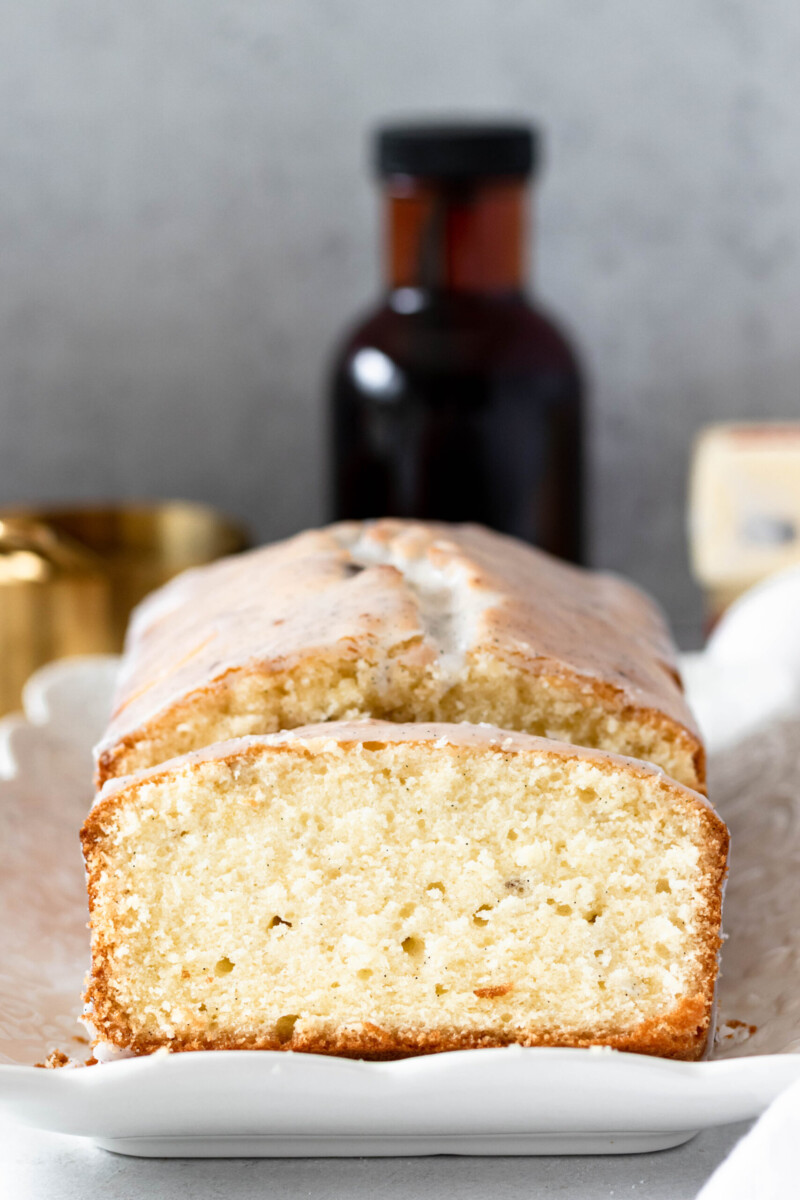
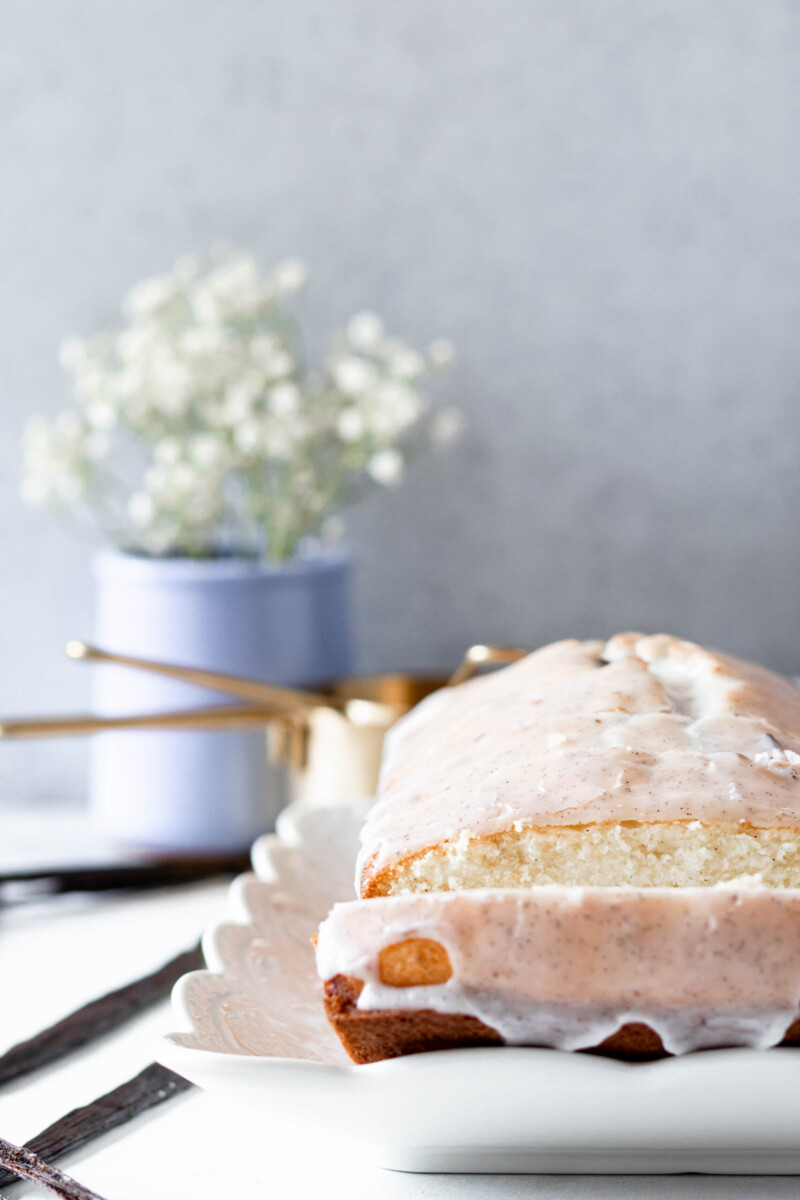
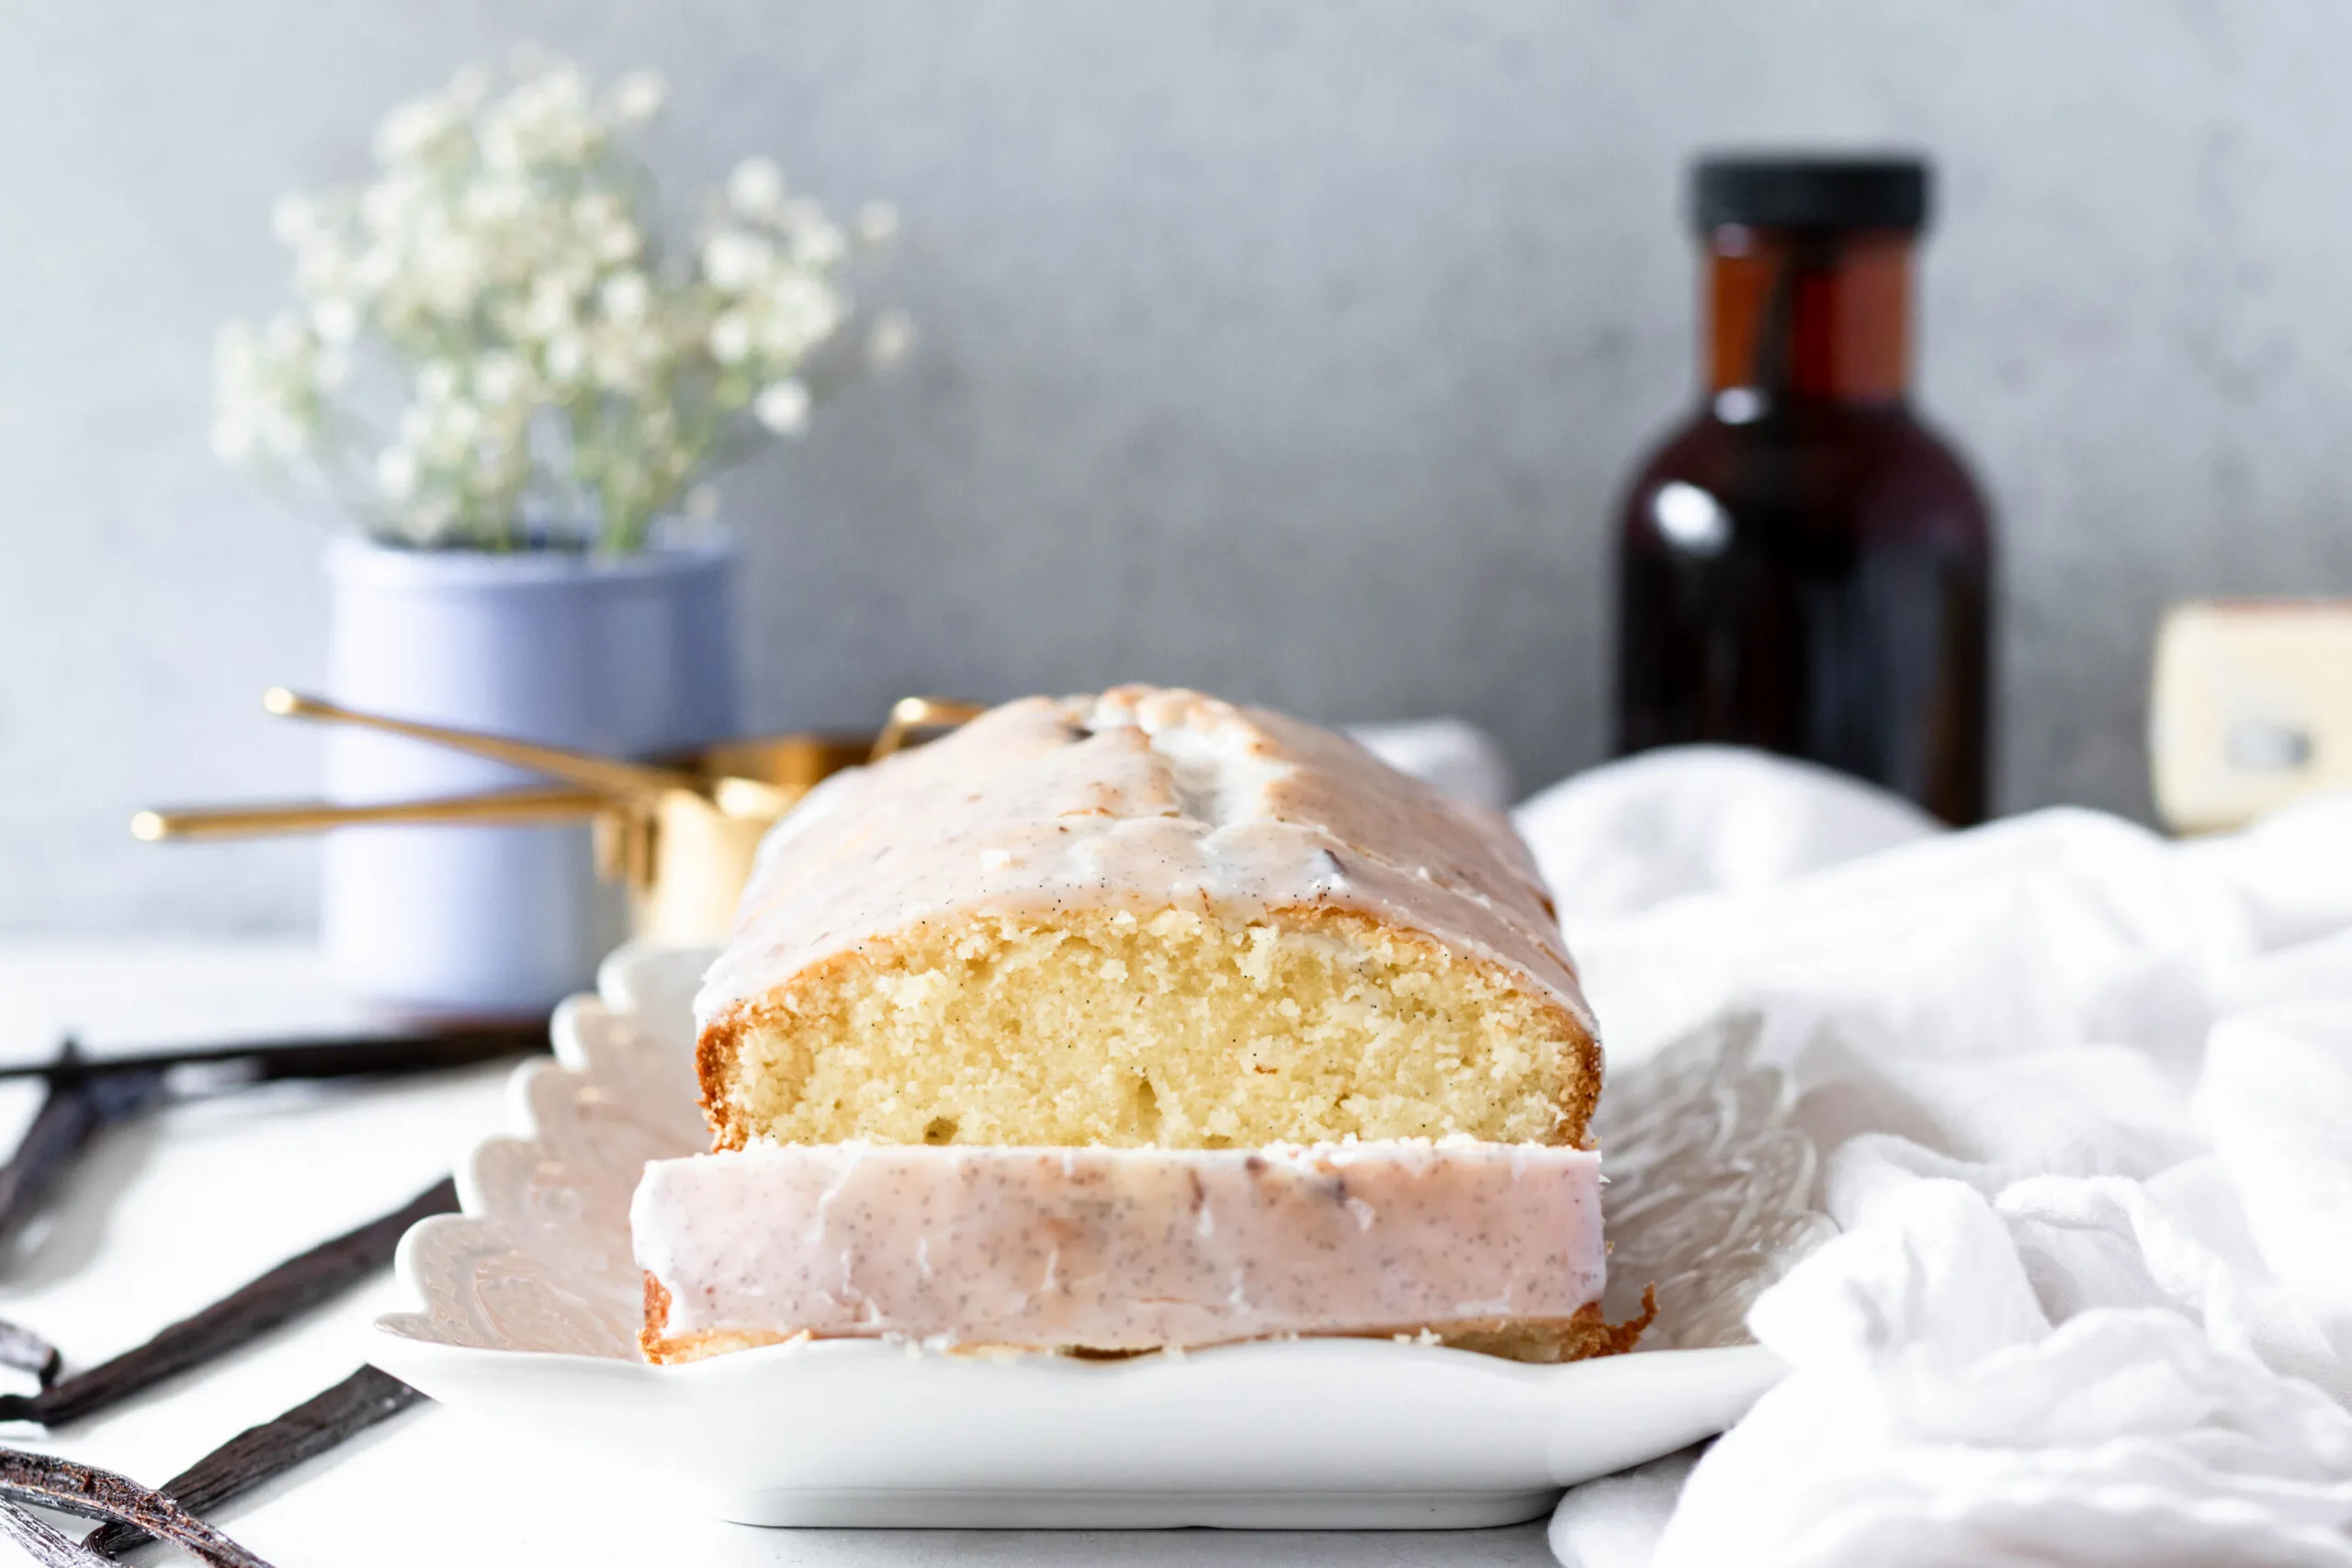
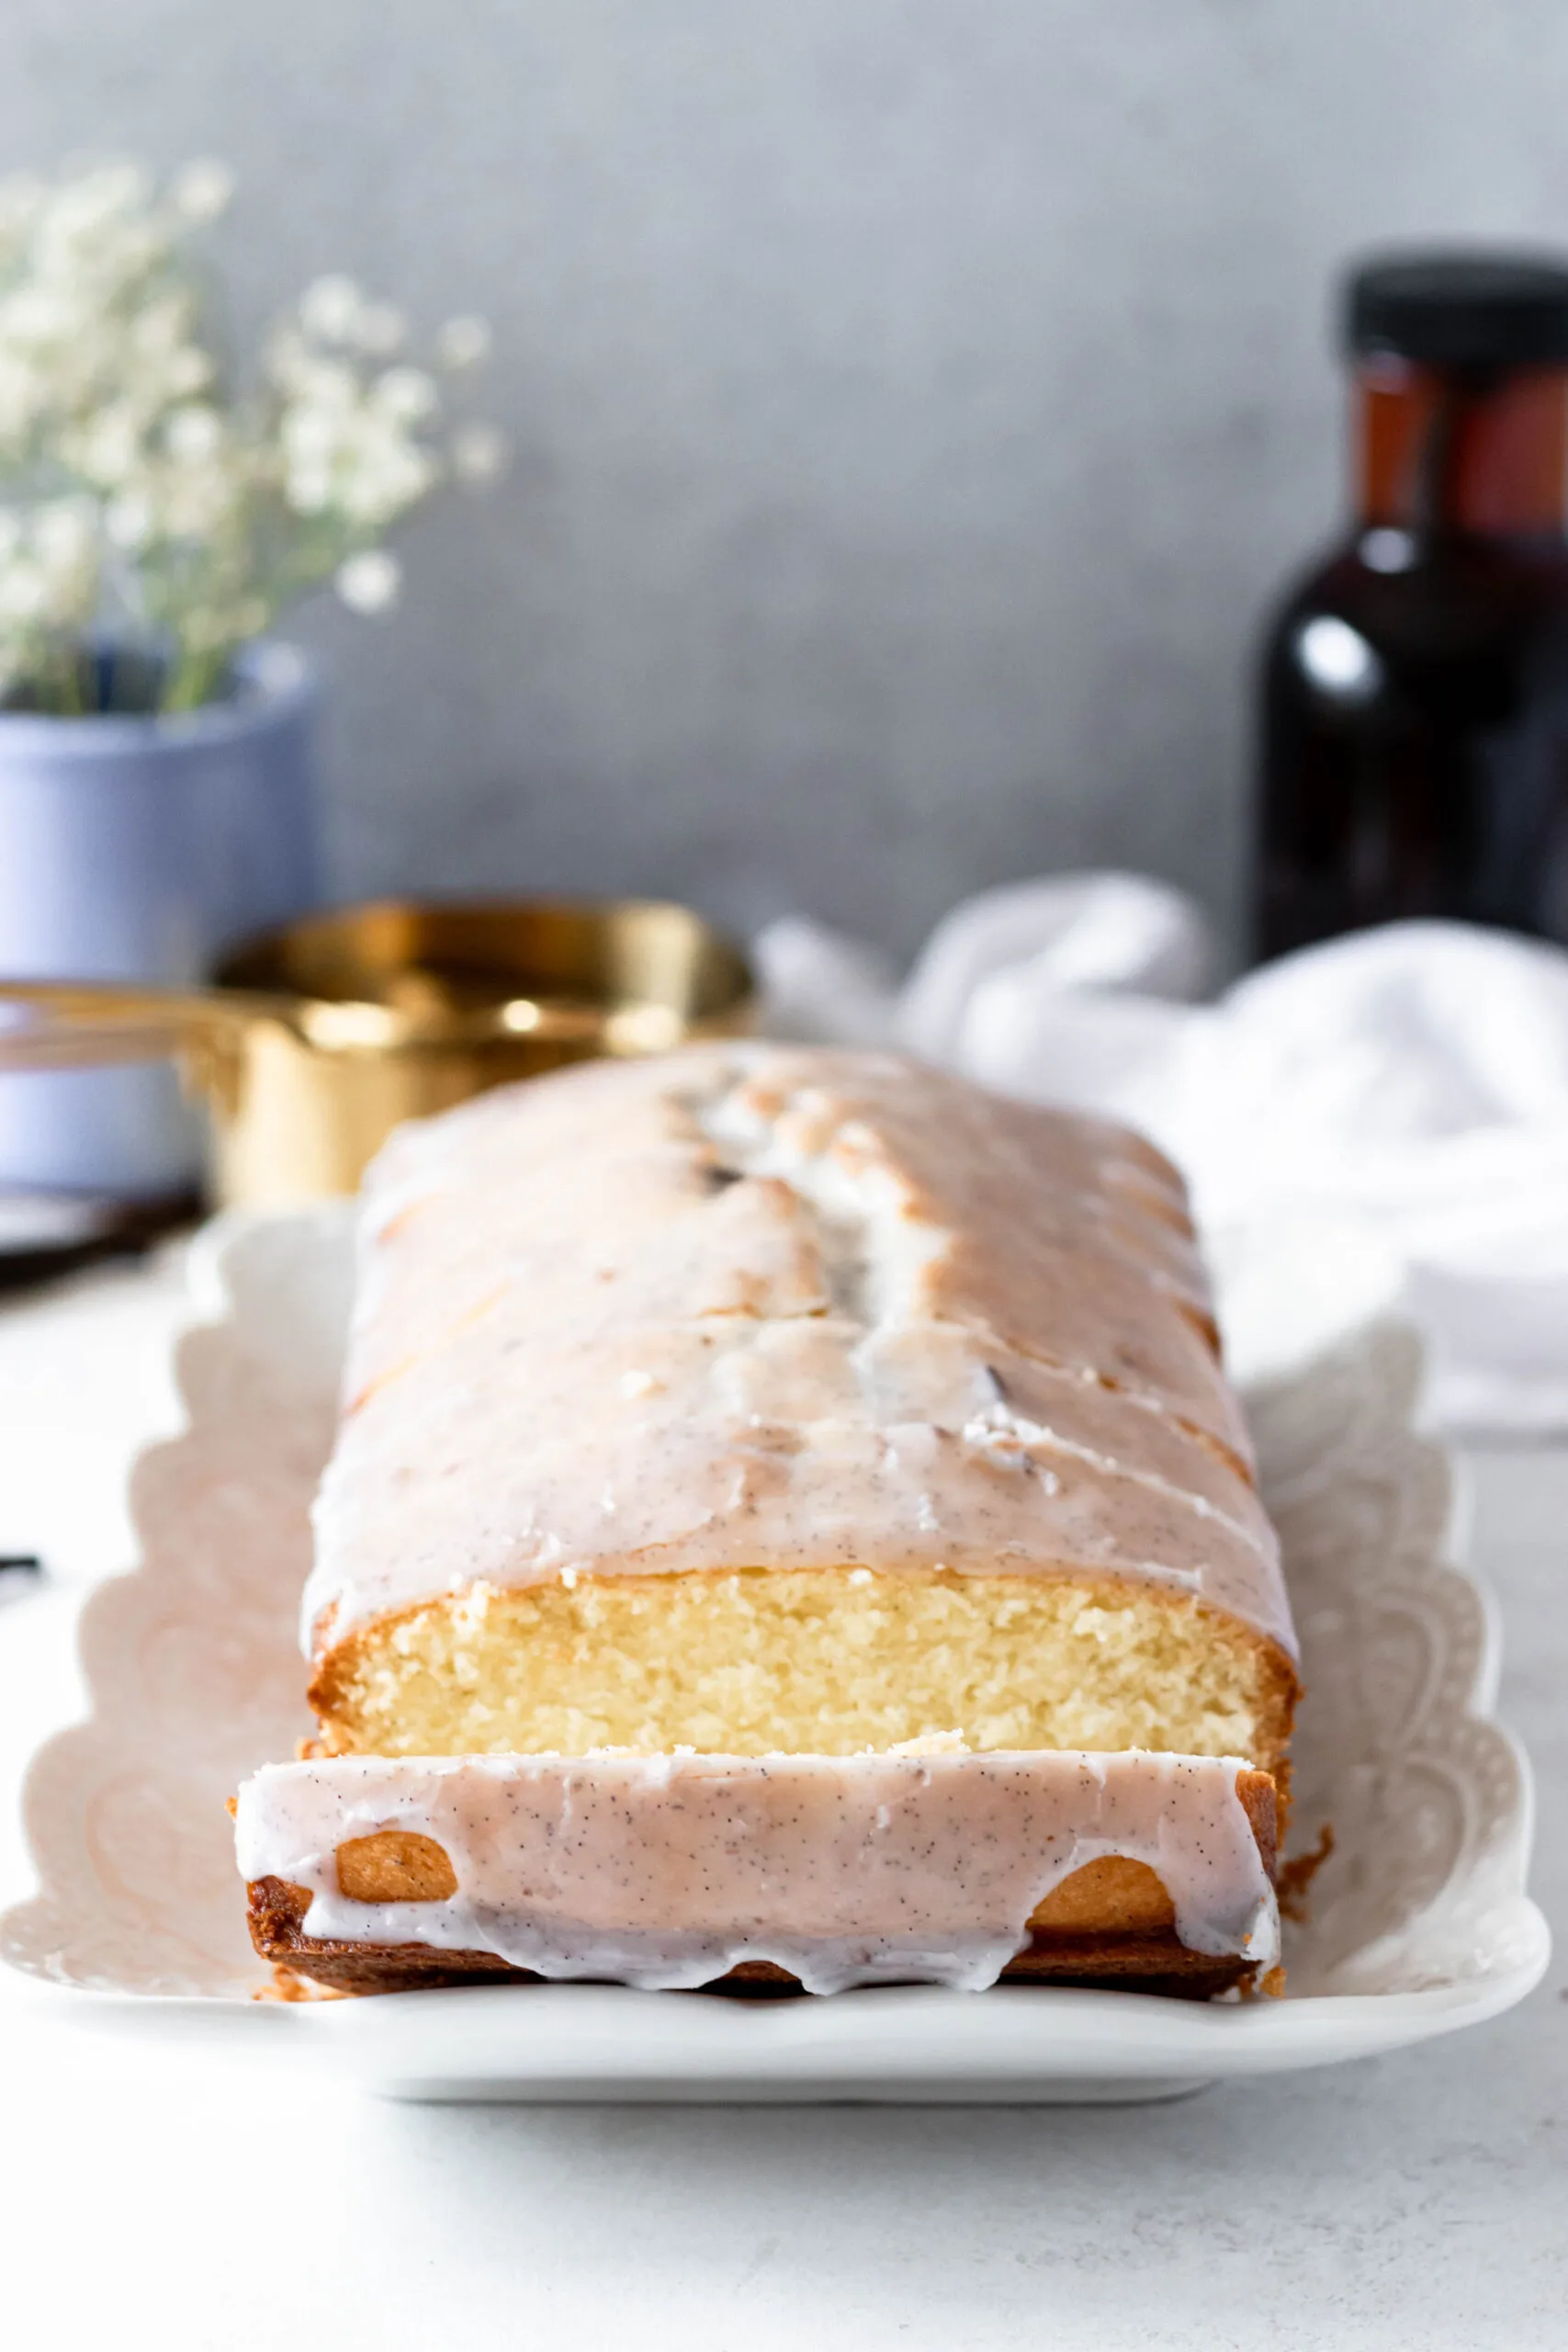
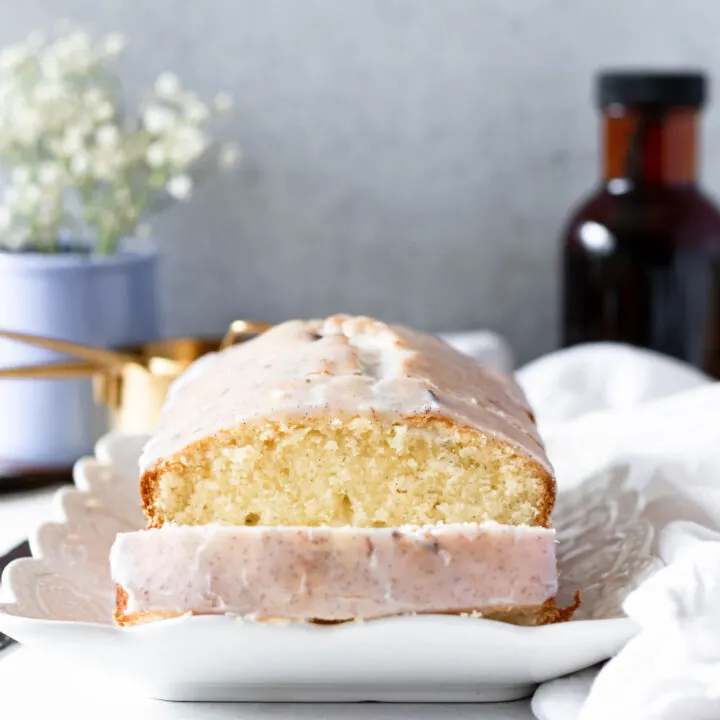
With a loaf this tender and melt-in-your-mouth, you almost won’t believe this is a homemade pound cake! This vanilla bean pound cake is a lovely, simple cake to serve with breakfast, tea, or for dessert!

Darlings, if you grew up on grocery store pound cake, this recipe will TAKE YOU BACK! And then forward a bit because you won’t believe this tender, soft, perfect pound cake recipe came from your kitchen.
I don’t know about you, but for kid me, the epitome of elegance was a sliced store-bought loaf of pound cake with fruit on a platter. My mom and grandma would trot out that “family recipe” when they wanted to impress.
What can I say? I come from a long line of not-bakers on my mother’s side.
So you’d think it makes sense to carry on the family tradition. But no, it doesn’t. If you’re reading this, you understand that sometimes, you want the joy of making something yourself!
What is a pound cake?
Traditionally, a pound cake is a cake made with a pound of butter, a pound of eggs, a pound of sugar, and a pound of flour. Creative name, isn’t it?

When you think about it though, it’s kind of brilliant. Pound cakes date way back before the internet and refrigeration.
People were eating cake before they could Google recipes and that is a good thing. Cake brings people together in a way the internet does not.
Simple cake recipes, like pound cake, are simple desserts anyone can bake!
Of course, over time, the basic pound cake recipe has changed. We have easily available leavening ingredients like baking powder and baking soda available.
It’s also easy to change up the recipe with things like whipping cream or cream cheese. Or we can add glorious swirls of Nutella to our pound cakes because chocolate and hazelnut make everything better.
Vanilla Bean Pound Cake Recipe Notes
First, I’d like to gently remind you that you don’t have to use vanilla beans. I did this time because I was in the process of making a fresh batch of vanilla extract.

If you’d like to see vanilla bean flecks in your pound cake but don’t have vanilla beans, use vanilla bean paste. Otherwise, add a little more vanilla extract and you’re good.
Second, you’ll notice that this cake uses what’s called the reverse-creaming method. I talk about it in my key lime cake recipe video. Basically, it’s when you combine the dry ingredients in your mixing bowl first, then add the wet ingredients.

Rose Levy Berenbaum uses this method for the perfect pound cake recipe in her book, of which this recipe is only a slight modification. If you really want to delve into the science behind the baking, I recommend her cookbook. It’s a good read, and we have liked most of the recipes we’ve tried.
Third, take the time to mix the batter as long as the recipe calls for. I know it’s tempting to cut corners, but for the cake to have the right structure, you need to beat air into it. Set a timer if you need to, but beat for a full minute!
Fourth, it really helps if your ingredients are all at the correct temperature. So plan ahead a bit and let your butter, eggs, and milk sit at room temperature about 20-30 minutes before you start mixing.
What if I don’t have cake flour?
This was going to be a note in the section above, but I get asked this a lot. And it’s a good question! Most people don’t keep 4 different kinds of flour in the house, and cake flour is usually sold in these boxes that disappear so quickly!
You can mix up your own cake flour!
The difference between cake flour and your standard all-purpose flour is the protein content. Cake flour is a little lighter and helps you achieve a slightly more tender crumb. But you can absolutely make your own easily for any recipe!
All you need is your regular all-purpose flour and cornstarch!
Scoop out a cup of flour. To make sure you aren’t scooping out too much, fluff the flour a bit with your measuring cup and lightly scoop without pressing into the side of your bag or container. Use the flat edge of a table knife to level the flour in the cup, making sure not to pack it down.
Dump the flour into a bowl, then remove 2 tablespoons. Add 2 tablespoons of cornstarch and whisk well to combine.
Voila! Homemade cake flour.
And with that, you have everything you need to make your own incredible, I-can’t-believe-that-came-out-of-my-oven, melt-in-your-mouth, better-than-store-bought pound cake.

Happy baking, darlings!

Vanilla Bean Pound Cake
With a loaf this tender and melt-in-your-mouth, you almost won't believe this is a homemade pound cake! This vanilla bean pound cake is a lovely, simple cake to serve with breakfast, tea, or dessert!
Ingredients
- 1/4 cup milk, room temperature
- 3 large eggs, room temperature
- caviar from 1 vanilla bean (see notes)
- 1 1/2 cups cake flour (150 grams)
- 3/4 cup granulated sugar
- 3/4 teaspoon baking powder
- 1/4 teaspoon salt
- 12 tablespoons unsalted butter, softened and cut into tablespoon-sized squares
Vanilla Glaze
- 2/3 cup powdered sugar
- 1 teaspoon vanilla extract (see notes)
- 2-3 teaspoons water, to thin
Instructions
- Preheat your oven to 350 F. Grease an 8-inch by 4-inch loaf pan (see notes) and line with parchment paper. Leave enough paper over each edge to act as handles so you can easily lift out your loaf after baking.
- In a large measuring cup or smaller mixing bowl, whisk together your milk, eggs, and vanilla. Set aside.
- In a large mixing bowl (if using a hand mixer), or the bowl of your stand mixer fitted with the paddle attachment, combine all the dry ingredients - flour, sugar, baking powder, and salt. Stir on low for 20-30 seconds until well combined.
- Place the cut butter evenly over the dry ingredients, then pour in half the egg mixture. Using medium speed on your stand mixer (medium-high on your hand mixer), beat the cake batter for 1 minute. This helps develop the crumb (structure) for the cake. Scrape the sides of the bowl.
- Add half of the remaining egg mixture and beat the batter for another 20 seconds. Scrape the bowl again. Repeat with the remaining egg mixture.
- Pour the batter into your prepared pan and smooth the surface to ensure even distribution.
- Bake for 50-55 minutes until a tester inserted in the center of the cake comes out clean. If you notice the top of the cake browning a little more than you'd like, tent it with parchment or buttered foil after 30 minutes (see notes).
- Let the cake cool in the pan for 10 minutes and then use your parchment handles to transfer it to a wire rack.
- When the cake is cool or just barely warm, make the glaze.
- Stir the powdered sugar and vanilla together in a bowl. Add the water, 1 teaspoon at a time, until a thick, but pourable consistency is reached. The glaze should evenly drizzle off the fork or spoon when lifted out of the bowl.
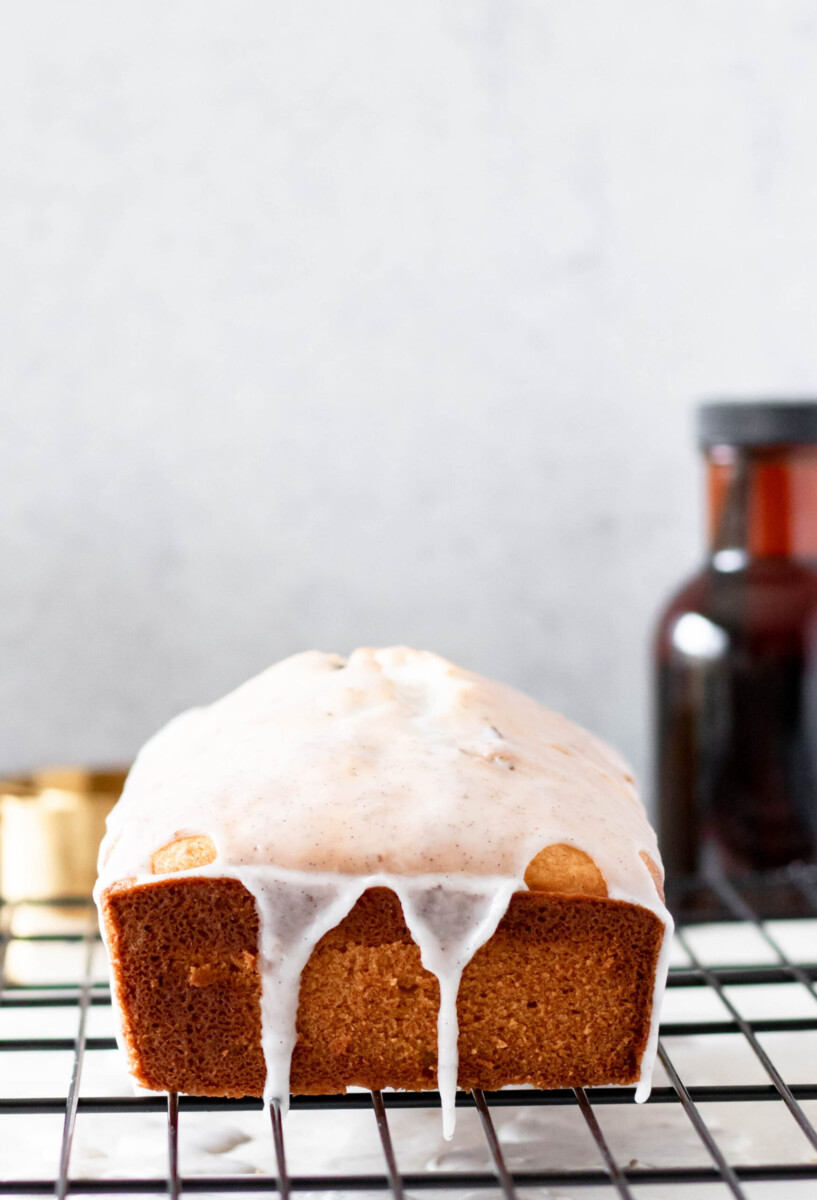
- Pour the glaze evenly over the pound cake and allow it to set.
- Once the glaze has set, store the cake in an airtight container. It may be kept at room temperature up to 5 days, or wrapped (without the glaze) for up to 3 months.
Notes
- If you need to make this cake non-dairy, you may substitute non-dairy milk and non-dairy butter and it will still turn out very nicely. I haven't tried this with an egg replacement (yet), so can't speak to those results.
- If you aren't using a vanilla bean, substitute with 1 1/2 teaspoons of vanilla bean paste or 2 teaspoons of vanilla extract.
- I use a dark-colored loaf pan, and so the recipe is written for this. If you are using a glass loaf pan, you'll want to reduce the temperature to 325 F and start checking the cake at the 40-minute mark. Glass and metal have different thermodynamic properties, so you need to make a few minor adjustments when baking with either to allow for how they conduct heat.
- I don't usually tent the pan, so the browning you see in the photos is what I get in my oven. But If you prefer your pound cakes to not have any browning on top, this is how you do that.
- You'll see flecks of vanilla bean in the glaze in the pictures. If you'd like the same, use vanilla bean paste, or about half a vanilla bean. I used about half a vanilla bean and added a splash of (already made) extract.
Recommended Products
As an Amazon Associate and member of other affiliate programs, I earn from qualifying purchases.