
This *super popular* easy red velvet cake recipe is moist and tender with the tangy sweet classic red velvet flavor. You’ll love how easy it is to make this cake from scratch.


This is my perfect red velvet cake recipe. It’s the best red velvet cake I’ve tried! This cake is most definitely *not* chocolate cake with red food coloring. That, my darlings, is *not* red velvet cake; contrary to what I have heard/seen in my life outside the South. Bless it.
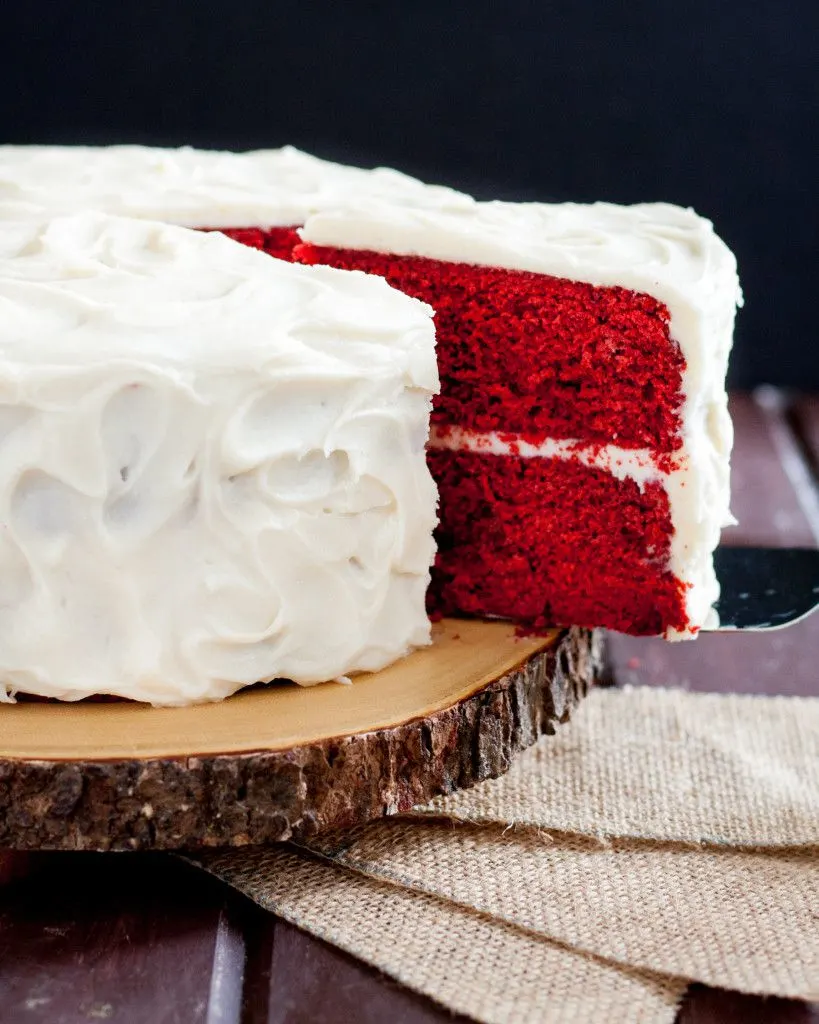
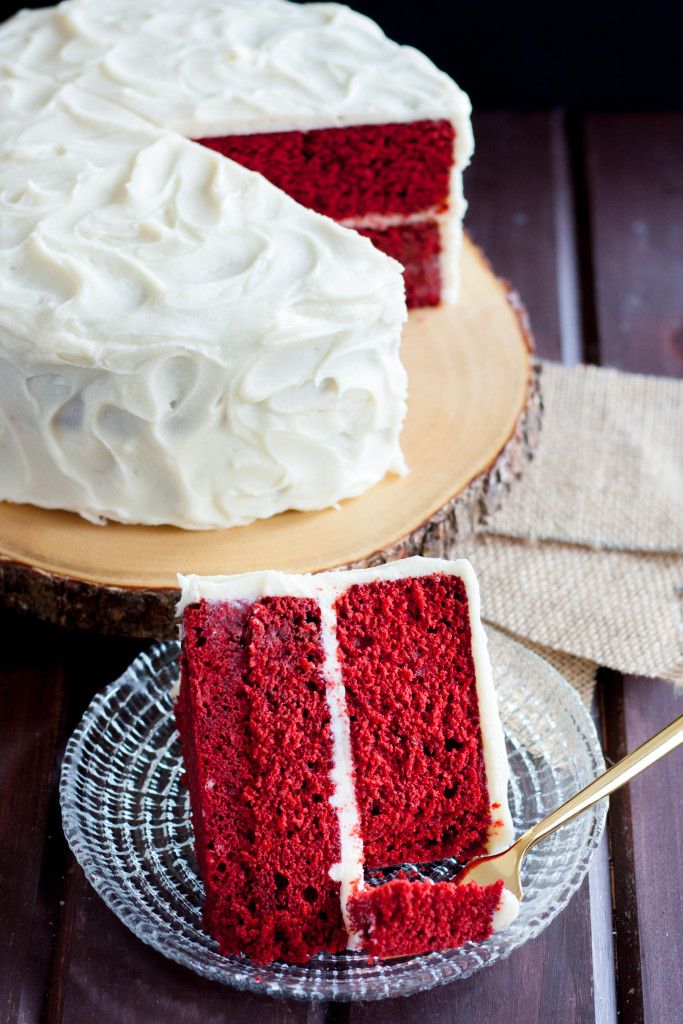
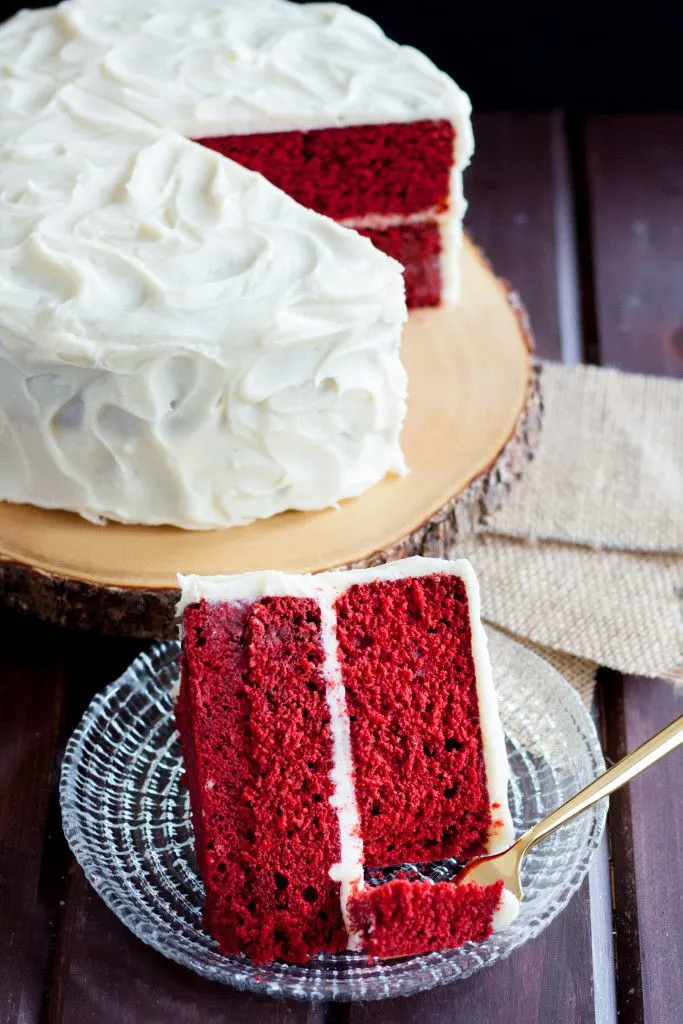
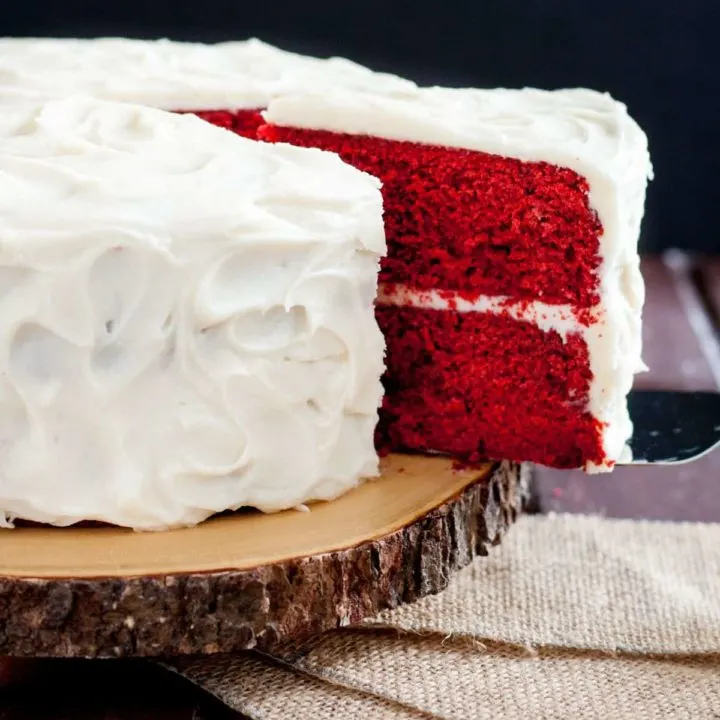
The mark of a really good red velvet cake is a slight tang from vinegar and buttermilk with just the right hint of chocolate. Of course, it has an incredibly moist, but not super dense, crumb.
This easy red velvet cake recipe is all of that! I’ve used it for years as both a layer cake and cupcake recipe with incredible results each and every bake.
Well, I used to use it for both cakes and cupcakes. It makes a lot of cupcakes though, so I’ve played with it a bit and have a lovely red velvet cupcake recipe for you here.
Where did red velvet cake originate?
While the red velvet cake is largely considered a Southern treat, it appears its roots are in New York City!
The Waldorf Astoria hotel created the recipe and called it the Waldorf Astoria cake sometimes around the Depression Era. So sometime in the 1930s.
The “red” part of the cake is actually a result of a chemical reaction between the vinegar in the batter and the cocoa powder. It’s not as bright as red velvet cakes now. To get that red, we have to add dye.
Despite it’s northern roots, I’ve always known it to be a distinctly Southern cake. In my opinion, it’s rare to find a truly delicious recipe outside of the South.

What makes a red velvet cake “the best”?
As with all cake recipes, that depends on personal preference. Try a few recipes you like, and decide! This recipe has over 100k repins on Pinterest and loads of comments praising the resulting flavor and texture, so I’d say it’s a great place to start! You may not have to try anything else. 😉
Red velvet shouldn’t be too sweet, since the cake is often topped with cream cheese frosting. You want a nice balance of flavors.
In more traditional Southern kitchens, you may also find red velvet topped with ermine frosting. This is a cooked frosting made from a roux with flour, sugar, and water.
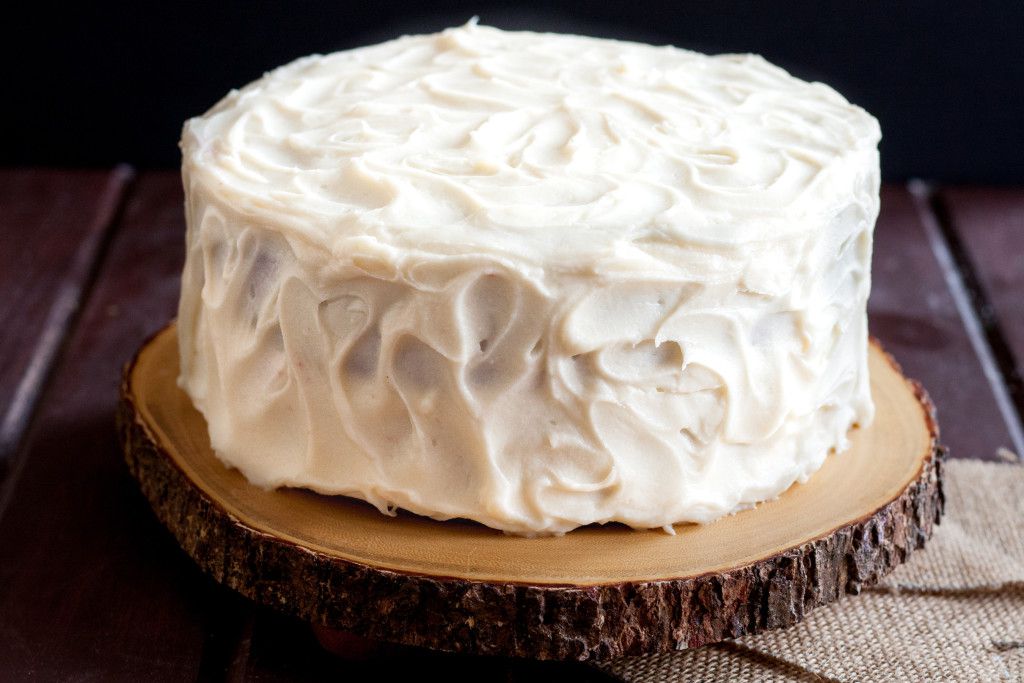
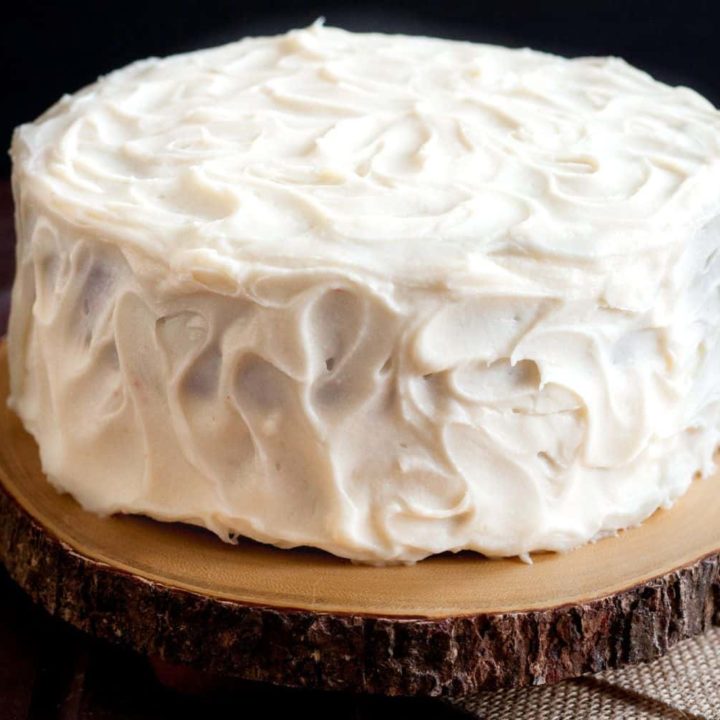
It’s a different style, but I personally prefer cream cheese frosting, especially since I really love my cream cheese frosting!
I’ve included that recipe below for you too.

How to make red velvet cake from scratch
This cake is made using the classic creaming method. That means we beat the butter and sugars together to incorporate air into the batter and create the base. Then we add the remaining dry and liquid ingredients, starting and ending with dry ingredients, until we have a smooth batter.
With this cake, the time to incorporate air into the batter is during the butter and sugar creaming process! You don’t want to beat the batter too much once you’ve added the flour because that will activate the gluten and make your cake dense.
You can mix this cake by hand using a hand mixer, or a stand mixer with the paddle attachment. I’ve done both and the results are equally delectable.
When you are creaming the butter and sugar, look for the mixture to turn a pale yellow and look fluffy. Too much and your butter will get too warm to provide adequate structure to your cake. If you don’t cream enough, you won’t have enough air incorporated into the batter so it won’t rise much.
King Arthur Baking has a whole article about the science behind it here if you want to geek out a little.
After you’ve got your butter and sugar combined, you’ll add your eggs. Add them one at a time and scrape the bowl after each addition to make sure they’re well incorporated. If you add all the eggs at once, you’ll have to mix a lot, which means you can knock all the air out of your butter mixture.
Then, add your flour mixture in 3 rounds. That helps prevent overmixing while still incorporating all the ingredients evenly. Red food coloring is last.
You will need to add red food coloring to dye the cake, and I’d recommend using a gel color instead of a liquid dye. You need MUCH less of the gel to get good color in the cake.
If you’d prefer a natural alternative, a little beet juice will give the cake a subtle red hue. It will not get as vibrant as the photos with natural colors. Don’t add too much so the cake doesn’t have a beet flavor. A little is totally fine though, especially paired with chocolate.
A few final recipe tips:
A food scale is the best way to divide your batter evenly between cake pans. If you don’t have a food scale, use a large scoop to divide the batter between the pans. It’s not perfect, but it works!
To keep the cake layers ultra-moist, wrap them in plastic after the resting period and let them cool that way. You can place them wrapped in the cooled cake pans and let them sit overnight at room temperature. If you’re in a rush, put them in the refrigerator until they’re chilled. This takes a few hours, but less time than waiting overnight.
Doing this gives your red velvet cake the most moist and perfect crumb! You don’t need to add simple syrup or any other cake “hack” to add moisture to this recipe. It’s so good!
If you’d like more red velvet cake inspo, don’t forget to check the cupcakes listed above, my baked red velvet donuts, or vegan red velvet cookies.
For cakes, be sure to check out the other cake recipes in my “Perfect Cake Recipe From Scratch” series –
- White Cake (another Pinterest favorite!)
- Yellow Cake
- Chocolate Cake
- Carrot Cake
- Almond Cake
- Vanilla Cake
I hope you enjoy this red velvet cake recipe as much as we do! Happy baking, darlings!

Red Velvet Cake From Scratch
Perfect easy red velvet cake recipe FROM SCRATCH! Just the right hint of chocolate with a kick, it's everything you'd want from a classic Southern red velvet
Ingredients
- 1 cup unsalted butter
- 2 cups granulated sugar
- 4 large eggs
- 2 1/2 cups all-purpose flour
- 1 tsp baking soda
- 1/4 tsp salt
- 1/4 cup unsweetened cocoa powder
- 1 cup buttermilk, room temperature (see notes)
- 2 tbsp sour cream
- 1 tsp vanilla extract
- 1 1/2 tbsp white vinegar (see notes)
- red food coloring (see notes)
Instructions
- Preheat the oven to 350 F, then butter and line two or three (see notes) 8 or 9-inch round cake pans with parchment.
- In a measuring cup, combine the buttermilk and vinegar. Set aside.
- Cream together the butter and sugar until light and fully, then add the eggs, one at a time, scraping the bowl after each addition. Stir in the sour cream and vanilla extract.
- Sift together the flour, baking soda, salt, and cocoa in a separate bowl.
- Add half the flour mixture to the butter, then half buttermilk. Repeat, and stir until all ingredients are just combined.
- Stir in the red food coloring.
- Divide the batter evenly into your prepared cake pans.
- Bake 18-24 minutes for three pans or 25-30 minutes for two pans, until a tester inserted in the center of the cake comes out clean.
- Allow the cake to set 10 minutes in the pan before inverting onto a cooling rack to cool completely before decorating (see notes). You may also double wrap the slightly warm layers in plastic wrap and freeze for up to two months.
- Once the cakes are completely cool, decorate as you wish!
Notes
- If you do not have buttermilk on hand, powdered buttermilk can be a great alternative. It's a pantry staple at my house! Otherwise, you may create a buttermilk substitute by removing a tablespoon of milk from your measured amount and replacing it with a tablespoon of lemon juice or white vinegar. Let that sit for 5-10 minutes and it should be nicely curdled and ready to use in the recipe!
- Don't skip the white vinegar! I know it's tart, but this is what gives the cake its signature red velvet flavor. If you used vinegar to make your buttermilk, that is in addition to the vinegar in the ingredient list. Don't worry, the flavor will not overpower the cake.
- The vibrant red color you see in the photos was helped by red gel coloring. Liquid red coloring will not give you as vibrant a result. The best result if you're looking for a red as rich as the photos is to use a gel or one of the powdered food colors you can purchase from cake supply stores.
Recommended Products
As an Amazon Associate and member of other affiliate programs, I earn from qualifying purchases.
-
 AmeriColor Soft Gel Paste Food Color, 4.5-Ounce, Super Red
 -
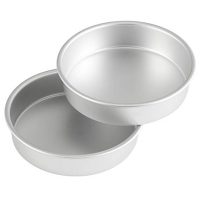
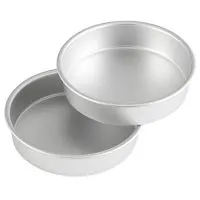 Wilton Aluminum 8-Inch Round Cake Pan Set, Multipack of 2
 -
 LEGERM Cake Decorating Angled Icing Spatula Set of 6 8 & 10 Inch Wooden Handle Stainless Steel Offset Frosting Spatulas
 -
 100 Pack-16-Inch Disposable Cake Decorating Bags
 -
 Ateco 612 Revolving Cake Decorating Stand, 12" Round, Cast Iron Base with 1/8" Aluminum Top
 -
 Top Shelf Elements Cake Carrier For Up To 10 inch x 4 1/2 inch Cake
 -
 Valentine Red, White & Pink Heart Shapes Edible Sprinkles for Cakes, Cupcakes/Food Decorations 6 oz
Nutrition Information:
Yield: 14 Serving Size: 1Amount Per Serving: Calories: 346Total Fat: 15gSaturated Fat: 9gTrans Fat: 0gUnsaturated Fat: 5gCholesterol: 90mgSodium: 188mgCarbohydrates: 48gFiber: 1gSugar: 30gProtein: 5g
These nutrition values are estimates. Exact values will vary depending on the ingredients, brands, and quantities used.

Cream Cheese Frosting
Ingredients
- 1/2 lb unsalted butter, 225 g, softened
- 1 lb cream cheese, 450 g, softened
- 5-6 cups confectioner's sugar, powdered, 600-720 g
- 1 tbsp vanilla extract
Instructions
- Cream together the butter and cream cheese.
- Add the powdered sugar 1 cup (120 g) at a time, scraping the sides of the bowl after each addition. Once the desired consistency is reached, add the vanilla extract.
- Use immediately, or store up to 4 days in the refrigerator in an airtight container with plastic wrap pressed along the top surface of the icing. Re-whip before using.
Tanikqua
Friday 25th of November 2022
Why the sour cream instead of oil?
Mary (The Goodie Godmother)
Friday 16th of December 2022
Sour cream adds moisture and isn't as heavy as oil, resulting in a lighter cake.
Princess Jones
Thursday 6th of January 2022
Hello there! Going to make this today but want to be sure the recipe would be enough for 3 8in round pans by 2in high ??? You said in the recipe to see notes for 2 or 3 but there is no mention in the notes! Thank you
Mary (The Goodie Godmother)
Sunday 9th of January 2022
The 3 pans will not bake over the 2-inch high mark, but when I bake the cake in 3 layers, even after leveling, the final product is always over 6-inches tall if you're looking to make a certain number of servings. I hope that helps! Happy baking!
Kristen Long
Friday 30th of July 2021
I can't wait to try this recipe! Do you store in the fridge or at room temp?
Mary (The Goodie Godmother)
Wednesday 1st of September 2021
With the cream cheese frosting, I store it in the refrigerator. If you use a vanilla buttercream, you can store it at room temperature a few days.
Angelina
Thursday 22nd of April 2021
Hi! Would it be okay to use cake flour?
Mary (The Goodie Godmother)
Friday 23rd of April 2021
Yes... the usual substitution for cake flour to all-purpose flour is 1 cup plus 2 tablespoons of cake flour per cup of all-purpose flour.
Suzanne
Sunday 21st of March 2021
Can I use this recipe to make cupcakes?
Mary (The Goodie Godmother)
Sunday 21st of March 2021
Yes, you can, but it makes quite a few! If you're only looking to make a dozen cupcakes, I have a red velvet cupcake recipe here: https://goodiegodmother.com/red-velvet-cupcakes/
Happy baking!