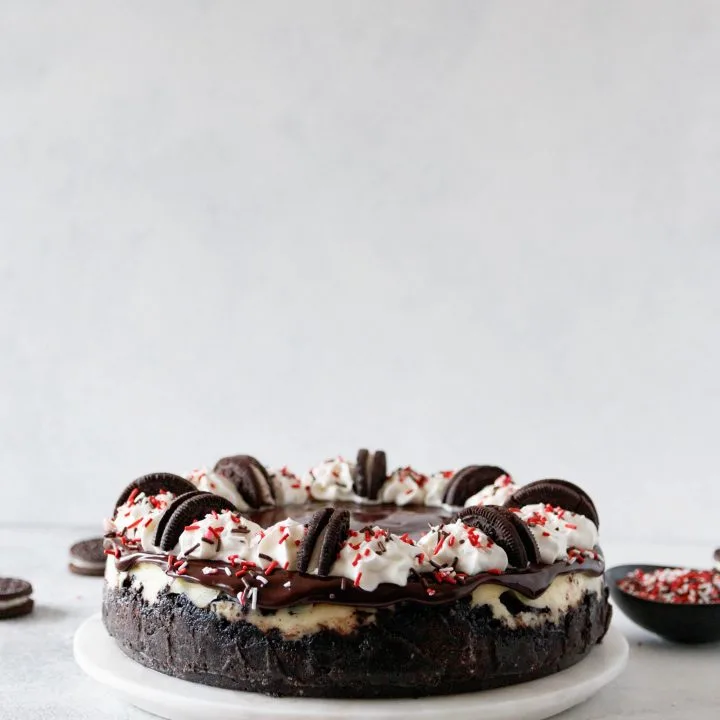
Trader Joe’s Candy Cane Joe-Joe’s are like peppermint bark in sandwich cookie form. This candy cane joe-joe’s cheesecake is peppermint bark Oreo cheesecake perfection! It’s balanced with the right amount of chocolate, mint, and creamy vanilla cheesecake.

Darlings, have you had Trader Joe’s Candy Cane Joe-Joe’s? They are a chocolate sandwich cookie with little bits of peppermint candy in the filling! These cookies are one of our favorite seasonal products at Trader Joe’s. Like, before December 1st this year, we’d purchased multiple boxes.
Of course, they’re delicious to eat. But these seasonal Trader Joe’s cookies are also perfect for baking!
For this recipe, I took inspiration from my peppermint bark cake and Oreo cheesecake bars.
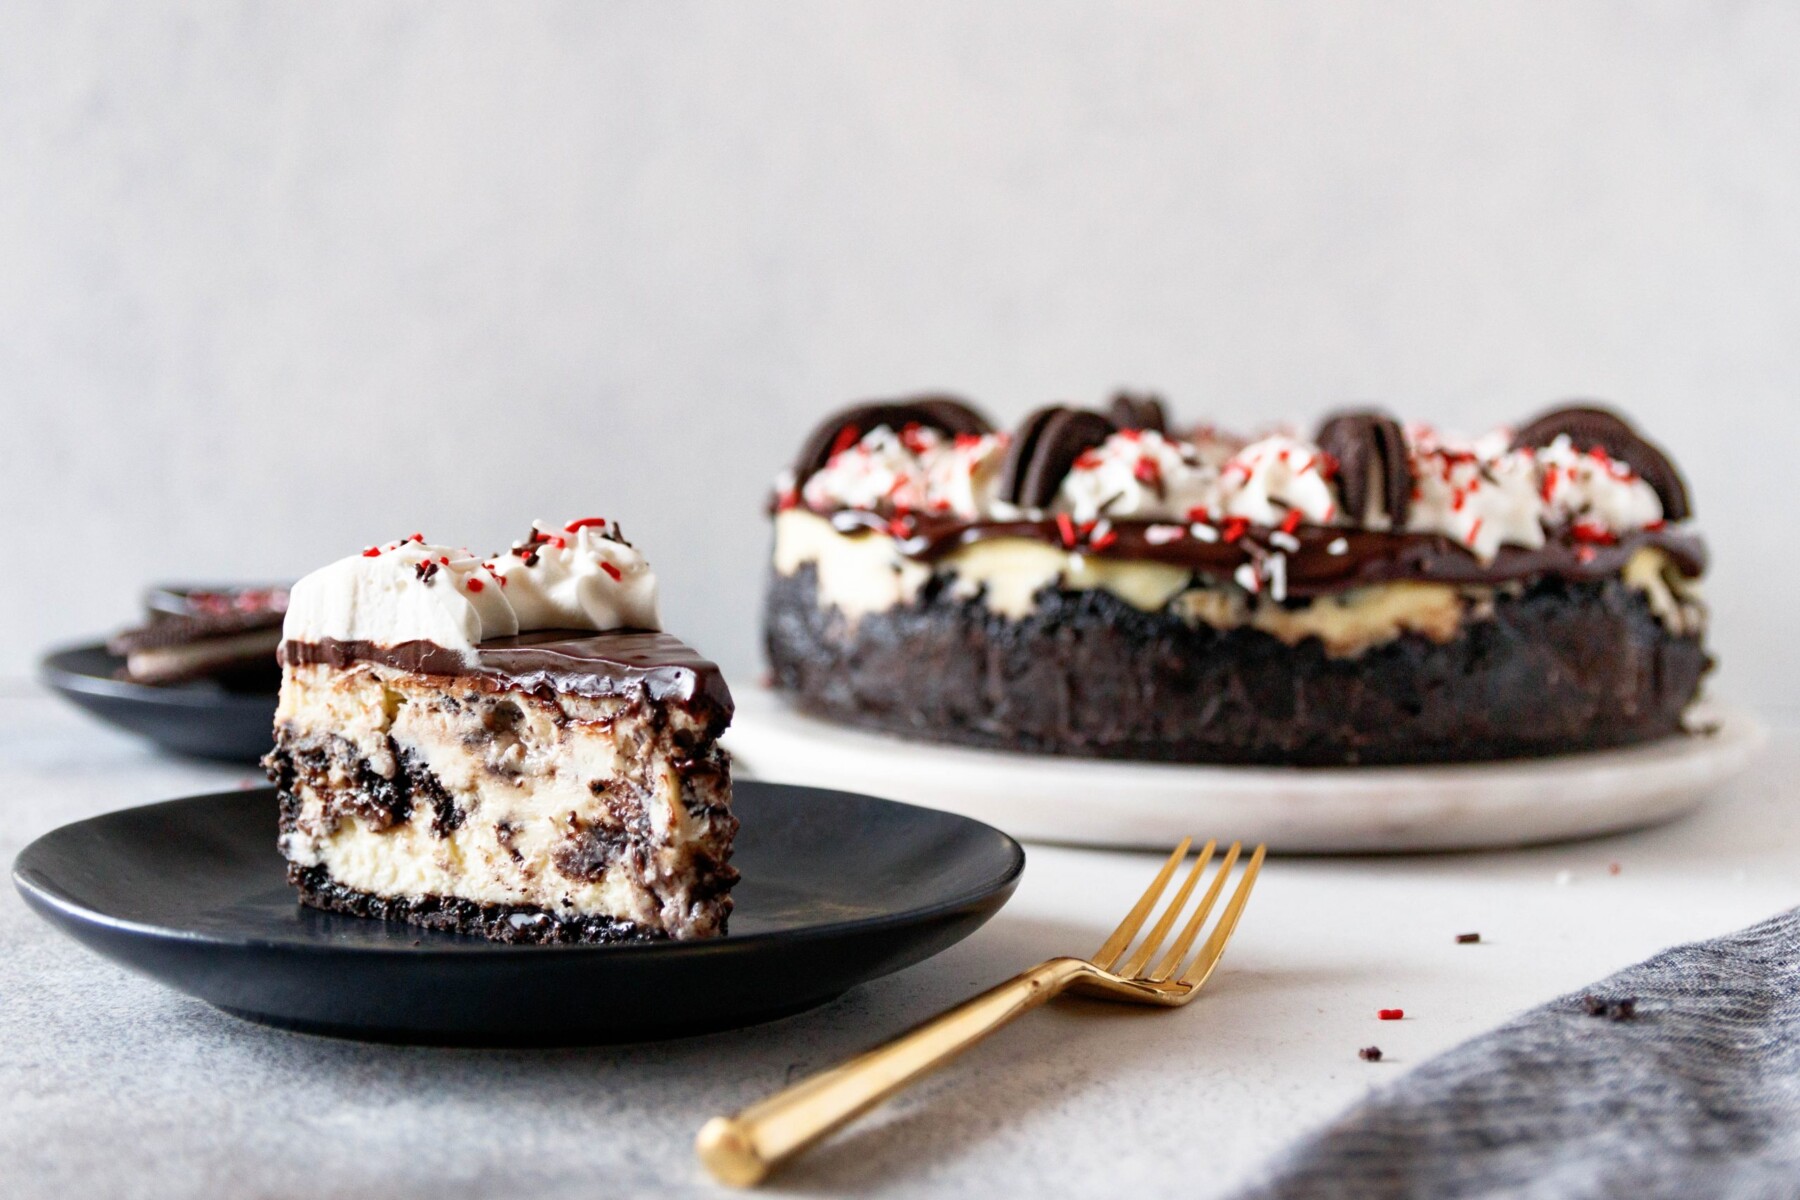

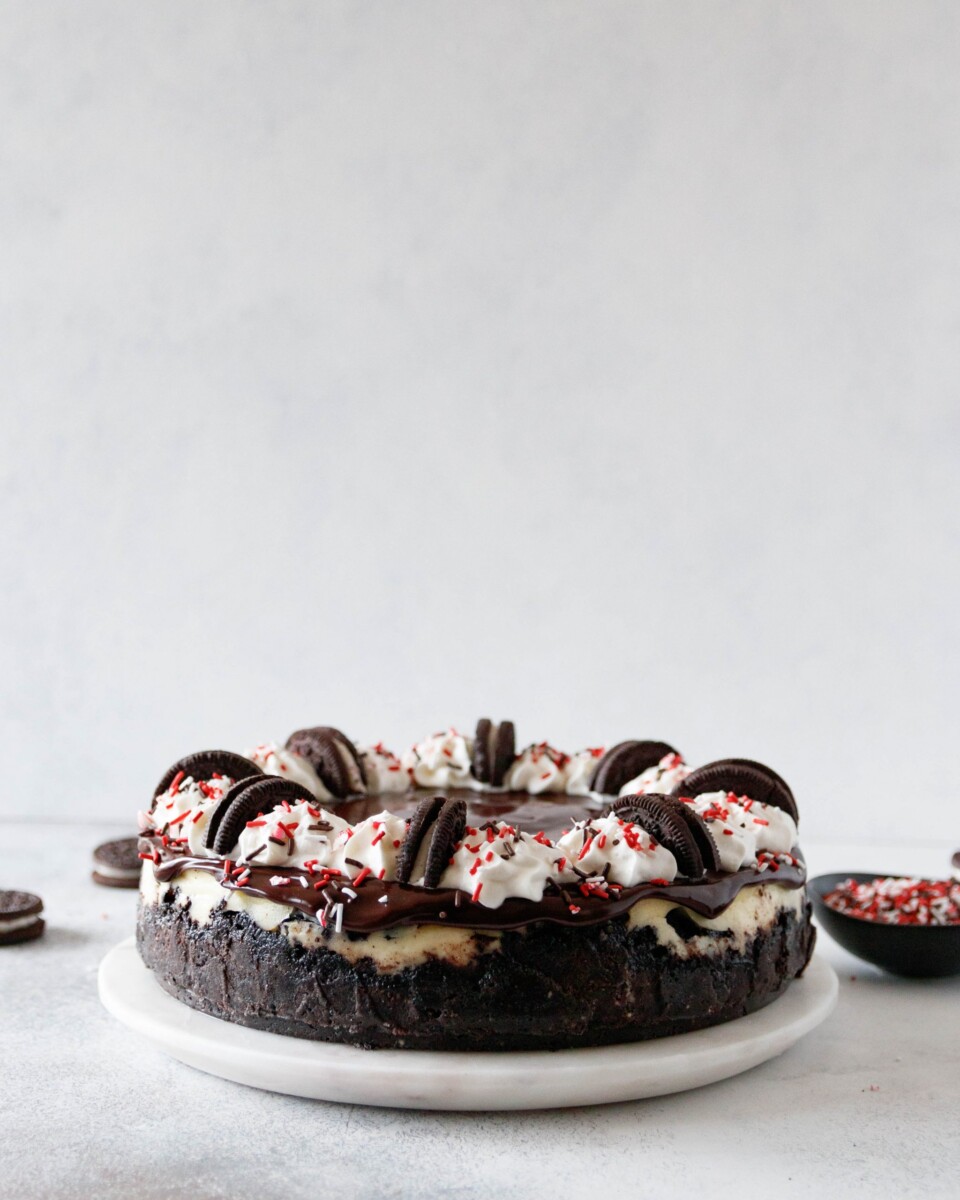
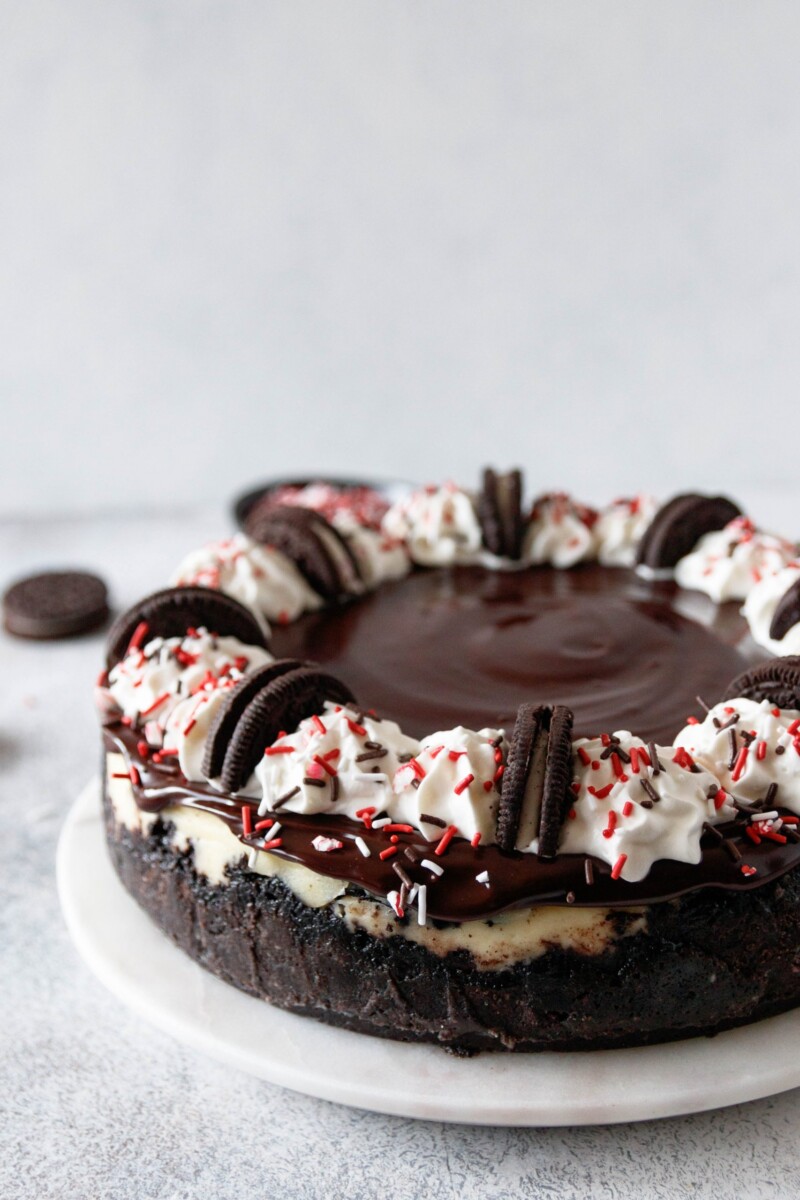
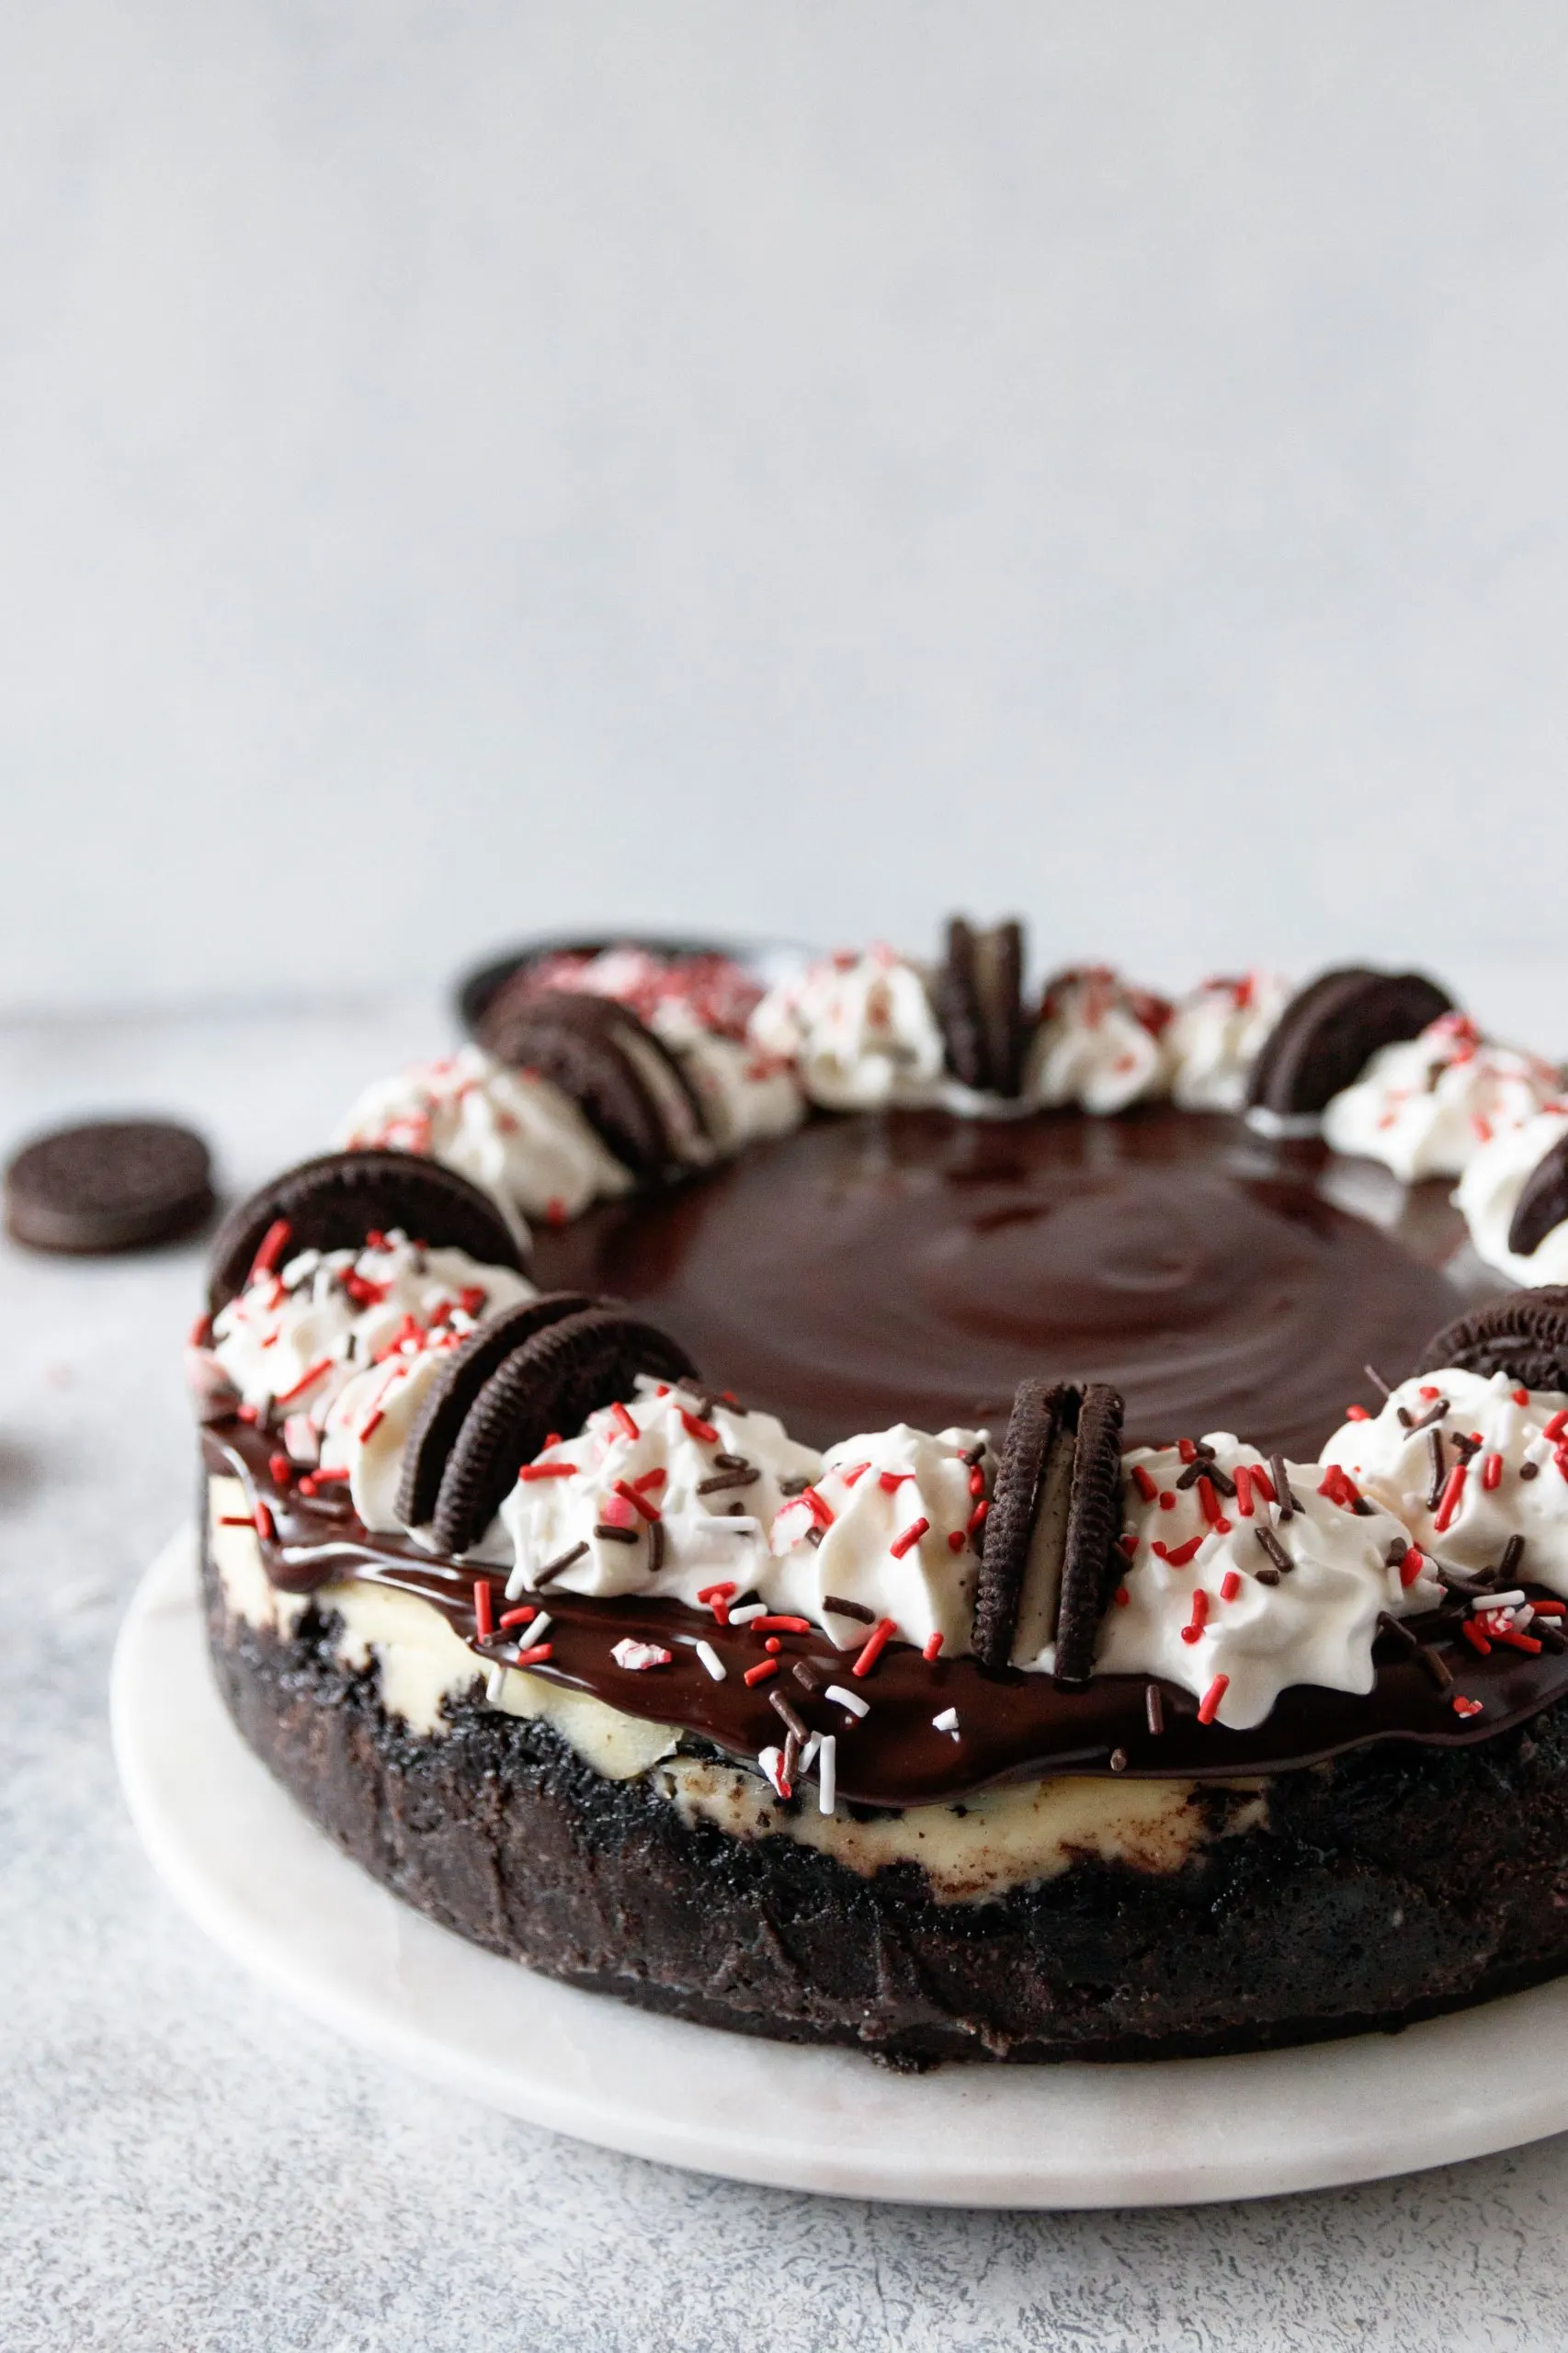
This festive peppermint cheesecake recipe has a crushed cookie base, a classic cheesecake layer, and a creamy chocolate ganache. Definitely holiday-ready!
Candy Cane Joe-Joe’s Cheesecake Layers
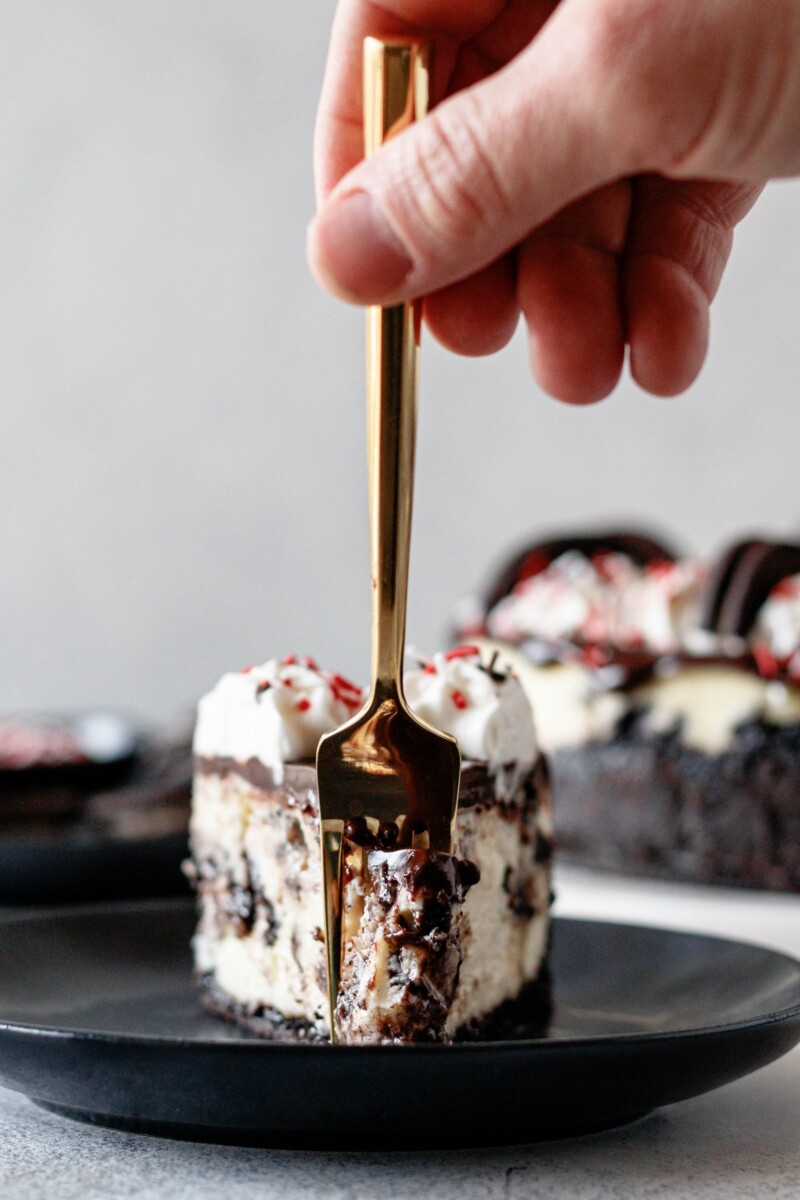
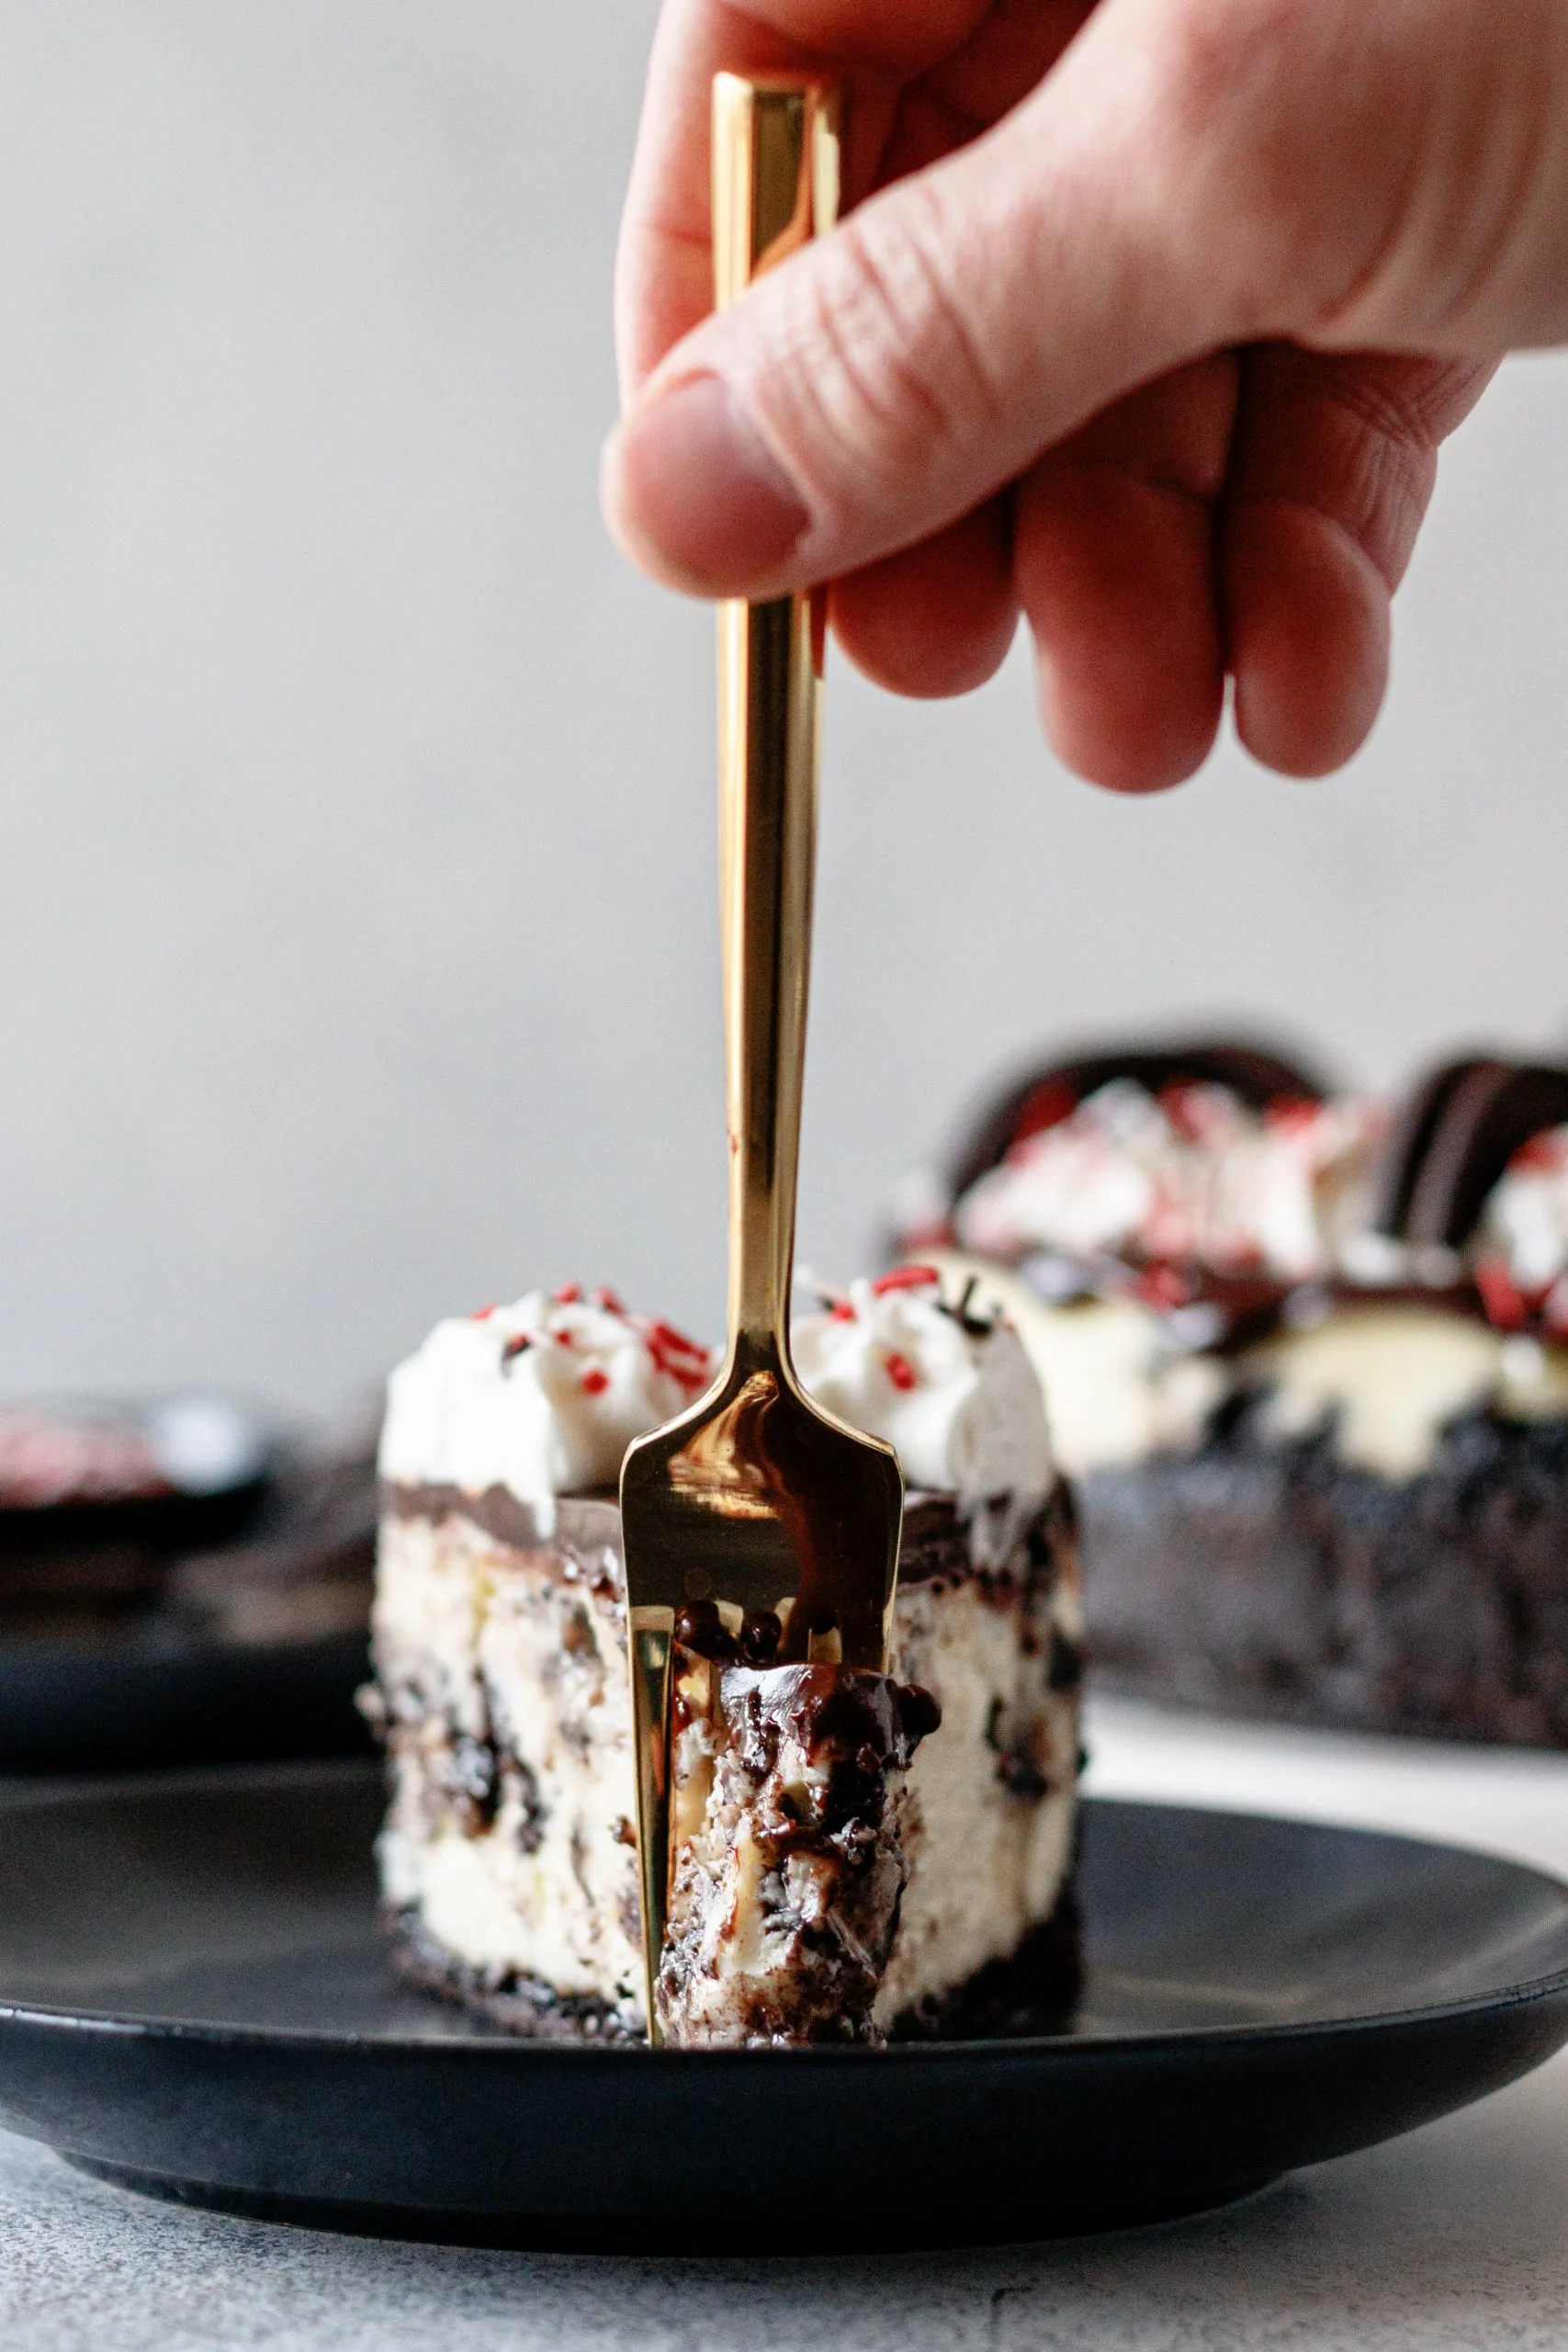
This cheesecake recipe has three distinct layers.
The first layer is the cookie base
The crust is simply a mixture of melted butter and crushed Candy Cane Joe-Joe cookies. I don’t add additional sugar here since the cookies are sweet enough.
To make the cookie cheesecake crust, you need to crush the Joe-Joe’s. You can do this one of two ways.
The first is by hand. Grab a freezer-weight gallon-size plastic bag and a rolling pin or heavy-bottomed drinking glass. Place your cookies in the bag and crush using the rolling pin or the glass. Rotate the bag a few times and flip over to make sure all the cookies are finely crushed.
The second method, and my favorite, is to use the food processor. I use my mini food processor because it takes less space in the dishwasher. You’ll work in two batches with the mini food processor. Place the cookies in the food processor and pulse until you have fine cookie crumbs. Easy!
Combine the crumbs with the melted butter and press into your prepared cheesecake pan.
The second layer is the cheesecake
We wouldn’t exactly have this recipe without this layer, would we? Ha.
Anyway, this is an interesting recipe for me. If you’ve made any of the other cheesecake recipes on this site, you’ll notice I don’t use sour cream! This recipe does.
Sour cream helps provide a tang and structure to a cheesecake. If you don’t have it, you use extra cream cheese. My family likes the extra creaminess of an all cream cheese cheesecake. BUT, it isn’t the best for this specific recipe.
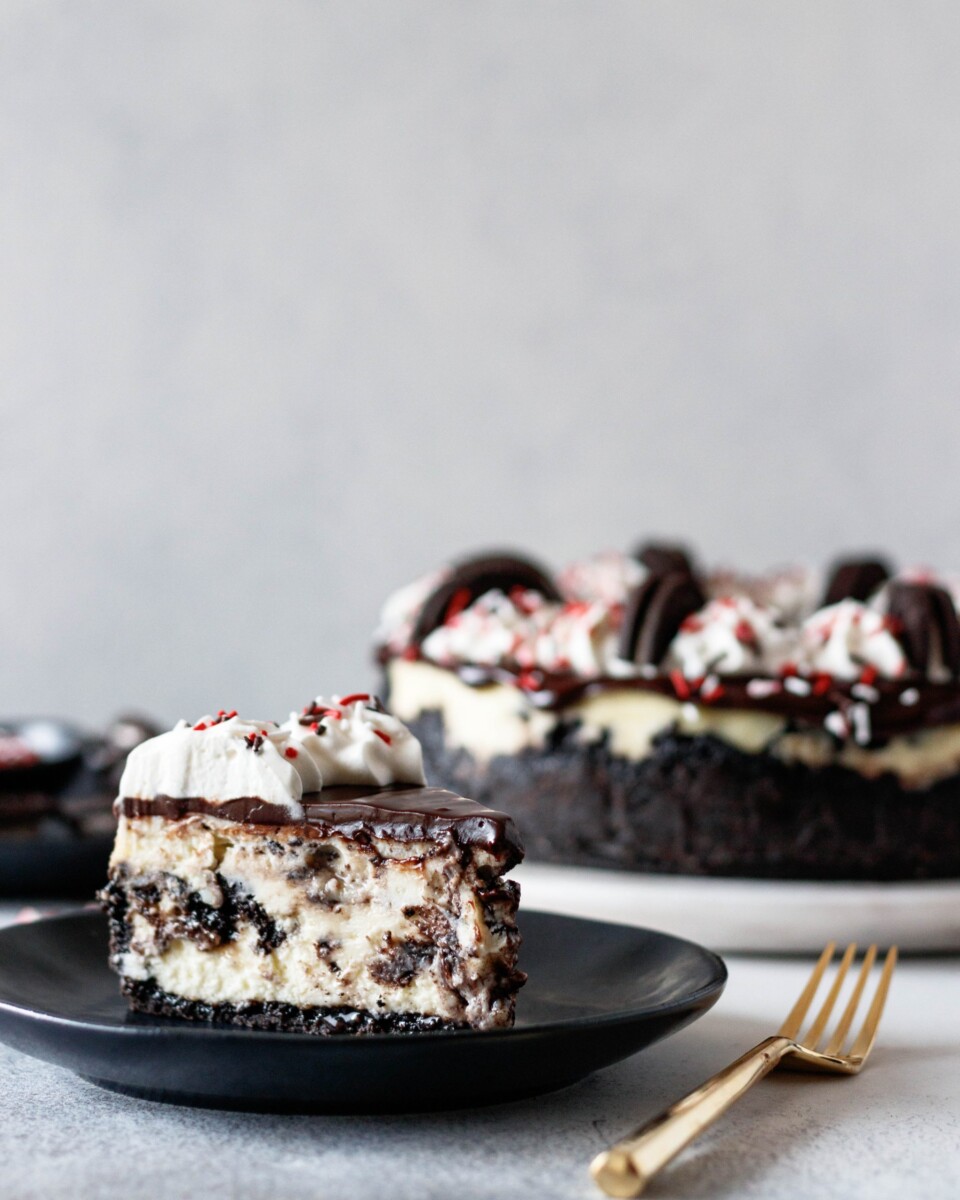

The lighter and creamier texture of my usual cheesecake doesn’t pair as well with the cookie chunks in the batter of this cheesecake.
Sour cream helps in two ways here. It provides a slightly more dense cheesecake base to balance with the cookies. Second, the sour cream allows me to use a little less sugar, which keeps the cheesecake from getting too sweet.
We don’t want the cheesecake layer to get too sweet because we really want to add…
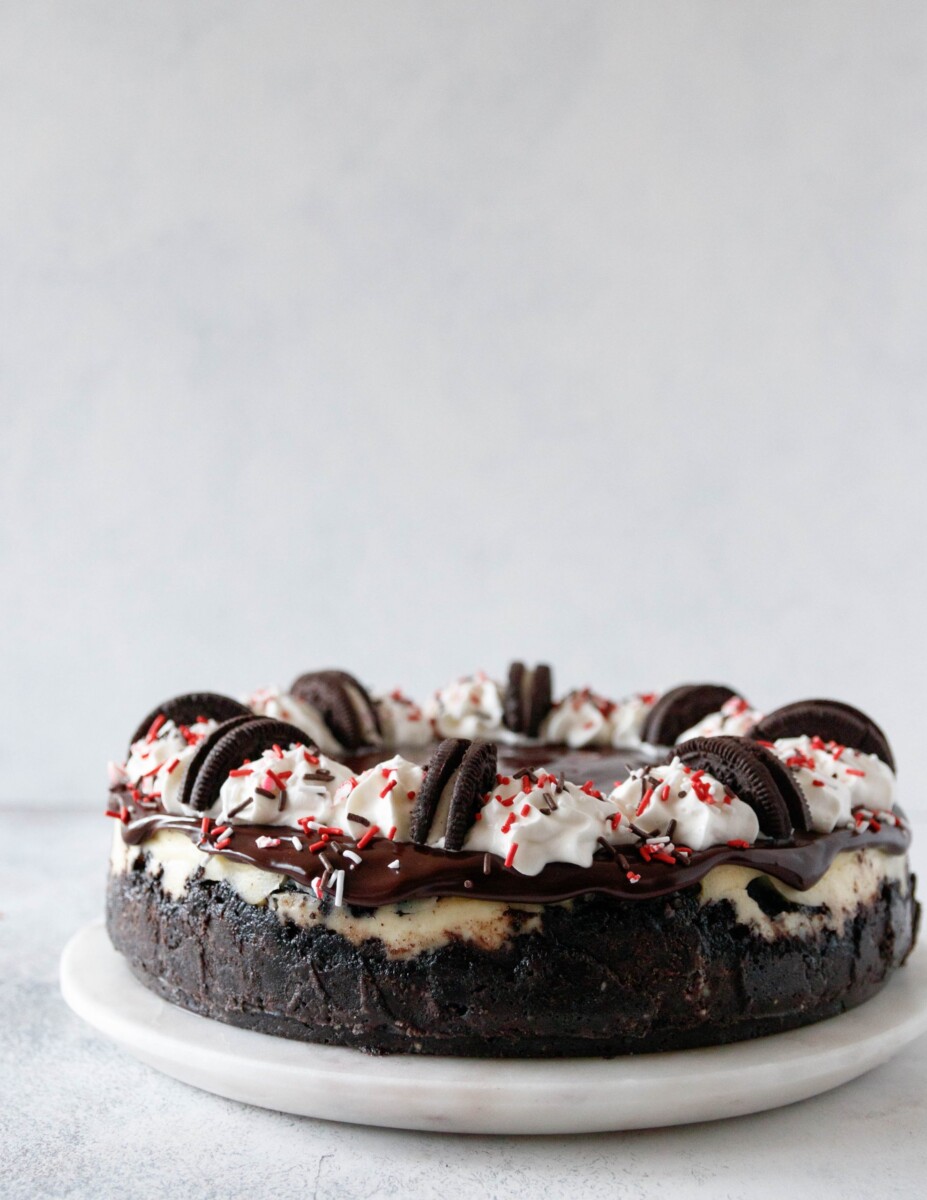
The chocolate ganache topping!
Some might say this is optional, but it’s really not. I would faster tell you to skip the whipped cream garnish than the chocolate ganache layer. It’s that important.
Why?
If you’ve baked anything peppermint flavor before, you know the peppermint flavor is potent. In this cheesecake, the peppermint has a chance to sit and really shine.
That’s wonderful for infusing peppermint flavor, but if you want the same balance of chocolate and peppermint you get from the cookie, you need to add chocolate.
A creamy chocolate ganache doesn’t harden in the refrigerator. And with the chocolate on top and chocolate on the bottom, the cheesecake kind of looks like a Joe-Joe cookie!
A few more candy cane Joe-Joe’s cheesecake recipe notes…
Buy two boxes of cookies. One box won’t be enough for the recipe. If you only have one box, you can make it work. There just won’t be any cookies left for garnish and you’ll have fewer cookie chunks in the batter.
The average box of Candy Cane Joe-Joe cookies has 33 cookies. I counted. Between the cookies you need for the crust and batter, you’ll be just over the number of cookies in a box.
So you have extra cookies to garnish, buy another box. The extra cookies also make great distractions to keep the rest of the house away from your cheesecake until it’s ready.
How to avoid cracks in the cheesecake
I wouldn’t worry about it too much with this recipe since the ganache covers any minor imperfections. But there is a satisfaction to making a perfect cheesecake, so here are some tips…
The first, especially with a sour cream cheesecake base, is not to overbeat your batter. Air in the batter means air in the cheesecake which causes cracks. Mix until everything is just incorporated.
Scrape the sides of the bowl liberally during mixing so you don’t end up with cream cheese chunks. If you have a few small ones, no big deal. They will likely melt while baking.
Additionally, don’t leave any partially exposed chunks of cookie at the top of the cheesecake during baking. This is why the instructions have you sprinkling your cookie chunks between layers of batter. We only have crumbs in the very top layer of batter.
If you have any larger bits of cookie that work their way to the surface as you pour your cheesecake batter into the pan, push them down with a toothpick.
Control the temperature during baking and cooling! During baking, it’s a good idea to use a water bath if you can. The water bath helps keep the temperature around the cake even.
Stop baking as soon as the center of the cake looks set, but still jiggles. It will set during the cooling process. If you bake until the cake is set all the way through, it will be overcooked.
As soon as your cheesecake is ready, turn off the oven and crack open the door. Let the cheesecake rest in the oven with the door slightly open for about 20-30 minutes. Then remove to a rack and cool another 20-30 minutes before covering and refrigerating.
Pro tip: When you put the plastic wrap over your cheesecake to refrigerate, the cake will probably still be a bit warm. Fold a paper towel or two and place on top of the cheesecake before covering with the plastic wrap. Any condensation drips will fall on the paper towel, not the cheesecake.
Following these tips, you should get a flawless cheesecake!
What if I don’t have a big enough pan for a water bath for my cheesecake?
You can bake a cheesecake without a water bath! I don’t recommend it if you can avoid it, but life happens.
In my case, life happened one night when I was baking cheesecake and we ran out of foil! I had enough to cover my springform pan. The problem? The aluminum foil at the end of any roll has a few tiny holes.
Tiny holes in aluminum foil mean my cheesecake would get wet! That’s a terrible idea!
A little searching and I found a great workaround. First, I placed my oven racks in the center of the oven. The lower rack was in the lower middle position and the upper rack was in the upper middle position.
I placed a pan of water on the lower rack and left it there.
For my cheesecake pan, I wrapped it in a large “bake-even” cake strip. If you’re unfamiliar, cake strips are thick fabric strips you soak in water and wrap around cake pans before baking.
Cake strips prevent excess browning on the sides of cakes and flatter tops. They’re pretty nifty. I started with a homemade hack and then invested in the premade ones.
If you don’t have cake strips, here’s how to make a workaround. Take an old t-shirt or kitchen towel and cut into strips wide enough for the height of your cake pan.
Tie the strips together until you have enough length to completely wrap your cheesecake pan snugly. Be sure you can tie the strips into a loop to hold them in place.
Finally, wet the strips well and tie around the pan. Bake the cheesecake with the wet strips wrapped around the pan.
The one time I did this, my cheesecake turned out practically perfect. There was the tiniest fingernail-sized crack. It wasn’t easily seen and very easily covered.
I hope you love this Candy Cane Joe-Joe’s cheesecake recipe, darlings! It’s such a fun holiday dessert.
And if you’d like another perfect chocolate peppermint pairing, don’t forget to visit my no churn peppermint bark ice cream recipe!


Happy baking!

Candy Cane Joe-Joe's Cheesecake
Trader Joe's Candy Cane Joe-Joe's are like peppermint bark in sandwich cookie form. This candy cane joe-joe's cheesecake is peppermint bark Oreo cheesecake perfection! It's balanced with the right amount of chocolate, mint, and creamy vanilla cheesecake.
Ingredients
Cheesecake Cookie Crust:
- 25 Candy Cane Joe-Joe cookies, crushed
- 4 tablespoons melted butter
Cheesecake Filling:
- 32 ounces cream cheese, softened (4 8-ounce packages)
- 1 cup granulated sugar
- 3 large eggs, room temperature
- 2 tablespoons all-purpose flour
- 1/2 cup sour cream, room temperature
- 12-15 chopped Joe-Joe cookies
Ganache Topping:
- 6 ounces semi-sweet or bittersweet chocolate, chopped
- 3 ounces heavy cream
Whipped Cream and Optional Finishing Touches:
- 1/2 cup heavy whipping cream
- 2 tablespoons powdered sugar
- 1/2 teaspoon vanilla extract
- 4 sandwich cookies cut in half
- red and chocolate sprinkles or crushed candy canes (see notes)
Instructions
- Preheat the oven to 400 F. Wrap a 9-inch springform cheesecake pan in aluminum foil to prevent leaks and set aside. Place about an inch of water in a 10 or 12-inch cake pan, a roasting pan works well too, to create a water bath around the cheesecake (see notes).
- Use a food processor or your preferred method to crust the Joe-Joe's for the crust. Combine with the melted butter in a large bowl.
- Press the crust evenly around the bottom of the cheesecake pan and about halfway up the sides. Set aside.
- In a clean, large mixing bowl and a hand mixer, or the bowl of a stand mixer fitted with the paddle attachment, combine the softened cream cheese and sugar until smooth. Use medium-low speed and stop as soon as the mixture is combined. Scrape the sides of the bowl.
- Stir in the eggs, one at a time, scraping the bowl after each addition.
- Add the flour and sour cream and blend until smooth.
- Pour 1/3 of the cheesecake batter over the prepared crust. Top with 1/2 of the chopped cookies. Repeat with another 1/3 of the batter and the rest of the cookies.
- If you have any fine cookie crumbs sitting on the cutting board, stir them into the remaining 1/3 of the batter. Pour the batter evenly over the rest of the cheesecake batter and smooth.
- Place the cheesecake pan in your water bath and carefully place the whole thing in the middle rack of the oven.
- Bake at 400 F for 10 minutes and then, without opening the oven door, reduce the temperature to 325 F. Bake for an additional 40-50 minutes until the center of the cheesecake looks set but still jiggles. Don't wait for it to completely set or your cheesecake will be overbaked.
- As soon as the cheesecake has finished the baking time, turn off the oven and crack open the door. Leave the cheesecake in there for 20-30 minutes. Then remove the cheesecake carefully. Take it out of the water bath, and let the cheesecake cool on a rack for another 20-30 minutes.
- Cover the cheesecake with plastic wrap and refrigerate. If it's still a bit warm, place a piece of paper towel between the cheesecake and plastic wrap to catch any condensation drip. You're covering the top of the cheesecake though, so it's not a big deal if you forget.
- Chill the cheesecake for at least 2 hours, ideally overnight. Remove from the springform pan and transfer to your serving plate.
- Once the cheesecake has chilled, make the ganache.
- Combine the chopped chocolate with the heavy cream in a microwave-safe bowl. Microwaved for 1 minute at 50% power. Let sit for a few seconds and then stir. Heat in additional 30-second increments if needed, stirring after each, until creamy and smooth.
- Let the ganache rest a few minutes until it's barely warm and then pour over the chilled cheesecake. It will set very quickly.
- To make the whipped cream and add the optional garnishes, place the heavy whipping cream in a clean bowl or the bowl of your stand mixer fitted with the whisk attachment. Add the powdered sugar. Whip starting at low speed and working up to medium-high speed until stiff peaks form. Fold in the vanilla extract.
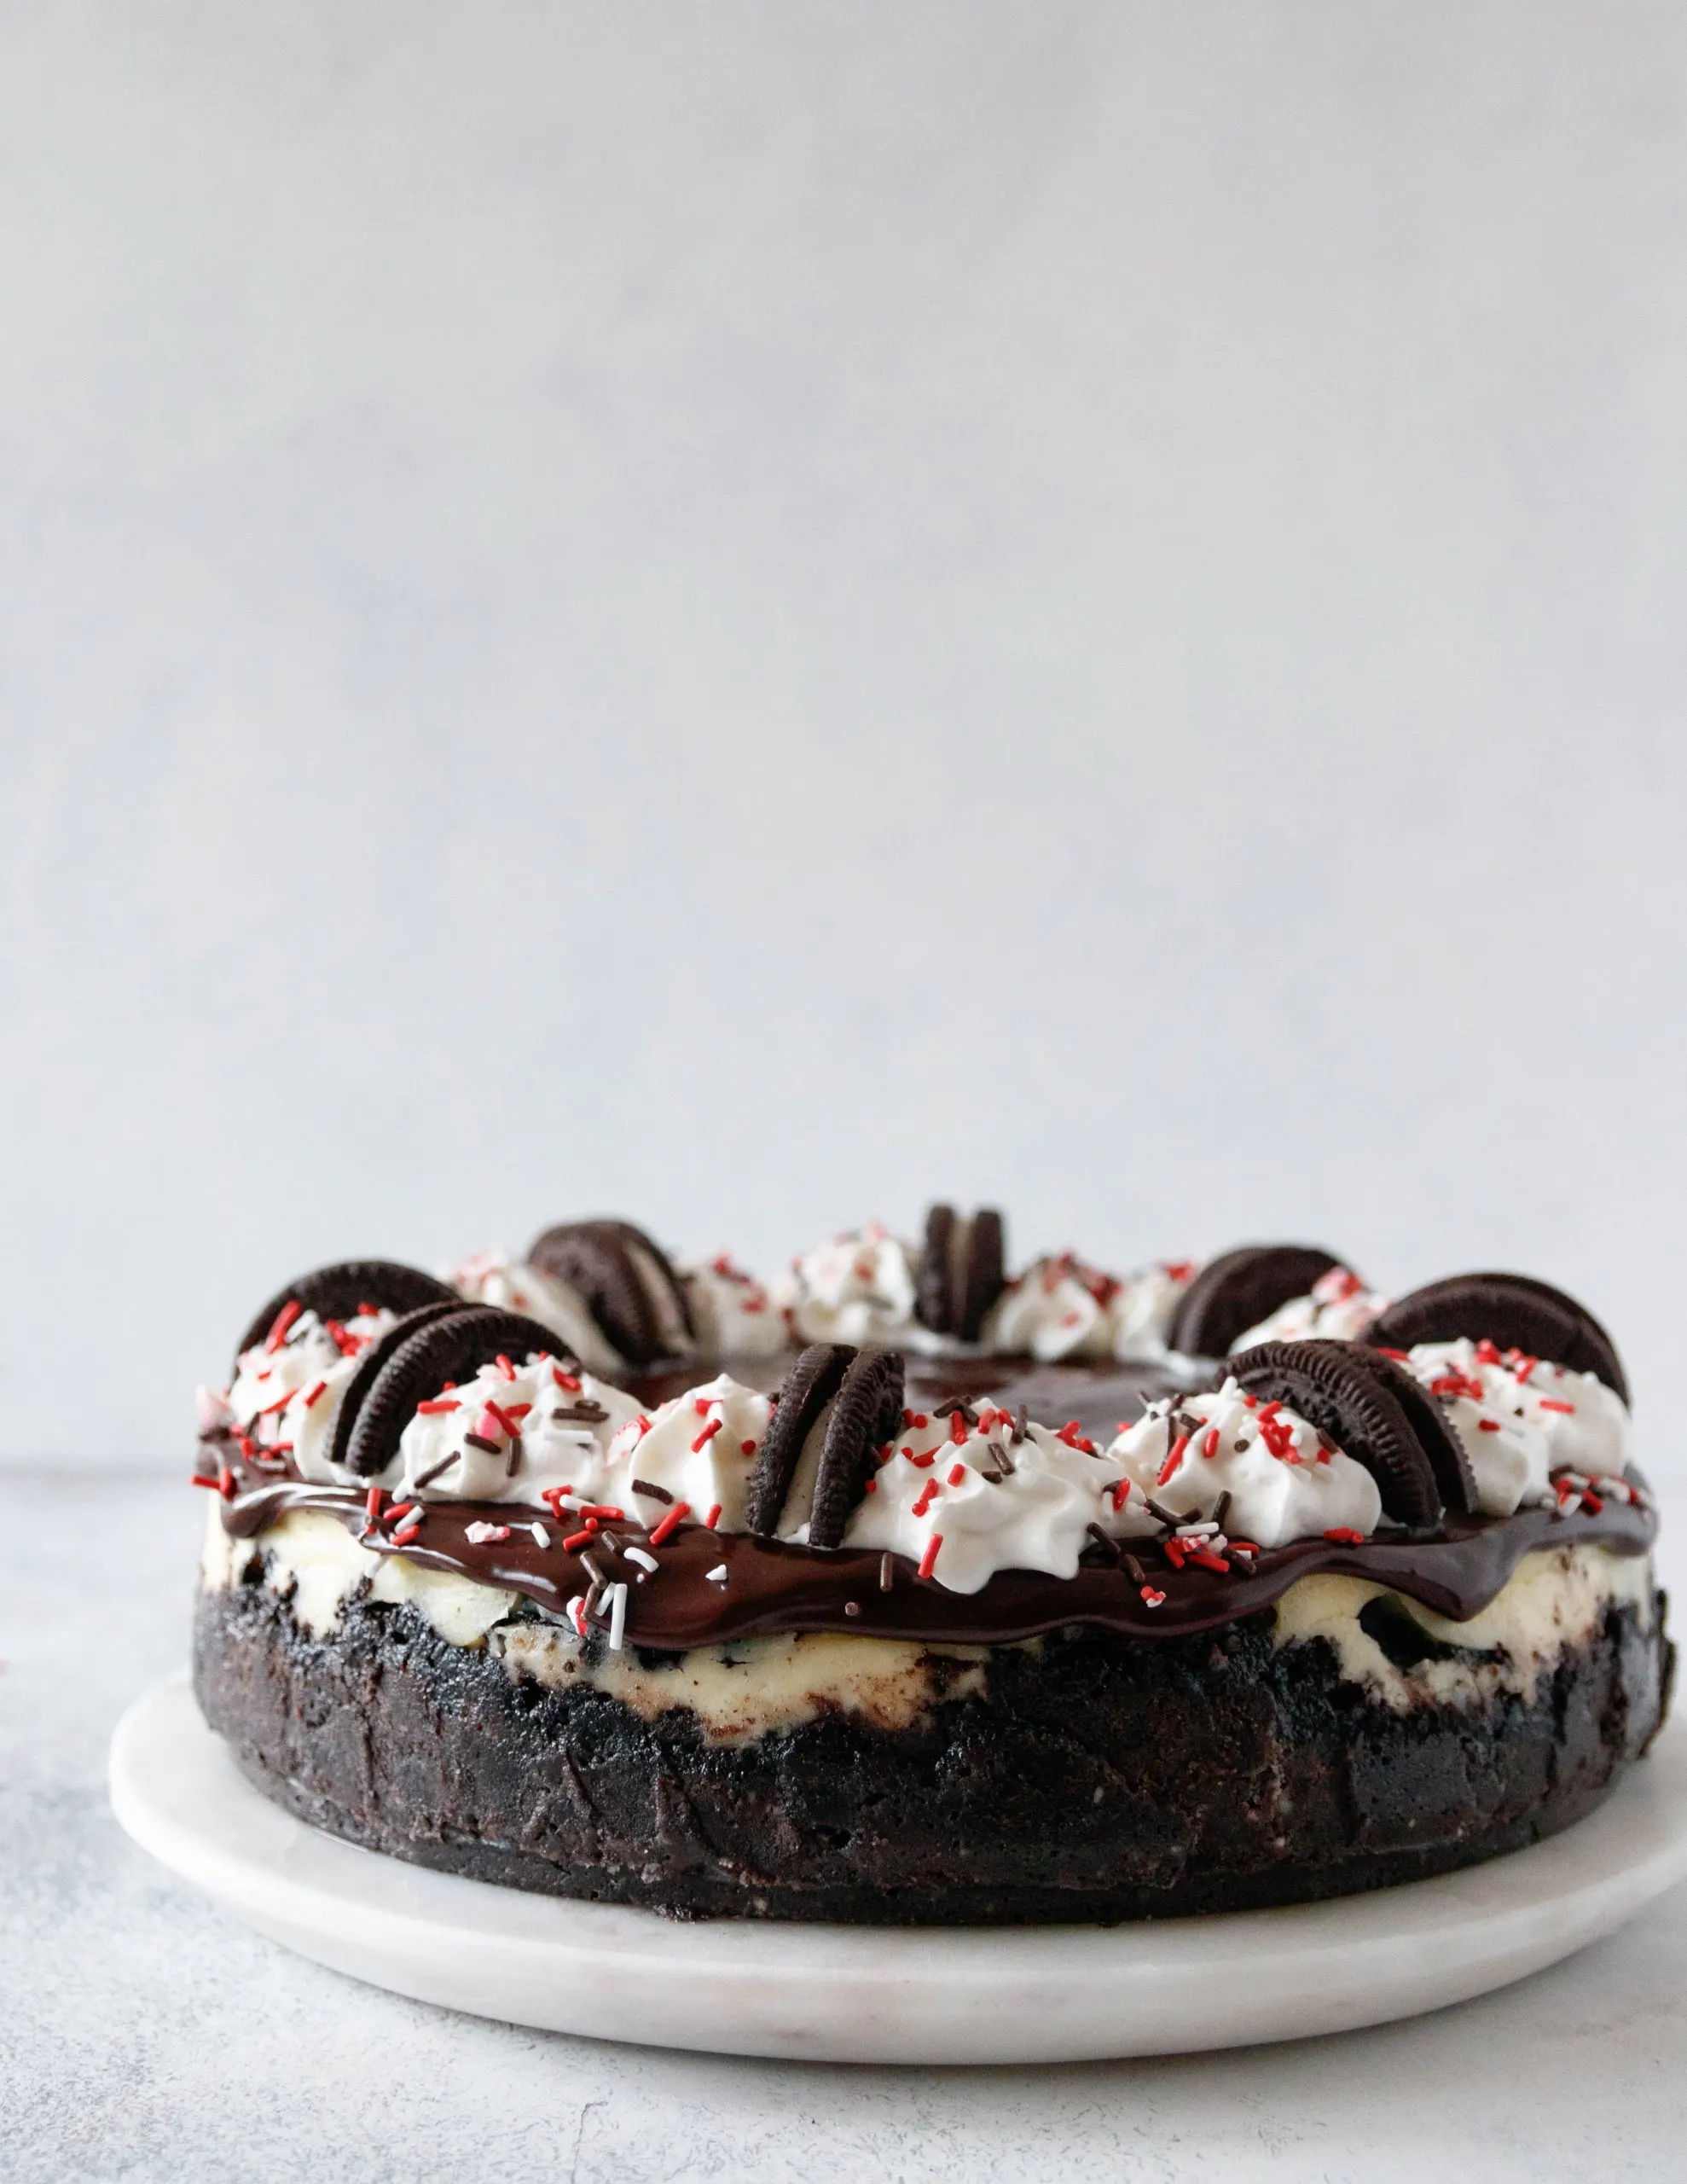
- Pipe the whipped cream around the border of the cheesecake using a large open star frosting tip.
- Cut the garnish cookies in half and arrange between the whipped cream stars. Add a light dusting of crushed candy canes, or red, white, and chocolate jimmies.
- Enjoy!
- Cheesecake can be stored in an airtight container for up to a week in the refrigerator. The whipped cream may start to weep after a day or two.
Notes
- I used the Merri-Mint sprinkle mix from Sweetapolita.
- If you don't have a large enough pan to create a water bath around your cheesecake, see the section in the blog post regarding alternatives to using a water bath. It can be done!
Recommended Products
As an Amazon Associate and member of other affiliate programs, I earn from qualifying purchases.