
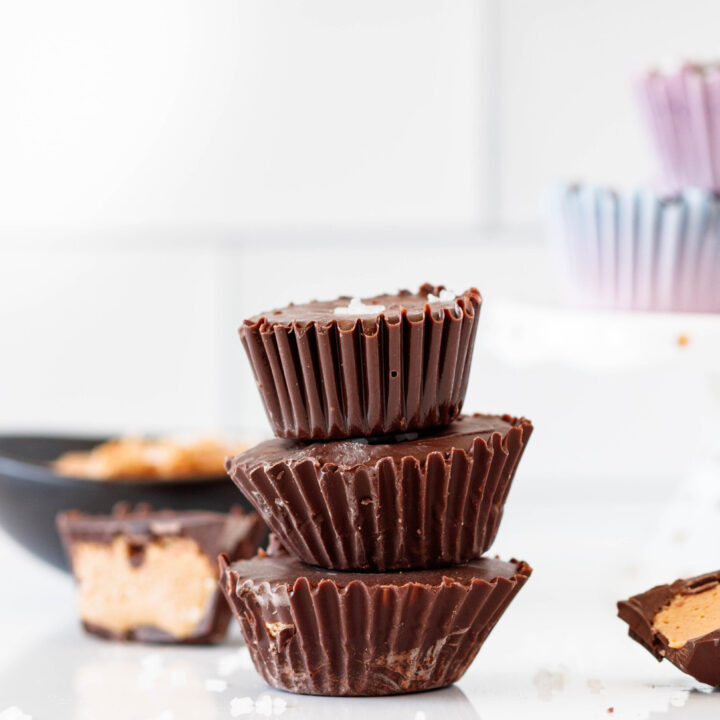
With just a few pantry staples, you can make homemade nut butter cups! These chocolate cashew butter cups, with or without sea salt, make a lovely gluten-free candy gift, or a unique addition to dessert platters and cookie trays!
Want to know a sure-fire way to earn street cred? Give someone a beautifully wrapped piece of candy. Tell them you made it. In suburbia, that’s at least a chance at an invitation to the next neighborhood coffee or happy hour. So, in case you’re wondering how the Godmother makes friends as we move around, this is it. My generally shy extroverted-introvert self just hands people some food and hopes we can be friends. And with this crazy-easy candy recipe, you can use the same technique!
Just be sure to check there are no nut allergies first. If there are, use an alternative like sun butter (sunflower seeds), tahini (sesame seeds), or watermelon seed butter (it’s a thing).
Do I have to use cashew butter for this candy recipe?
No, you don’t. Just like there are some great alternative nut butters you can use, you can swap out any nut butter you’d prefer!
We’ve made these with peanut butter and almond butter. Just make sure that if you want to use a crunchy nut butter, that the nutty bits are small.

And, in addition to the three great nut-free options I mentioned earlier, I have a few more. You can also fill these chocolate cup candies with marshmallow fluff, edible cookie dough (like this), dulce de leche, or cookie butter!
That’s actually one of my favorite things about making chocolate candy cups. You can make them with all sorts of fillings!
How do I make the chocolate cashew butter cups?
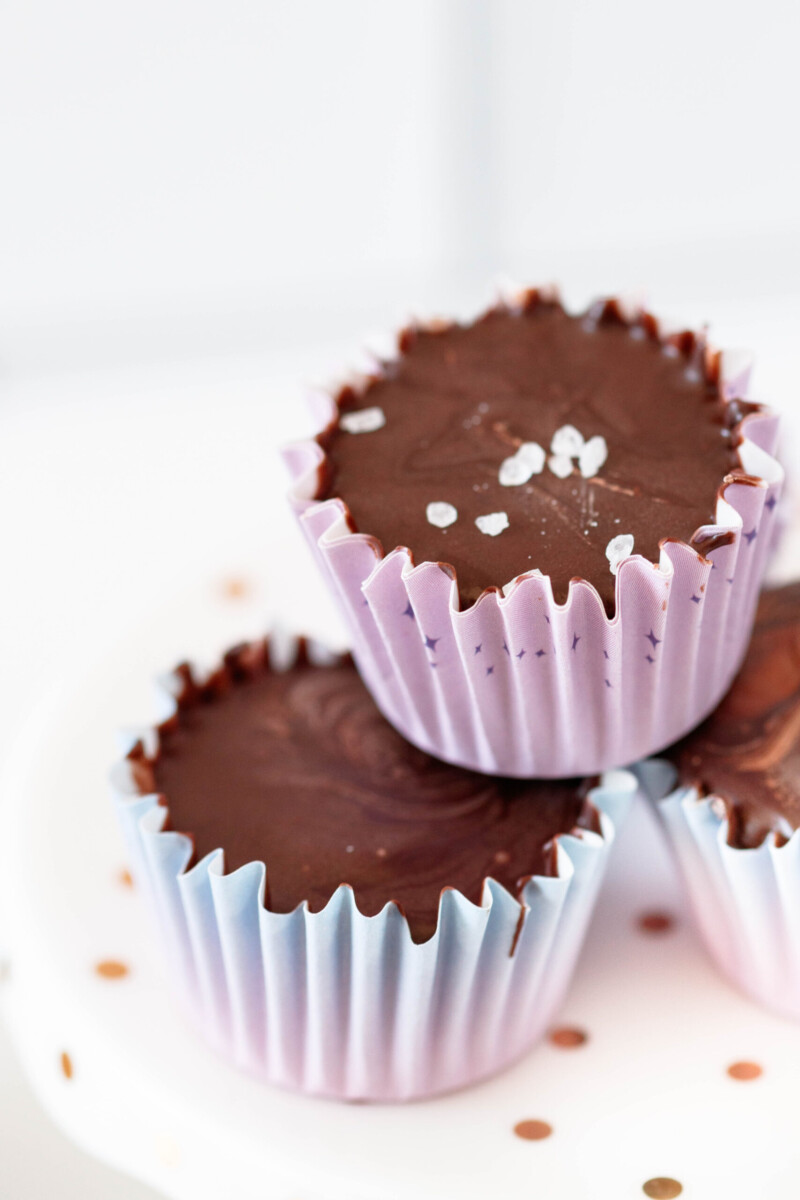
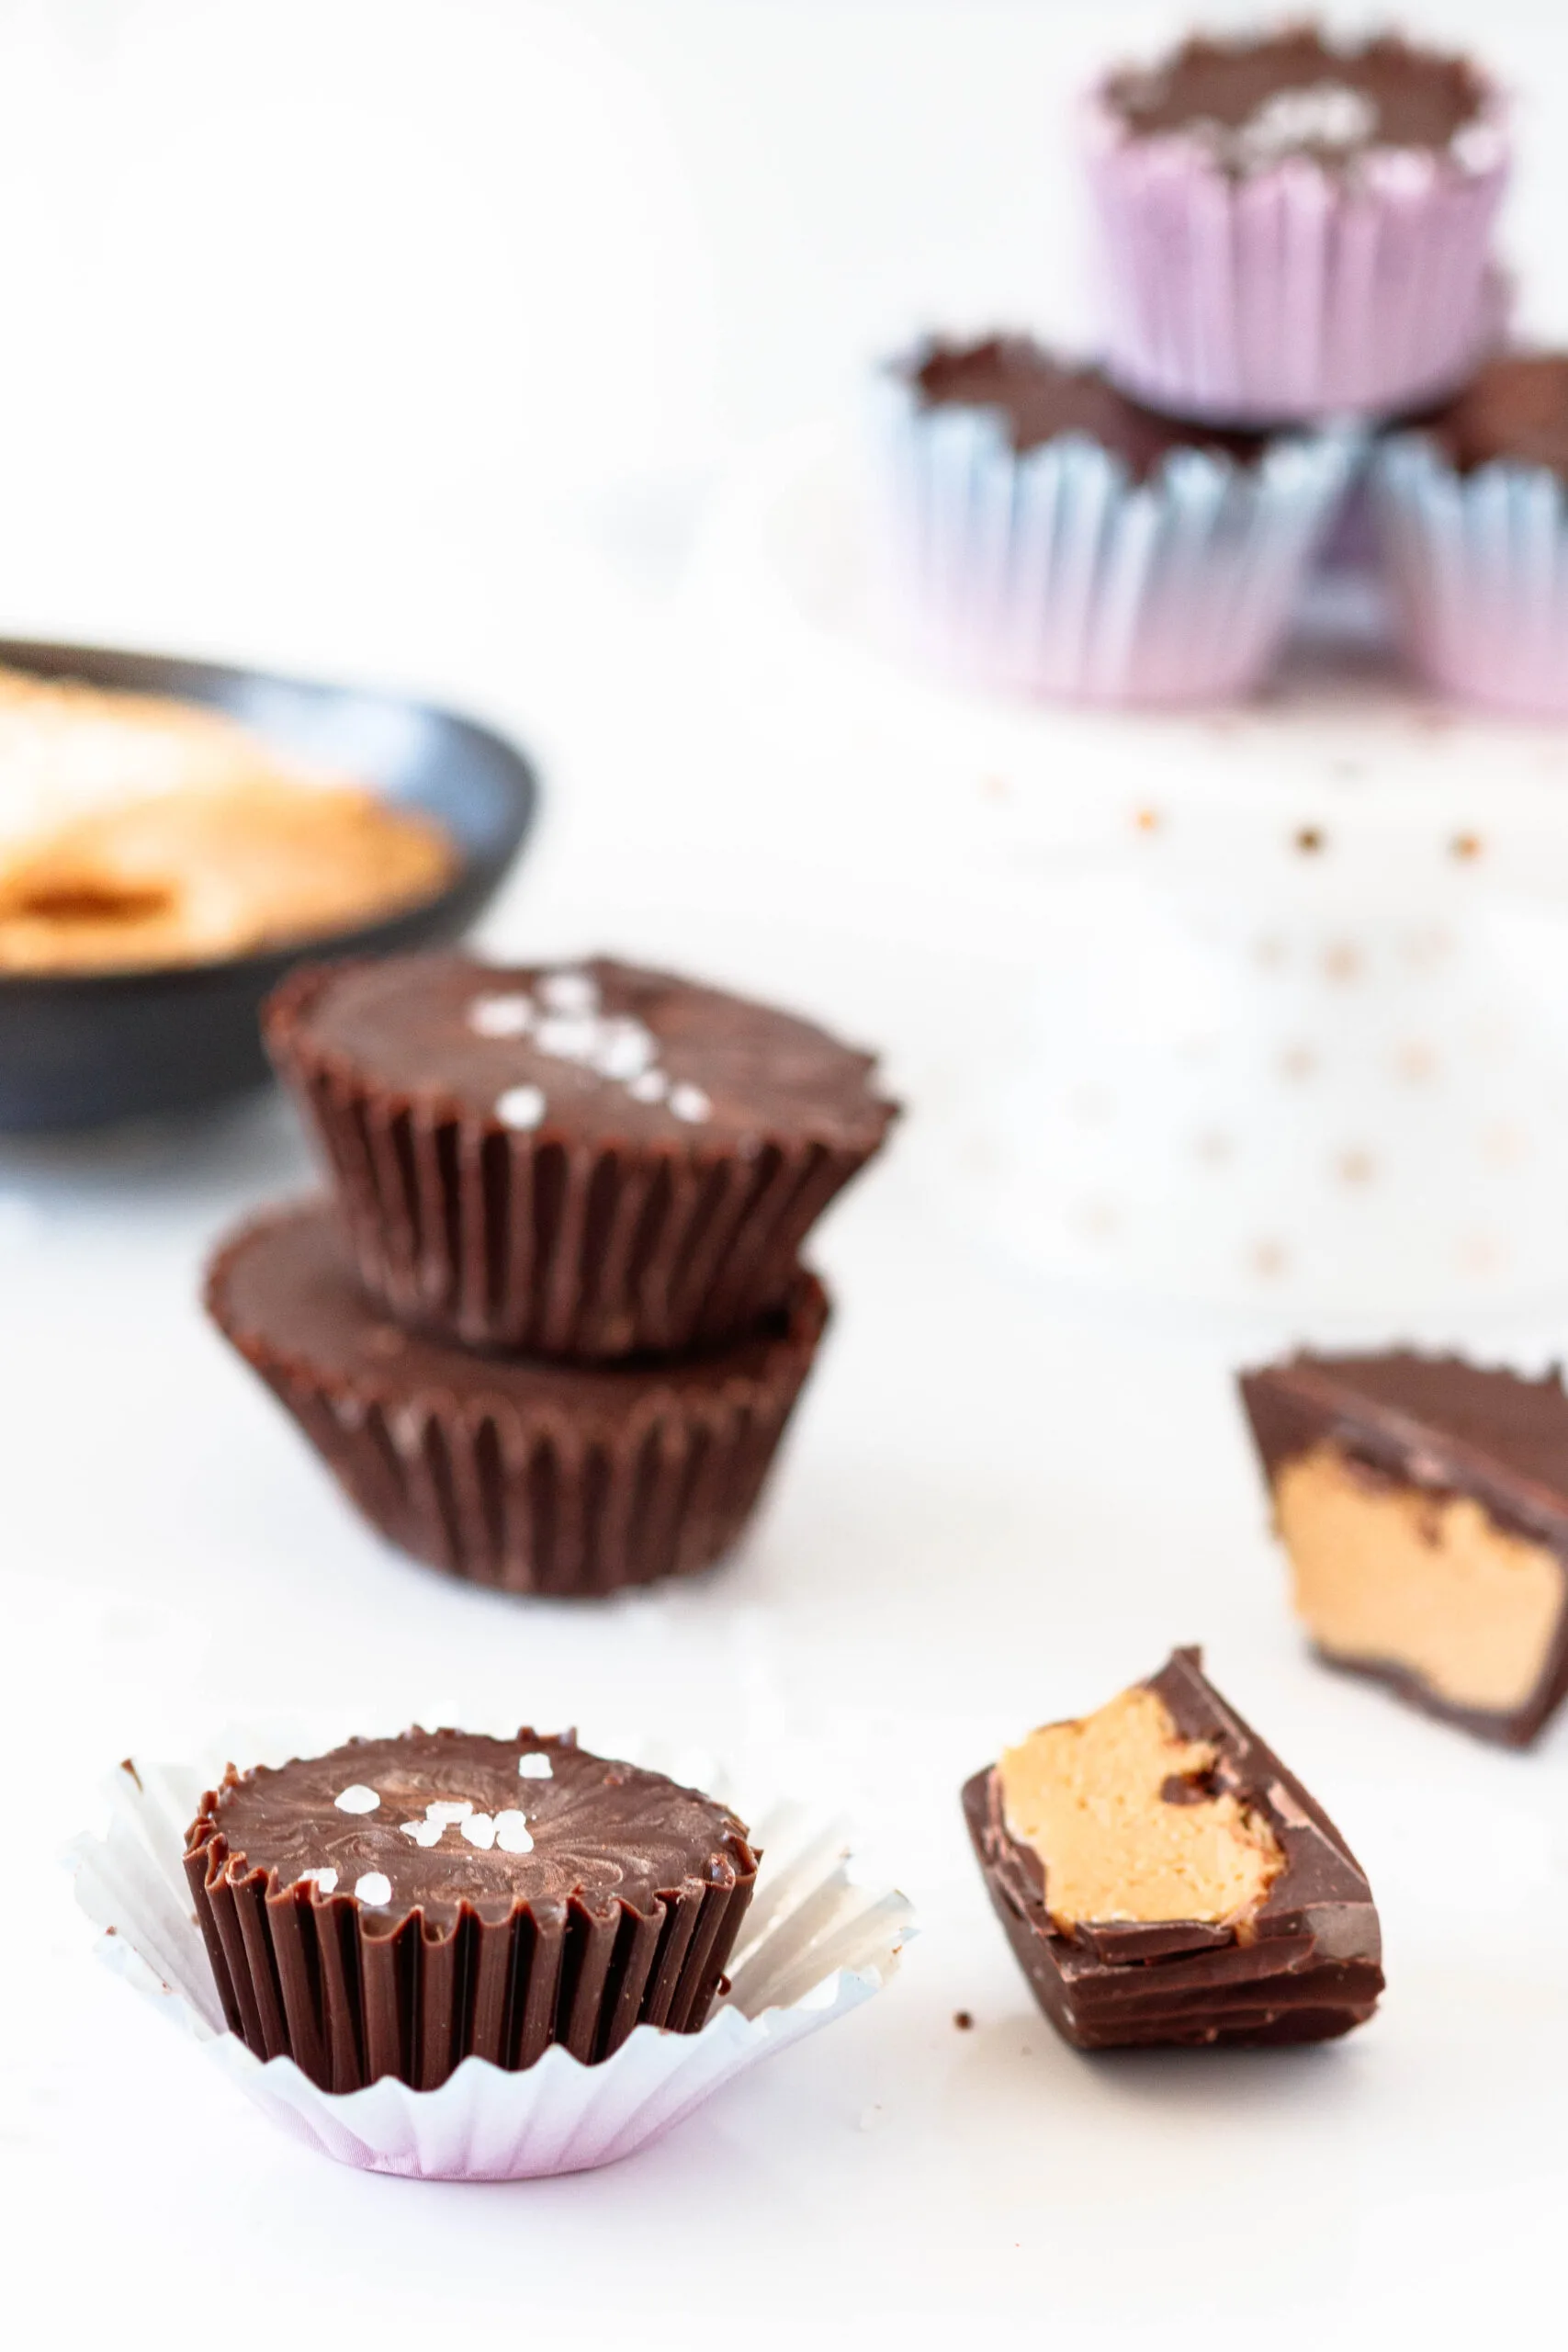
First, gather your ingredients. I keep it really simple and use compound chocolate/candy melts, cashew butter, and powdered sugar. Usually, a fourth ingredient sneaks into the mix and we top the cups with a sprinkle of coarse sea salt. I just love the balance the salt provides to the chocolate.

Then, melt your chocolate. I like to use a candy-making chocolate that doesn’t need to be tempered. You can absolutely temper chocolate, or just use chocolate chips. Chocolate chips are definitely okay if you’re using a filling, like cashew butter or edible cookie dough, that has to be refrigerated anyway. You just won’t get the same “snap” you do when biting into a cup made with compound chocolate or tempered chocolate. This is not a deal breaker for most people.
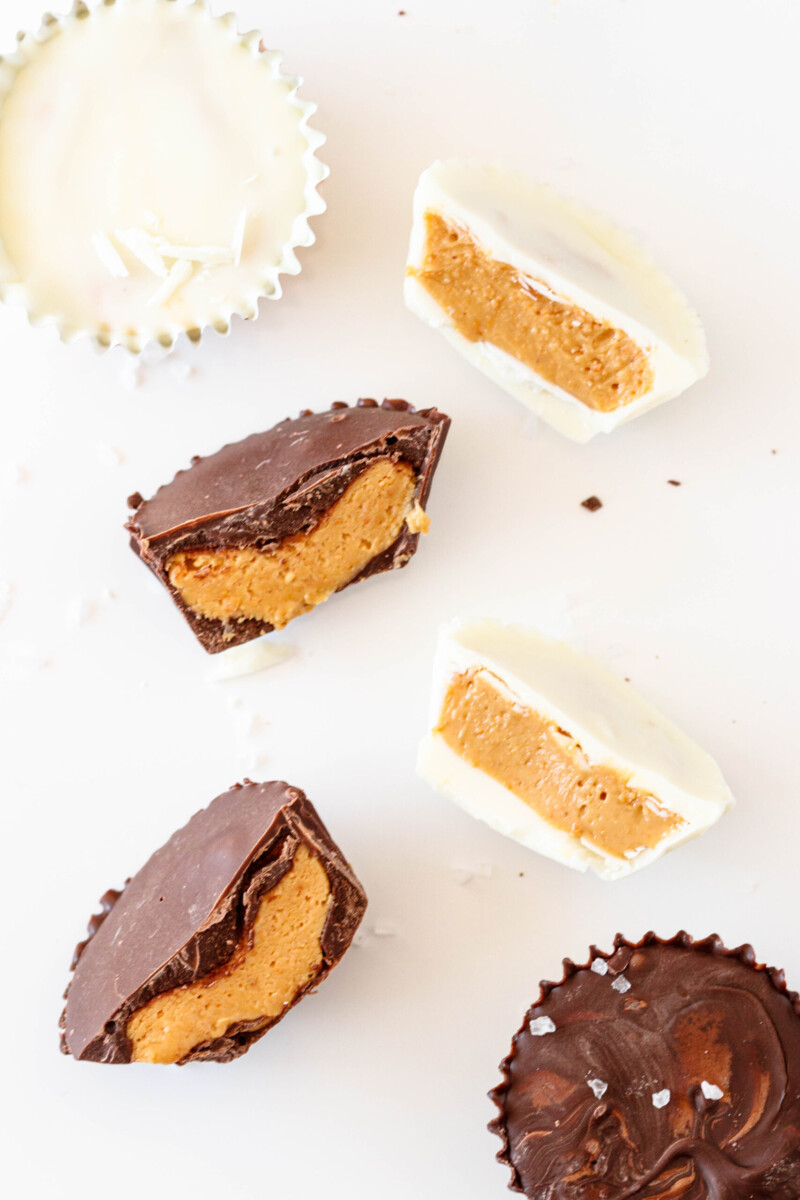
The nice thing about making your own candy is that you also get to pick your chocolate! I made most of these cups using dark chocolate melts, but we made a few with white chocolate melts just to test. Both were delicious, I’m happy to report!

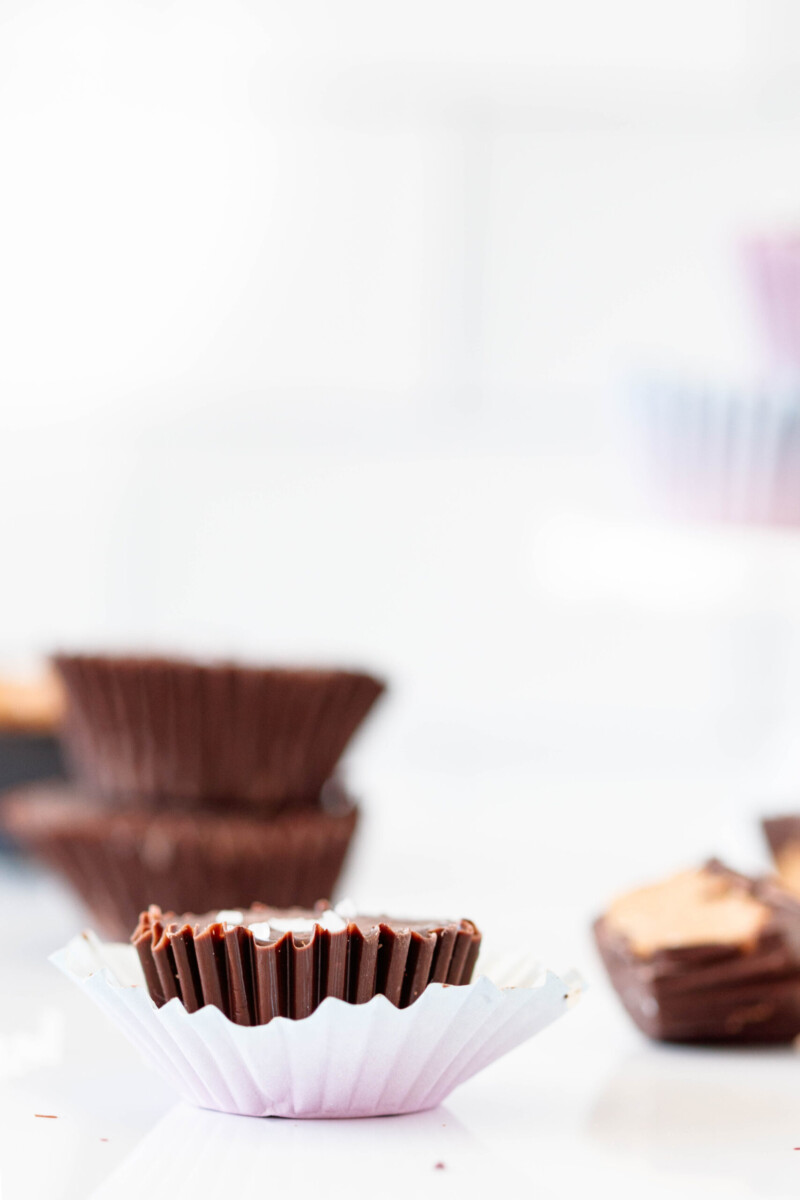
There are molds available to purchase online if you’d like to go that route. Personally, I like using mini cupcake liners. Many of them are sturdy enough to hold their shape while the chocolate sets, and they double as pretty packaging for the individual cups.
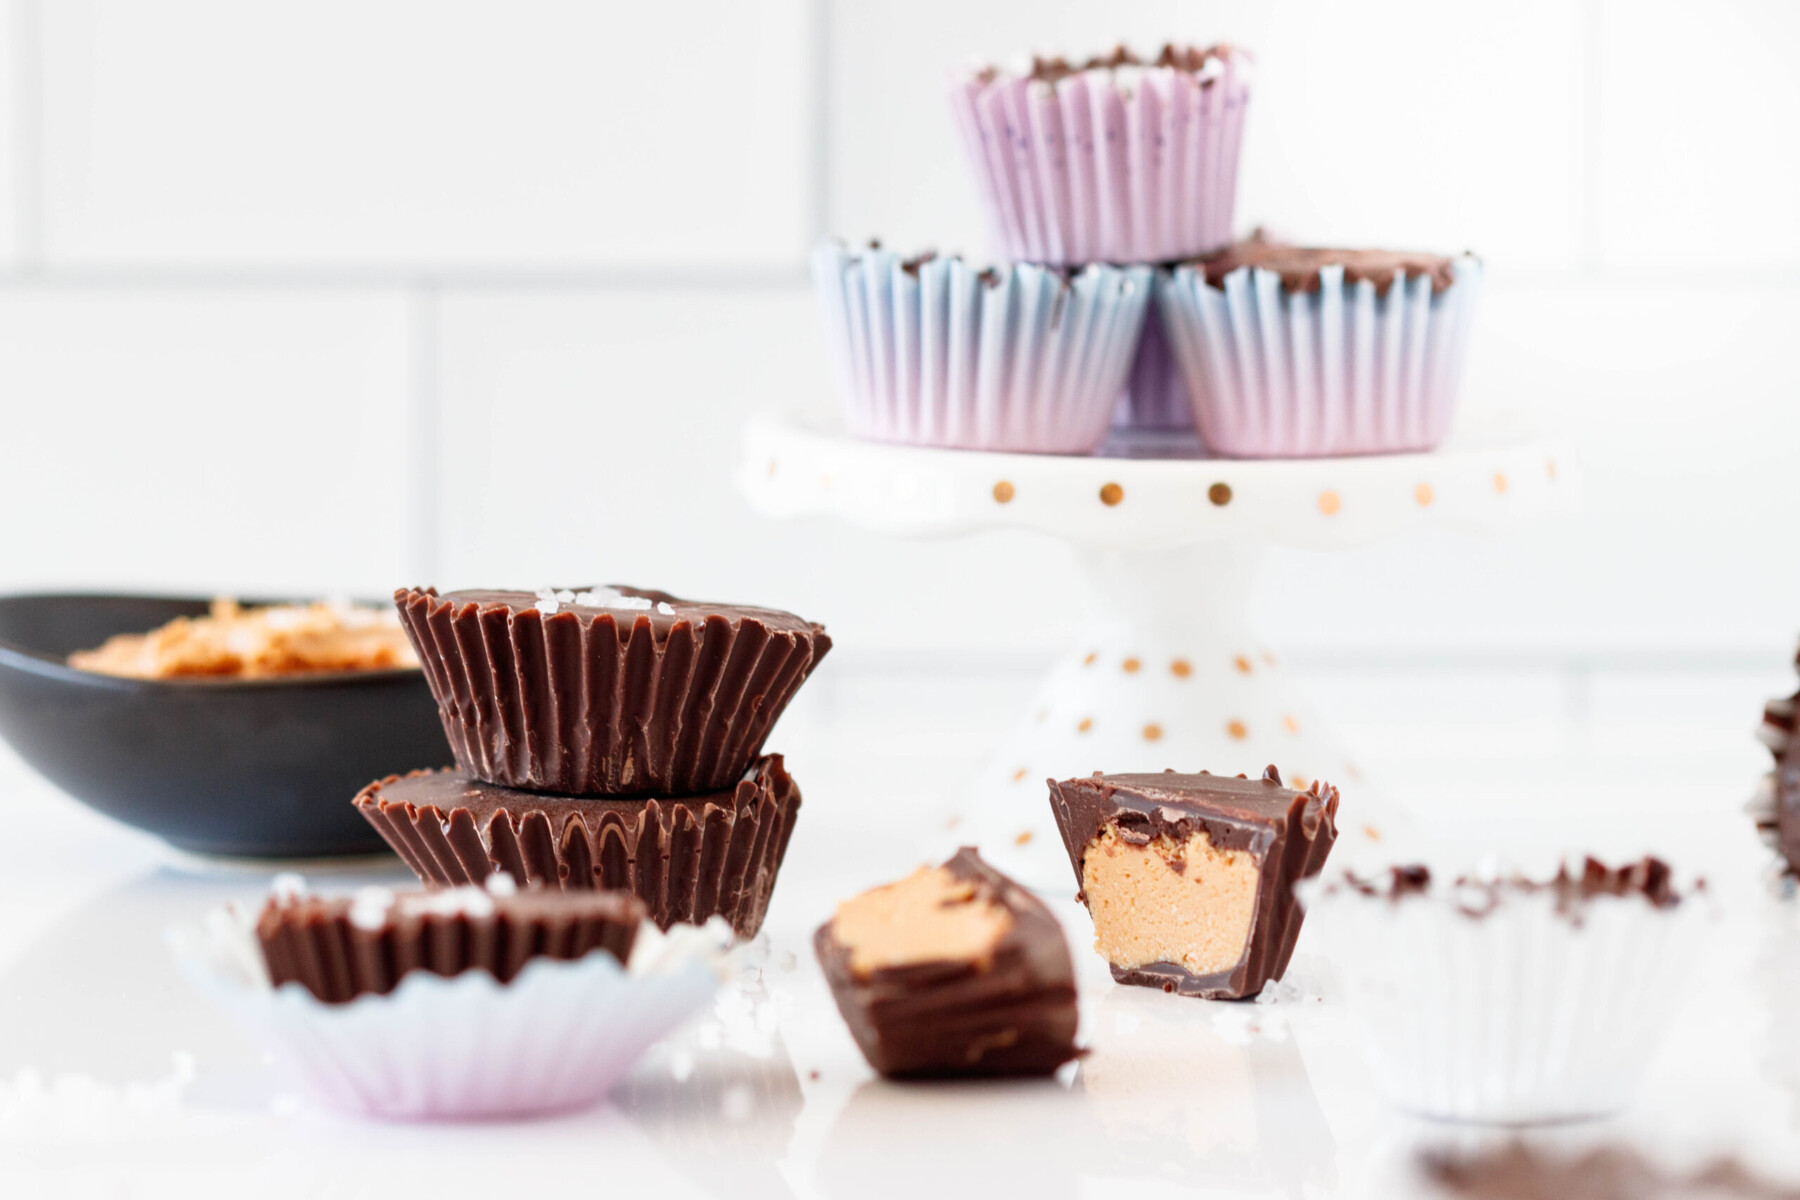
If you’d like to make larger cups – you’ll see a few – use a standard cupcake liner, and cut away about half the liner’s height. For the classic chocolate candy cup look, you want these to be wider than taller.
Tips for achieving the perfect filling to chocolate ratio…
I once had a pretty involved conversation with a neighbor regarding which size of Reese’s peanut butter cup had the correct chocolate to peanut butter ratio for maximum enjoyment. It turns out her (usually rather reserved) husband also has some pretty strong opinions on this subject.
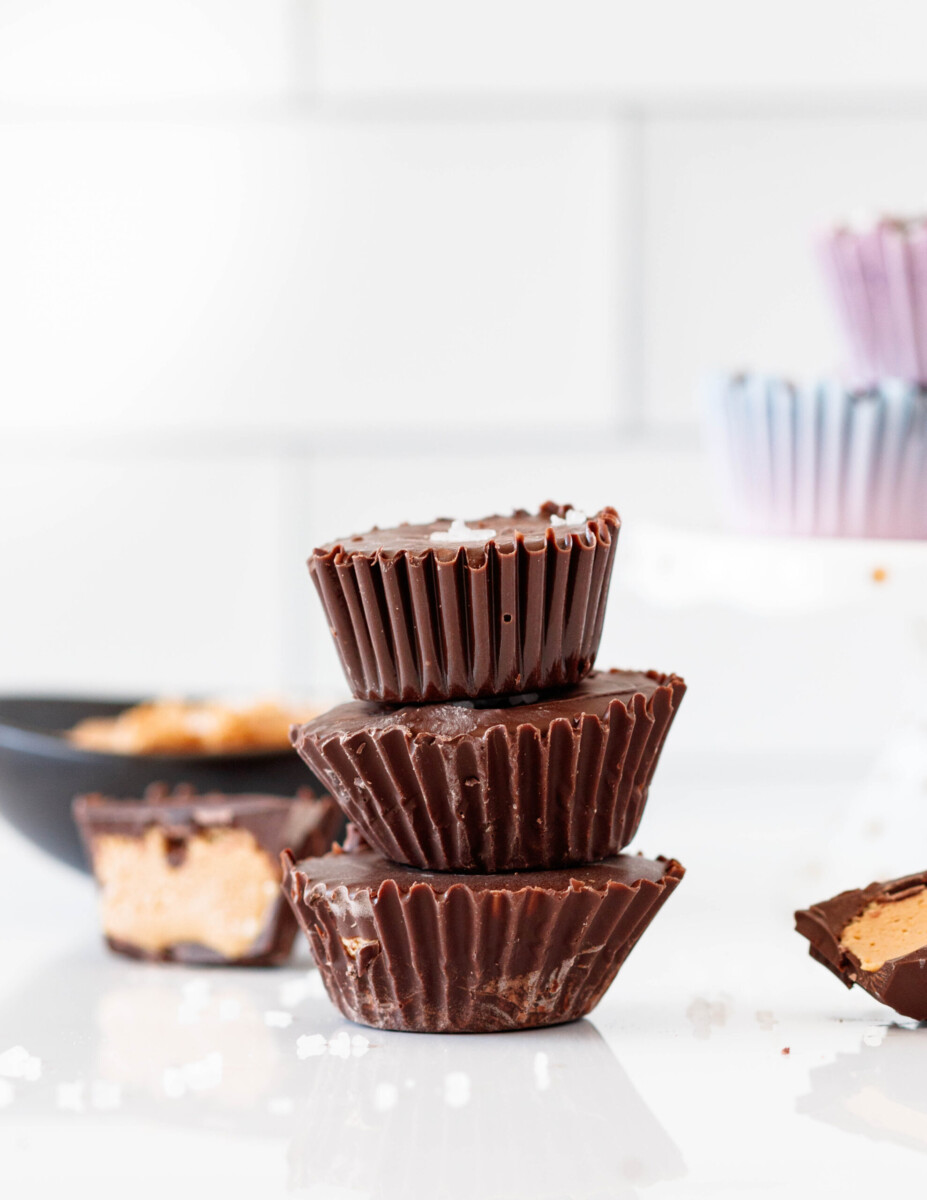
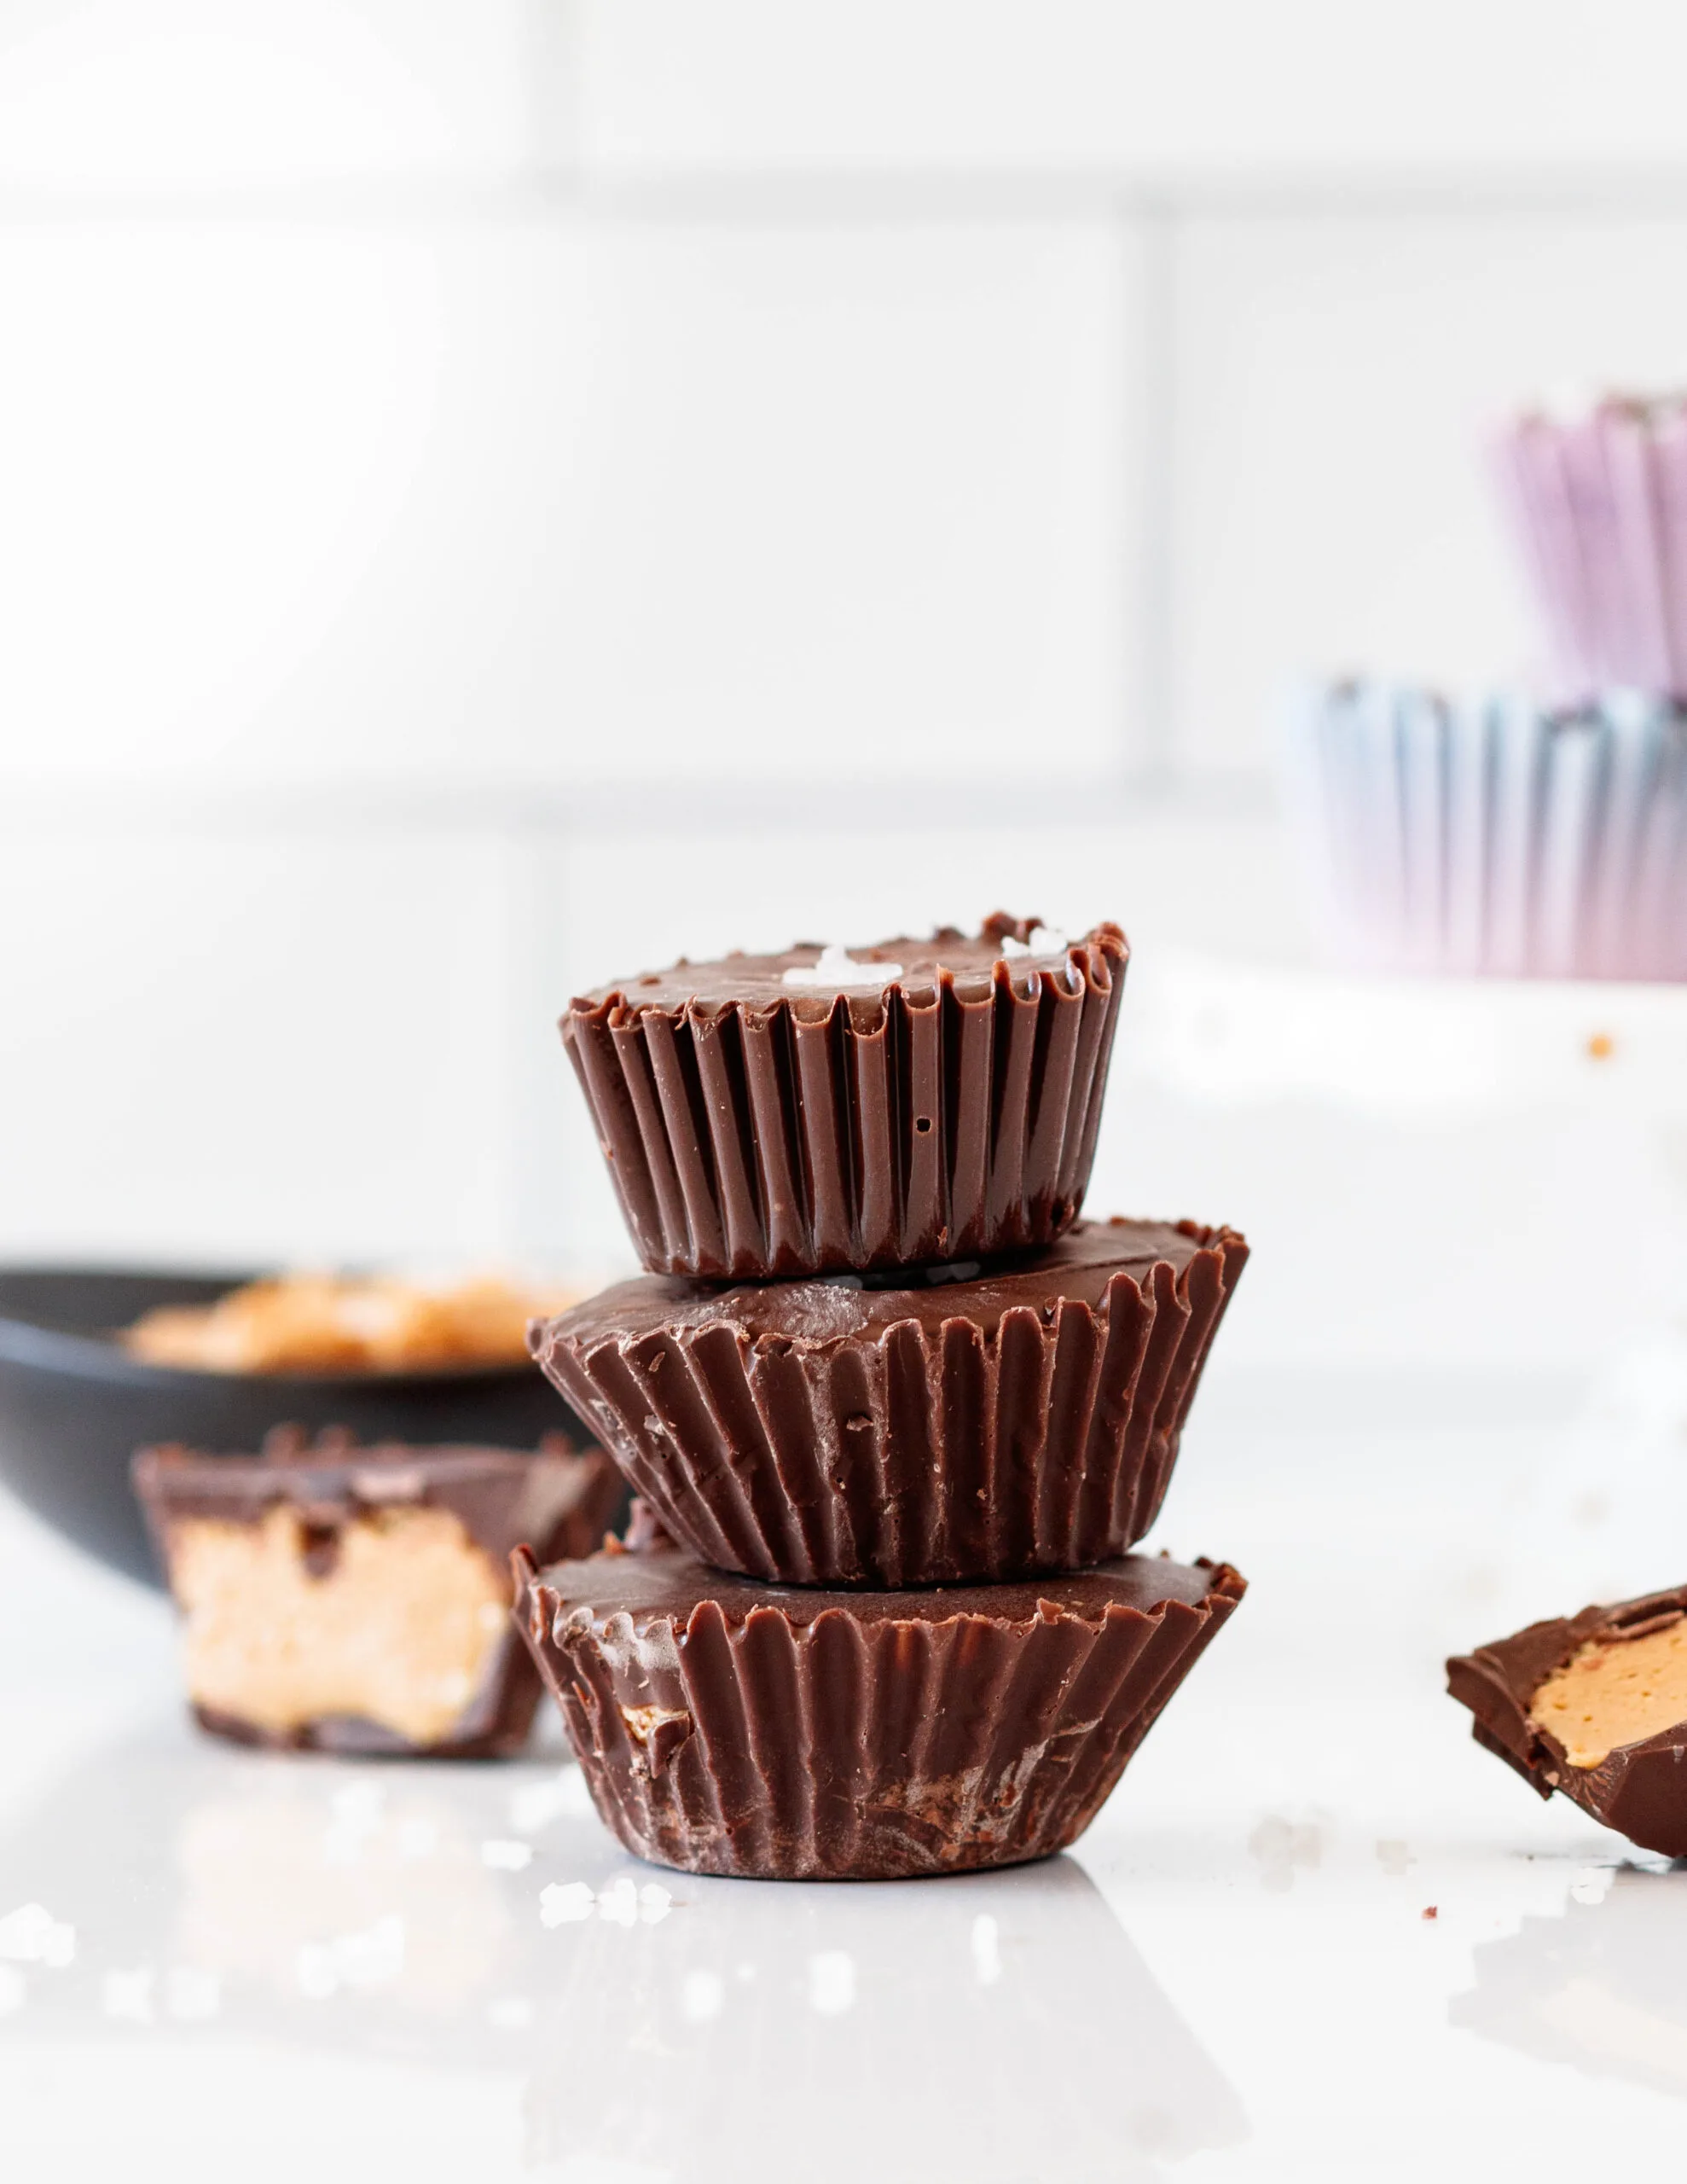
We all agreed that the perfect ratio happens in the classic cups because you have a thin chocolate coating over a good amount of filling. Do you know what you get to control when you make your own candy? The filling ratio! When you add your chocolate the way I show you in the video, you get a nice amount of filling with just the right amount of chocolate – even when making minis!

You don’t even need special equipment. I just use a little espresso spoon to add some chocolate and make sure it works its way around the cup as evenly as possible. The bottom will be a little thicker than the sides, and that’s perfectly okay. In fact, you’ll find it helpful when peeling the candy out of the wrapper.
Let the bottom and sides set, then pipe in your filling using a piping bag or plastic bag with the corner snipped off. You can use a spoon too, but a bag makes it easier to control the amount in each cup. Give the cup a quick shake to make sure the filling settles.
Then, spoon a little chocolate over the filling. Give a little shake and gentle tap on the counter to avoid air bubbles and that’s it! If you aren’t freezing the cups, I totally recommend a little sprinkle of sea salt too. Otherwise, leave them plain, add festive sprinkles, whatever you’d like!
Once set, you can store these in an airtight container on the counter for about a week (depends on filling), in the fridge for about 2 months, or 6-8ish months in the freezer.

I hope you love this recipe for easy chocolate cashew butter cups, darlings! Happy candy making!

Chocolate Cashew Butter Cups
With just a few pantry staples, you can make homemade nut butter cups! These chocolate cashew butter cups, with or without sea salt, make a lovely gluten-free candy gift, or a unique addition to dessert platters and cookie trays!
Ingredients
- 1 12 ounce bag compound chocolate (candy making chocolate)
- 1 cup creamy cashew butter (see notes)
- 1/2 cup powdered sugar
- 1/4 teaspoon salt (see notes)
- 18 mini cupcake liners or candy molds (see notes)
- sprinkles or coarse sea salt for topping (optional)
Instructions
- Melt your candy coating slowly in a double boiler over low heat, or using the microwave. If using the microwave, place the candy coating in a microwave-safe bowl and melt at 50% power for 1 minute. Stir. Repeat, in 30-second intervals until the chocolate is completely melted. (see notes)
- Use a small spoon to dollop a bit of chocolate into your mini cupcake liners or chocolate molds. Use the back of the spoon to coat the sides of each mold or liner. Place in the freezer for 5 minutes to set.
- In a medium mixing bowl, or the bowl of a stand mixer fitted with the paddle attachment, beat together the cashew butter, powdered sugar, and salt until well combined and smooth. Transfer to a piping bag and snip off the tip of the bag.
- Remove your chocolate cup bases from the freezer once they've set. Use the piping bag to fill each cup with your cashew butter mixture, leaving a bit of room at the top. Give each cup a gentle shake and tap. You want to avoid air bubbles!
- Use your spoon to pour enough chocolate over each filled cup to cover the filling. Give one more shake and tap to avoid air bubbles.
- Top with sprinkles or coarse sea salt, if using.
- Allow the cups to fully set before unmolding or storing. You can leave them in the mini cupcake liners if you'd like.
- Store in an airtight container and leave at room temperature up to 3 days, refrigerate up to a month, freeze for up to 6 months.
Notes
- If you don't want to temper chocolate but still want a nice snap to your chocolate, use candy coating! I've linked to two different brands I like in the "recommended products" section. This is what I use 95% of the time because it's easy to melt and tastes good.
- You can use white chocolate, milk chocolate, or dark chocolate candy coating for this recipe.
- If you do decide to use chocolate chips, definitely store the cups in the refrigerator, even if you use room-temperature stable filling. When I need to make these allergy-friendly (i.e. - dairy-free chocolate chips), this is what I do.
- If you'd like to use crunchy cashew butter (or peanut butter, cookie butter, etc), go right ahead! It makes for a fun variety in the texture. The only catch is that the top might not be totally smooth depending on the thickness of your chocolate coating. It's not usually a big deal.
- I use salted cashew butter or salted natural peanut butter most of the time. A quarter teaspoon of salt is plenty to balance the added sweetness from the powdered sugar. If you are using unsalted nut butter, or something that's already pretty sweet on its own like cookie butter, increase to 1/2 teaspoon of salt.
- If you're using candy molds, work in batches! You don't need to buy a ton of molds, and you can always re-melt the chocolate as needed if using a candy coating.
- Don't rush the melting of the chocolate! Just like you can't rush tempering, you don't want to overheat the candy coating either. You can see a little bloom in some of the candy cups in the photos. Bloom is that "dusty" look on the set chocolate. It's fine and doesn't affect taste or texture at all, but it's not as pretty.
Recommended Products
As an Amazon Associate and member of other affiliate programs, I earn from qualifying purchases.
-
 Maldon Salt, Sea Salt Flakes, 8.5 oz (240 g), Kosher, Natural, Handcrafted, Gourmet, Pyramid Crystals
 -
 Palksky (3PCS) 9 Cup Bite Size Chocolate Almond Peanut Butter Cup Mold/Fat Bombs Snack Baking Pan/Mini Silicone Cookie Candy Mold for Brownie, Jello, truffle
 -
 Guittard A'Peels Dark Chocolate, 2 Pounds
 -
 Guittard A'Peels Vanilla White Chocolate, 2 Pounds
 -
 Huaswan Bright Rainbow Foil Cupcake Liners Mini Baking Cups for Party, 240-Count
 -
 Ghirardelli Candy Making and Dipping, Dark Chocolate Melting Wafers, 10 Ounce Bag (Pack of 2)