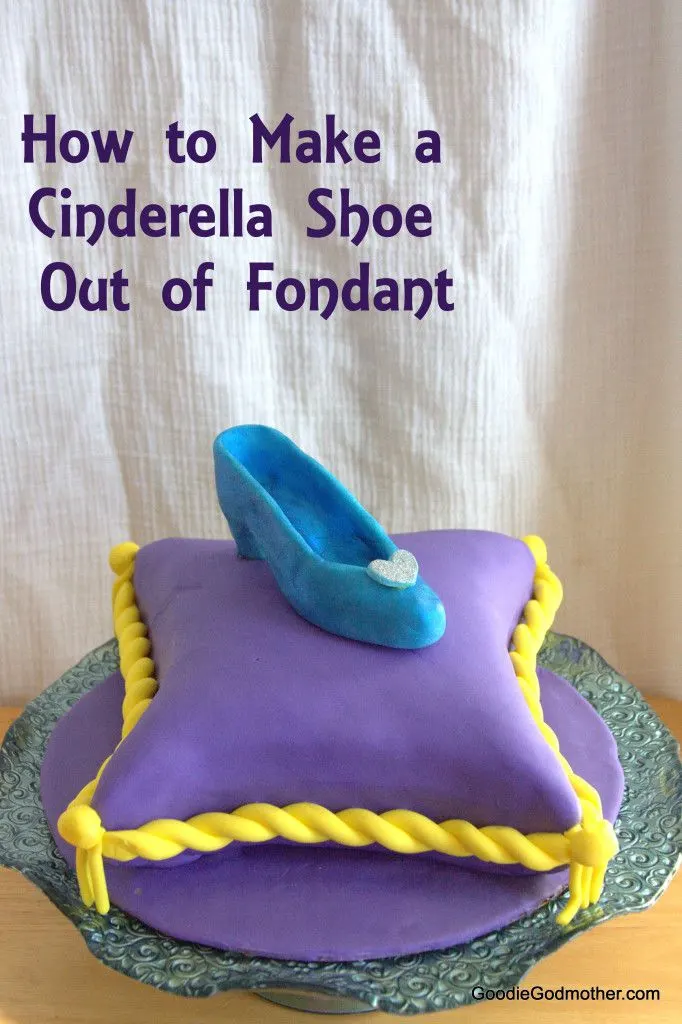
Give a girl the right pair of shoes and she can make her dreams come true! While not all of us may have dreams of running away from home to marry Prince Charming, I do believe in the power of a good pair of shoes.
As you must have heard by now, the much-anticipated live action Cinderella movie is being released this Friday. I’m sure we will watch the movie at some point, but I’m a classic girl myself and the animated version will always win out. It was the first movie that taught me the importance of outsourcing the housecleaning to helpful birds. When you find some, please give them my address. 😉
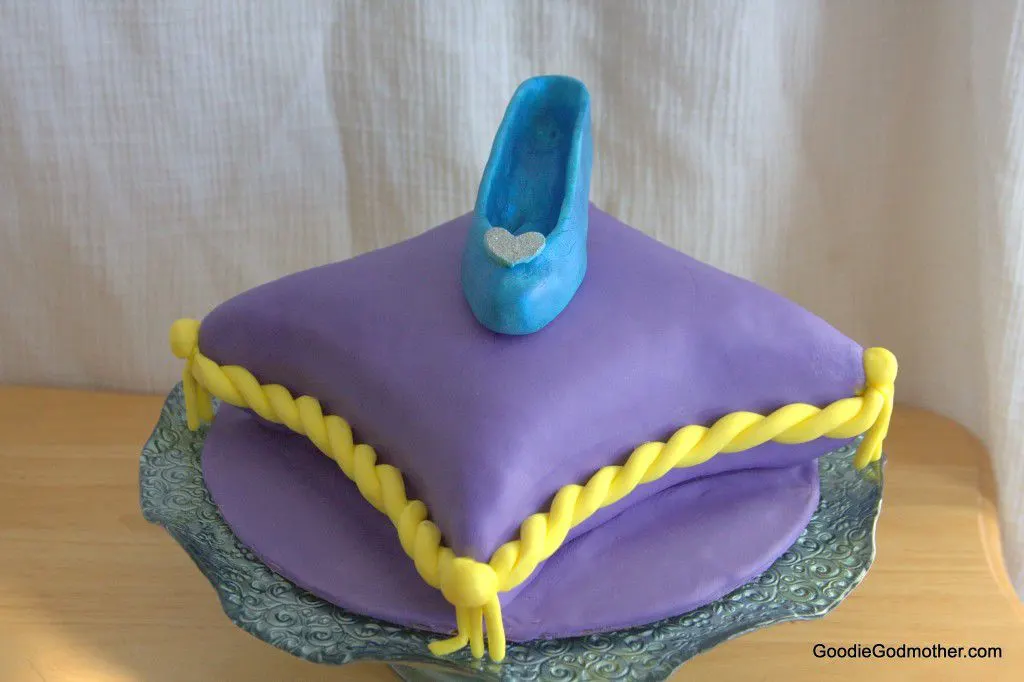
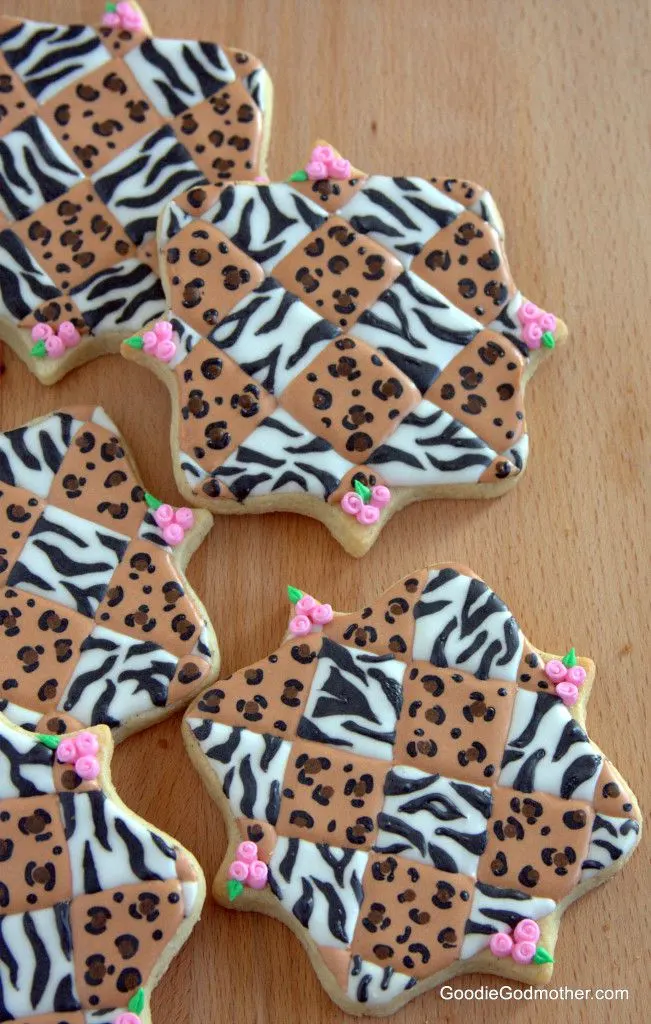
I decided to make this cake, just because I felt like it, and also because I’ve decided I really want to improve my cake decorating skills. My goal is to be ready to test for my Sugar Artist Certification within the next 10 years. That seems like a long time, but it’s a very intense test and I am training for this part time. I also want this to be a fun process because I love making beautiful food! I’ve also decided to take you along for the journey, so expect to see a few more tutorials on the blog so we can all learn together. The next one I plan to film is for the leopard and zebra print quilted cookies I designed and posted on Craftsy. Sweet Ambs then featured my design on her Facebook page, which I thought was pretty cool.
But back to the cake. I’ve always wanted to make a pillow cake, especially one of the really cool looking cakes with multiple tiers, but after seeing a trailer for the movie, I thought it would be best to start with a single pillow, and practice my fondant modeling by making a shoe! I went through so many tutorials and even cut out a pattern trying to fit the shoe together, but I really didn’t love how it turned out. I made a decent enough fashion shoe, but Cinderella’s shoe was a single piece of glass and that just didn’t translate for me making the shoe via traditional methods. I wanted a softer look and wasn’t really finding a guide to help me. So I just started experimenting and made the shoe on the cake. In making that shoe, I learned a few things, so I filmed a video to document the process of making another shoe and I’m sharing that with you today. Hopefully what I learned will help you!
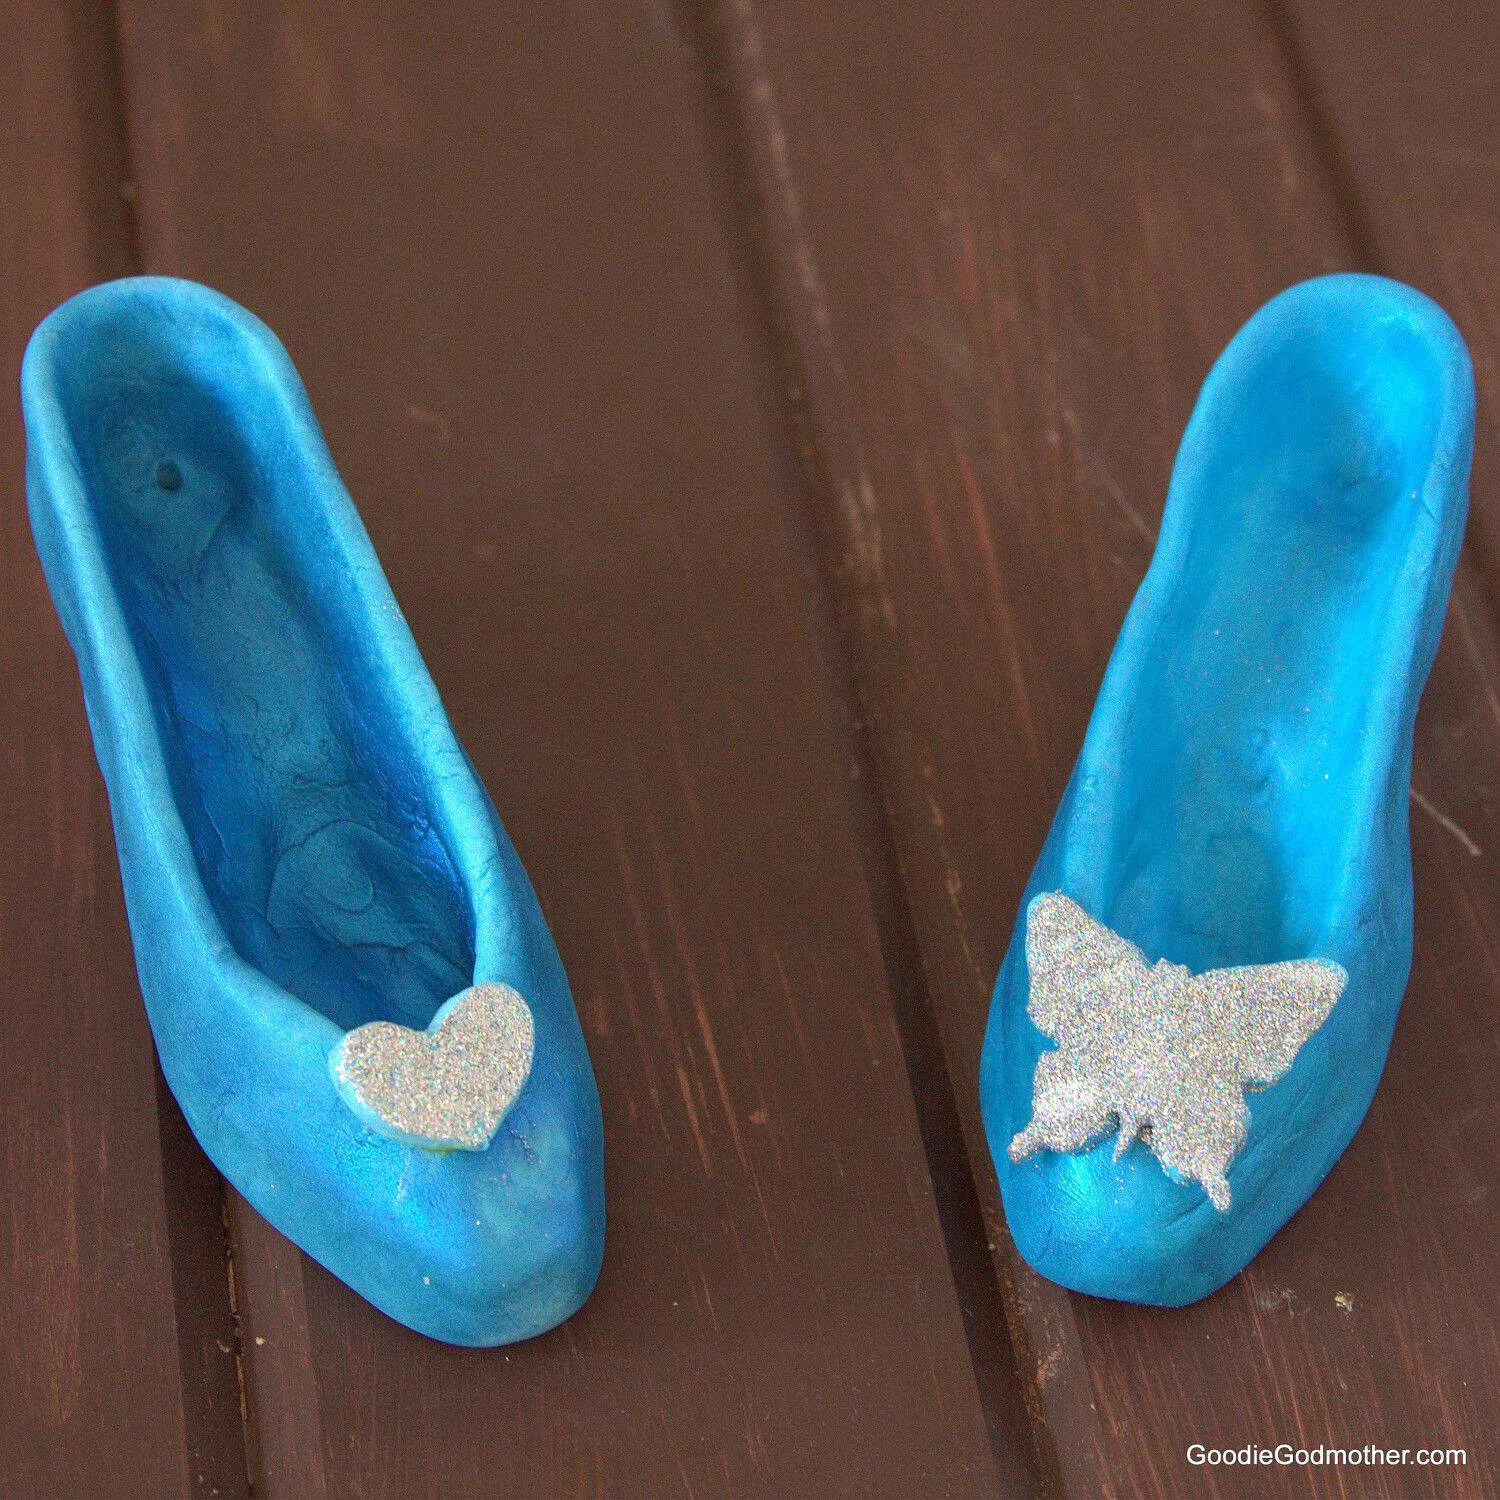
A few quick notes about making the shoe that I think it’s important to highlight:
- It’s good to plan ahead! The shoe will need at least 24-48 hours to dry. If you need a faster dry time, mix in gumpaste. Gumpaste dries very quickly, and I found that the heart topped shoe (1/4 gumpaste, 3/4 fondant) dried faster than the butterfly topped shoe, which I made with just fondant.
- Some people eat fondant, so if you think there’s a chance someone will try to eat the shoe decoration, skip the disco dust and use something edible like silver luster dust instead. Disco dust is for decoration only.
- I think this could also work beautifully with modeling chocolate and I may try that next time. You don’t spackle the modeling chocolate with gunge, you’ll just need to take the extra time to smooth everything out very well. Modeling chocolate still requires drying time, but not as much as fondant in my experience. This is good if you haven’t planned ahead. 😉
- The paintbrushes I use are from the painting section of the craft store, but they are only used for food! Please don’t mix your craft and food brushes.
- Have fun!
Should you like to know which materials I used, I’ve included a list below the video. Some of them are affiliate links, which means that should you make a purchase, Goodie Godmother will receive a tiny commission at no additional cost to you. Thank you for helping me continue to share my joy with you until pixie dust and baked goods are accepted as official currency. 😉
Enjoy the video and don’t forget to subscribe to my e-mail list so you don’t miss any delicious recipes or tutorials!
I used the following items to make the shoe. The first five items are clickable links:
- Wilton 710-2301 Decorator Preferred Fondant, 24-Ounce, White
- Cosmos ® 8 Pieces DIY Cake Fondant Decorating Modeling Tools Set
- Americolor Sky Blue Soft Gel Paste 13.5 Ounces
- Tropical Blue Luster Dust by GSA
- CK Products Disco Dust, 5gm, Silver Hologram
- Toothpicks
- Paper Towel
- Styrofoam Board for drying
- Paintbrushes
~*~
See this post and other great ideas on the following sites:
Jen@The Evolution of Mom
Thursday 19th of March 2015
So pretty and great video to go along with it! Your talent is off the charts! Thanks for sharing with us on the Momma Told Me Link Party!
~Jen
TheGodmother
Thursday 19th of March 2015
That's very sweet of you to say, thank you! Always a pleasure to stop by the link party and discover what everyone's up to!
Kristina @ My Own Home Blog
Monday 16th of March 2015
So cute! You did a great job on this Thanks for sharing at Talented Tuesday Link Party! Hope you join us next week! :)
TheGodmother
Wednesday 18th of March 2015
Thanks! :)