
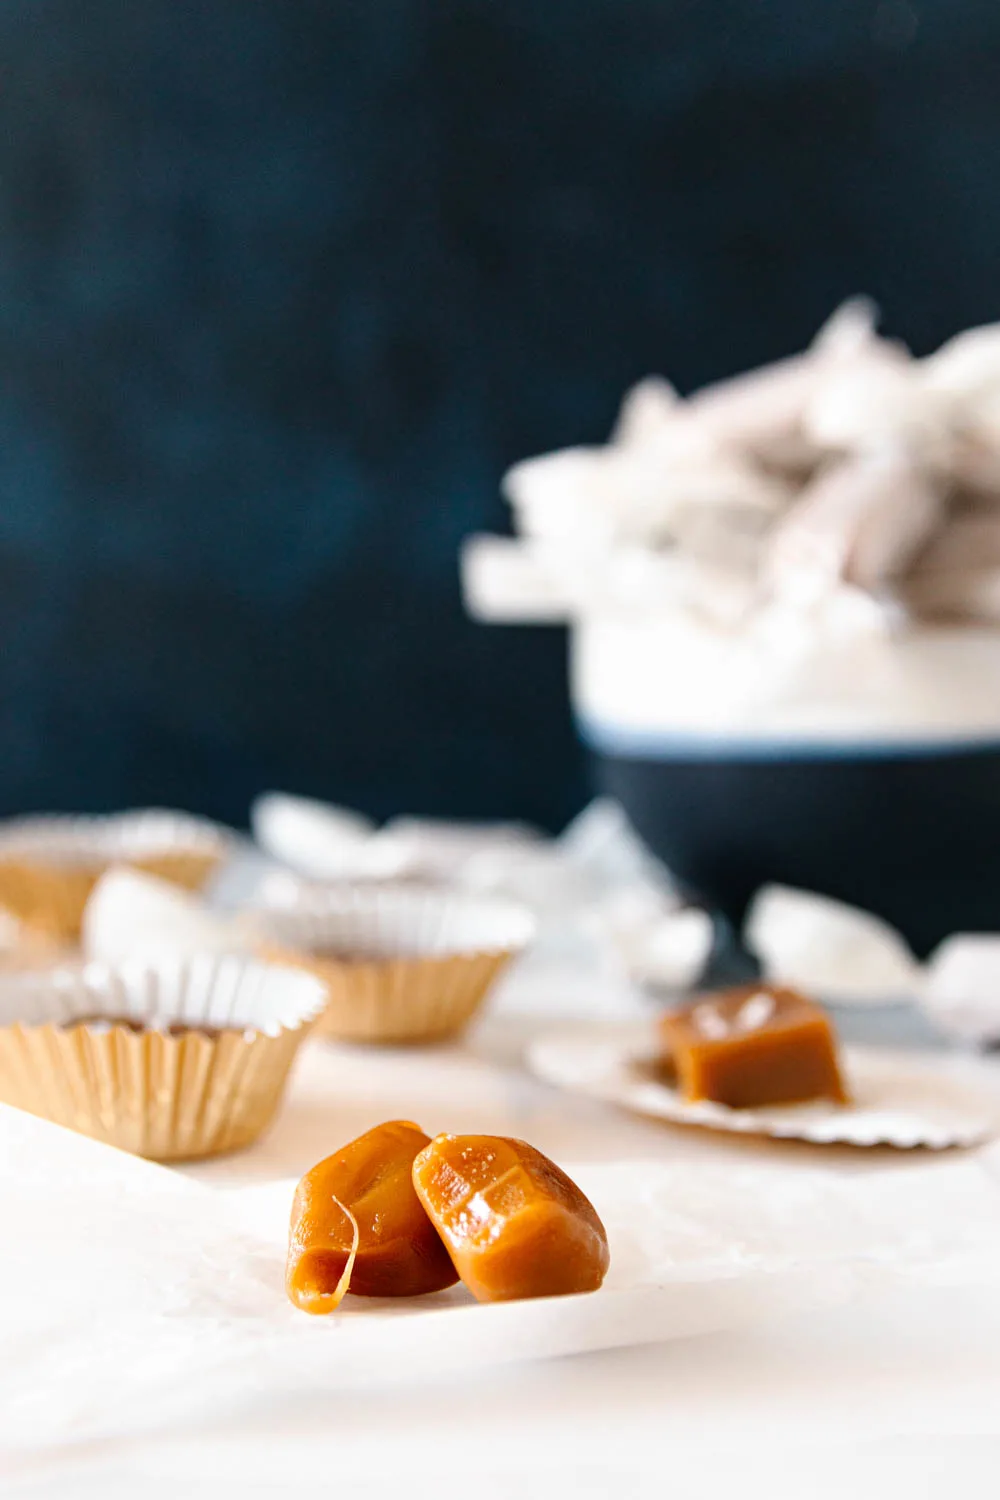
If you love caramels and also love a creamy (as well as a little nutty) taste, then you will absolutely love Goat Milk Caramels! Even if you’ve never made candy before, this is a great way to get started. Just be warned, once you start it may be hard to stop!

Have you ever tried goat milk? In case your immediate thought is “goat milk!?? 😨” because you’ve tried it before and don’t know if you like it, relax, this is a great introductory recipe! You don’t taste the goat’s milk, but it makes these caramels next-level in terms of flavor and texture.
Goat milk caramels are a unique candy recipe to make to use up extra goat milk. Head to the next section to find out how to make them yourself!
FYI, Goat milk is not dairy-free or lactose-free. As with all caramel recipes that don’t have gluten-containing mix-ins, these caramels are naturally gluten-free.

How exactly do I make Goat Milk Caramels?
Caramel candies are made on the stovetop, like caramel sauce. Candy is cooked to a higher temperature than sauce, and so takes a little more time to make. Patience and practice are the two keys to successful candy-making.
The basic steps to make this caramel recipe are simple. This recipe is even simpler than most because you combine all ingredients in a single step. Once your ingredients are mixed together, stir and watch for the mixture to reach the correct temperature. As soon as it does, pour the hot caramel carefully into your prepared pan and wait for it to set before cutting and wrapping.
Candy-making takes time, but you get a big batch of caramels, so it’s totally worth it!
What equipment will I need?
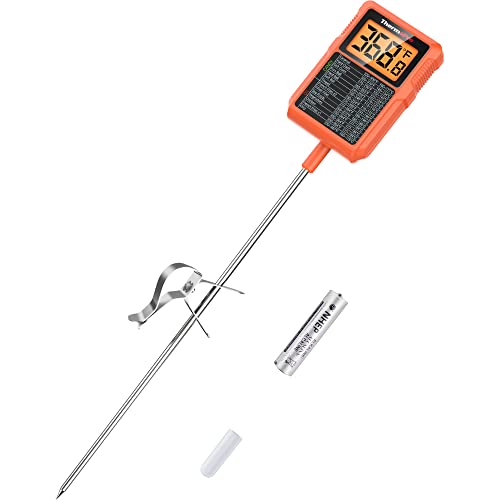
Thermometer – A good thermometer makes this recipe easy. I like to use an instant-read digital candy thermometer. Glass thermometers are great, but I’ve had one break in a batch of candy before and no longer use them. You can imagine the heartbreak when I lost that batch of caramel!
Check to be sure your digital thermometer is calibrated.
You can check the calibration on a digital thermometer by placing it into a pot of boiling water. At sea level, water boils at 100 °C (212 °F). If your thermometer reads 212 F when the water is at a rolling boil, you’re set!
If not, be sure to adjust accordingly when making your candy. For example, if your thermometer reads 102 F, know that you need to mentally deduct 2 degrees from your thermometer’s reading. It might not seem like a few degrees will make a big difference, but it does. If your candy gets too hot, it might be tough to chew. If it’s too soft, the candy might not set up firm enough to cut into portions.

Candy molds or a square rimmed baking pan – You’ll need something to place the caramels in to set. There are special silicone candy molds if you’d like to get fancy, but I use a simple square baking sheet lined with parchment.
Pizza wheel or bench scraper – Cut your caramels easily with a greased pizza wheel. A long bench scraper is another alternative. Be sure to have nonstick spray or a bit of neutral oil on hand to grease either. It doesn’t take much oil (you don’t want your caramels to be greasy!), but without greasing either, your caramel will stick a little.
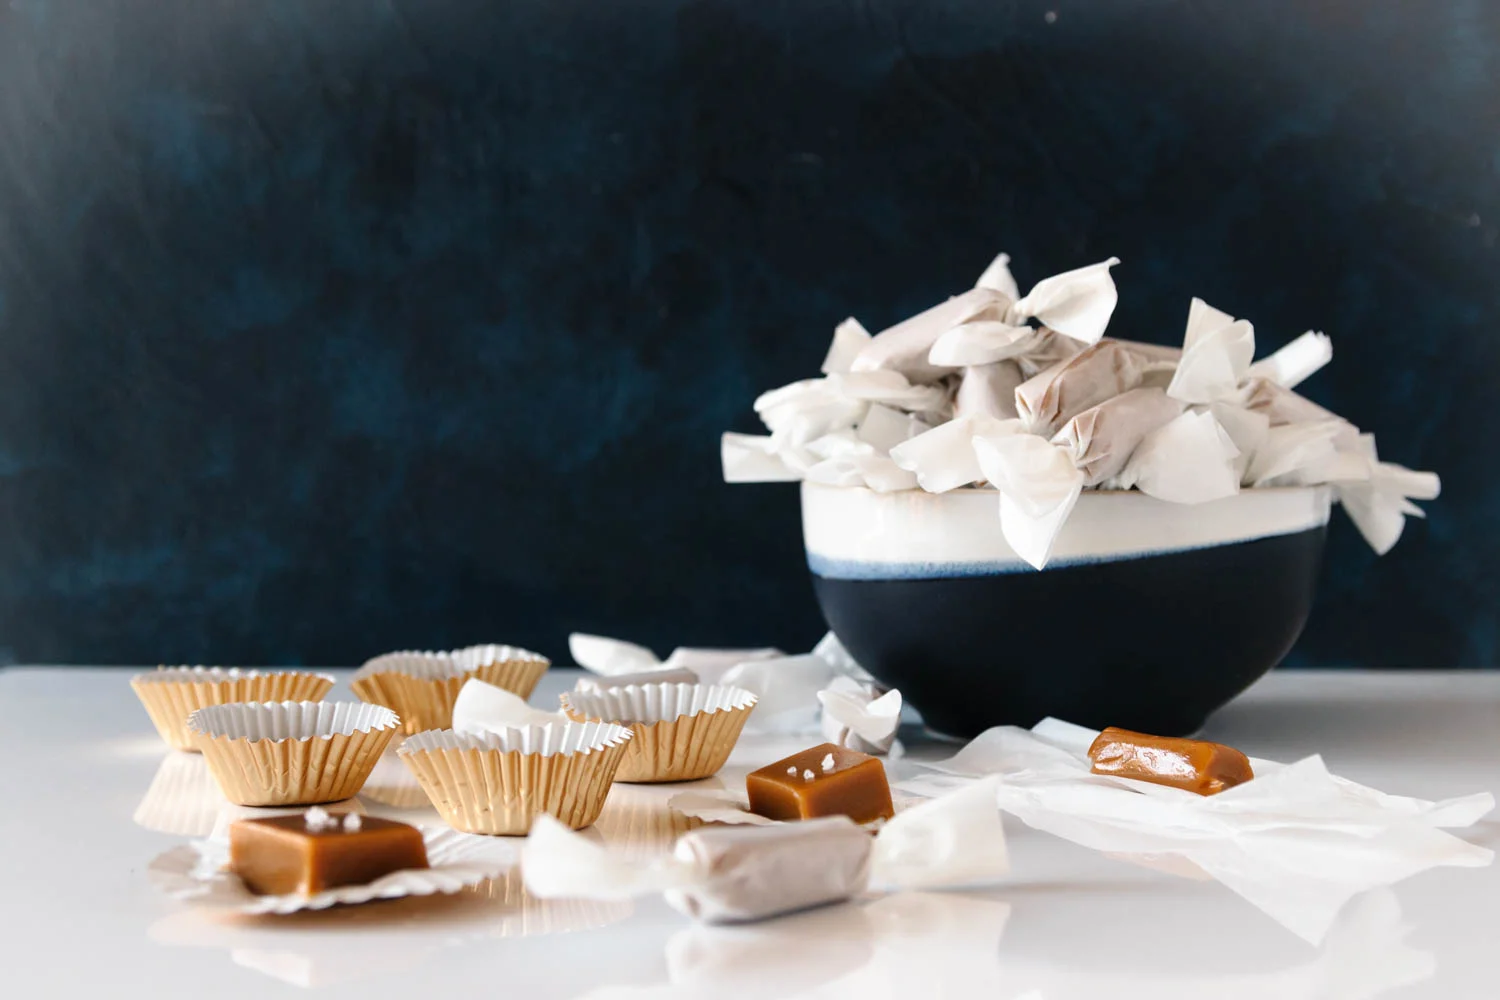
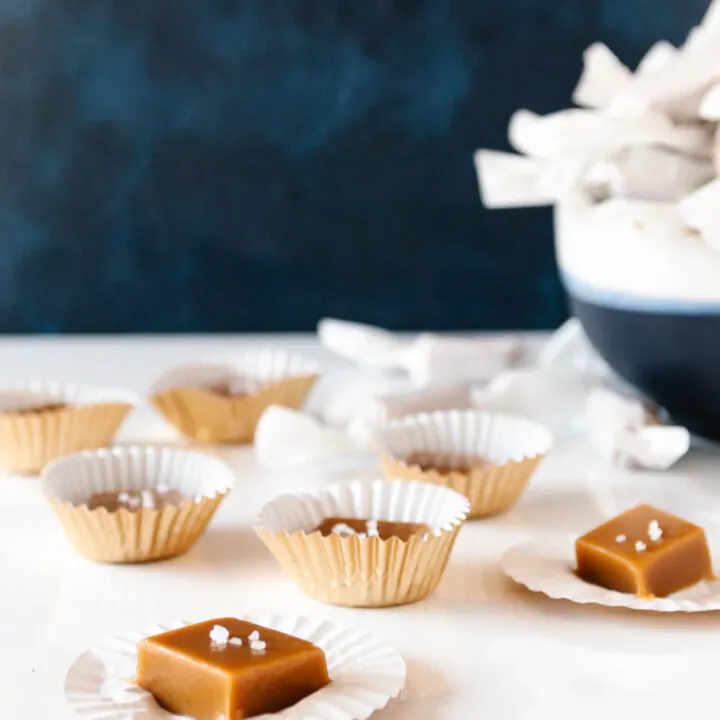
Wax paper or mini cupcake liners – I like to use wax paper candy wrappers to prevent the caramels from drying out. You can cut your own, or purchase from a candy supply or craft store. I’ve tried using the pretty foil wrappers, but have had problems with sticking.
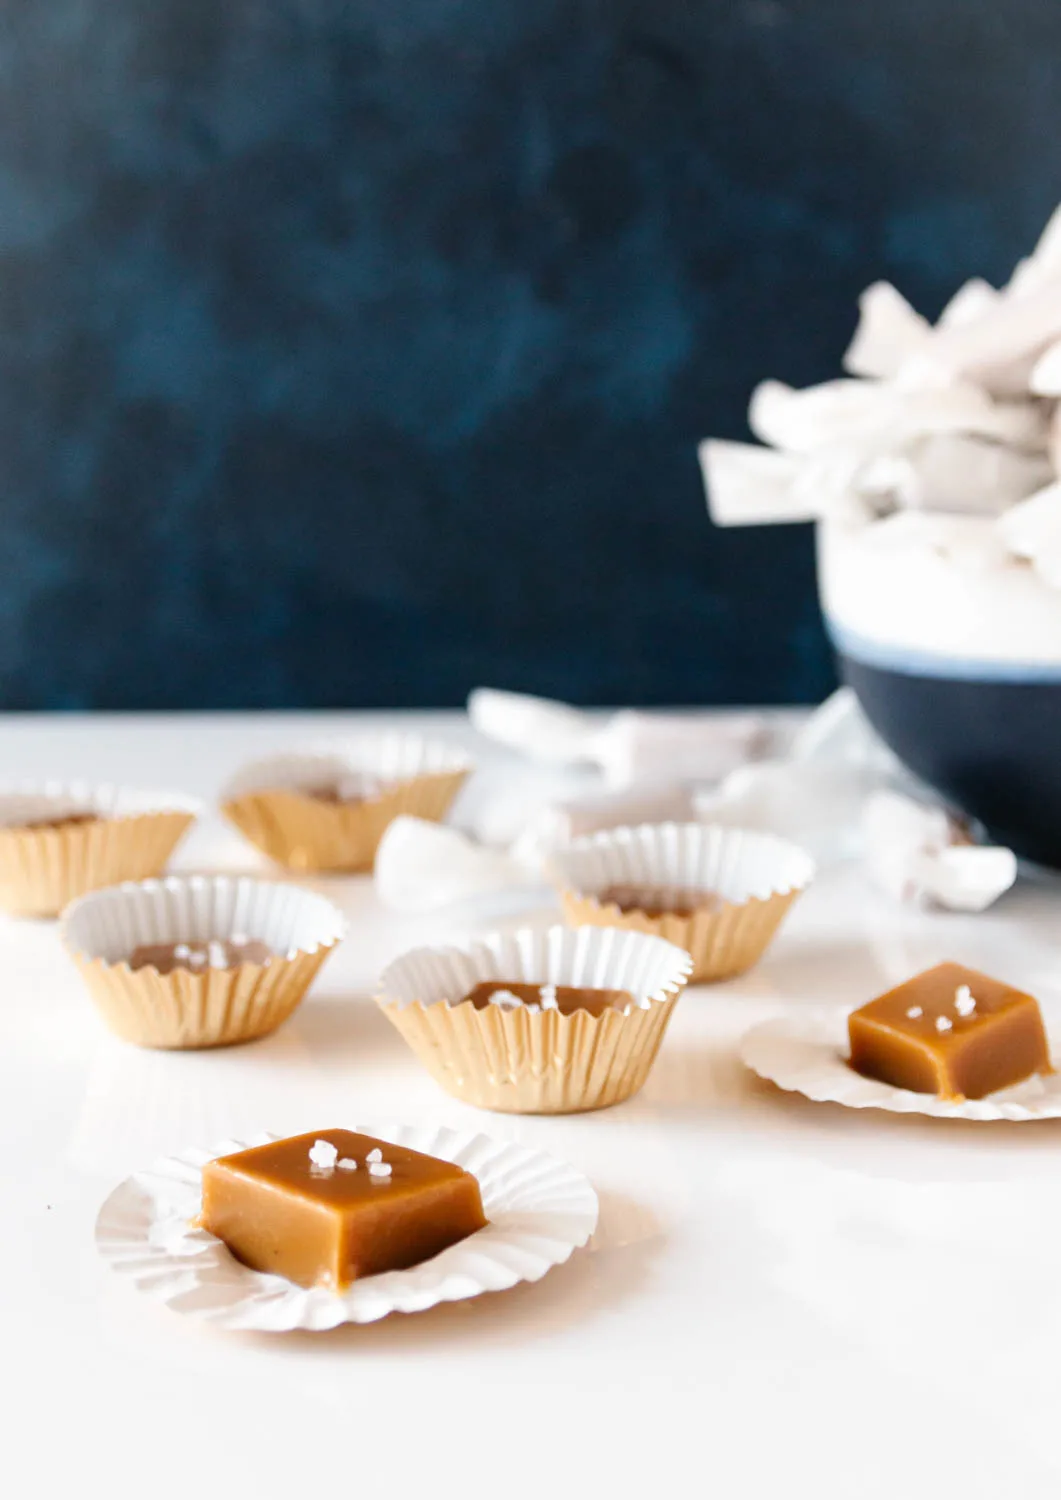
Wax paper is simpler and has a bit of a nostalgic feel. Mini cupcake liners also make for a great way to serve them up, especially if you are gifting in a candy box or adding a sprinkle of coarse salt or a bit of chocolate drizzle!
Goat Milk Caramel Ingredients
Goat milk – For the best results use full-fat goat milk and heavy cream. If you can’t find goat milk, you can substitute regular whole milk, but the flavor will be different.
Honey – Honey adds a lovely flavor, but if you don’t like it, or don’t have any in, use one of the other invert sugar options like agave syrup or corn syrup.
Light brown sugar or dark brown sugar – either of these is fine. The difference between the two is the level of molasses, and it doesn’t make a significant impact on this recipe. Just be sure you are using brown sugar with small crystals and not a large-crystal sugar that is brown in color like turbinado or raw cane sugar. It is also worth noting that small crystals dissolve easier.
Unsalted butter – Did you know that there is no standard level of salt in salted butter? By using unsalted butter you will achieve more consistency. If you’d like to make salted goat milk caramels(I do love some salted caramel!)sprinkle some coarse sea salt on the finished caramels before serving.
How to serve and wrap your caramels
If you’d like to add a little extra something to your caramels, top them with a little sea salt or dip or drizzle with chocolate. Have fun with this!
A great thing about this recipe is that homemade caramels don’t require refrigeration if you can keep them free from moisture. This makes them great for holiday gifting or shipping to friends and family!
Once caramels are individually wrapped, store them at room temperature for up to 2 weeks in an airtight container. Alternatively, refrigerate them for 3-4 weeks, or freeze them in an airtight container for up to 3 months. To thaw, allow the caramels to sit out at room temperature for an hour or so. If you’re shipping, pop a little note in with your parcel with instructions, so your friends can enjoy their caramels for even longer!

Enjoy your goat milk caramels and if you used the recipe, let me know!

Goat Milk Caramels
Creamy goat milk caramels are a great candy recipe for beginners. Homemade caramel candies make beautiful gifts, or a delicious make-ahead treat to have on hand for unexpected sweet cravings!
Ingredients
- ½ cup butter, cut into slices (see notes)
- 1 1/2 cups brown sugar, lightly packed
- ¼ cup light corn syrup or honey (see notes)
- 1¼ cups goat milk
- 1¼ cups heavy cream
- pinch of salt
- 1 tablespoon vanilla extract
- nonstick spray or extra butter for greasing the pan
Optional Touches:
- Course sea salt
- Coating chocolate or tempered chocolate for dipping
Equipment:
- 8-inch square baking dish with rim
- parchment paper for lining the pan
- candy thermometer
Instructions
- Grease the square baking dish where your caramels will set. Line with parchment paper, leaving enough at either end to form a "handle" at either side. This makes things much easier when it's time to cut!
- In a heavy bottom pot, combine the sliced butter, goat milk, cream, corn syrup or honey, and brown sugar.
- Place the pot over medium-high heat, and stir constantly until the mixture is smooth and just starts to simmer.
- Attach your candy thermometer to the pot (if it isn't already), and continue stirring for 20 minutes or so, until the temperature reaches 245°F. You may cook up to 248°F if you'd prefer a more firm caramel, but if you'd prefer a softer caramel, 243-245°F will provide a lovely texture.
- As soon as the caramel reaches your desired temperature range, remove the pot from the heat and add the vanilla and a tiny pinch of salt (see notes). Stir until combined and then carefully pour the caramel from the pot into your prepared baking dish.
- Allow the caramels to set at room temperature for a few hours until solid enough to cut and wrap. If you need to speed up the process a little, place the caramels in the refrigerator.
- Once the candy is set, grease a pizza wheel or bench scraper. Remove the caramels using the "handles" on your parchment paper liner, and place them on a cutting board.
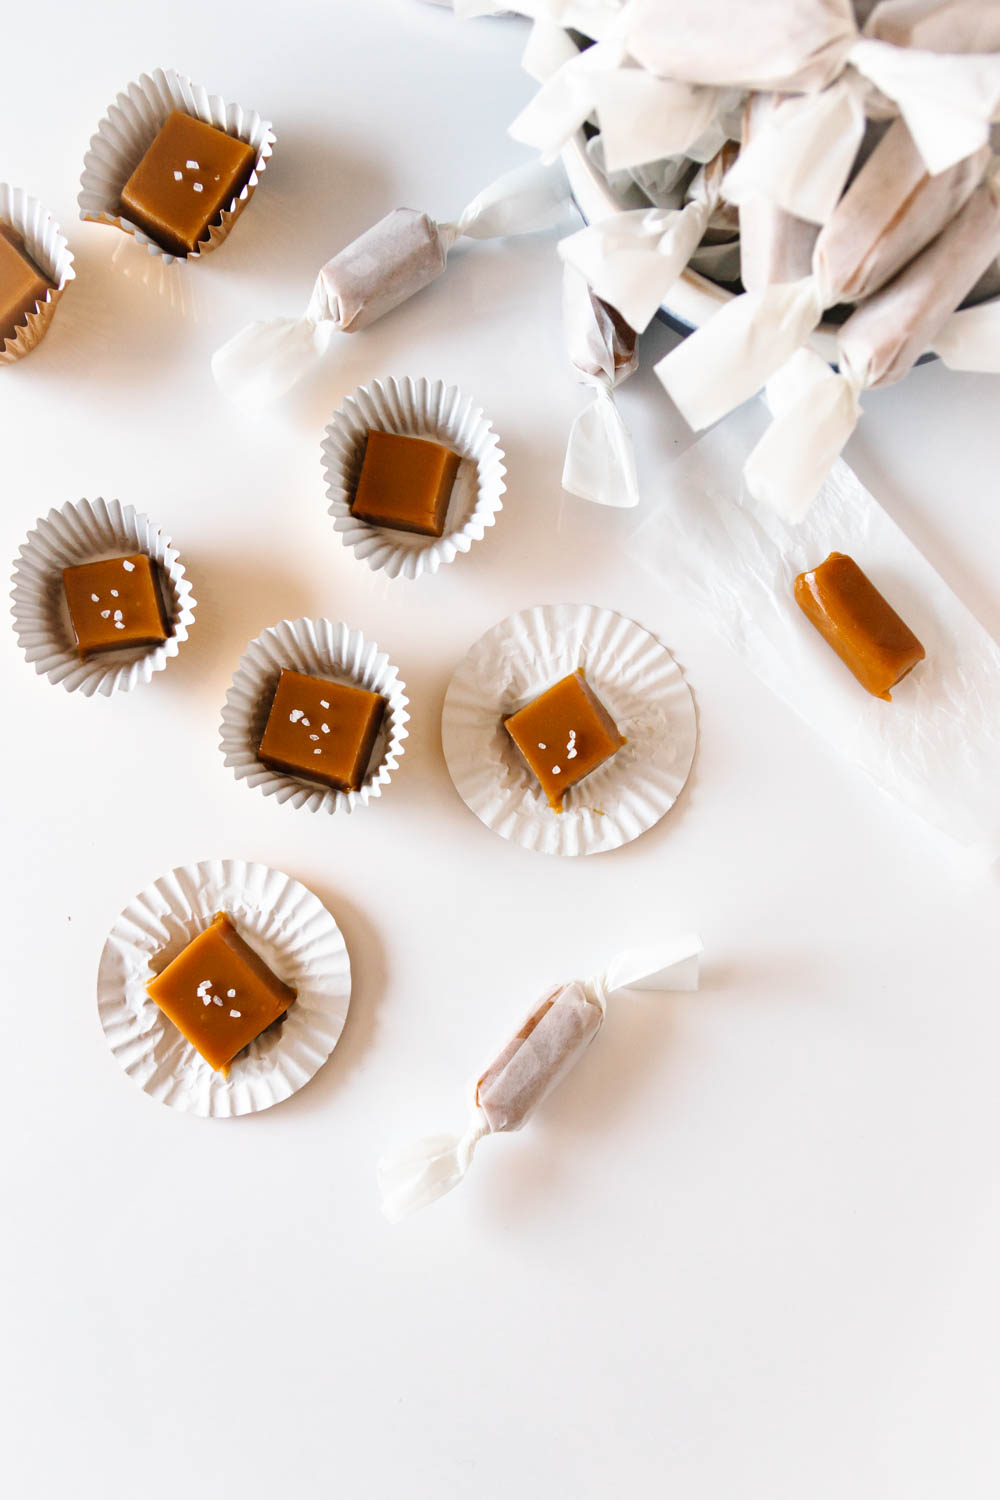
- Cut the caramels into 1-inch square portions (or whatever your desired measurement, and wrap individually in wax paper or place in mini cupcake liners. Sprinkle with sea salt (see notes) or dip in chocolate if desired. Enjoy!
- Homemade caramels, once wrapped, can be stored in an airtight container at room temperature for several weeks, in the fridge for several months, or frozen for up to a year.
Notes
- Cutting the butter into slices helps promote even melting. If the butter and sugar don't melt at a similar rate, you might end up with little pools of butter on your finished caramels. It doesn't affect the final flavor, but it does make an aesthetic difference.
- The exact yield of the recipe will vary depending on the size you cut your caramels. A 1-inch square is standard, but sometimes I cut them a little bigger to make "two-bite" caramels.
- You may also use honey or agave instead of light corn syrup, but both will add a flavor to the caramels. I've used light corn syrup and honey in different batches, and both have been well-received.
- If you must be specific, a "pinch" of salt would be about 1/8 teaspoon. This little bit of salt in the caramels helps add just the tiniest depth of flavor.
- Caramel candy is HOT when it reaches temperature. It helps to have oven mitts handy to help in pouring and maybe even an assistant.
- If you'd like to add a sprinkle of coarse salt to your caramels, only do so when you plan to keep them at room temperature. The salt will melt if you refrigerate the caramels and then bring them to room temperature.
The recipe is only slightly adapted from Backyard Goats.
Recommended Products
As an Amazon Associate and member of other affiliate programs, I earn from qualifying purchases.
-
 Maldon Salt, Sea Salt Flakes, 8.5 oz (240 g), Kosher, Natural, Handcrafted, Gourmet, Pyramid Crystals
 -
 ThermoPro TP510 Waterproof Digital Candy Thermometer with Pot Clip, 8" Long Probe Instant Read
 -
 Lightbeam Digital Candy Thermometer, Instant Read Kitchen Cooking & Spatula Thermometer Temperature Reader & Stirrer in One BPA Free Food Grade Material (White) LB-STW
 -
 Oasis Supply Twisting Wax Paper, Rectangle Anti-Sticking Candy Wrappers & Patty Paper, 4.5” x 5.5”, Semi-Translucent, 100 Pack
Nutrition Information:
Yield: 64 Serving Size: 1Amount Per Serving: Calories: 57Total Fat: 4gSaturated Fat: 2gTrans Fat: 0gUnsaturated Fat: 1gCholesterol: 10mgSodium: 30mgCarbohydrates: 6gFiber: 0gSugar: 6gProtein: 0g
These nutrition values are estimates. Exact values will vary depending on the ingredients, brands, and quantities used.