So… Cinco de Mayo is coming up and since I actually have this recipe ready to go, let’s all pretend I’m sharing it to be festive and not because I was planning to share it anyway since this is AWESOME, okay? I mean really, how much more impressive does it get to be able to say, “Oh, this delicious cheese? I made it”? And then your friends are like “EHRMAGAHRD, that’s AHHHMAZING!” and you just hope they never come across this post so they don’t find out your secret.
Making your own queso fresco takes maybe 10 minutes of active work, another 20 or so waiting, and only three ingredients. Three ingredient cheese? Yes. It takes only three ingredients to make queso fresco and you likely have all of them in your house, right now. All you need is some milk, an acid like vinegar or lemon juice, and salt. That’s it!
You start by grabbing a half gallon of milk (or make a whole gallon if you’re making for a big party!). Ultra-pasteurized milk won’t work, so be sure to look for just “pasteurized” milk, or get farm fresh if you can. I used raw milk, but if you’re not comfortable with that, or can’t get it in your area, just look for milk labeled “pasteurized”. This will not turn out properly if you use ultra-pasteurized milk, because the milk has been heated to such a high temperature in processing that the proteins have all denatured and there’s nothing left to react with the acid and create your pretty curds! Use whole milk to get the best yield, although I suppose 2% would work in a pinch, but you’d have less cheese.

You have some options when it comes to choosing your acid. White vinegar works well to provide a neutral flavor. You may also use a tsp of citric acid dissolved in 2 tbsp of water, but most people don’t have citric acid just sitting around at home. If you want to go that route though, you can find it on amazon or your local health food store. Lemon adds a really nice citrus twist, but I decided to use lime for this batch.
I used the lime because I envisioned this cheese over tacos, or paired with a Mexican meal and I thought the lime would provide the best compliment. I was right! There’s just the lightest little hint of lime, and it works perfectly! When I make this again, because I will, I’ll add a little cumin and maybe some chili powder and lime zest to really up the flavors and make this a truly unique homemade “artisan” cheese. Feel free to get creative and add flavors to suit your mood or the dish with which you plan to serve the cheese.

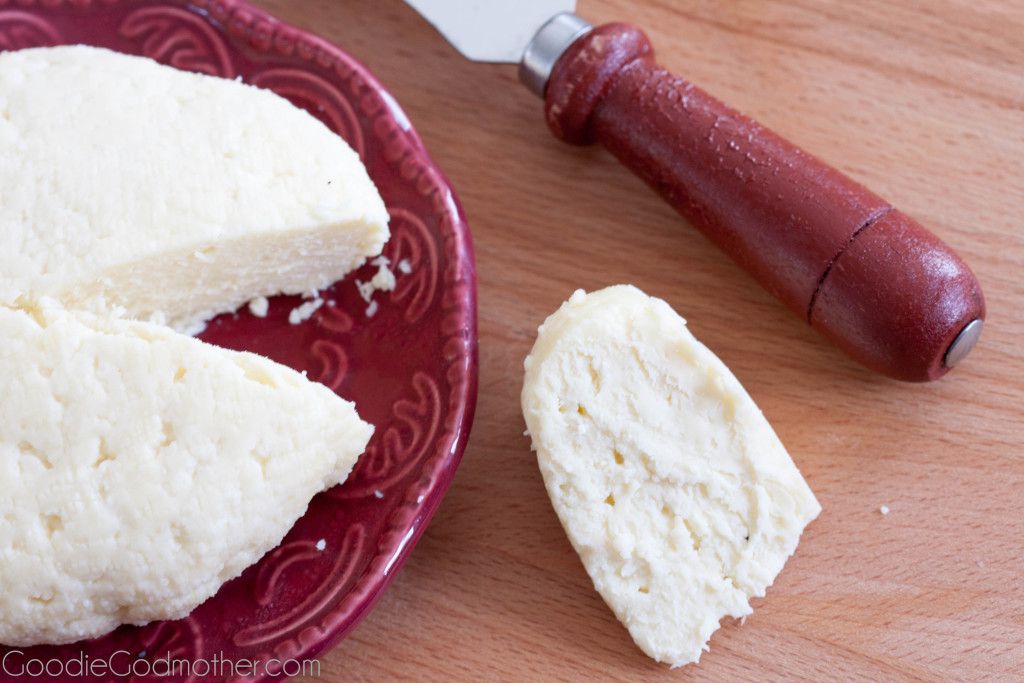
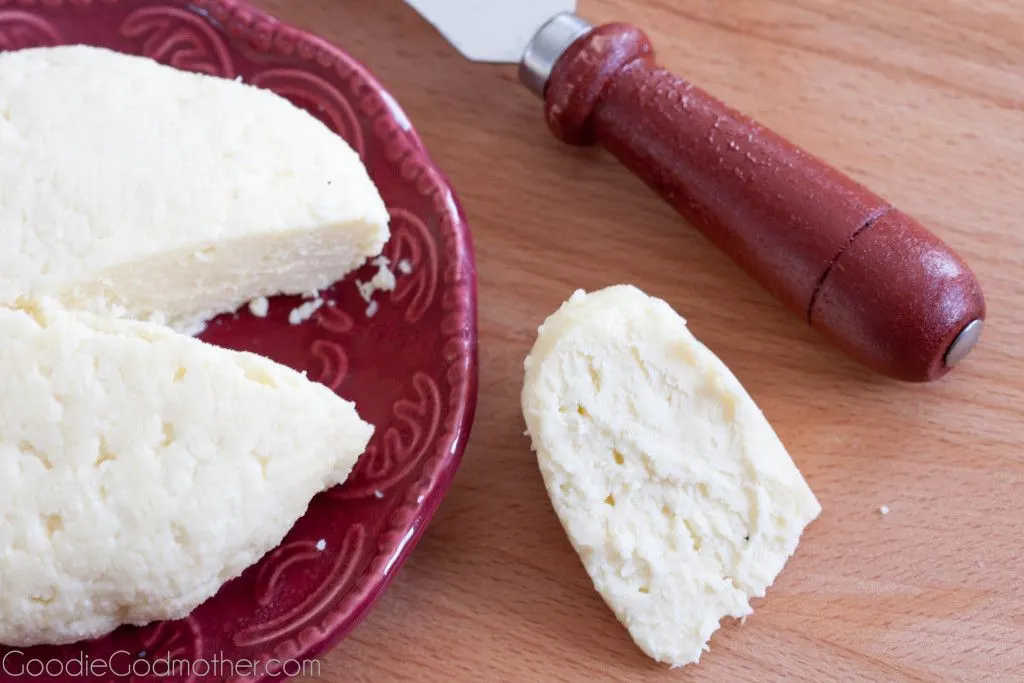
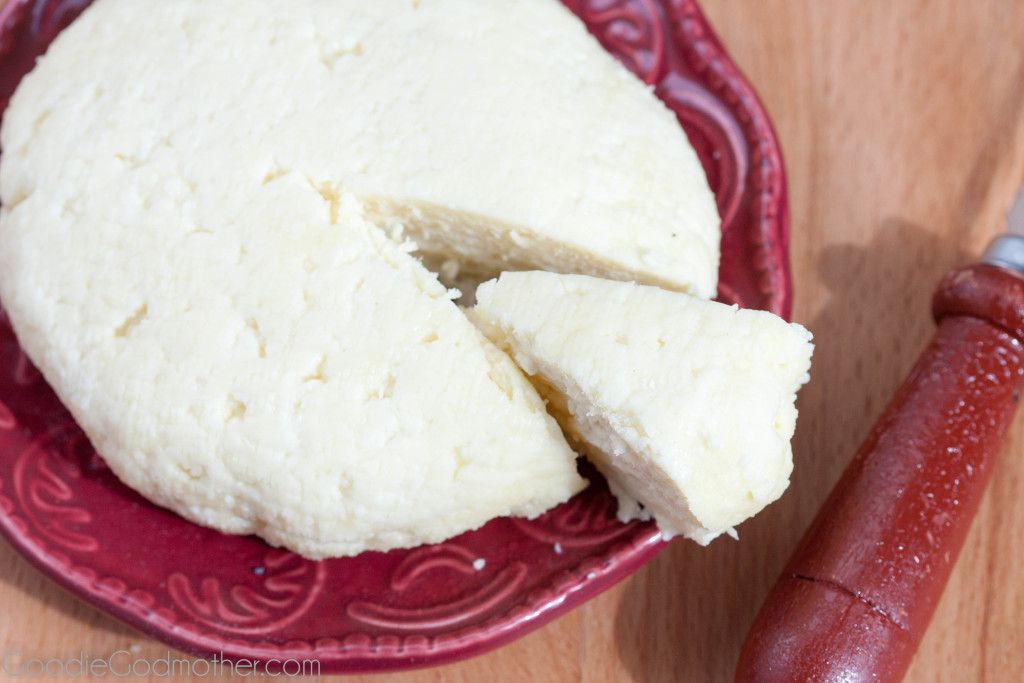
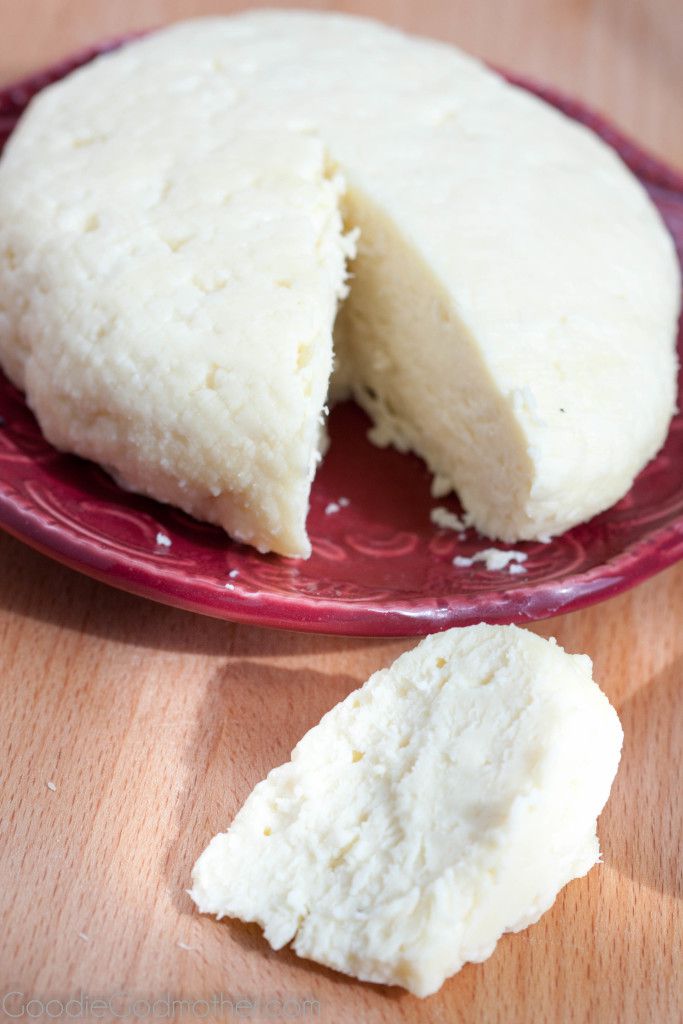
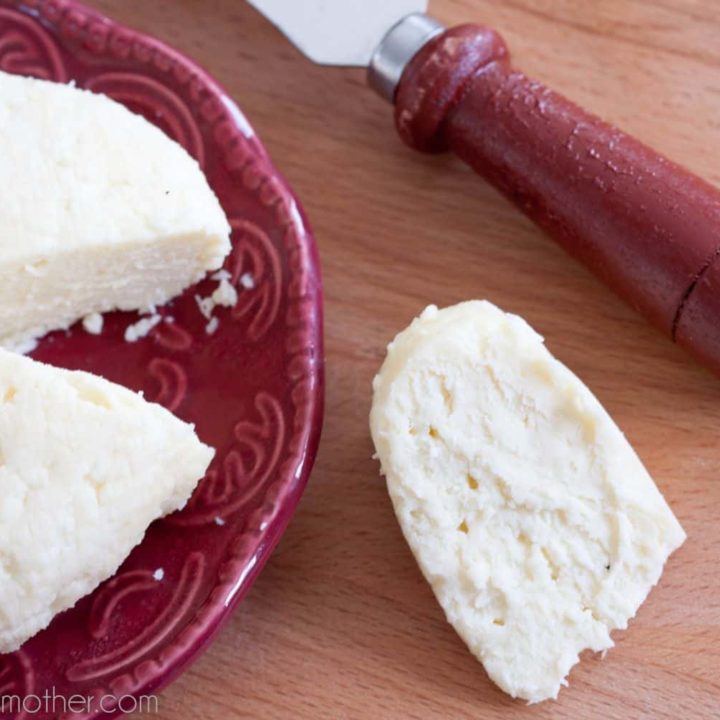
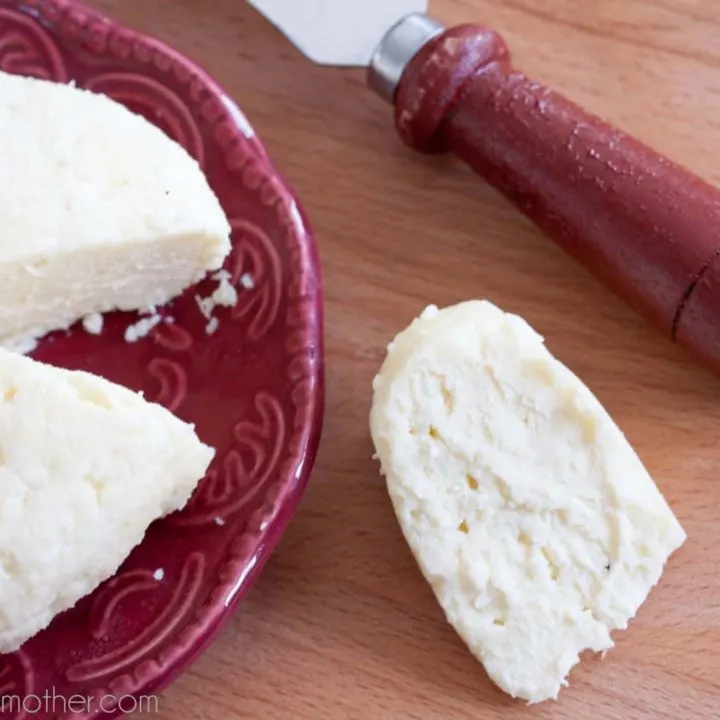
You’ll also notice when making your own queso fresco, that you can adjust the consistency to your liking. The batch pictured here I let drain about 5 minutes, and then I pulled together the ends of the cheesecloth and twisted to force the curds into a puck shape. I let the curds drain about 20 minutes more until they stopped dripping, and I had a solid, very easy to slice (or shred), soft cheese.
For those of you into Indian food, this is paneer, and there are a ton of delicious Indian recipes using paneer which will probably taste even better when you know you made the paneer yourself.
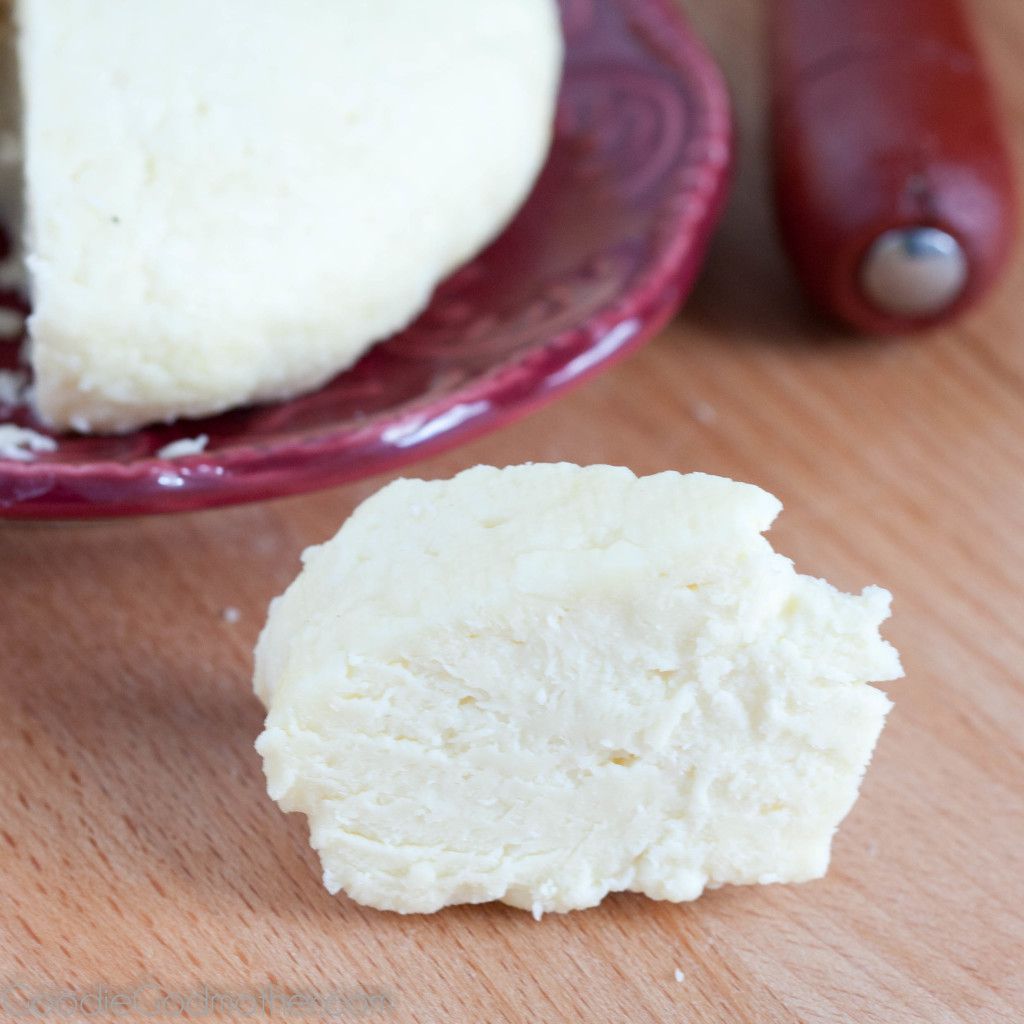
If you’d rather have a more crumbly cheese like the one I used to top the Southwest Adobe Pie (aka Tamale Pie) (click the title to see the post), just let the curds drain for about 10 minutes so they aren’t excessively wet, and then scoop them into an airtight container to store in your refrigerator. These curds had a texture like a slightly drier ricotta, which would actually be my personal preference for tacos.

The only equipment you need to make queso fresco is a stock pot large enough for your milk, a kitchen thermometer, and a fine mesh strainer you can line with cheese cloth or a paper towel. If you’re planning to make the slicing queso fresco/paneer, you need the cheese cloth or a really really big and strong paper towel. I’ve had paper towels break on me and it’s not pretty. If you’re just looking to make the crumbly/curd queso fresco, a paper towel will totally work.
In closing, my advice to you this Cinco de Mayo is, let everyone else stress about making the perfect margarita or the world’s best guacamole, because you’ll steal the show with your amazing homemade queso fresco!
Queso Fresco
Queso Fresco, paneer, or farm cheese, is so easy to make at home with ingredients and equipment you already have on hand!
Ingredients
- 1/2 gallon whole milk (not ultra-pasteurized)
- 1/2 c white vinegar, lemon juice, or lime juice
- salt, to taste
Optional
- Fresh or dried spices
Instructions
- Pour the milk into a large stock pot fitted with a digital thermometer. Over medium heat, warm the milk to a temperature anywhere between 165-180 F. I chose 172 F. Stir frequently, you don't want it to boil.
- When the milk has reached the desired temperature, slowly stir in the acid of your choice, very slowly just until you see curds starting to form (white clumps). Turn off the heat.
- Stop stirring and let the milk sit undisturbed for 15-20 minutes.
- Line a strainer with paper towels or cheese cloth and place over a large bowl.
- Using a slotted spoon, scoop out as many of the curds as you can into the strainer. Carefully pour the whey and any remaining curds through the strainer. (See notes about whey)
- For a softer crumbling cheese, allow the curds to drain 10-15 minutes, scoop into an airtight container, salt to taste and add any spices (if using), and refrigerate up to one week.
- If you prefer to make a more firm cheese. Scoop out the curds, salt and add any spices, then return the curds to the center of your cheesecloth square. Bring opposite corners together and twist to shape the cheese into a puck and allow to drain an additional 10 minutes. refrigerate in an airtight container.
- Enjoy!
Notes
I place the strainer over a bowl with the intention of saving some of the whey that drains off. It's a wonderful source of protein and you can use it in place of water in soups (it might add a slightly sour flavor), drink it alone or in smoothies, or do what we do most often and use it in making pizza dough and bread.