
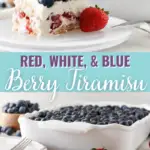
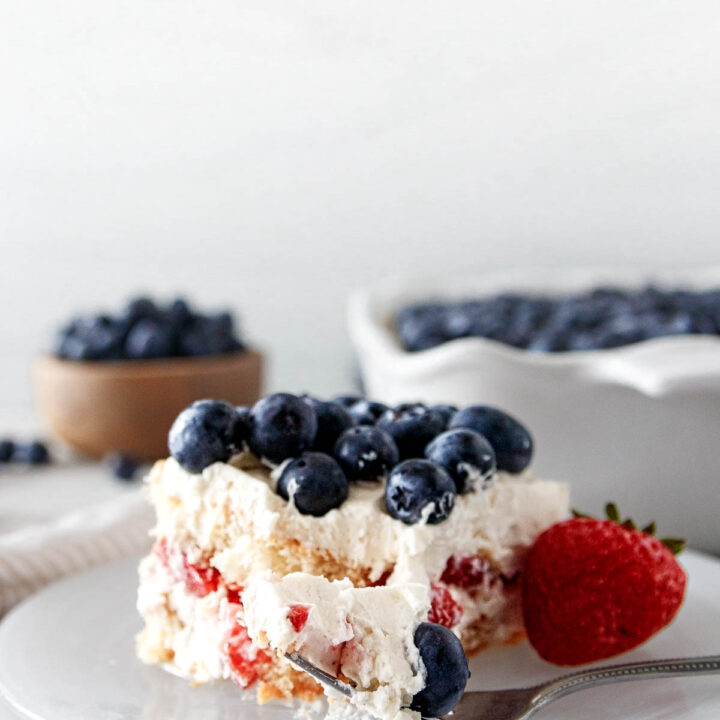
Red, white, and blue tiramisu? Of course! This summer berry tiramisu recipe with strawberries and blueberries is not only easy to assemble, but festive, and full of summer flavor.

Darlings, it is officially the season for no-bake desserts, and all things patriotic in color. Thankfully, a strawberry tiramisu topped with fresh blueberries checks all the boxes and only needs a few minutes to prepare. Basically effortless, lovely, and delicious? That’s my kind of dessert recipe!

Does this berry tiramisu contain eggs?
Other than the eggs used in the ladyfingers, no. I know traditional tiramisu recipes do contain egg yolks in the custard, but for this dish, I omitted them.
The first reason I removed the egg yolks from the tiramisu is that I plan to serve this at get-togethers. I don’t know everyone’s comfort level when it comes to raw eggs in food.
Additionally, using raw ingredients like egg yolks in a custard shortens the time you can have the food outside refrigeration significantly.
This tiramisu is best served well-chilled, of course, but I’m not going to worry if it sits for 30 minutes in an air-conditioned room before someone snags the last remaining slice.
This tiramisu recipe has no coffee!
Crazy, right? Not really though, because it’s not even the first coffee-free tiramisu recipe on this site! Have you tried my viral-every-fall pumpkin chai tiramisu recipe? There’s not a bit of coffee in that one either.

To really lean into the summer flavors, we use alternative liquids here. In fact, the process is kind of interesting, so let’s break it down…
How to make red, white, and blue tiramisu
You can get a quick overview of the process with the video on this page, but I have more details written out for you below.
First, gather your ingredients.
If you want to make your own ladyfingers, here’s a recipe to try from another site. Proud of you for your initiative. Otherwise, just purchase some at the store.
I used 1 7-ounce package of ladyfinger cookies from the store. It should have 2 sleeves of cookies.
You’ll also need:
- Mascarpone cheese
- Heavy whipping cream
- Orange juice
- Orange liquor (like Contreau or a good quality triple sec) – this is optional
- Granulated and powdered sugars
- Fresh strawberries are my favorite for this recipe when in season.
Frozen strawberries will work in a pinch, but they contain more liquid than fresh and the texture after thawing is slightly different. You will need to thaw the berries before using them in this recipe. I’ll explain why in the next step.
The next step is to macerate your strawberries for the middle layer of the tiramisu.
Maceration is a process where you mix granulated sugar and fruit to extract juice from the fruit. With especially juicy strawberries, you only really need about 45 minutes or so.
If your strawberries are early season, or on the dry side, you won’t get as much juice, so you might need to add a little more orange juice.
If you need to substitute thawed frozen berries, you skip the maceration. Quick thaw the berries in the microwave, then mix in the maceration sugar. Strain the berries from the liquid and then proceed with the recipe as written. You’ll likely need a little less orange juice here because you’ll have more strawberry juice to work with.
Whip your creamy layers and assemble the berry tiramisu
Whip together the mascarpone, heavy whipping cream, and powdered sugar to make the whipped layers for your tiramisu.
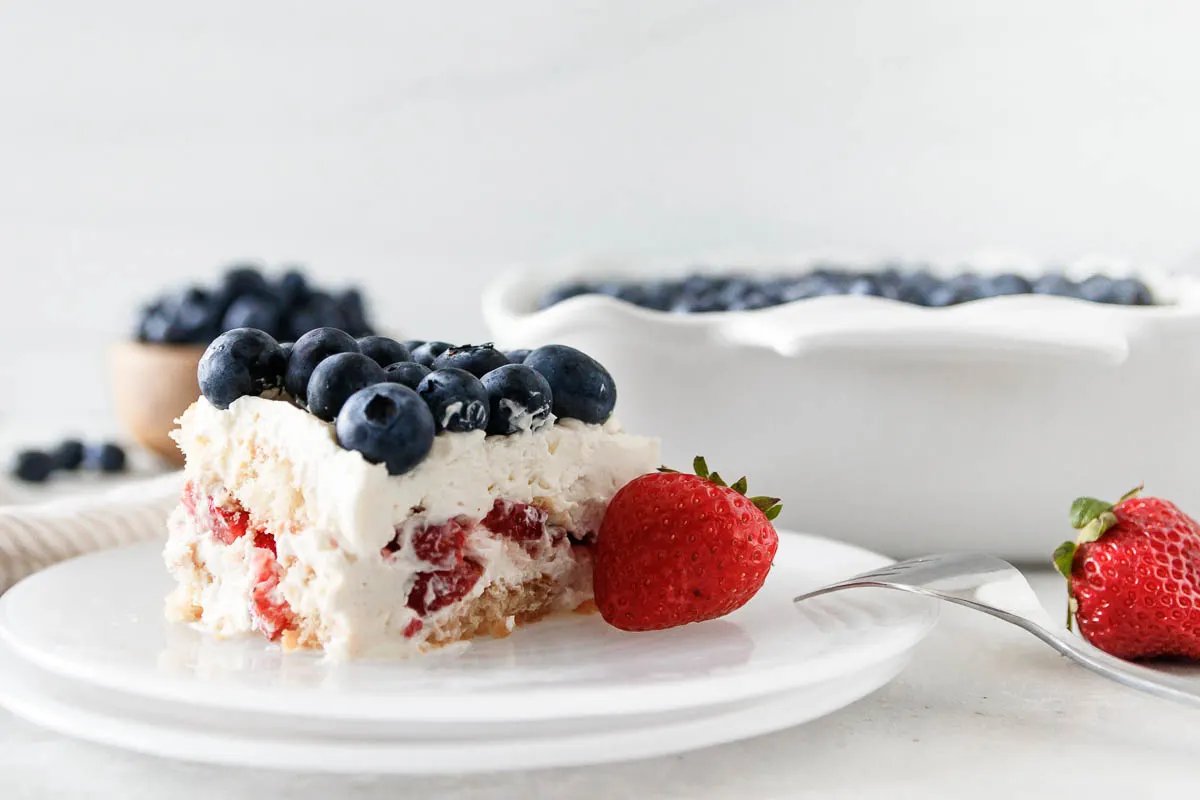
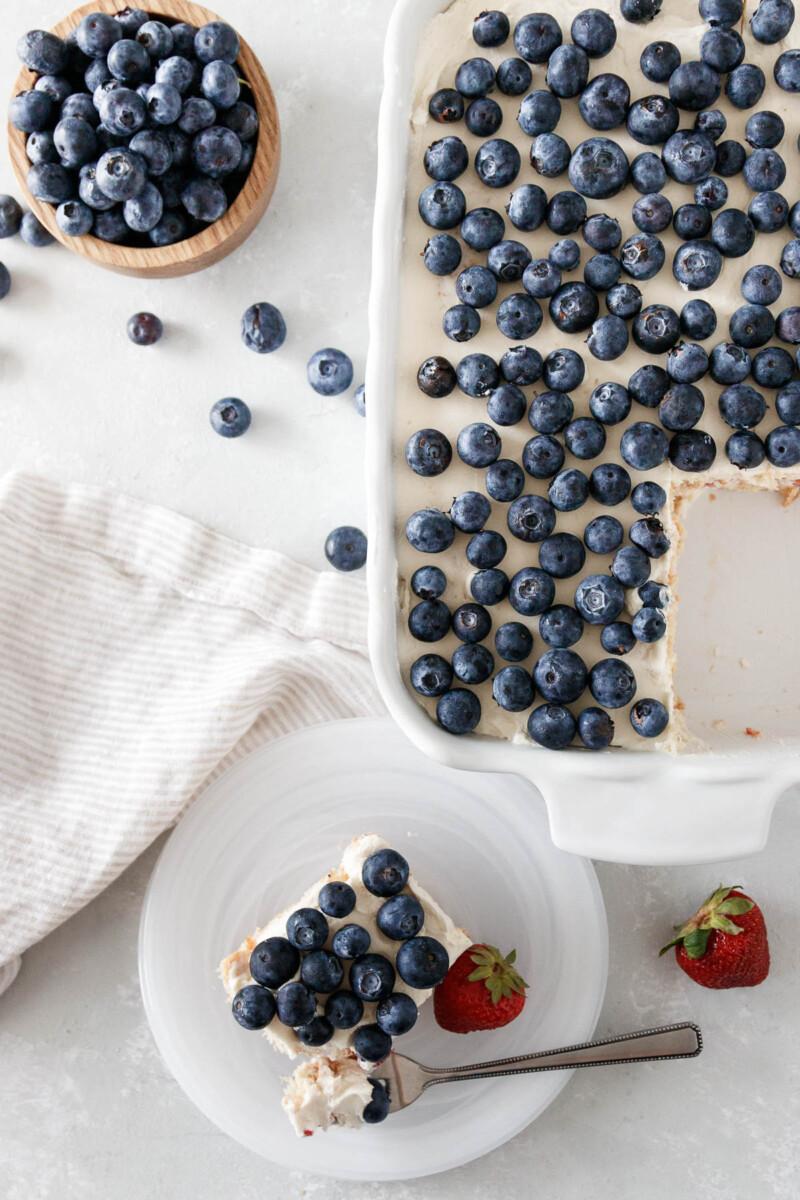
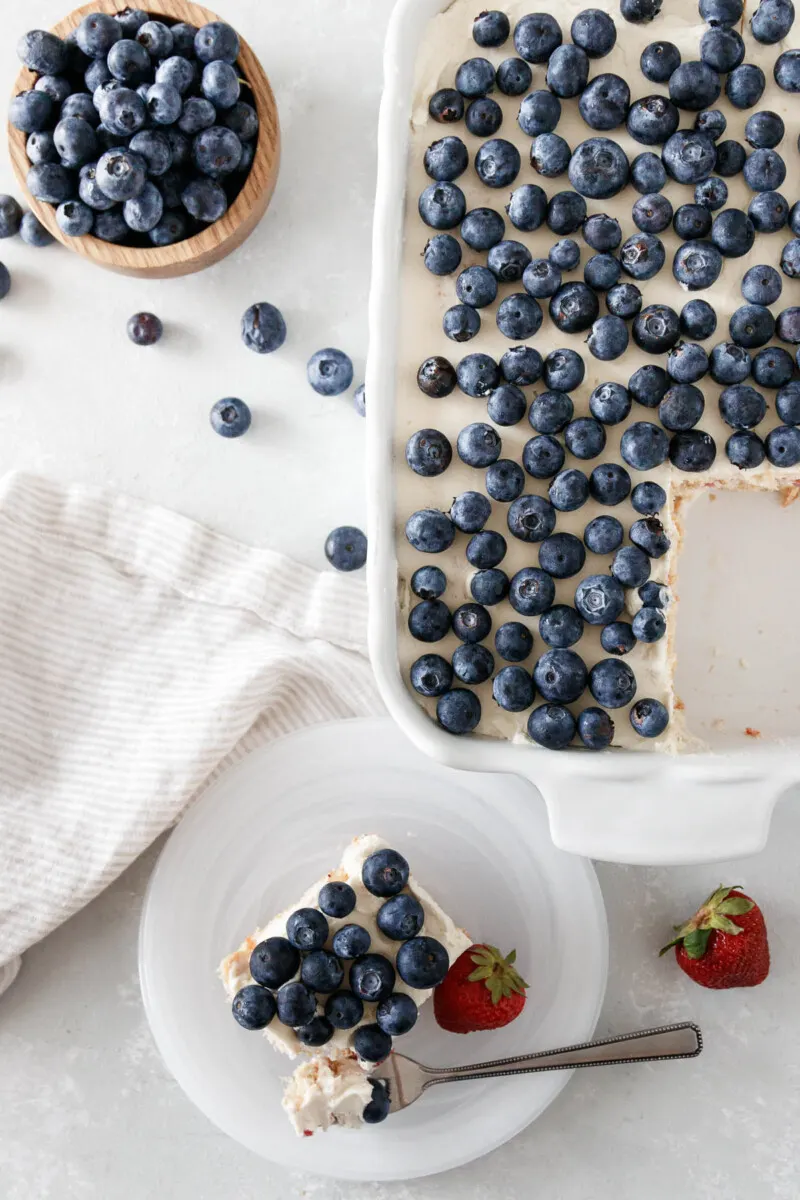
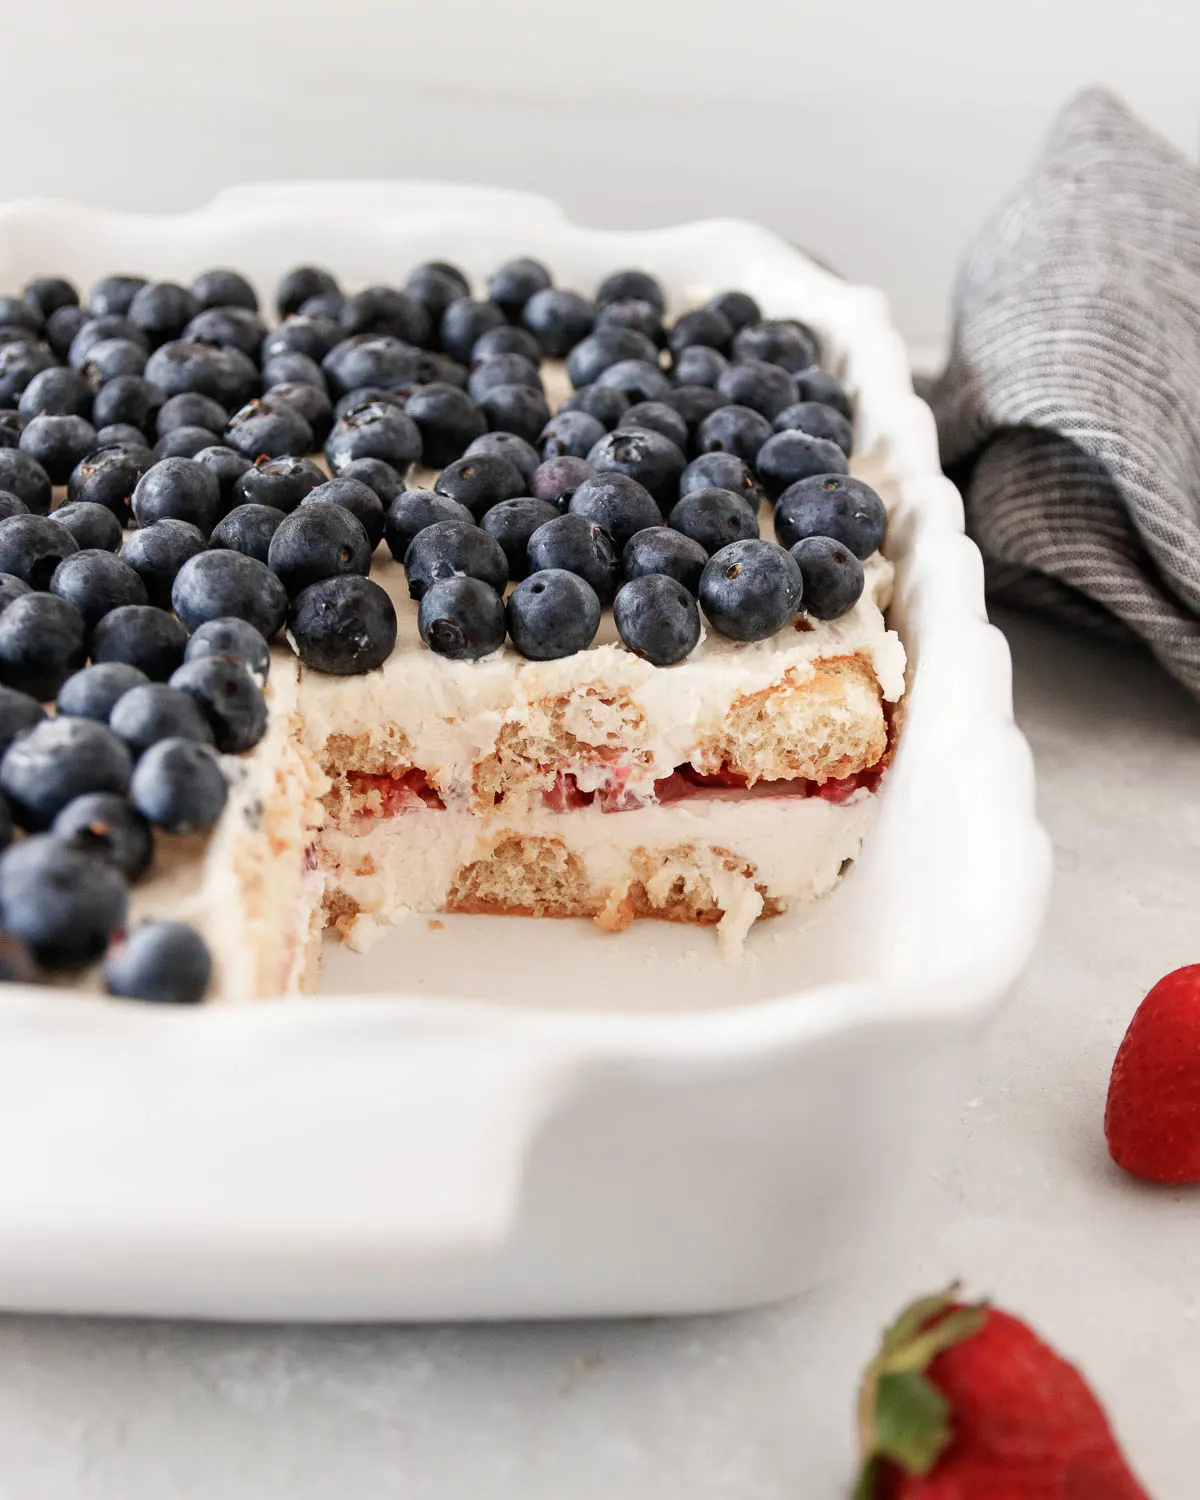
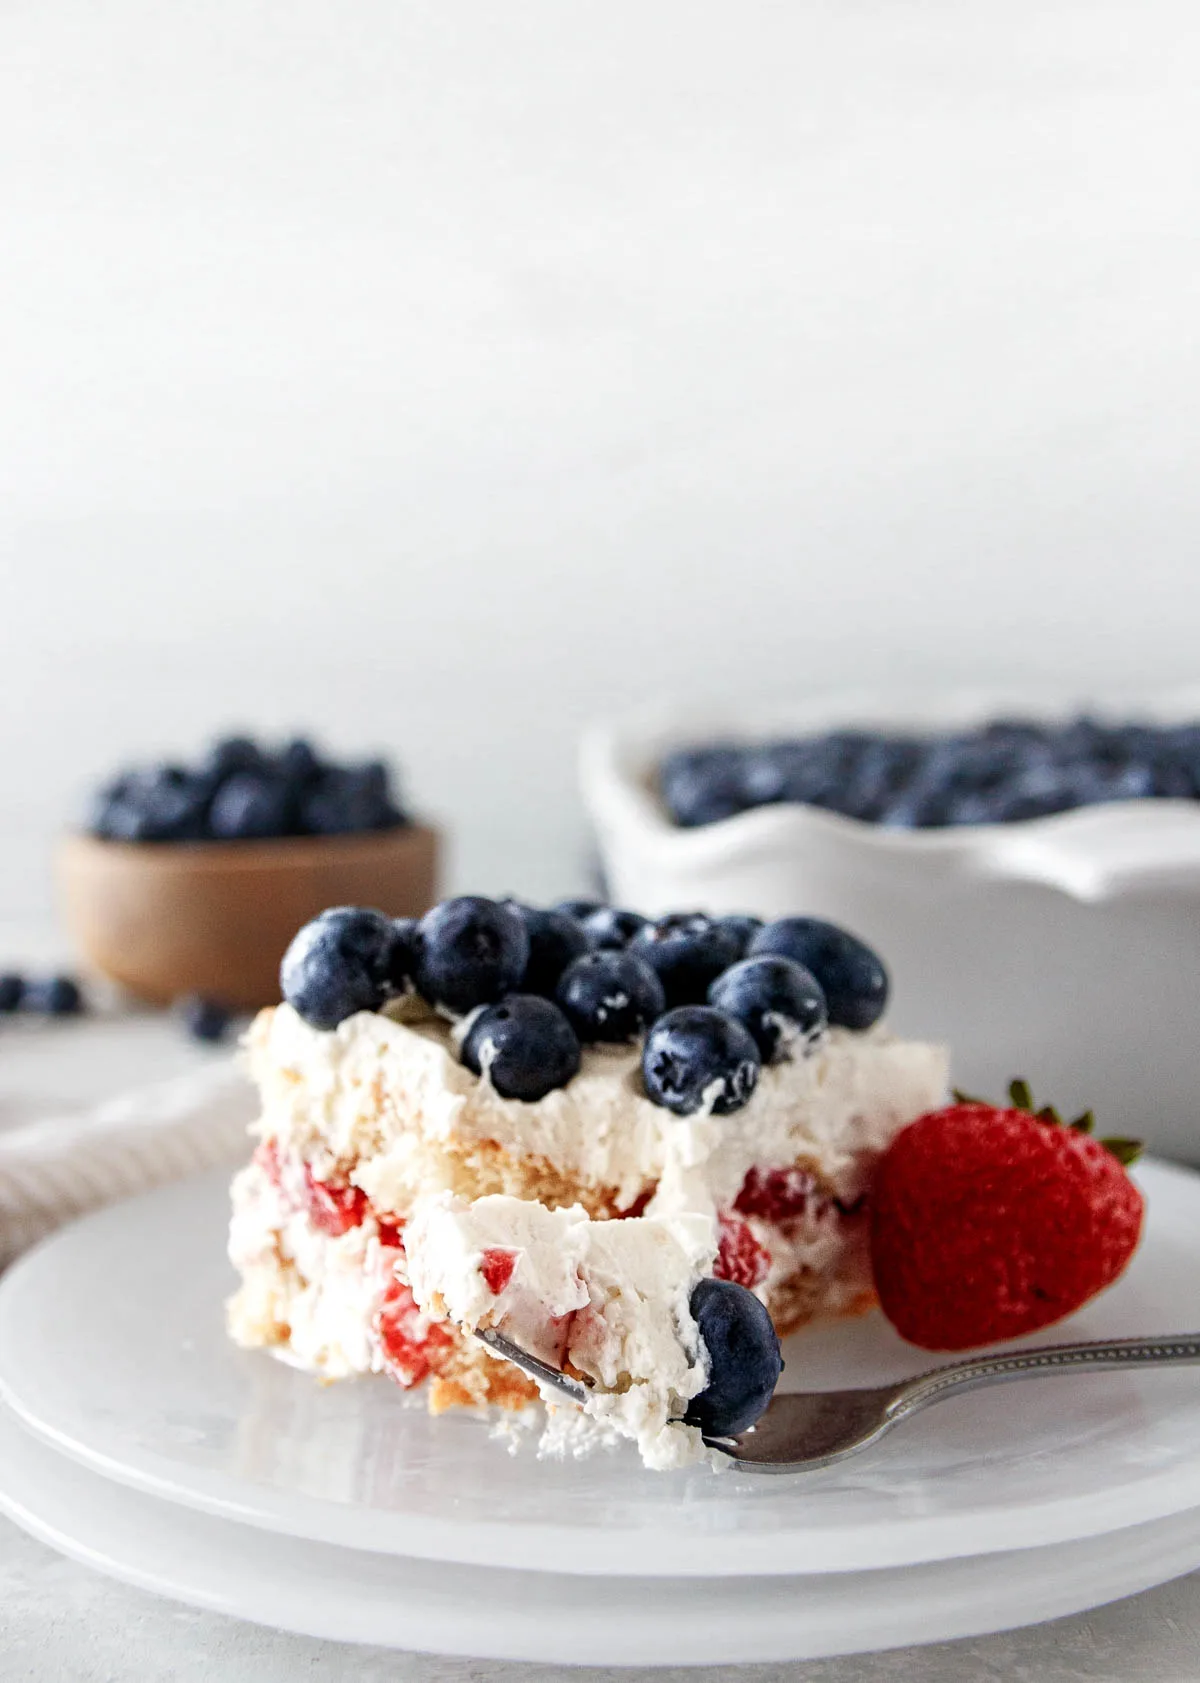
Dip the ladyfingers in a mixture of strawberry juice, orange juice, and orange liquor (optional), then layer them with the mascarpone mixture, strawberries, more cookies, more whipped mascarpone deliciousness, and top with blueberries!
Cover and refrigerate for at least 6 hours, better if overnight, before serving.

If you want to get really fancy, swap out some of the blueberries for strawberries to make a flag pattern for a patriotic holiday, or just to add some geometric interest.
I hope you love this red, white, and blue tiramisu recipe, darlings! Happy (no) baking!

p.s. – If you’re looking for a classic tiramisu recipe, I have one here.

Berry Tiramisu {Red, White, and Blue Tiramisu}
This is one red, white, and blue no-bake dessert recipe you'll make all summer long! Blueberry and strawberry tiramisu is a delicious, refreshing treat for BBQs and holidays.
Ingredients
- 1 pound fresh strawberries (see notes)
- 2 tablespoons granulated sugar
- 1 tablespoon fresh lemon juice (about the juice from 1/2 a lemon)
- 2 8-ounce packages mascarpone cheese
- 1 cup heavy whipping cream
- 1/2 cup powdered sugar
- 1 teaspoon vanilla extract
- 2 7-ounce packages ladyfinger cookies
- 1/2 cup orange juice
- 3 tablespoons orange liquor
- 1 pint fresh blueberries for topping (just over 2 cups)
Instructions
- Wash, dry, hull, and slice your strawberries. Place them in a medium bowl and stir in the granulated sugar and lemon juice. Refrigerate for at least 45 minutes to an hour.
- When the strawberry maceration time is just about up, start making the whipped mascarpone layers.
- Combine the mascarpone cheese, powdered sugar, vanilla extract, and whipping cream in a large mixing bowl or the bowl of a stand mixer fitted with the whisk attachment.
- Start whipping on low speed, then work up to medium speed and whip just until you have medium peaks. Set aside.
- Place a fine-mesh strainer over a bowl and strain the strawberry juice from the macerated strawberries. Set aside.
- Stir the orange juice and orange liquor, if using, into the strawberry juice. If you aren't using liquor, substitute with additional orange juice.
- Open one package of ladyfingers. Dip the cookies 1 at a time into your strawberry juice mixture and arrange in a single layer in a 9x13-inch casserole dish (see notes). Top the cookies with half the mascarpone mixture. Use an offset spatula to help evenly spread the mascarpone over the cookies.
- Evenly spread the reserved strawberries over the mascarpone mixture to create the "red" layer for the tiramisu.
- Open the second package of cookies, dip them into the strawberry orange juice, and arrange them in a single layer on top of the strawberries in the serving dish. Spread the remaining mascarpone cheese over the cookies.
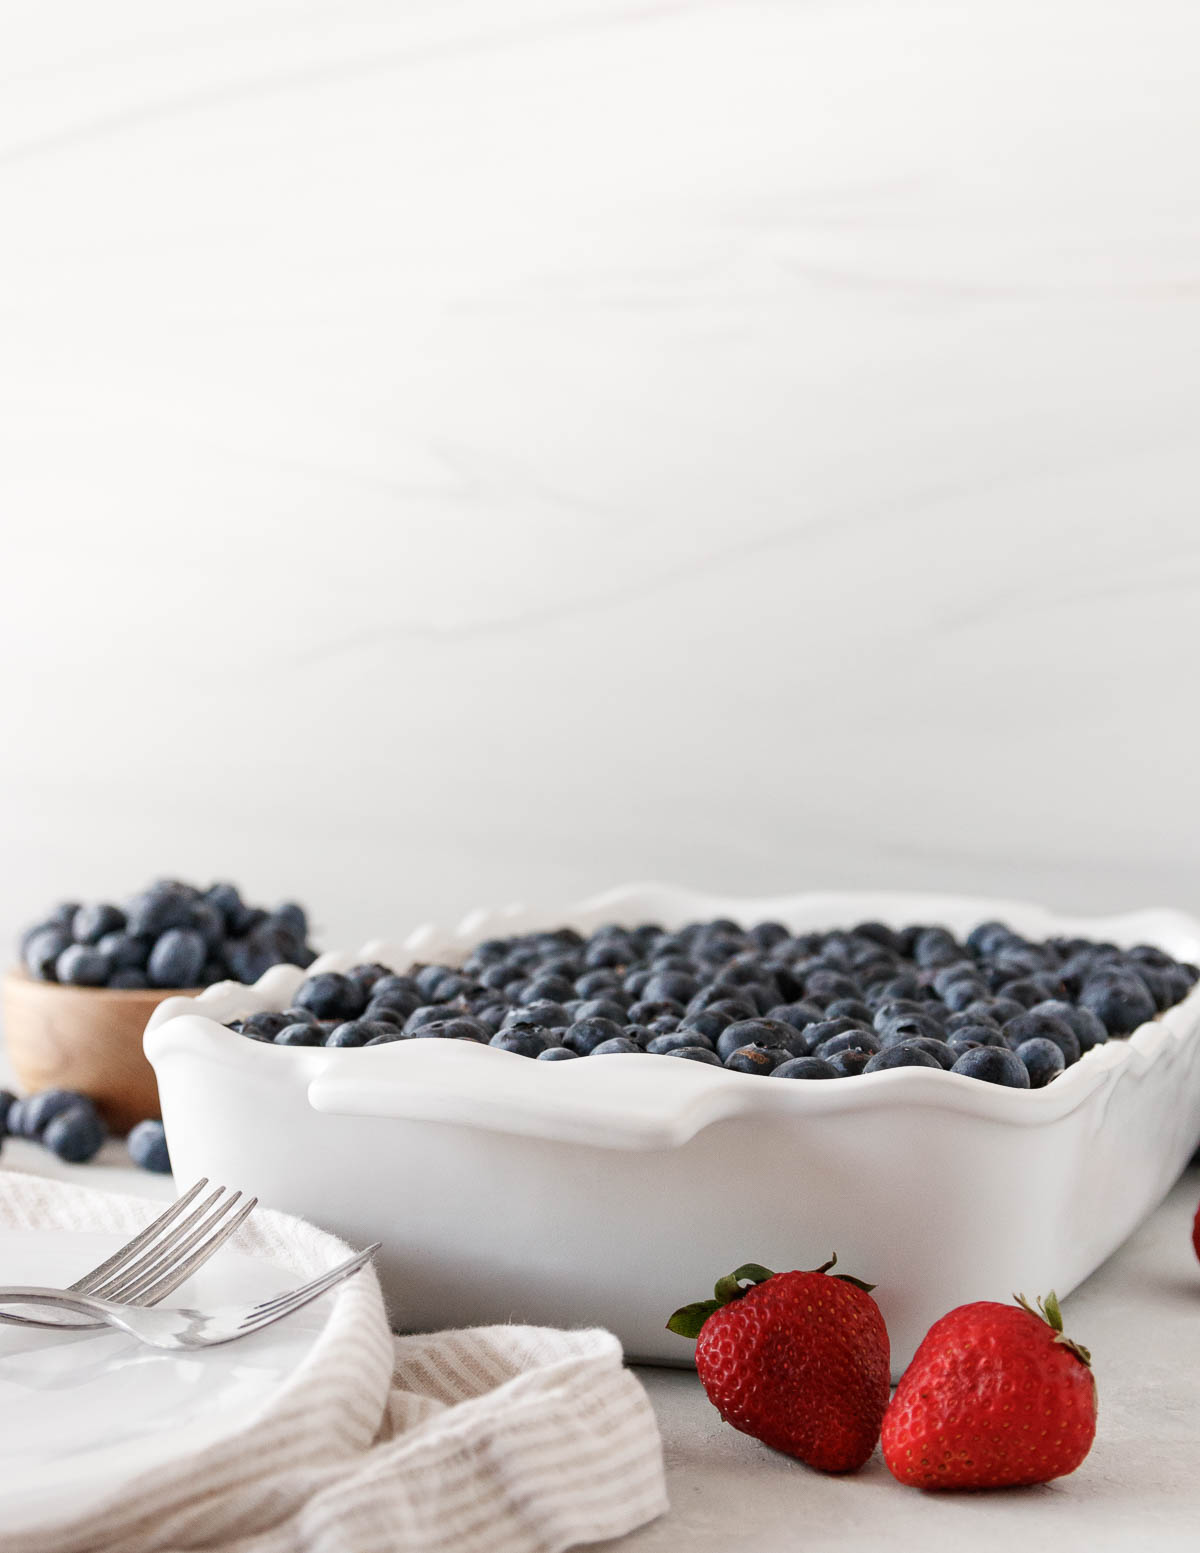
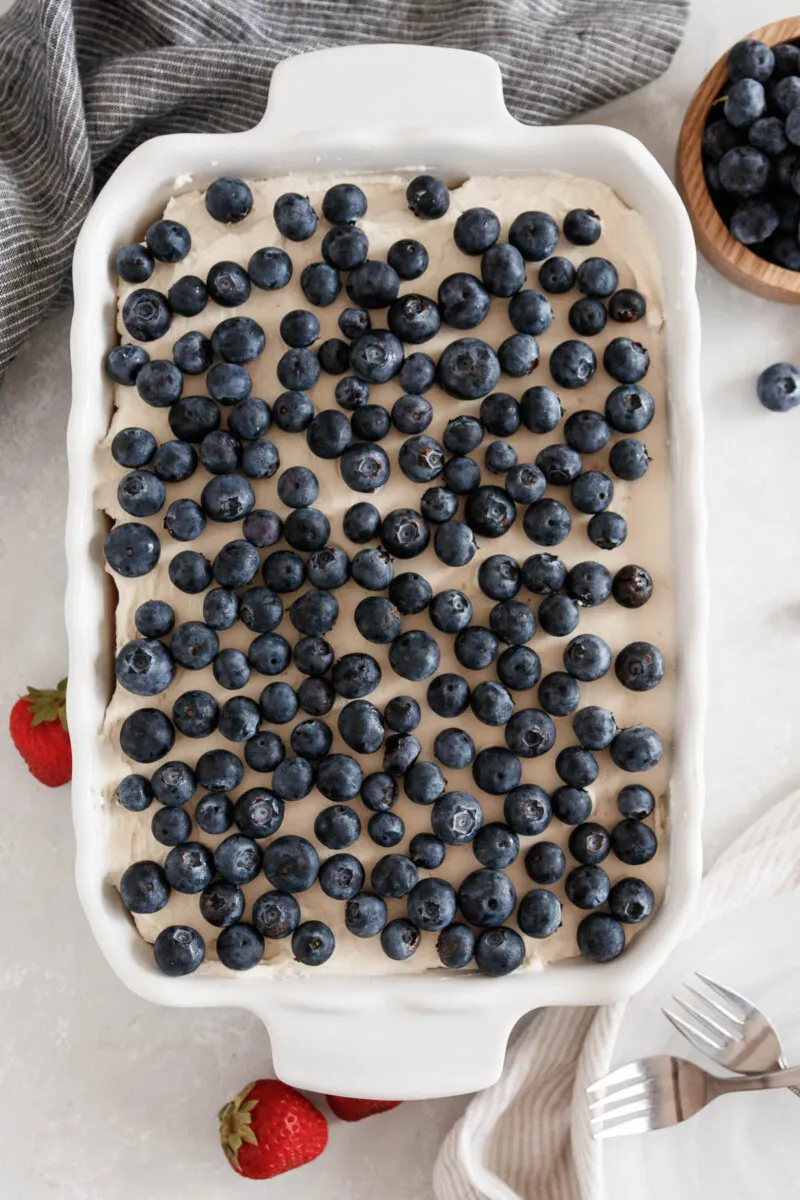
- Top the tiramisu with a layer of freshly washed and dried blueberries.
- Cover with plastic wrap and refrigerate the tiramisu for at least 4 hours, ideally overnight, for the flavors to blend. When you are ready to serve, remove it from the refrigerator, slice, and enjoy!
- Tiramisu is best enjoyed within 3 days.
Notes
- 1 pound of fresh strawberries is approximately 3 3/4 cups of whole strawberries or 2 3/4 cups of sliced strawberries.
- If you are using frozen strawberries, measure them out by volume when they are still frozen. I usually round up to 4 cups if there are big strawberries in the bag.
- The actual amount of blueberries used is flexible. It just depends on how full you'd like the top layer to be. As mentioned in the post, you can also swap some of the blueberries for sliced strawberries to create a patriotic pattern or flag to serve at a holiday get-together.
- In the recipe, I say to use a 9x13-inch casserole dish. My decorative casserole dish is slightly smaller, closer to a 9x11-inch, so the final tiramisu was a little taller. You have some flexibility here. Another option is to break up the ladyfingers and build your tiramisu individually in short disposable clear plastic cups. That's a great way to keep serving easy at gatherings. You'll get about 10-12 cups.
Recommended Products
As an Amazon Associate and member of other affiliate programs, I earn from qualifying purchases.
-
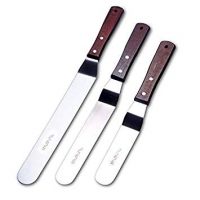
 LEGERM Cake Decorating Angled Icing Spatula Set of 6 8 & 10 Inch Wooden Handle Stainless Steel Offset Frosting Spatulas
 -
 DECORLIFE 4th of July Plates Set Serves 16, 4th of July Party Supplies Includes Patriotic Napkins, Cups, Extended Utensils, Total 112PCS
 -
 HOMWE Cutting Board
 -
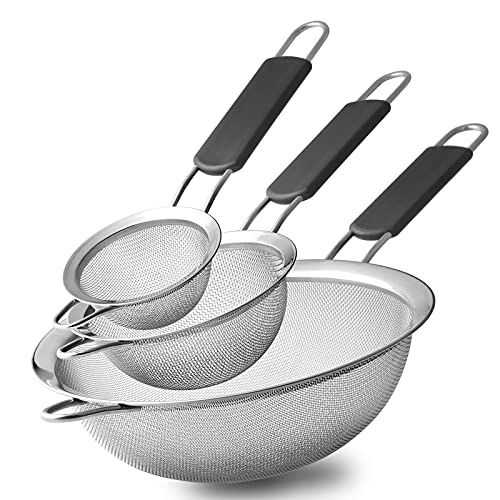 Stainless Steel Fine Mesh Strainers, Set of 3 Sizes Strainer for Kitchen
 -
 Hamilton Beach 62682RZ Hand Mixer with Snap-On Case, White
Nutrition Information:
Yield: 12 Serving Size: 1Amount Per Serving: Calories: 433Total Fat: 28gSaturated Fat: 16gTrans Fat: 1gUnsaturated Fat: 9gCholesterol: 147mgSodium: 227mgCarbohydrates: 38gFiber: 2gSugar: 15gProtein: 6g
These nutrition values are estimates. Exact values will vary depending on the ingredients, brands, and quantities used.