Share the Easter story with kids while you make this easy resurrection rolls recipe! These sweet Easter empty tomb rolls are a tangible way to explain the story of Jesus’ burial and resurrection during the Easter season.


Easter is my favorite day to celebrate, darlings. It’s such a beautiful time of reflection, a time to give thanks, and a day to celebrate the death and resurrection of our Lord Jesus Christ. A day to mark the greatest act of pure love the world has known. I plan breakfast that morning and an after-church lunch a few weeks in advance. And while we definitely take the kids to Easter egg hunts and all the other fun things, we don’t forget to teach them the real reason we celebrate.
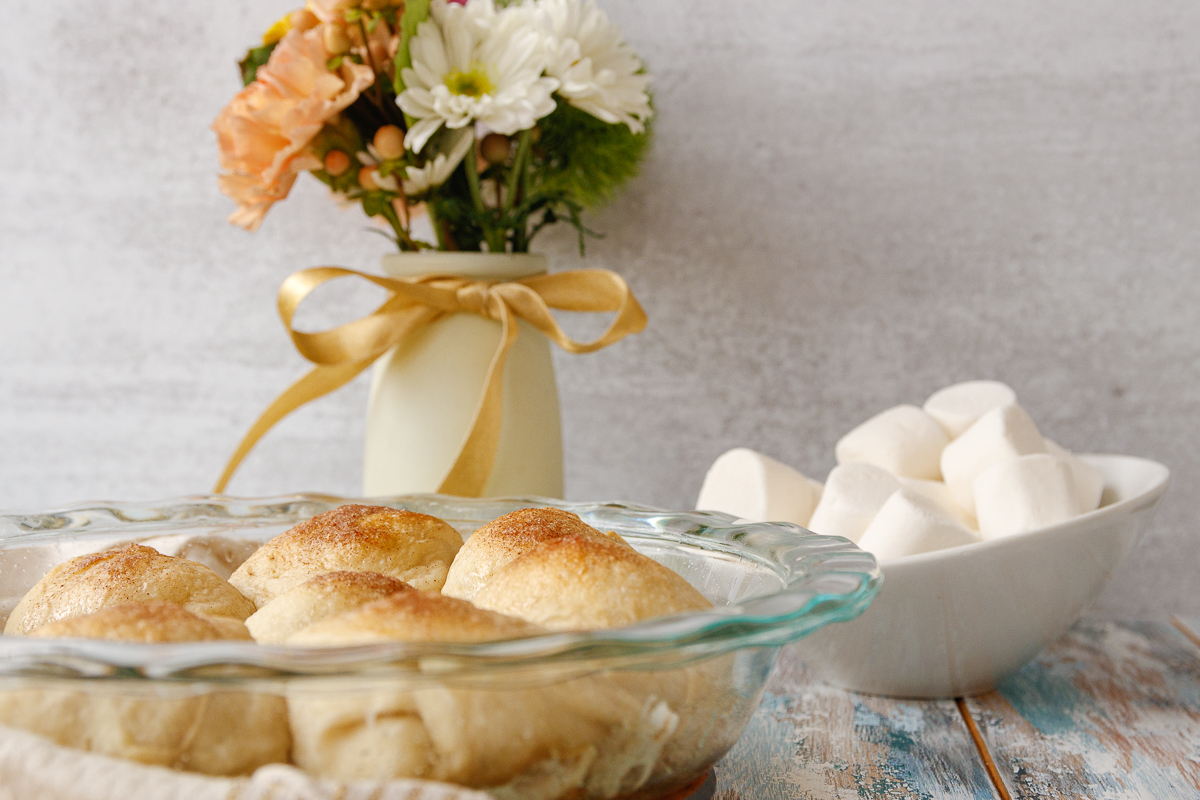
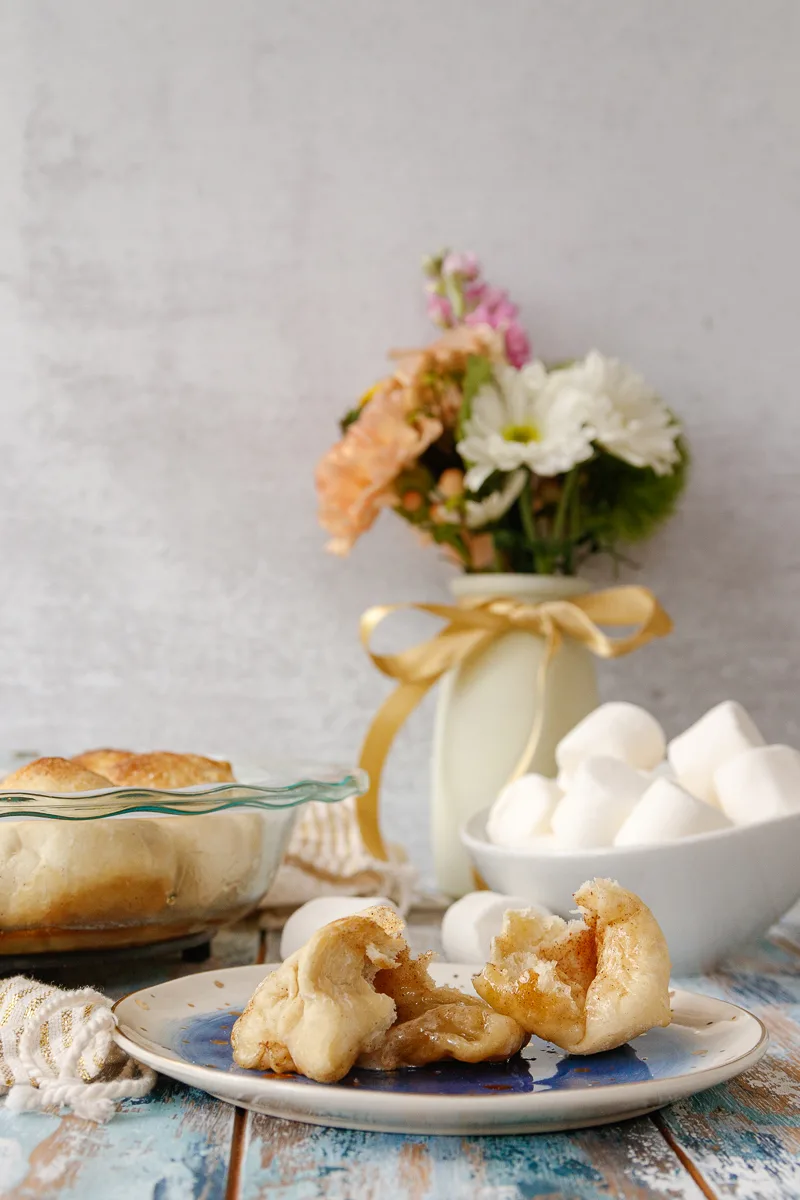
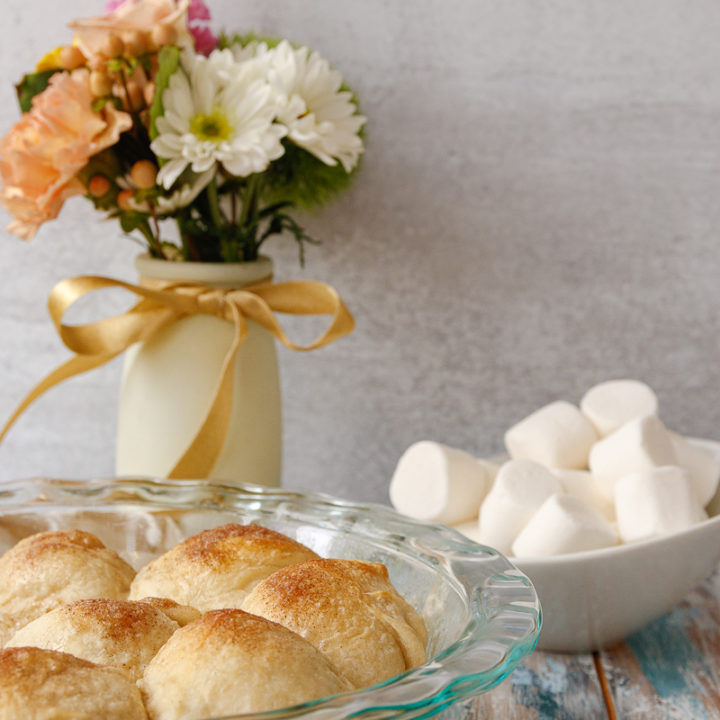
Last year was our first go at resurrection rolls. We followed the crescent roll recipe online and not only were they a little difficult to perfectly roll, my family didn’t like them! So this year, I decided to try something different. We used pizza dough! And the empty tomb rolls came out perfectly! My kids loved them, and even the preschooler seemed to like the hands-on learning. The girls really loved pulling apart each baked roll and saying “it’s empty, like the tomb!”
Why use a pizza dough for my resurrection rolls?
The texture is definitely more “roll”. Unlike crescent rolls, which don’t keep well, we were able to easily reheat leftover rolls with breakfast the day after. And wrapping a flattened pancake of dough around a marshmallow was easier for little hands than wrapping a triangle. This was the case at our house, anyway. I liked how easy the pizza dough was to seal at the bottom, and how pretty the rolls looked up top.


The BEST part? You can still use store-bought dough. I’m providing a recipe for a from-scratch dough below, just in case you’d like it. It’s basically my from-scratch pizza dough without the seasonings. But when I baked the rolls for the pictures, I used pizza dough from the grocery store!
My local grocery store sells a refrigerated ball of plain pizza dough in a bag in the bakery section. Worked perfectly and required zero prep on my part. This season is no less busy than others, so I encourage shortcuts when you need them. You can also find rolled pizza dough near the canned biscuits. Also works. It’s just in a sheet instead of a ball, so you’ll need to cut it into sections large enough to wrap over your marshmallows.
What if I don’t like cinnamon?
You don’t have to put cinnamon in your resurrection rolls. We like the flavor, but there are alternatives. You can dip the marshmallows in just sugar. Or mix in a little orange zest or lemon zest with the sugar to give the rolls a slight citrus flavor. Or you can skip the sugar altogether and just wrap the plain marshmallows.

If you wrap the plain marshmallows, don’t forget to be generous brushing the rolls with butter! You will want that bit of fat to keep the dough tender. Without it, you’ll end up with a slightly chewier final product. Still good, not quite as dessert-like.
Where can I find the Easter story in the Bible to read to my kids?
Since these empty tomb rolls are most applicable to the resurrection of Jesus, read from John 20:1-18. This talks about Mary Magdalene’s discovery of the empty tomb and her meeting with Jesus. It stops just before Jesus goes to see the disciples.
When I bake these rolls with my young kids, we talk about how after the crucifixion, Jesus was buried in a tomb provided by one of his followers. Place the marshmallow in the dough here. The tomb was sealed up tight – wrap the dough around the marshmallow and pinch the seams together.
To make sure no one tried to take the body, Pilate set Roman guards outside the tomb. Bake the rolls. Christians didn’t know what to do at the time and many hid. But they had faith. Wait for the rolls to bake, and then give them a minute after they come out of the oven – steam burns are NO FUN!
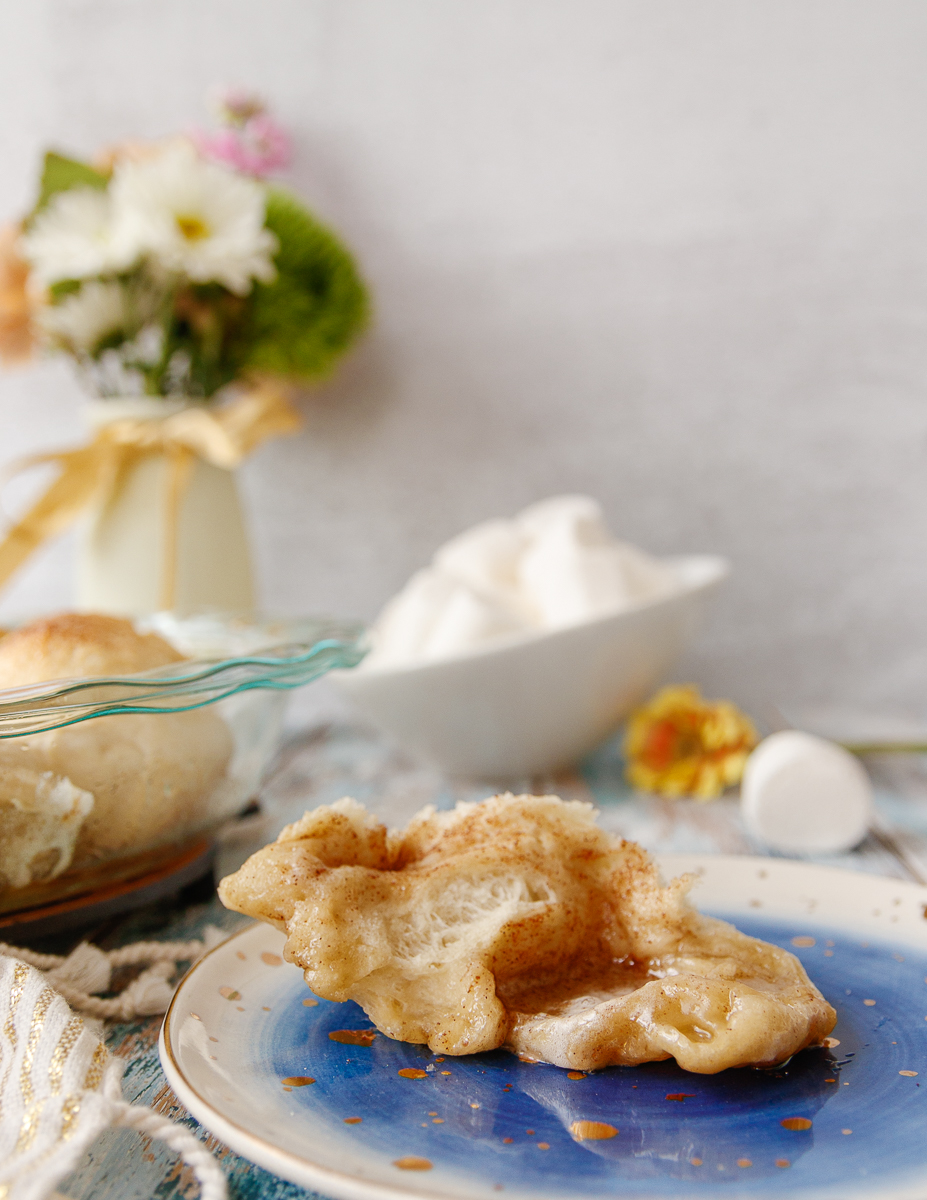

On the third day, Mary Magdalene went to the tomb (grab a roll), looked inside (tear it open), and it was empty! The marshmallow will have dissolved during baking, leaving a large empty space in the middle of the bread. Hence the name “empty tomb rolls”. Even young kids will be able to somewhat follow along! And everyone will enjoy the delicious results of your lesson.

I hope you enjoy this easy Easter activity, and I wish you and yours a beautiful and blessed Easter! Happy baking, darlings!

Easy Resurrection Rolls {Empty Tomb Rolls}
Share the Easter story with kids while you make this easy resurrection rolls recipe! These sweet Easter empty tomb rolls are a tangible way to explain the story of Jesus' burial and resurrection during the Easter season.
Ingredients
- 1 lb refrigerated prepared pizza dough
- 4 tablespoons butter, melted
- 8 large marshmallows (see notes)
- 1/2 cup granulated sugar
- 1 1/2 teaspoons ground cinnamon
Homemade plain dough ingredients:
- 3 cups unbleached all-purpose or bread flour
- 2 1/2 tsp yeast
- 1 tsp salt
- 1/4 c olive oil
- 1 c warm water
Instructions
If you need to make the dough...
- Place the dry ingredients in the bowl of a large food processor. Pulse a few times to combine.
- With the blades running, pour in the water and oil until a dough forms. When the dough is cohesive and pulls away from the sides of the processor, it is ready.
- Place the dough on a lightly floured surface and use your fingers to press into a rectangle. Fold in thirds. Rotate 90 degrees and repeat. Cover loosely with a clean kitchen towel or plastic wrap and allow to sit 15 minutes before proceeding.
How to Assemble the Resurrection Rolls:
- Preheat your oven to 375 F and butter a 9-inch baking dish (see notes). Set aside.
- Divide your dough into 8 equal pieces (see notes).
- In a small bowl, stir together the sugar and cinnamon.
- Take a marshmallow and dip into the melted butter. Roll the marshmallow in the cinnamon-sugar mixture.
- Take one of your pieces of dough and wrap it around the marshmallow, ensuring there are no holes. Press the seams shut very well.
- Place the marshmallow roll seam-side down on your baking sheet. Repeat until you've used all the marshmallows and dough.
- Brush the rolls with the remaining butter and sprinkle with more of the cinnamon-sugar mixture.
- Bake for 20 minutes until the rolls are just starting to color.
- Remove from the oven and allow to sit for 5 minutes before carefully removing a roll and tearing open to show the empty space left by the now-melted marshmallow.
- The marshmallow rolls are best served shortly after baking. Leftovers can be stored in an airtight container a day or two in the refrigerator and warmed in the oven or microwave before eating.
Notes
- To make this recipe dairy-free, substitute a non-dairy butter for the butter in the recipe.
- The homemade dough recipe will make 10 rolls because it makes a bit over a pound of dough.
- You can also bake the rolls on a baking sheet lined with parchment paper.
Recommended Products
As an Amazon Associate and member of other affiliate programs, I earn from qualifying purchases.