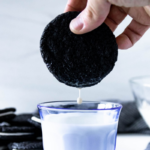

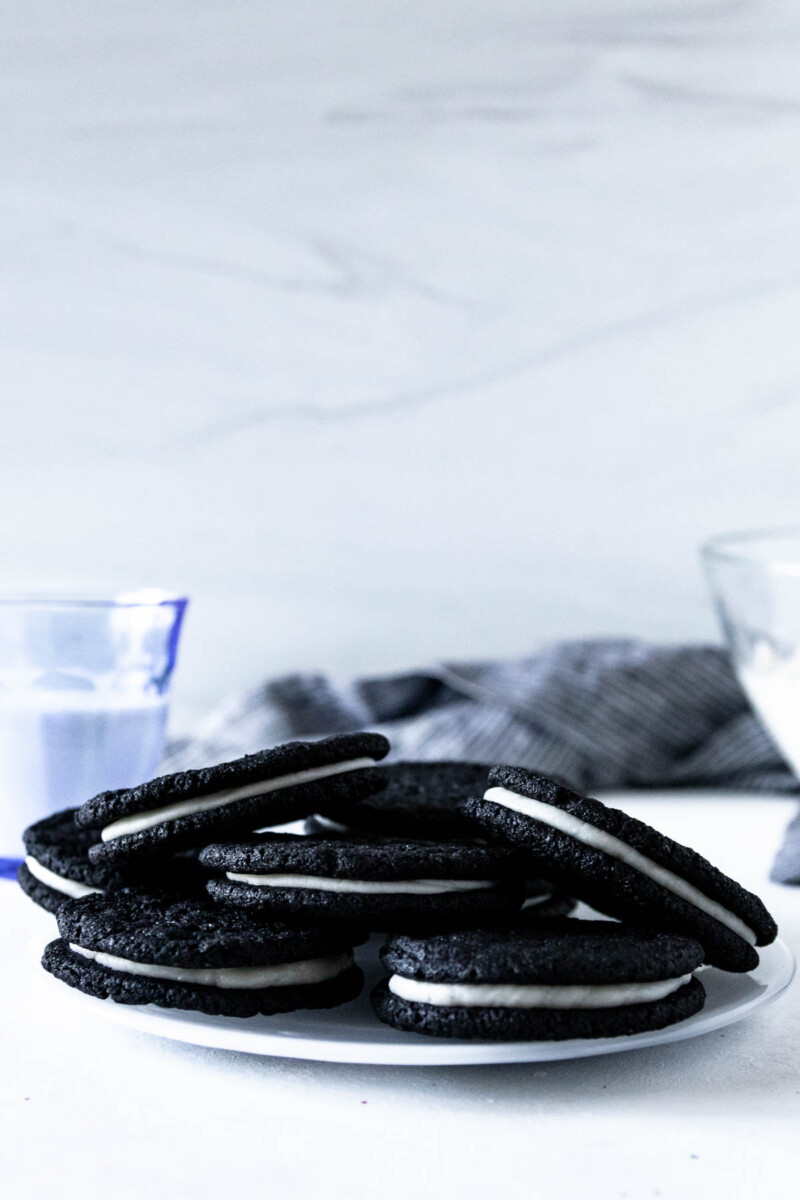
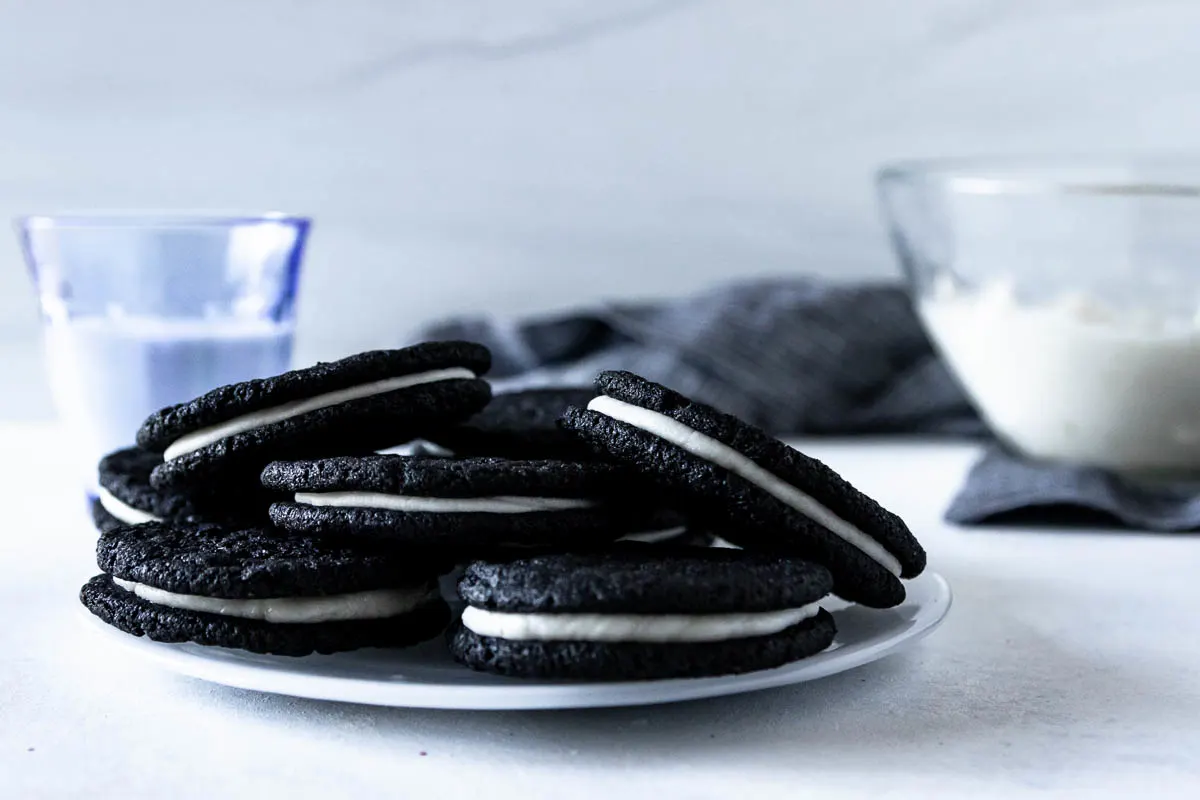
Everyone loves cookie sandwiches! This delicious homemade Oreos recipe is a larger, softer version of the store-bought cookie we all love, baked from scratch.

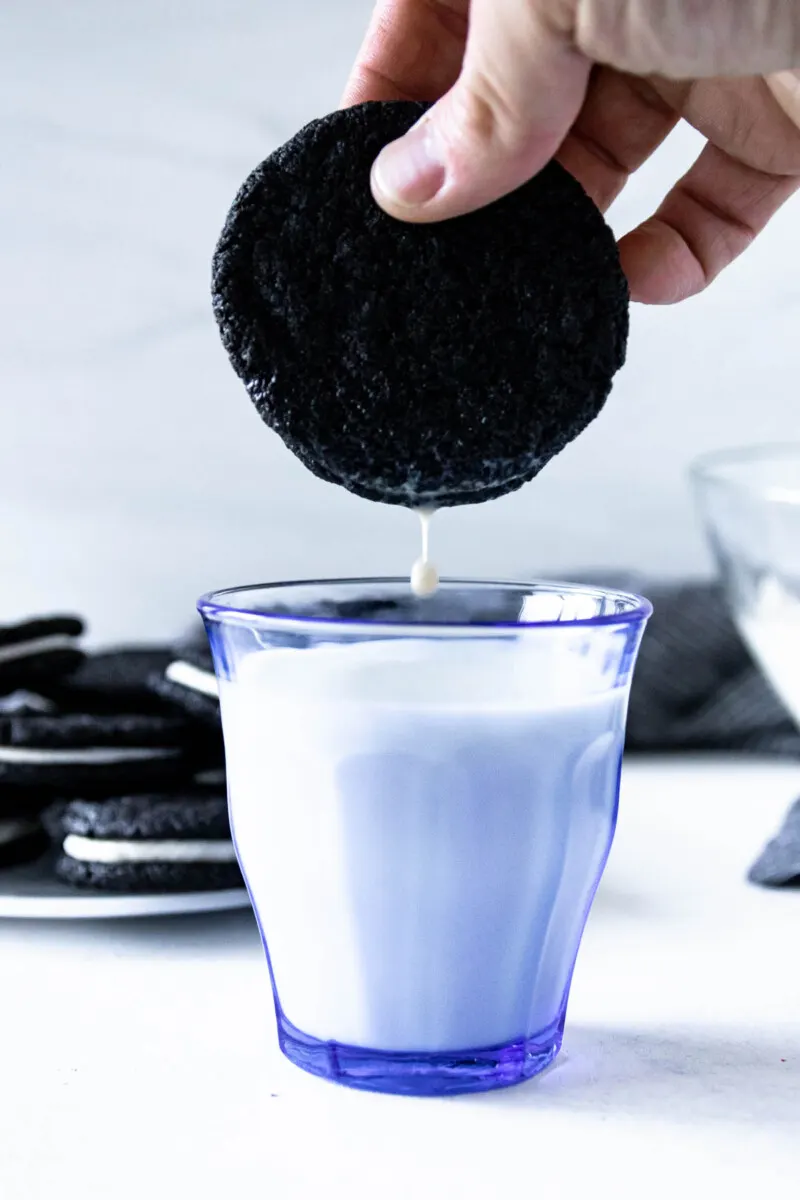
I don’t know about you, but the combination of chocolate cookies with a creme filling is comfort food and nostalgia in one compact handheld package. We almost always have some store-bought Oreo cookies in the house, but I’m a baker! Every baker tries to make a homemade version of their favorite treats at least once. In the case of these homemade Oreo cookies, you’ll bake them way more often.
How are homemade Oreos different than store-bought?
This recipe is not a dupe of the store-bought cookie; it’s an homage. Therefore, this cookie recipe and the original have a few key differences.
First, this Oreo cookie recipe yields larger cookies. The crinkly chocolate cookies look naturally rustic, and a slightly bigger cookie looks prettier on a tray.
Second, this recipe is not vegan, like Oreos. I use eggs and butter in the cookie recipe. These ingredients make the cookies softer and thicker than the original.
Both cookies are delightful, but I thought I’d highlight the differences so you know what to expect.
Homemade Oreo Cookie Ingredients
Most of the ingredients you’ll use are typical cookie ingredients: all-purpose flour, eggs, baking soda, sugar, salt, butter, and vanilla.
You’ll see we don’t add any food coloring to the cookies to make them black, so how do we get that rich color? By using the one specialty ingredient I recommend for this recipe: black cocoa powder.
Black cocoa powder is a heavily dutched, or alkalized, cocoa powder. The processing gives it a very rich color, but reduces the chocolate flavor. You still get some chocolate flavor, but these cookies have a hint of chocolate instead of the rich chocolate flavor in a recipe like my triple chocolate chip cookies (ADD LINK).
If you don’t mind a lighter color or prefer a little more chocolate flavor, you may use an extra dark cocoa powder like Hershey’s Special Dark. The cookies will be a very dark brown instead of black.

The creme filling for these cookies is not your everyday buttercream frosting! I wanted to keep the texture of the filling close to the creme filling in an Oreo. I’m not a fan of all-shortening frostings, but you need vegetable shortening to mimic the texture of the inspiration cookie.
The happy compromise between texture and flavor is found in a 50/50 mix of butter and vegetable shortening. You may use either salted butter or unsalted butter. If you use salted butter, omit the pinch of salt added to the filling. I’ll share a few fun flavor variations I’ve made over the years just before the recipe. There are a few, so they get their own section!
Instructions to Make Homemade Oreos
Gather your ingredients for the cookies. You won’t need to start on the filling for a while. Don’t worry about the filling now if you’re planning on baking these for the holidays or in advance and using the “bake then freeze” storage method. I haven’t frozen the filling since I bake these when a pretty immediate craving strikes, so I can’t tell you definitively if it changes texture in the freezer.
Line 2 baking sheets with parchment paper and then set them aside. Preheat your oven to 375 F.
Because I want the cookies to spread a little while they bake, I don’t usually chill the dough, so it’s okay to preheat the oven now. If you do need to chill the dough for a little while because you don’t have time to finish baking after mixing, you can cover the shaped dough balls with plastic wrap and chill them for up to 2 days.

If you do this, you might want to flatten the cookie dough balls before baking. I’m all about easy, so I don’t roll the dough in this recipe. My handy tablespoon-sized cookie scoop does the work.
You may mix your dough with a hand mixer and a large bowl or a stand mixer with a paddle attachment. There is no difference between using one or the other. I used to make a version of this cookie back when I baked for farmer’s market sales and used my stand mixer or hand mixer interchangeably, depending on what else was on the menu.
Because we don’t want our cookies to become big and puffy, we don’t whip the butter and sugar together first. Instead, mix the flour, sugar, baking soda, baking powder, cocoa powder, and salt in your mixing bowl. Then, you’ll stir in the butter, egg, and vanilla extract.
Your butter must be softened for this to work and cut into slices. You don’t want to overmix the cookie batter to prevent puffs, but you want all the butter to incorporate. Soft, cut butter will blend nicely into the dry ingredients to create the dough.
If you use a microwave to soften your butter and accidentally melt it, refrigerate the dough for about 6-8 minutes before baking. You don’t need it to be cold, but you don’t want the cookie dough to be warm when it goes into the oven, or it’ll spread too much.
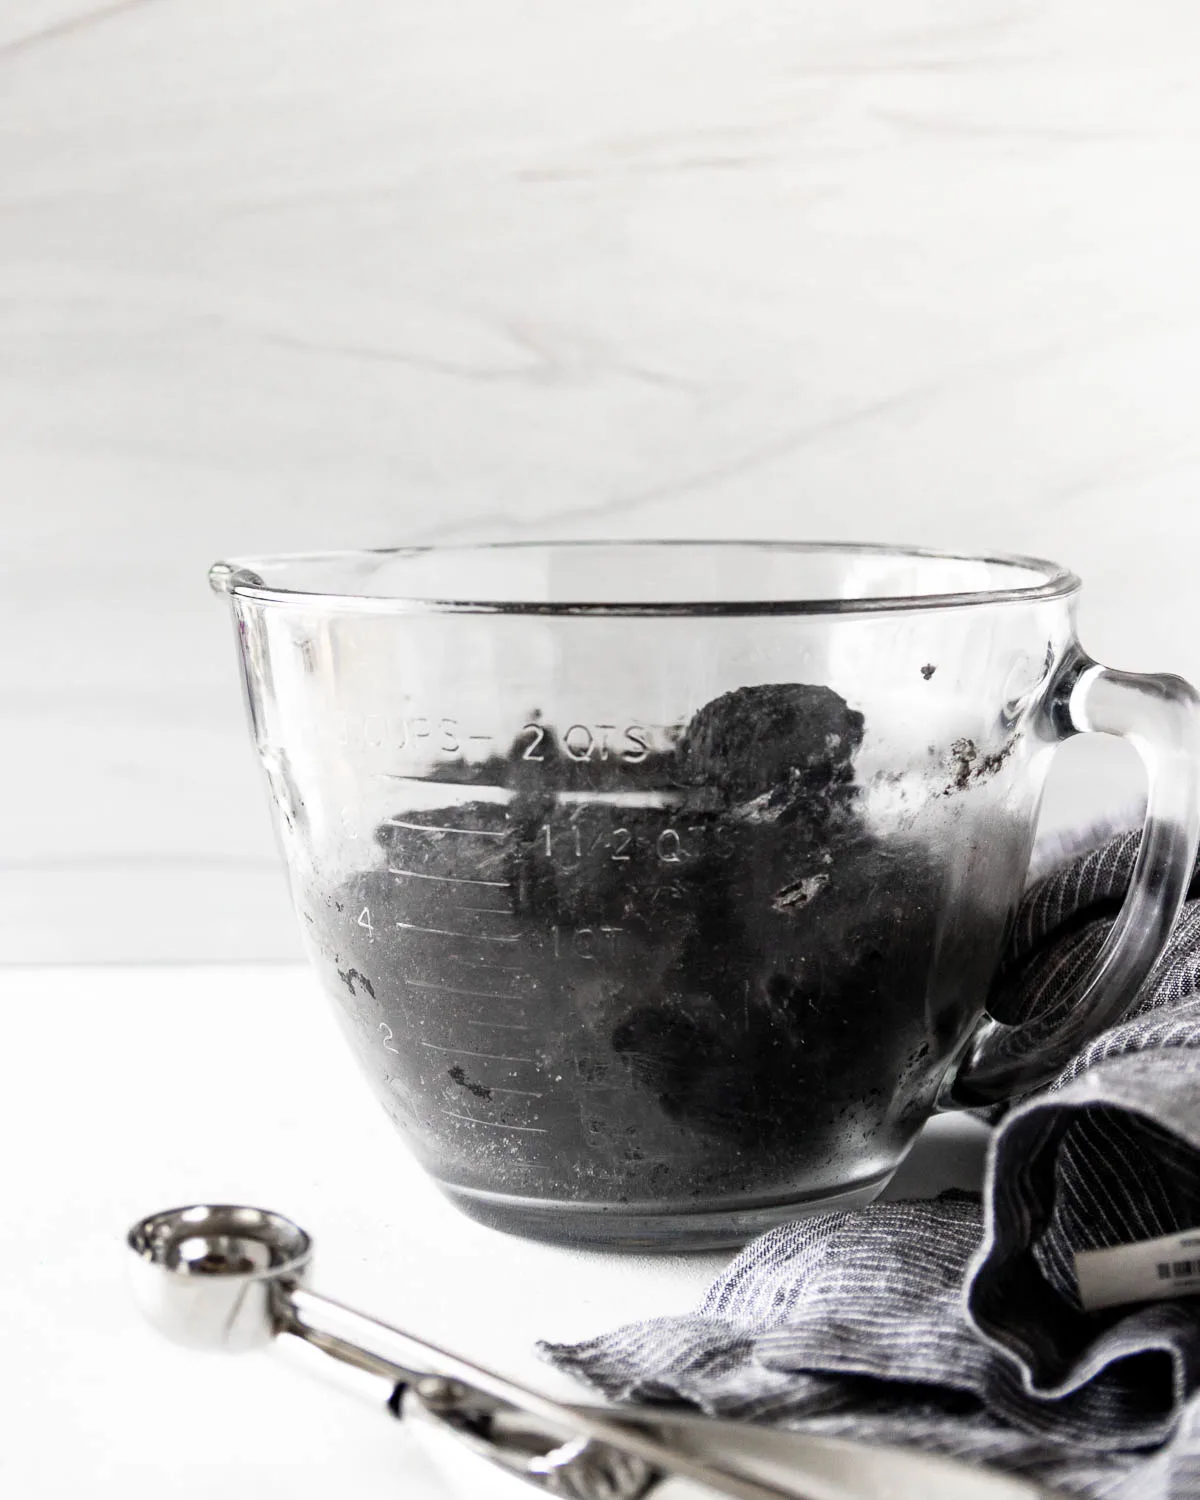
While mixing, the dough will look a bit dry at first, but it comes together after a minute or two.
Use a tablespoon or small cookie scoop to measure the dough into equal portions. Since we are making sandwich cookies and want pretty pairs, having an equal amount of dough in each cookie is essential. You’ll bake in batches because this recipe makes about 18 sandwich cookies as written and measured. That’s 36 individual cookies.
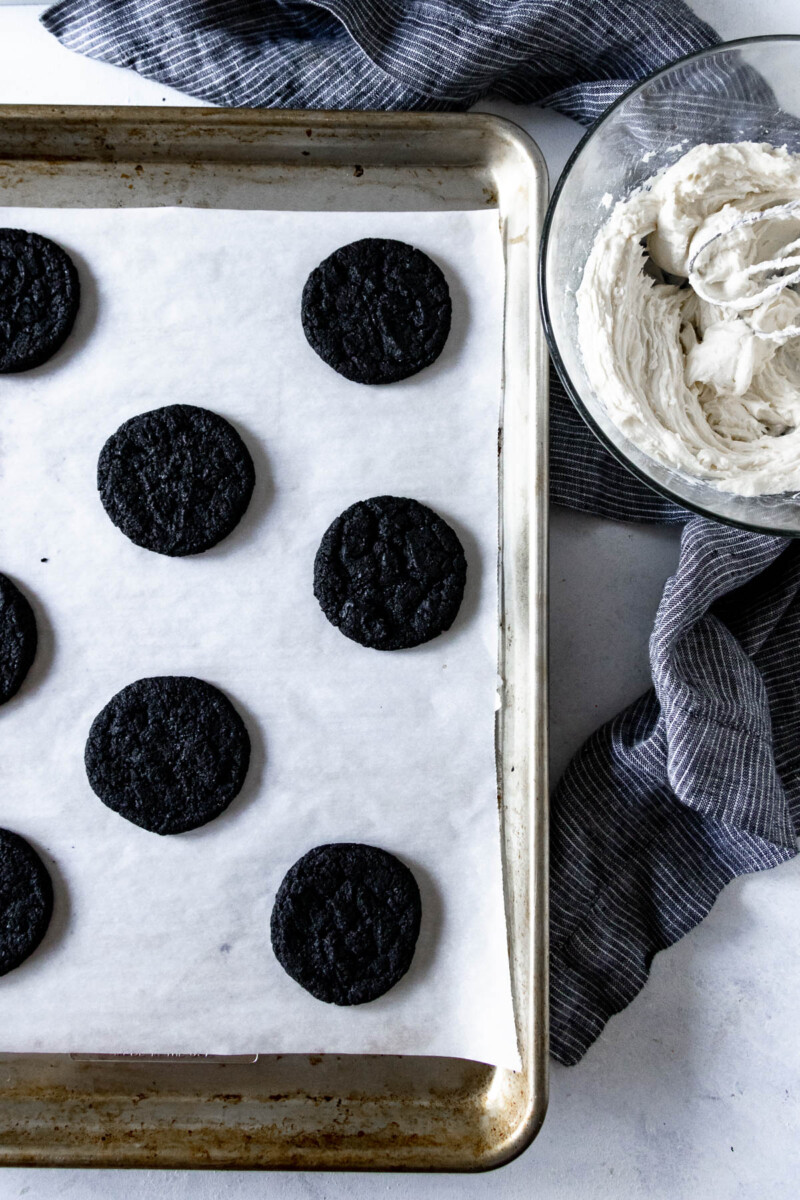
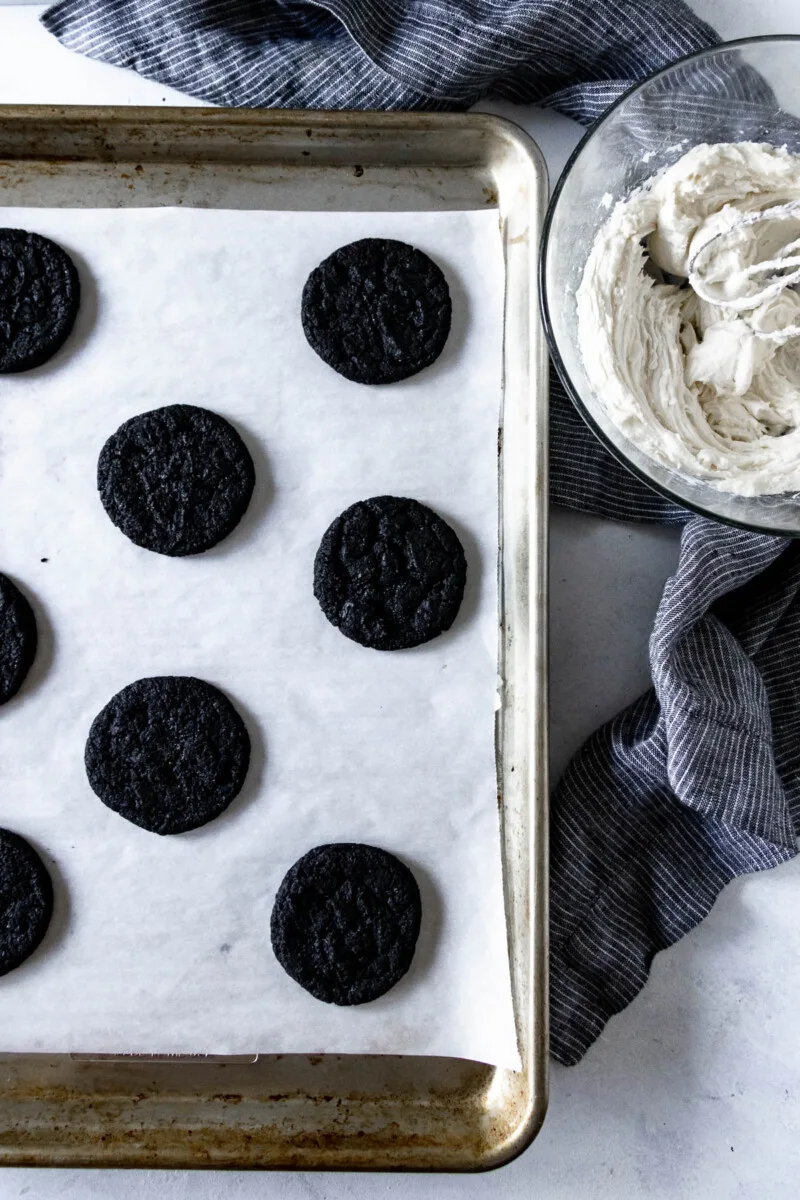
Bake the cookies for 8-10 minutes until the edges look set, then allow the cookies to rest 5 minutes on the baking sheet before transferring to a cooling rack to cool completely. While the cookies are cooling, make the cream filling.
To make the filling…
Of course, no Oreo cookie is complete without the delicious creamy Oreo filling. Like the cookies, though, this isn’t meant to be a dupe of the original.
To make the Oreo cream filling, begin by creaming together butter and shortening until light and fluffy. Once combined, gradually add the powdered sugar to the mixture one cup at a time, stirring in between until everything is fully incorporated. Finally, add a dash of vanilla extract for a sweet and tantalizing aroma.


Place the creamy filling into a piping or plastic bag for assembly, and snip off the tip to make a small hole. Then, pipe about a tablespoon of the filling onto one cookie and top with another. The result? A mouth-watering treat that will satisfy anyone’s sweet tooth. Enjoy!

Cookies can be stored in an airtight container at room temperature for up to three days, in the refrigerator for up to 10, or frozen for 2 months. They rarely last that long in our house!
Homemade Oreo Flavor Variations
You don’t always have to keep things classic – playing with flavors is fun! Here are just a few suggestions to help get your creativity flowing.
To make homemade mint oreos, follow this recipe for chocolate peppermint sandwich cookies.
Another tasty option would be to make raspberry Oreos using my raspberry buttercream frosting. Fudge frosting would make a decadent double-chocolate option. Get creative!


I hope you love this homemade Oreos recipe, darlings. Happy baking!


Homemade Oreos
Bigger and chewier, this homemade Oreos recipe lets you pick your perfect amount of filling!
Ingredients
Cookie Dough
- 1 1/2 cups all-purpose flour
- 1/3 cup black cocoa powder
- 1 tsp baking soda
- 1/4 tsp salt
- 1 1/4 cups granulated sugar
- 12 tablespoons unsalted butter, softened
- 1 egg
- 1/2 tsp vanilla extract
Creamy Cookie Filling
- 4 tbsp butter, softened
- 4 ounces shortening (see notes)
- 2 cups powdered sugar (see notes)
- 1 teaspoon vanilla extract
- pinch salt
Instructions
- Preheat your oven to 375 F and line 2 baking sheets with parchment paper. Set aside.
- In the bowl of a stand mixer fitted with the paddle attachment or a large mixing bowl (you can use a hand mixer too), stir together the flour, sugar, baking soda, baking powder, and salt.
- Cut the softened butter into tablespoons. Using the low speed on your mixer, stir in the butter, egg, and vanilla extract. Mix until well combined. The dough is on the drier side but should still stick together.
- Use a tablespoon or small cookie scoop to measure your cookie dough into even balls. Slightly flatten each disc. You'll have enough for 18-20 sandwich cookies (see notes).
- Bake the sheets for 10 minutes, rotating once halfway through baking time.
- Allow the cookies to set for 5 minutes on the sheet before transferring them to wire racks to cool completely. Make the filling while the cookies are cooling.
To make the filling...
- Cream together the butter and shortening until light and fluffy.
- Stir in the sugar 1 cup at a time, and then add the vanilla extract.
- Assemble the cookies by placing your filling into a piping bag or plastic bag, snipping off the tip, and piping about a tablespoon on one cookie, topping with a second cookie.
- Enjoy!
Notes
- If you are planning to freeze extra dough for later, place the unbaked cookie portions on the sheet and freeze. Store in a plastic airtight container once frozen solid. Bake from frozen, adding 2-3 minutes to the baking time.
- If you had a bit of a moment seeing shortening on the filling ingredient list, hear me out. For a filling that is closest to the texture of the store-bought version of these cookies, shortening works. Since we mix it with butter, it's not going to be the same, but you know I'm team butter for almost everything. If you just can't with the shortening, here are some alternatives... 1. Cream cheese - you'll need to keep the cookies refrigerated, but butter and cream cheese is the combination I use for the peppermint version of these cookies. 2. Coconut oil - You'll get a slight coconut flavor in the cookies, but it pairs beautifully with the chocolate. This is the version I sold in Goodie Godmother's early days at farmer's markets, and it was a popular menu item.
- You might find you need to add a little more powdered sugar if it's humid where you are. You want a filling that's on the stiffer side, but still relatively easy to pipe onto your cookies.
- Omit the salt in the filling if you are using salted butter.
Recommended Products
As an Amazon Associate and member of other affiliate programs, I earn from qualifying purchases.


Nutrition Information:
Yield: 20 Serving Size: 1 cookieAmount Per Serving: Calories: 268Total Fat: 15gSaturated Fat: 8gTrans Fat: 0gUnsaturated Fat: 6gCholesterol: 37mgSodium: 122mgCarbohydrates: 31gFiber: 1gSugar: 23gProtein: 2g
These nutrition values are estimates. Exact values will vary depending on the ingredients, brands, and quantities used.