
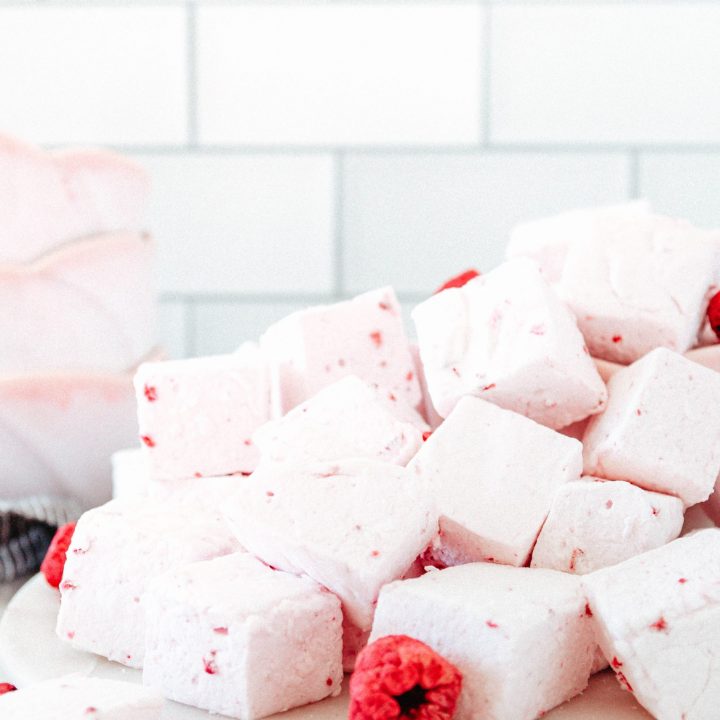
These raspberry marshmallows are naturally flavored, with a sweet pink hue and light flavor. This marshmallow recipe is easy to follow and makes a beautiful gift or unique topper for hot chocolate!

Have you seen how fancy marshmallows have gotten recently? I seriously thought I was super fancy with my vanilla bean and coffee marshmallows. Yet a quick jaunt down the candy aisle shows we are at another level in marshmallow right now.
Have you seen all the creative flavors? Before, there were 2 kinds one could buy at the store, big and mini. That’s it. Now it’s easy to source all sorts of flavors, shapes, and sizes year round!

You know this means we home candy makers up our game, right? This raspberry marshmallows recipe, it’s a level up.
How do you flavor marshmallows?
There are a couple different ways to add flavor to marshmallows. When you flavor marshmallows, you need to keep in mind structure. Unlike frosting, for example, you can’t just pour in a few tablespoons of jam and call it a day!
A wet flavoring, like jam or fresh fruit, would interfere with the marshmallow making process and dramatically decrease shelf life.
So what’s a baker to do?
You could head to the candy making section of your craft store and pick up some artificial flavors. Add a few drops, some coloring, and you’re good to go!
But what if you don’t want to do that?
We head to another section of the grocery store to find… freeze dried fruit!
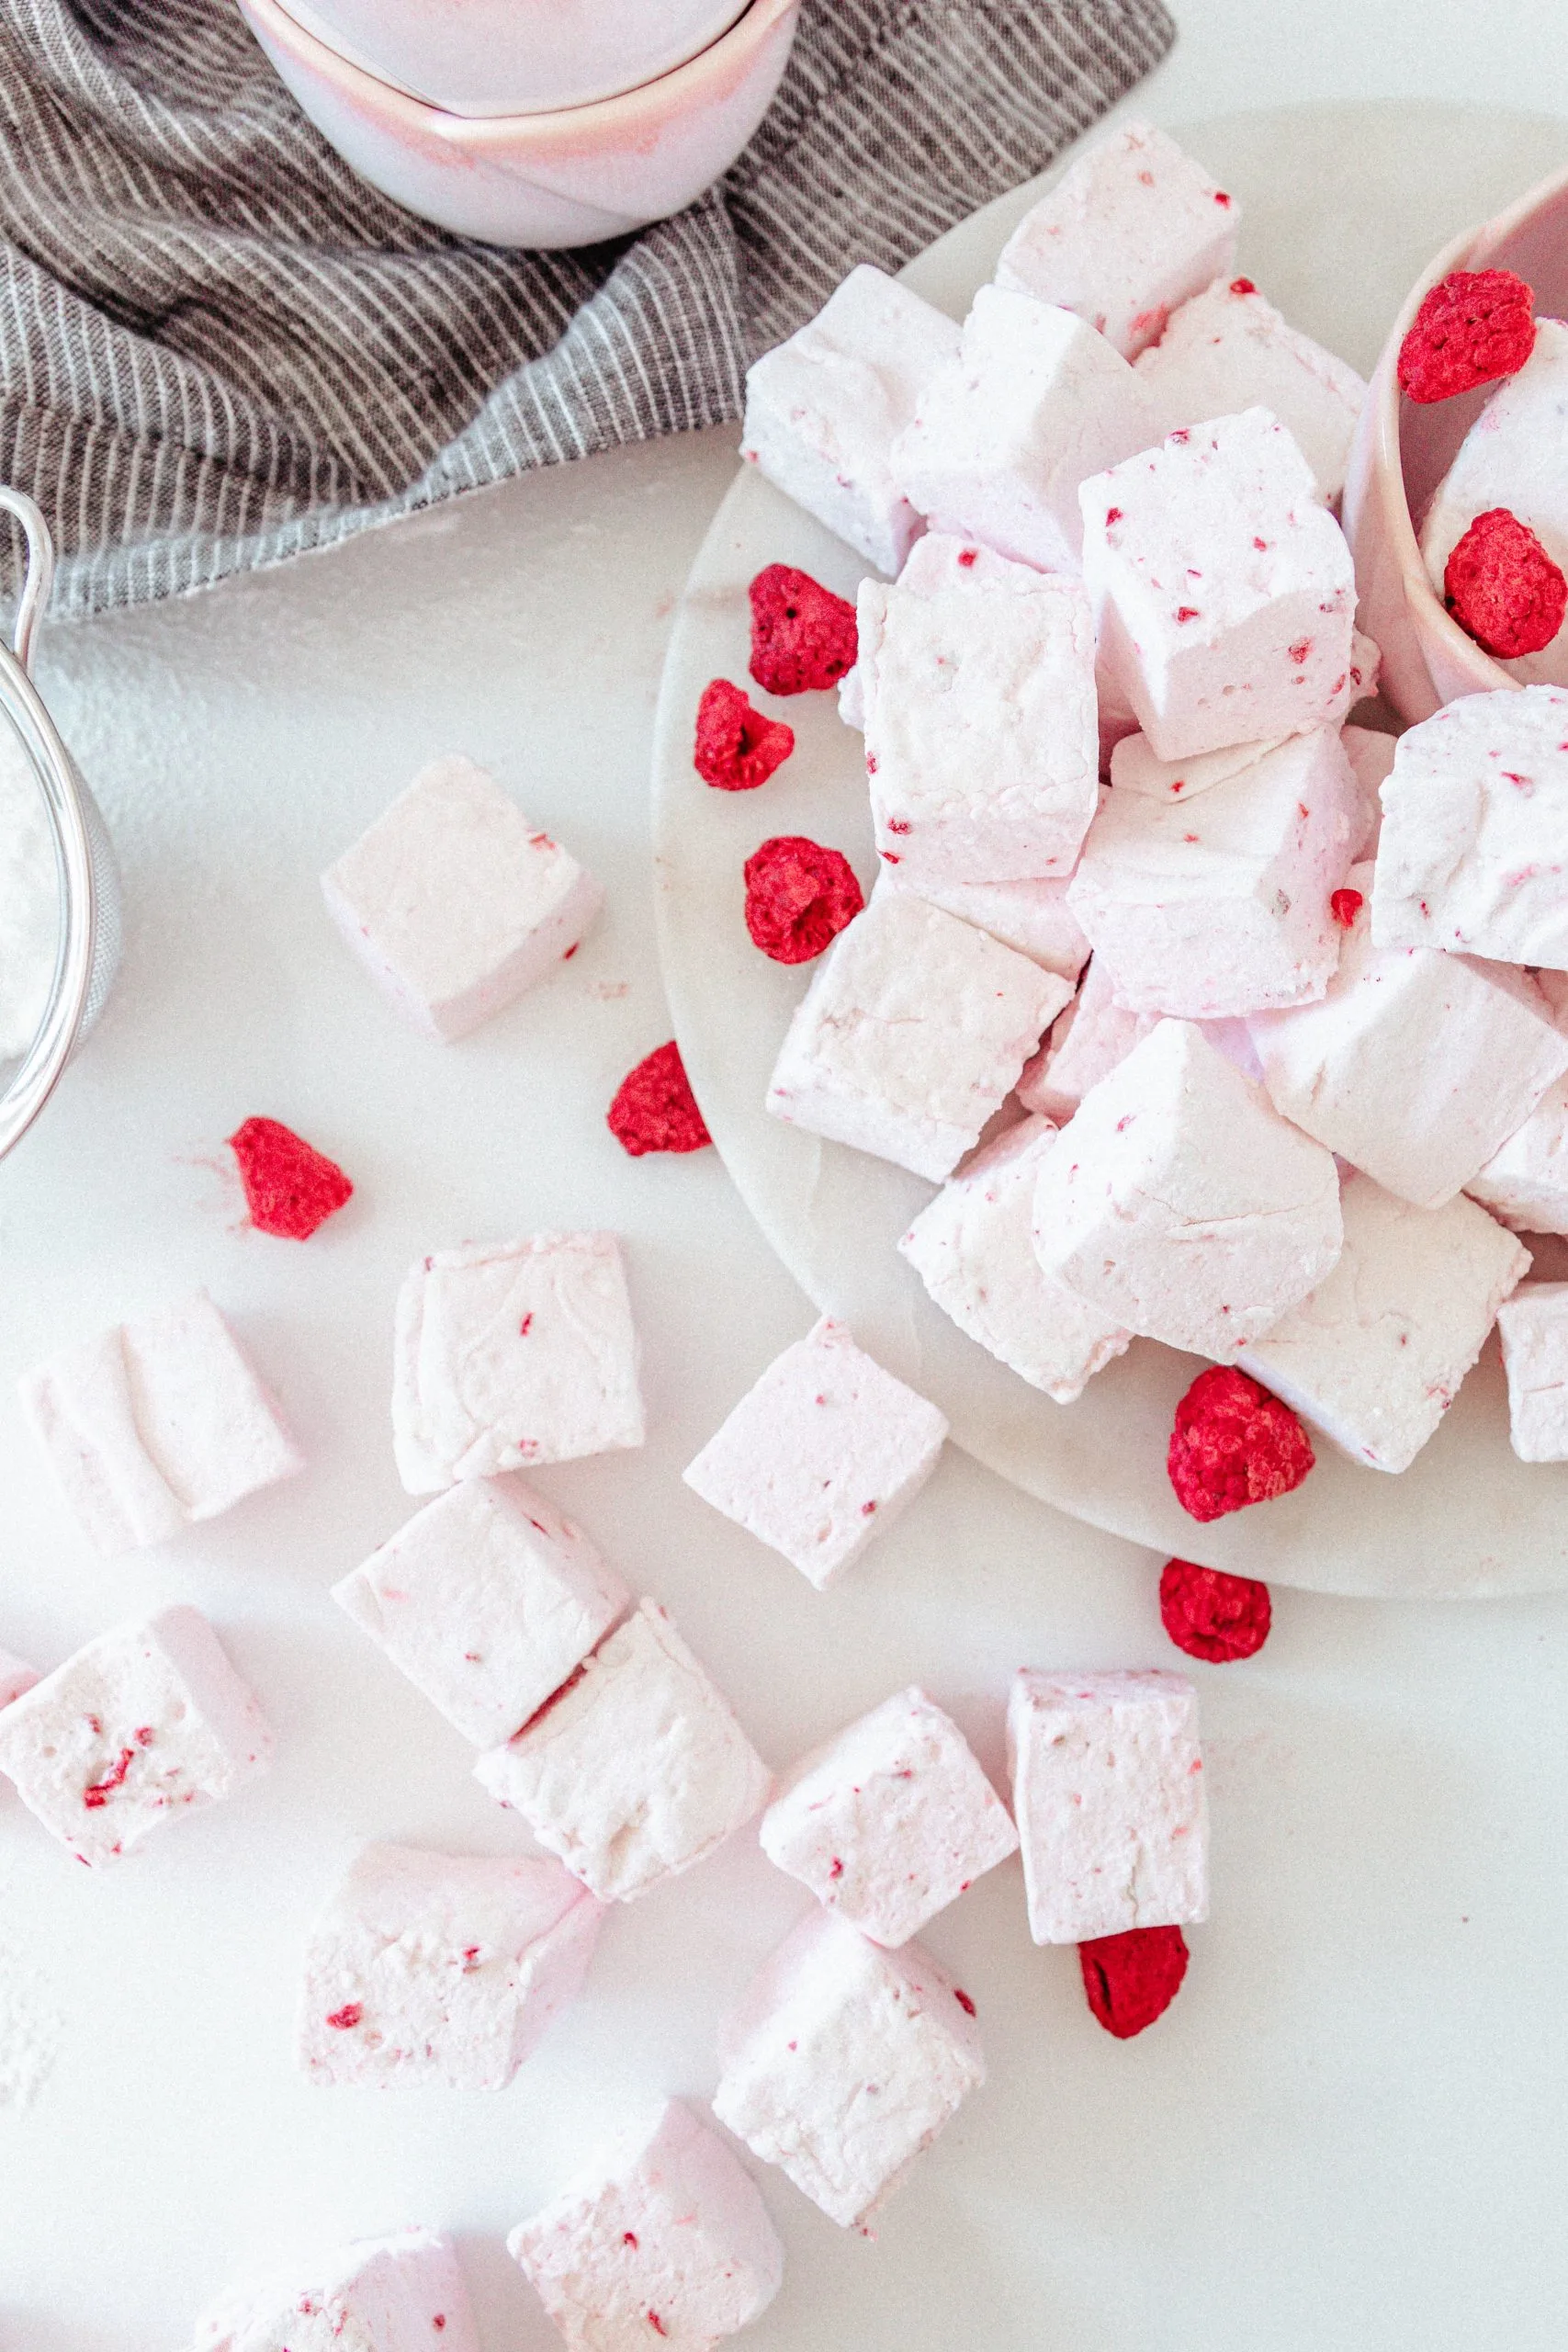
Freeze dried fruit is different than dried fruit. What we normally think of as “dried fruit” (i.e. – dried cranberries) is chewy. Freeze dried fruit is dry and crumbly, easily crushed to a powder.
You typically find freeze dried fruits in one of two sections at the store. The first place to look is with the other dried fruits, nuts, and trail mixes. If there’s no freeze dried fruit there, check the “health food” section of the store.
While previously a specialty ingredient, freeze-dried fruits have become very easy to find recently. They’re a popular ingredient in keto baking and I use some in my keto lemon raspberry cookies.
A few tips for successfully making raspberry marshmallows…
First, gather all your tools and ingredients before you begin. There are some moments where you aren’t actively doing anything during cooking, but when it’s time to move, you need everything ready!
A good candy making thermometer helps take the guess work out of making marshmallows. I use a digital thermometer, but the glass bulb thermometers also work well. You just need to really watch with the glass bulb as they don’t beep at you the way the digital ones do!

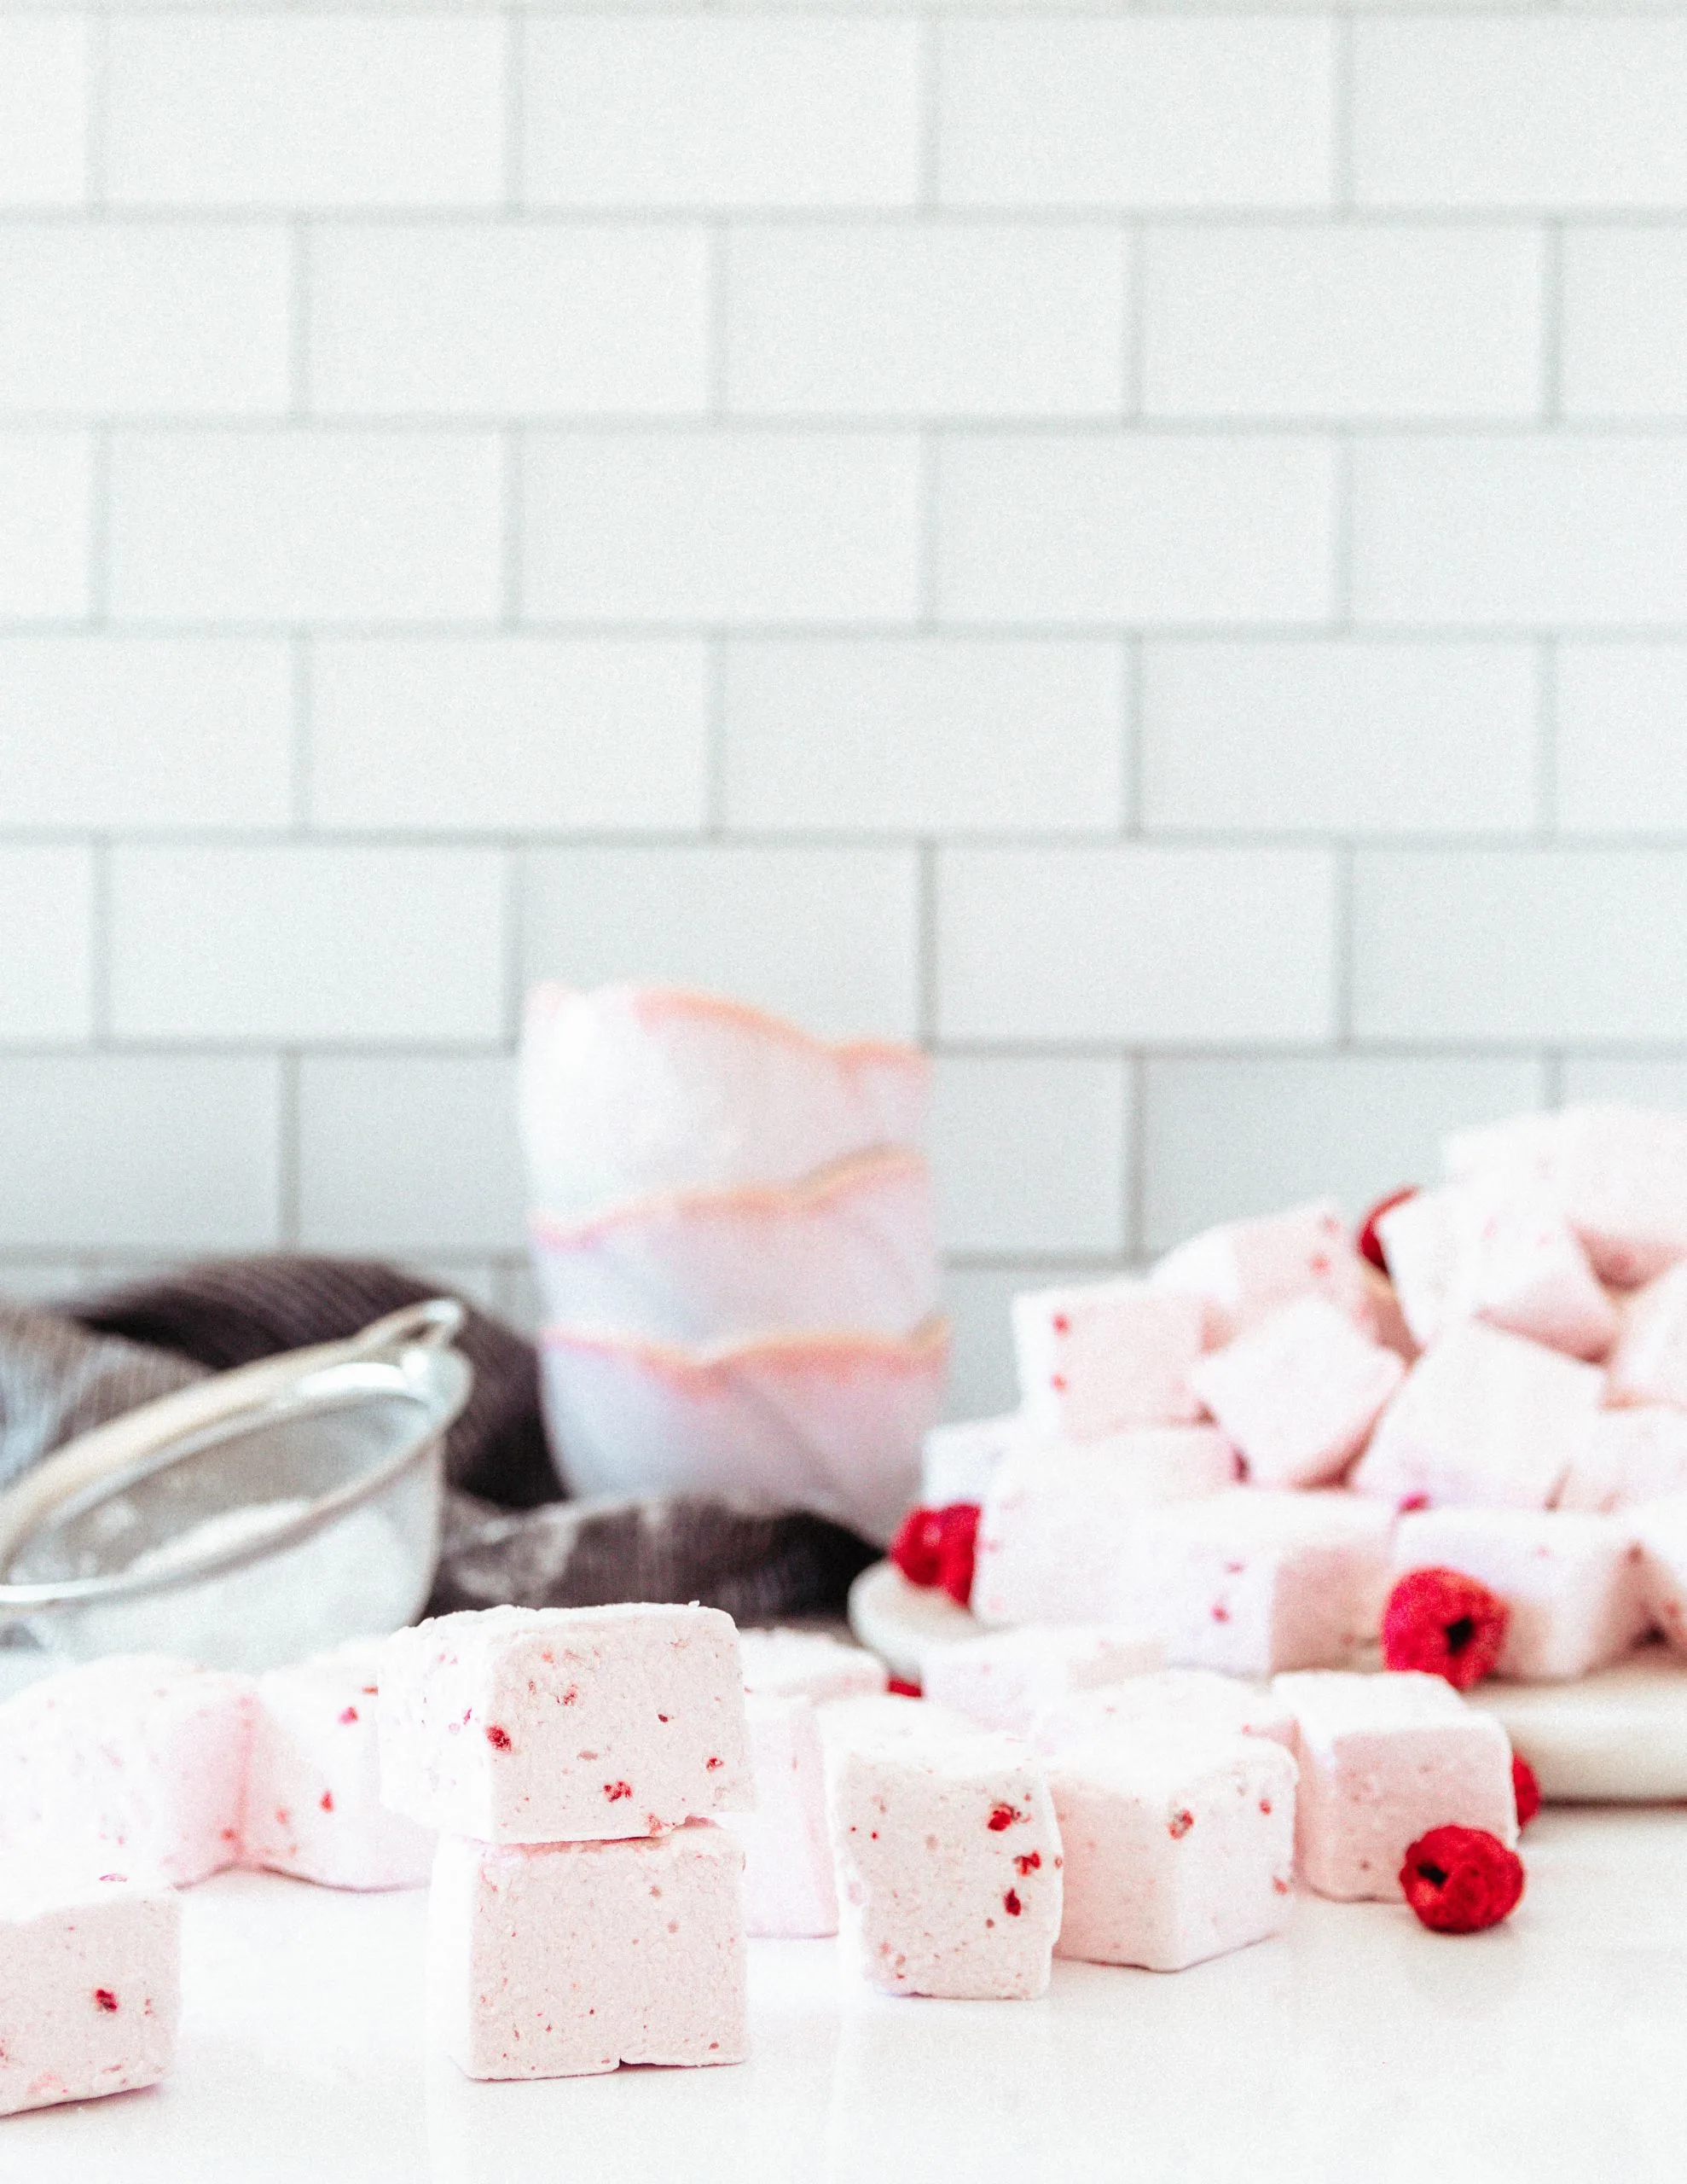
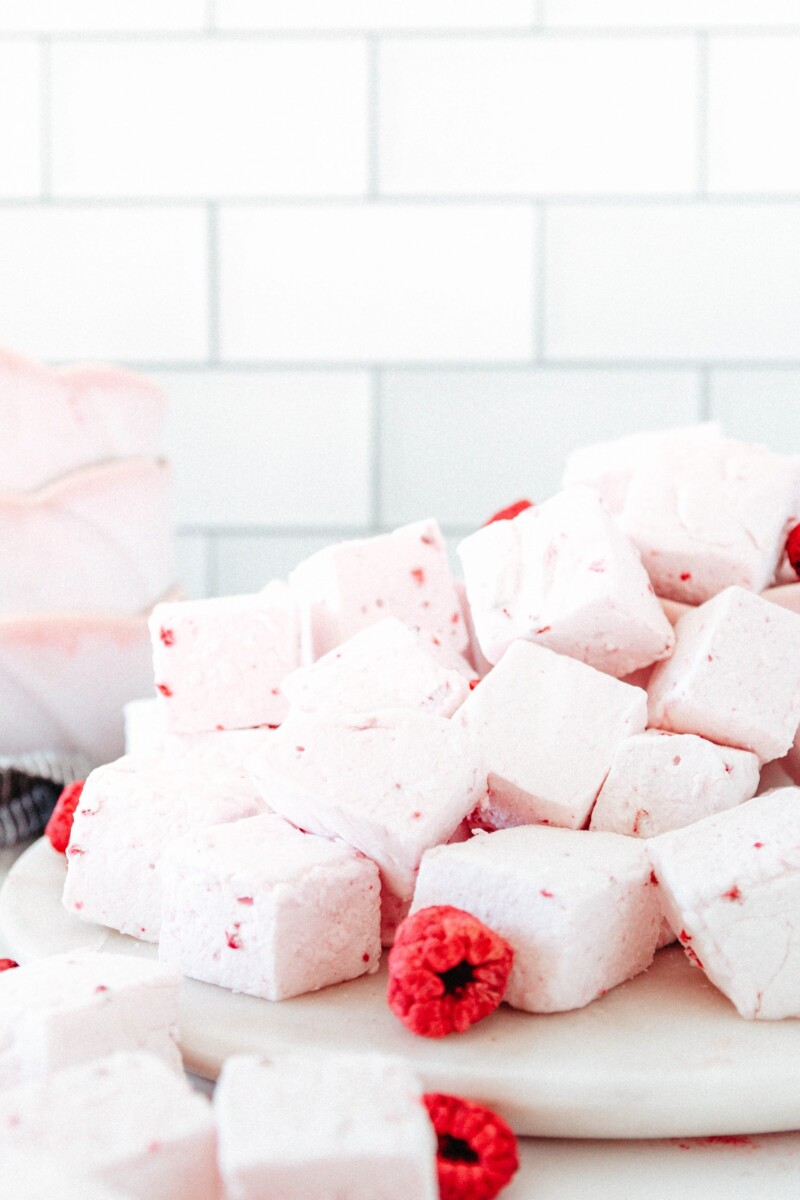
If you’d like to color your raspberry marshmallows to get the same pink hue as the photos, you will need to add coloring. A drop of gel color or 2-3 drops of a natural color will do.
I have tried adding color to these by relying on the powdered dried raspberries, and it’s not as consistent. If you don’t mind not having a uniform pink, skip it! The bits of raspberry already make these marshmallows look very pretty.
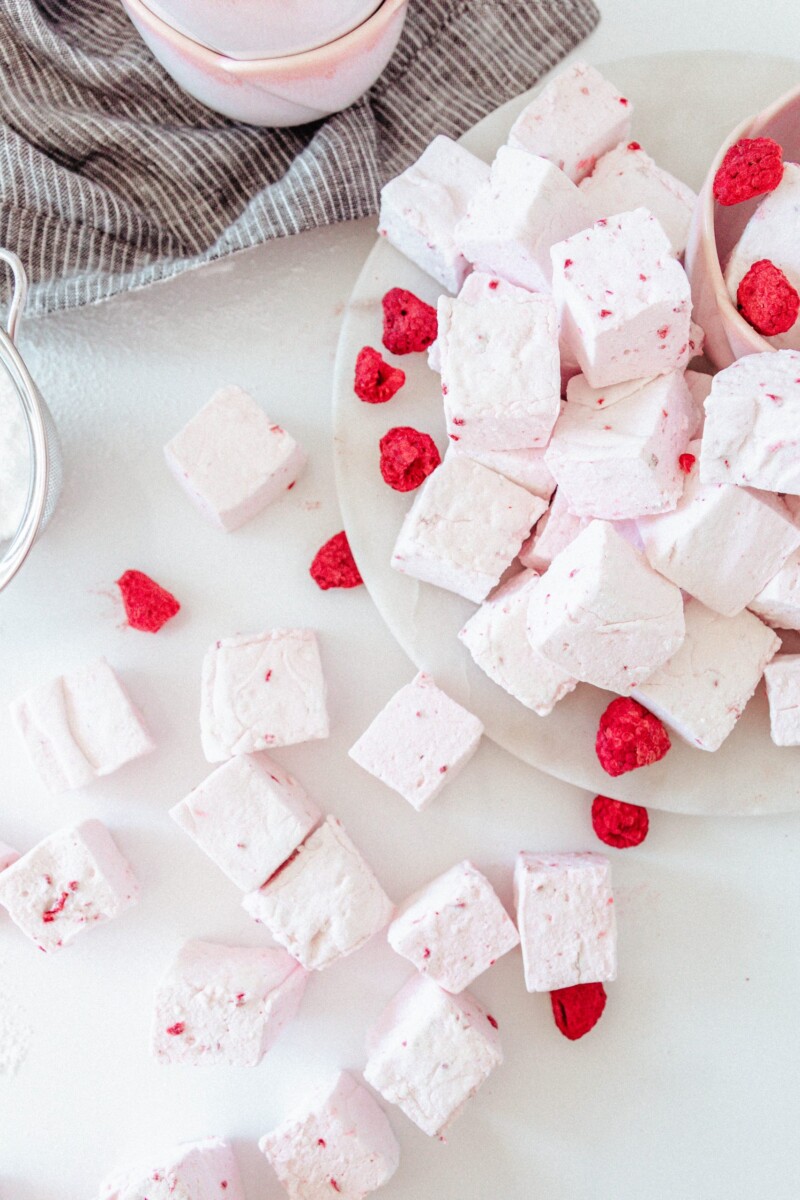
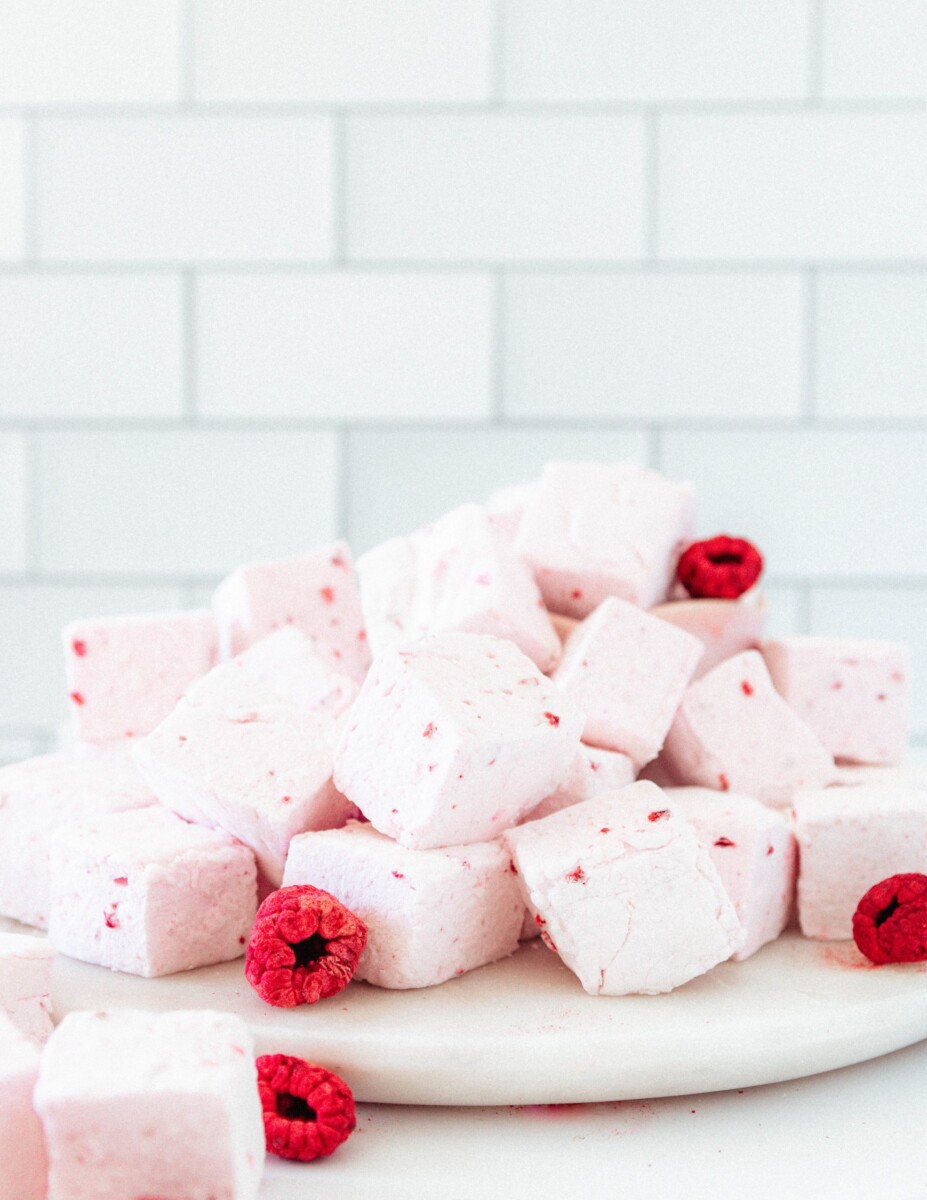
My reason for adding color was so I could use these as cute Valentine’s Day treats, possibly with a corner dipped in dark chocolate. The marshmallows might also make an appearance at a baby shower or tea.
Plan for resting time. Marshmallows need several hours to fully set. I tend to make them in the evening to allow them to set overnight. Then, I cut and store the next morning. You need to allow at least 4 hours for setting, but try not to go over 9 hours, especially in humid climates.
You can make marshmallows on rainy days. Unlike meringues, don’t let a little rain stop you from making marshmallows, they set up just fine in high humidity! You may need a little extra powdered sugar and cornstarch to keep things from getting too sticky, but otherwise, no change.
How do I store homemade marshmallows?
Finally, Once your marshmallows are cut and lightly dusted in powdered sugar, you can store them for weeks! Keep them in an airtight container at room temperature for up to 4 weeks. For longer storage, you can freeze the marshmallows!
If I’m only planning to store my marshmallows for a few weeks at room temperature, and it’s not too humid outside, storing them in a plastic bag is perfect. If it’s particularly humid, I’ll store them in layers in an airtight container with a piece of wax paper or parchment paper between each layer.
To freeze the marshmallows, I’d recommend the airtight container with individual layers. If your marshmallows get a little sticky after thawing, dust them with a little more powdered sugar. They’ll be just like new!
I hope you love this easy raspberry marshmallows recipe, darlings!

Raspberry Marshmallows From Scratch
These raspberry marshmallows are naturally flavored, with a sweet pink hue and light flavor. This marshmallow recipe is easy to follow and makes a beautiful gift or unique topper for hot chocolate!
Ingredients
Marshmallow Mixture:
- 3 packages unflavored gelatin (3/4 ounce)
- 1 cup cold water, divided
- 1 1/2 cups granulated sugar
- 1 cup light corn syrup (see notes)
- 1/4 teaspoon kosher salt
- 1/2 cup whole freeze-dried raspberries (see notes)
Coating
- 1/4 cup confectioners' sugar
- 1/4 cup cornstarch (see notes)
- Nonstick spray
Instructions
- Pour 1/2 a cup of your water into the bowl of a stand mixer fitted with the whisk attachment. You may also use a large bowl and a hand mixer (keep the hand mixer nearby and maybe grab an assistant). Sprinkle the gelatin over the water as evenly as possible and set it aside. Don't stir, just let it sit.
- In a small saucepan with a lid, combine the rest of the water with your granulated sugar, corn syrup, and salt.
- Place the saucepan over medium heat and cover. Cook for 3 minutes until the sugar has dissolved. Stir if needed, and give an additional minute or two. Covering the pan helps keep sugar crystals from forming on the sides of the pot. (see notes)
- Once the sugar has melted, clip your candy thermometer to the side of your saucepan. Continue to cook the mixture until it reaches 240 F. Swirl 1-2 times during the cooking process to allow for even heat distribution.
- As soon as your sugar mixture reaches temperature, remove it from the heat. Remove your thermometer from the pot and turn your mixer on to low.
- Slowly pour the hot sugar syrup into the mixing bowl. Try to aim the thin drizzle of sugar so it falls between the side of the mixing bowl and the moving whisk. You don't want to coat the side of your bowl, nor do you want to pour over the moving whisk and send hot sugar everywhere!
- Once you've poured in all the sugar syrup, slowly increase the mixer speed to high and let it run another 10-12 minutes until the marshmallow mixture is white, thick, and fluffy. Set a timer for this, you have work to do while your mixer is running!
- While your mixer is running, combine your coating ingredients in a small bowl.
- Spray a 9x13-inch casserole dish with nonstick spray and then sprinkle evenly with the powdered sugar and cornstarch mixture. Shake the pan around a bit to ensure a thin and even coating. Set aside. Spray an offset spatula or spreader with nonstick spray and set aside.
- Get your freeze-dried raspberries and crush about 1/3 into a fine powder. Crumble the rest slightly - the mixer will break the larger pieces up a little more.
- Towards the last 1-2 minutes of marshmallow mixing, dump in all the freeze-dried raspberries. If you'd like to add a little pink coloring, do so here.
- Pour the marshmallow mixture into your prepared casserole dish and use your offset spatula or spreader to smooth the marshmallows as best you can.
- Sift a light dusting of the coating mixture over the top of your marshmallows to prevent drying and put the casserole dish in a safe place to set at room temperature. Allow at least 4 hours, up to overnight. Reserve any remaining coating mixture in a covered bowl or ziplock bag.
- Once the marshmallows have completely cooled and set, dust a large, clean cutting board with a bit of your coating mixture and flip the marshmallows onto the board. They should come out easily.
- Place the remaining coating mixture in a small bowl to the side of your workspace.
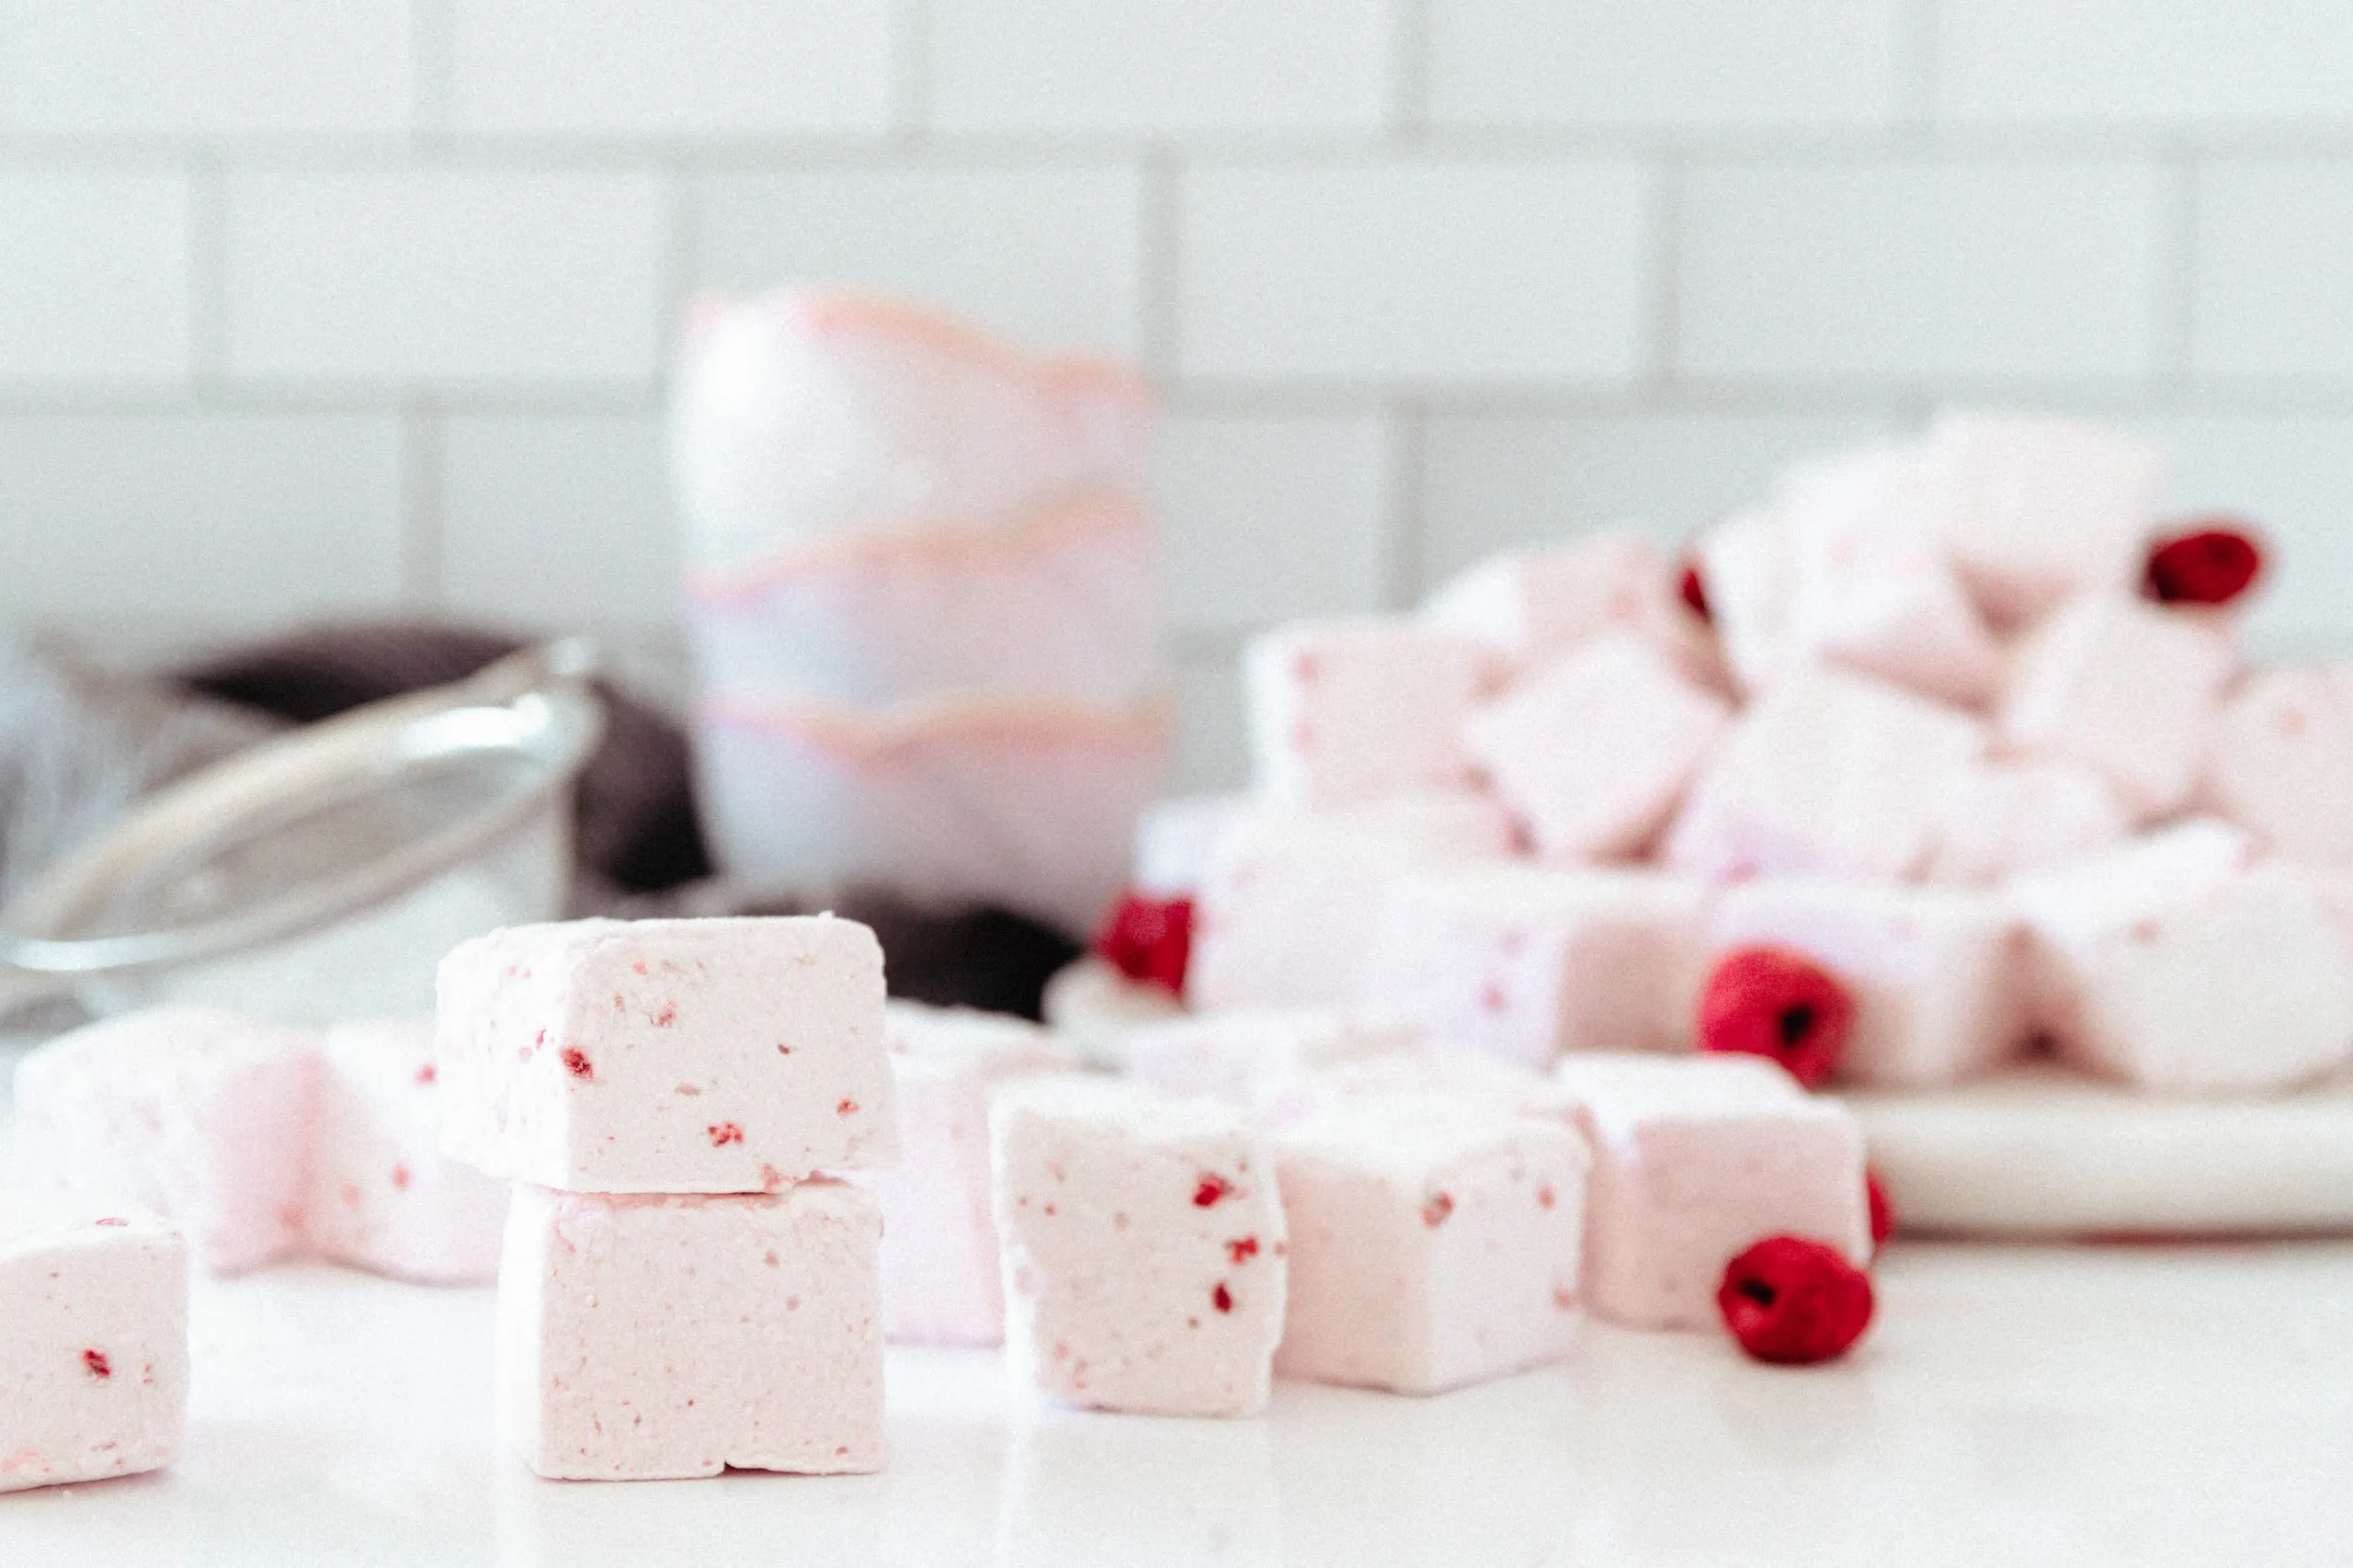
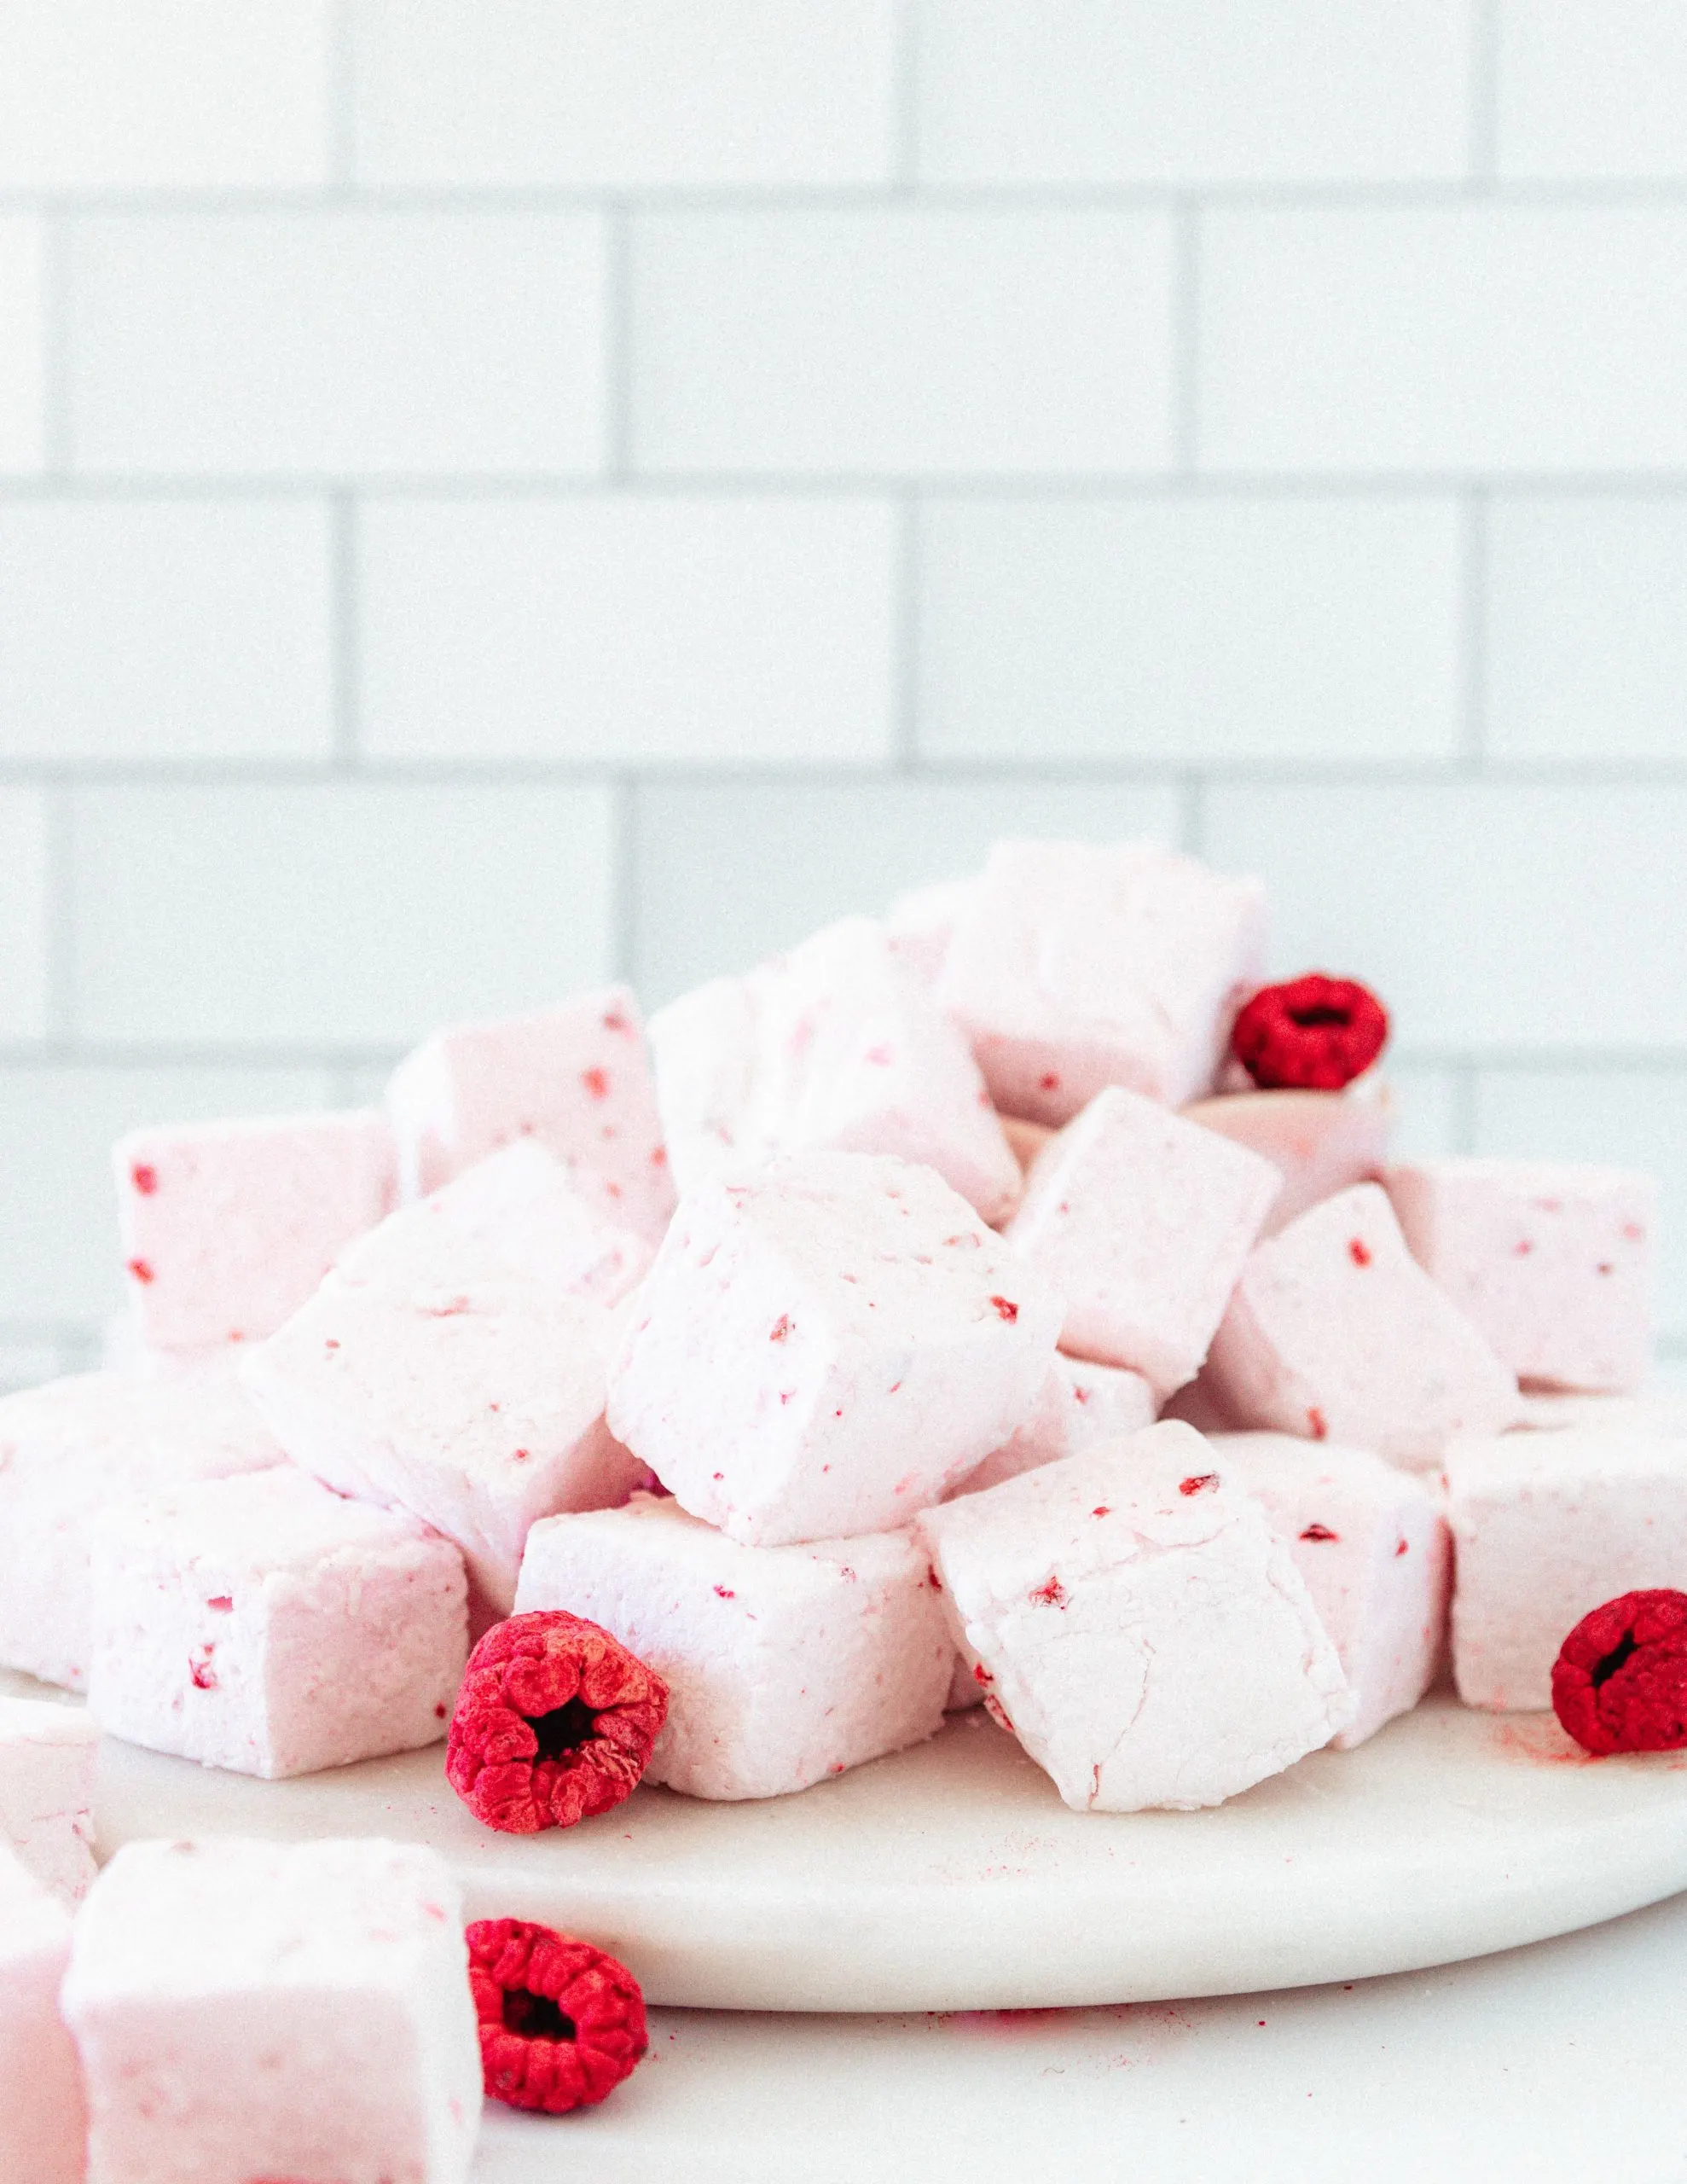
- Spray a pizza cutter with nonstick spray (or use a knife), and trim any angled edges. Cut your marshmallows into approximately 1-inch squares. The easiest way to do this is to cut a 1-inch column, then cut that column into 1-inch portions.
- As you work, dab the freshly cut edges of the marshmallows into the coating mixture and shake off the excess before placing them into your plastic bag or airtight storage container.
- Homemade marshmallows can be stored at room temperature for up to 4 weeks in an airtight container.
Notes
- If you need to avoid corn syrup, you have a few options here. Maple syrup, honey, and agave all work as equal substitutes. This means you'd replace the corn syrup with the same amount of whatever substitute you choose.
Keep in mind that any substitute syrup will impart a flavor to the marshmallows, so your marshmallows will taste like raspberries with a hint of maple, honey, or agave. - I've made this recipe with as little as 1/3 a cup and as much as 1/2 a cup, so as long as the measurement is somewhere around there, you'll get a delicious raspberry flavor.
Also, make sure you get freeze-dried raspberries and not dried raspberries! The bag will feel light and you can easily crush the raspberries to a powder. - If you are avoiding corn, replace the corn starch with arrowroot powder. Also, be sure to look for cornstarch-free powdered sugar. Some brands include cornstarch to help keep the powdered sugar from clumping.
- If you don't have a saucepan with a lid, grab a silicone food brush and a small bowl of water. If you see sugar crystals start to form on the sides of your pot as the sugar melts, brush them away with the wet brush.
- As an alternative to cutting the marshmallows into cubes, you can use a cookie cutter (sprayed and dipped into the coating mixture as needed to prevent sticking) to cut out shapes! Hearts are a very popular option, especially for Valentine's Day or Mother's Day. Keep any scraps in a separate bag to enjoy as a treat later - they taste great!
- If you are feeling extra fancy, dip the marshmallows in dark chocolate candy coating or tempered dark chocolate for an extra decadent treat!
Recommended Products
As an Amazon Associate and member of other affiliate programs, I earn from qualifying purchases.

