This year I participated in a really fun holiday event that put me immediately into the Christmas spirit – the Great Food Blogger Cookie Exchange!
Hundreds of bloggers from around the world participate. Each blogger is assigned 3 other bloggers to send a dozen cookies and in turn, you receive a dozen cookies from three different bloggers in return. It’s so exciting and has all food blogger participants running to the mailbox checking for treats during shipping week. I’m pretty sure we all had cookies for dinner, and just cookies, at some point.
I wanted to make something extra special as my “calling card” to meet my new friends. I asked the Godfather what I should make and we came up with a list, but the turtle cookie won before we even hit the testing phase. The moment it was suggested I envisioned darling little thumbprints piled on a platter based on the classic turtle and it just had to be.
To make sure the cookies had the very best flavors and that the caramel sat perfectly in each one, I chose to make my caramel candy instead of using store bought. It’s a very straightforward process, and you’ll end up with more caramel than cookies, so if you don’t want to make extra dough, you can just pour the excess caramel into candy molds or a small pan, allow it to set, cut, and you have a second delicious treat to eat before anyone else notices share! This my dears, is what we call a win-win. 😉
I had so much fun making the cookies, and they were a hit with the Godfather, his office, the bloggers who received them, and a few friends lucky enough to try a few extra. They’ve definitely earned a spot on my “classics” list, and I hope you enjoy them just as much!

Shortbread Turtle Thumbprint Cookies
The popular turtle candy recreated as a delicious thumbprint cookie with homemade caramel!
Ingredients
Shortbread
- 3/4 lb unsalted butter, softened
- 1/2 cup granulated sugar
- 1/2 cup brown sugar
- 1.5 tsp vanilla extract
- 3 1/4 cups all purpose flour
- 1/4 cup chopped pecans
- 1/4 tsp kosher salt
Caramel:
- 1/2 cup granulated sugar
- 1 cup light brown sugar
- 1 stick unsalted butter
- 1/2 cup light corn syrup
- 3/4 cup heavy cream
- 1/4 cup milk
- 1 tsp vanilla extract
Finishing Touches
- 3/4 cup dark or semi sweet candy melt wafers
- 66 pecan halves (one for each cookie - recipe makes 5 1/2 dozen)
Instructions
- Preheat the oven to 350 F
- In the bowl of a stand mixer fitted with the paddle attachment, mix the butter and sugars until just combined.
- Add the vanilla extract and salt. Mix to combine.
- Add the flour, one cup at a time, mixing until just incorporated.
- Stir in the chopped pecans
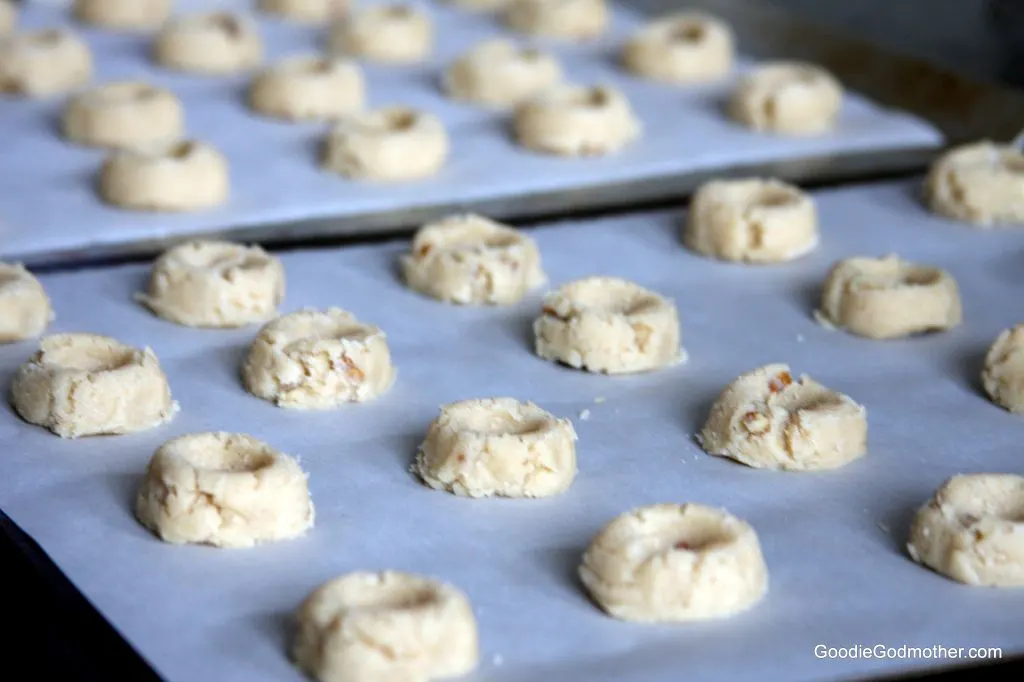
- Drop the cookies in 1 tbsp-sized balls onto ungreased cookie sheets lined with parchment paper and create an indent in the center of each using either your thumb or the back of a 1/2 tsp measuring spoon.
- Bake the cookies for 10-12 minutes until the edges just start to turn golden.
- Remove from the oven, use your measuring spoon to define any caramel wells that may have lost their shape and allow the cookies to set on the pan 5 minutes before transferring to a wire rack to cool completely.
- While the cookies are cooling make the caramel...
- Combine all ingredients except the vanilla in a heavy-bottomed sauce pan and cook over medium heat, stirring occasionally until the mixture reaches 242 F on a candy thermometer.
- Remove from the heat immediately and stir in the vanilla extract (be careful, it bubbles!).
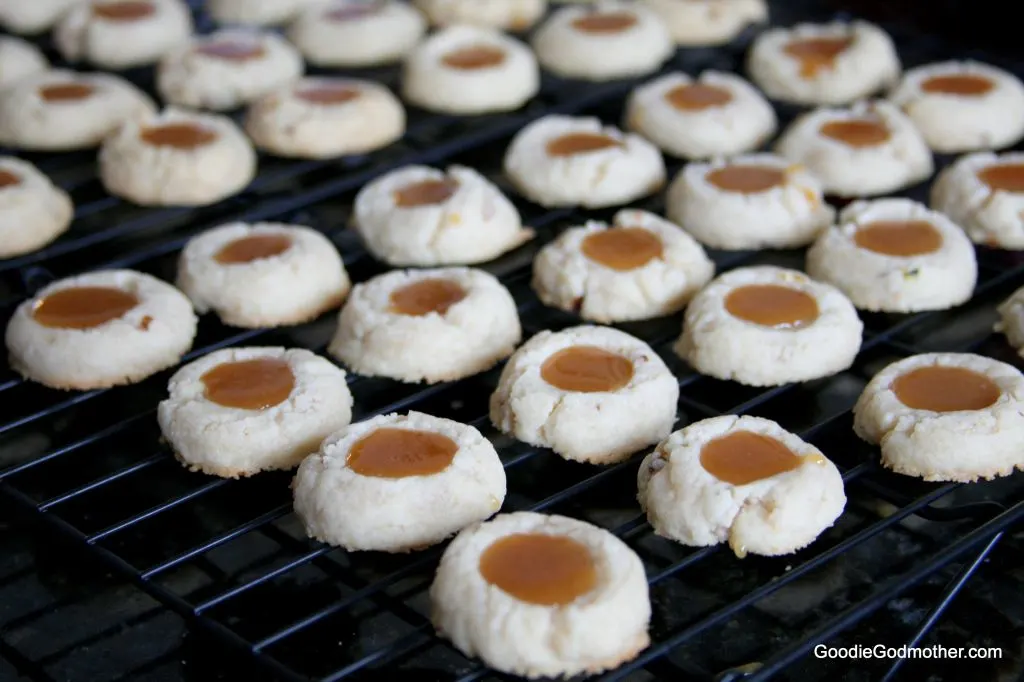
- Using a spoon (the mixture is too hot for a piping bag), spoon the caramel into the cookie wells and allow to set.
- You will have extra caramel, so pour it into a 6" square container lined with buttered parchment paper. Once that sets you have "bonus" caramel candies!
- Once the caramel in the cookies has set, add the finishing touches... Melt the chocolate according the package instructions in a microwave or double boiler. Spoon into a piping bag or freezer-weight plastic bag and snip the corner.
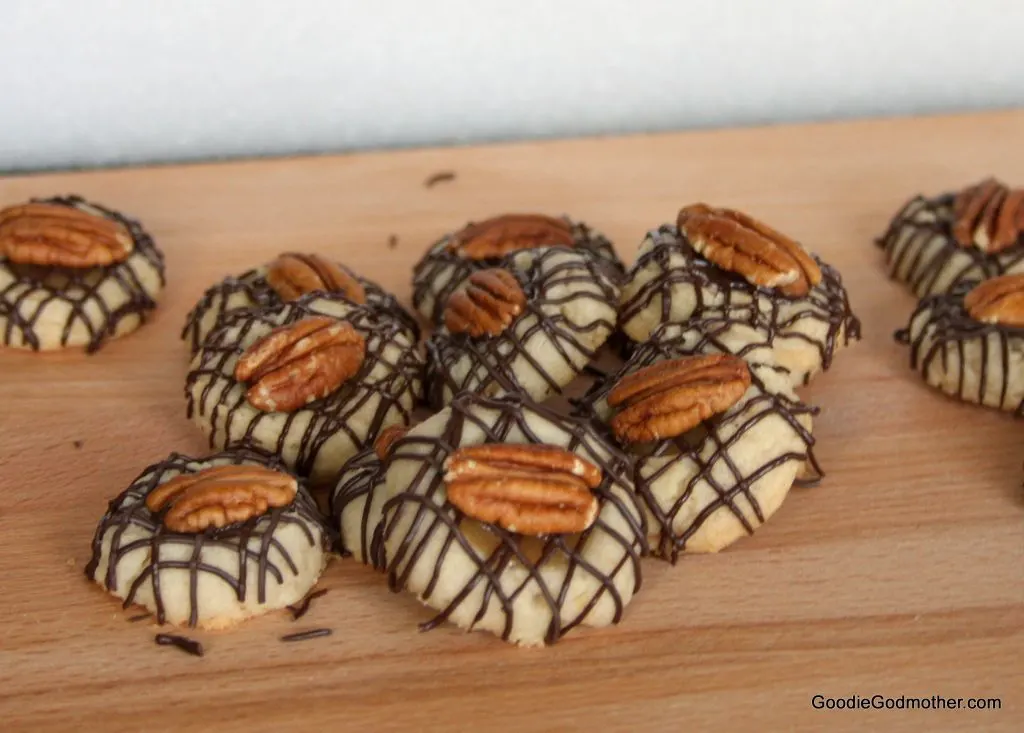
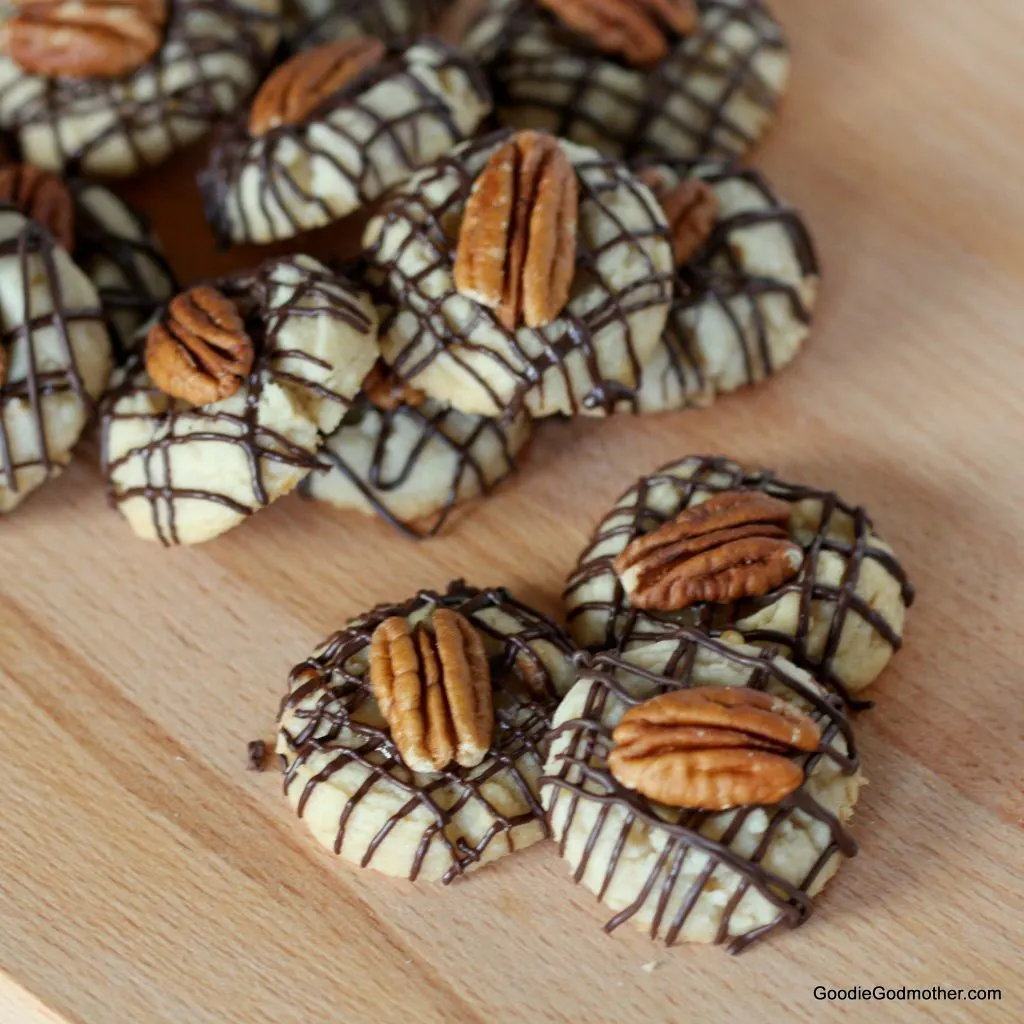
- Drizzle the chocolate over the cookies and top with a pecan half before the chocolate has set. If the chocolate sets, pipe a dot of chocolate in the center of each cookie to act as "glue"
- The cookies will keep in an airtight container up to two weeks.


Sarah E
Monday 15th of December 2014
A dozen of these magical treats was NOT ENOUGH!!! I am so excited to get this recipe because we will have to make them soon. They lasted, maybe, an hour...and that's with a husband who claims to not like sweets :) Thank you so much for sending them our way - we loved them!
TheGodmother
Tuesday 16th of December 2014
I'm so glad you enjoyed them! Thankfully the recipe makes a little more than a dozen LOL, so they should last at least 5.5 hours. ;)