

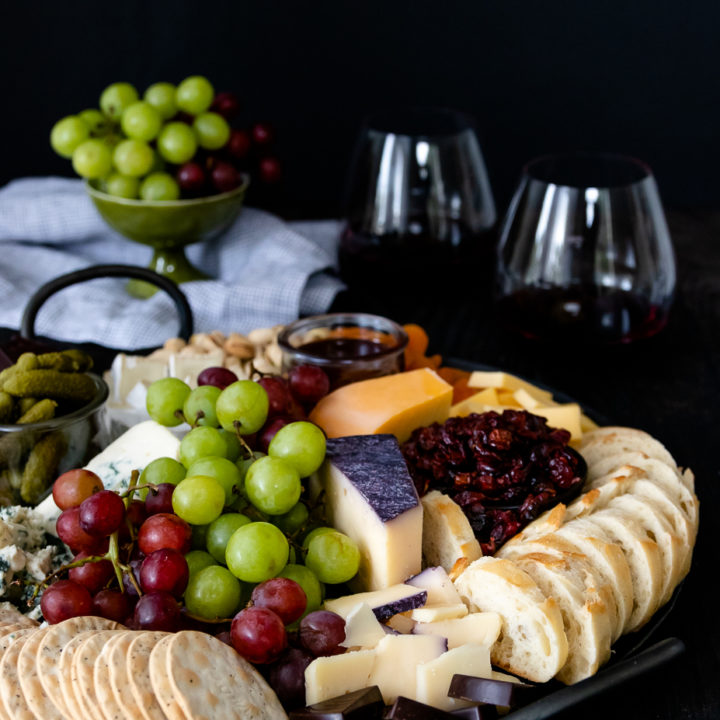
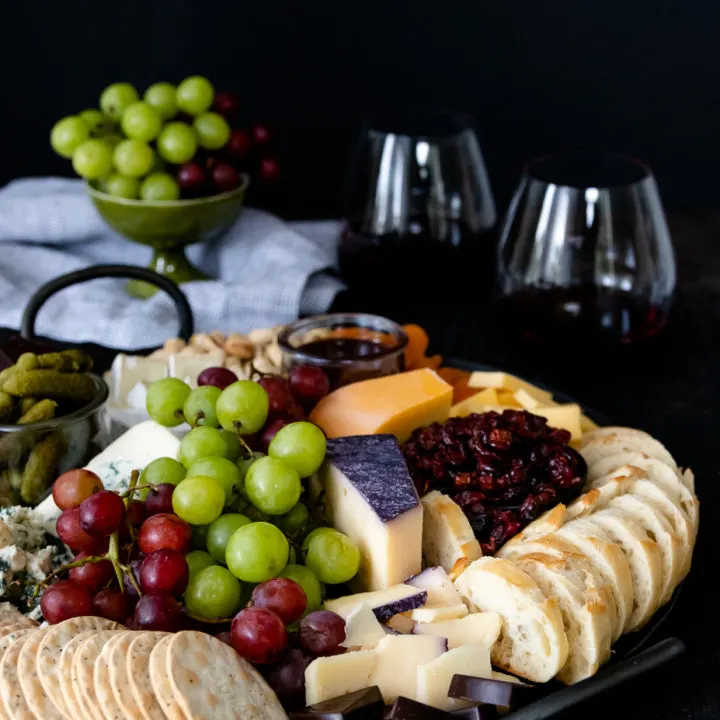
Learn how to assemble the ultimate cheese board without blowing your party budget! You’ll get all the tips and tricks you need to put together the perfect cheese board for any size party. Watch the video on this page to see how easy it is to put together!

Let’s talk about cheese boards, darlings. When it comes to entertaining, no matter what season, cheese and charcuterie boards are an easy party menu staple. But assembling the ultimate cheese board is about more than just unwrapping a few blocks of cheese and calling it a day. That doesn’t mean that it’s complicated, or that your cheese board has to be stuffy or pretentious! But knowing how to choose the right cheeses and sides makes a big difference. Keep reading for all the cheese board tips you’ll need, and don’t forget to check out the (totally unscripted… as always) video.
How many people will your cheese board feed?
Knowing how many people you want to feed with your cheese board, as well as where it falls on the menu is probably the most important thing you’ll need to establish. Why? Because that tells you how many cheeses you’ll need.
Making a cheese board for one? Stick to 1 to 2 cheeses and all the fun accouterments. Make it look gorgeous! Treat yo’self.
Honestly, you can get away with 1-2 cheeses for small groups too – up to about 4. You’ll just need more of each cheese. Once you have at least 4 people, you can add a third cheese. Three cheeses make a great variety, for small to medium parties.

If you have a lot of cheese lovers, go for 4 cheeses! Choose one per category and you’ll have a gorgeous board for everyone. If you’re having a BIG party with lots of cheese lovers, go for 5 cheeses. You don’t have to, and only choose this option if you have a lot of people and get indecisive at the cheese counter.
Also keep in mind where your cheese board fits into your menu. Is it an easy appetizer to be served before a main meal? Don’t make it so big your guests fill up on cheese. An ounce to an ounce and a half of cheese per person is fine. This also applies if your cheese board is served after a meal as dessert.
Is your cheese board a feature item as part of a grazing table or heavy finger foods menu without a main course? Add substantial sides like sliced baguette and make sure to plan on 2 ounces of cheese (total) per person. You don’t want anyone to go hungry! And just in case you’re trying to do the math… there are 16 ounces in a pound, so each pound of cheese will serve between 8-12(ish) people depending on the situation.
What kind of cheeses do I put on my ultimate cheese board?
Start by considering what you like, then go from there. There isn’t a hard and fast rule regarding the exact variety of cheese. The general “rule” is to provide variety in textures and choose from the following categories:
- A hard cheese – think something like Parmesan, an aged manchego, Pecorino Romano, etc
- A soft cheese – brie, Camembert, Port Salut, fresh mozzarella, goat cheese, etc
- A semi-soft or semi-hard – Gouda, cheddar, Swiss, Havarti, etc
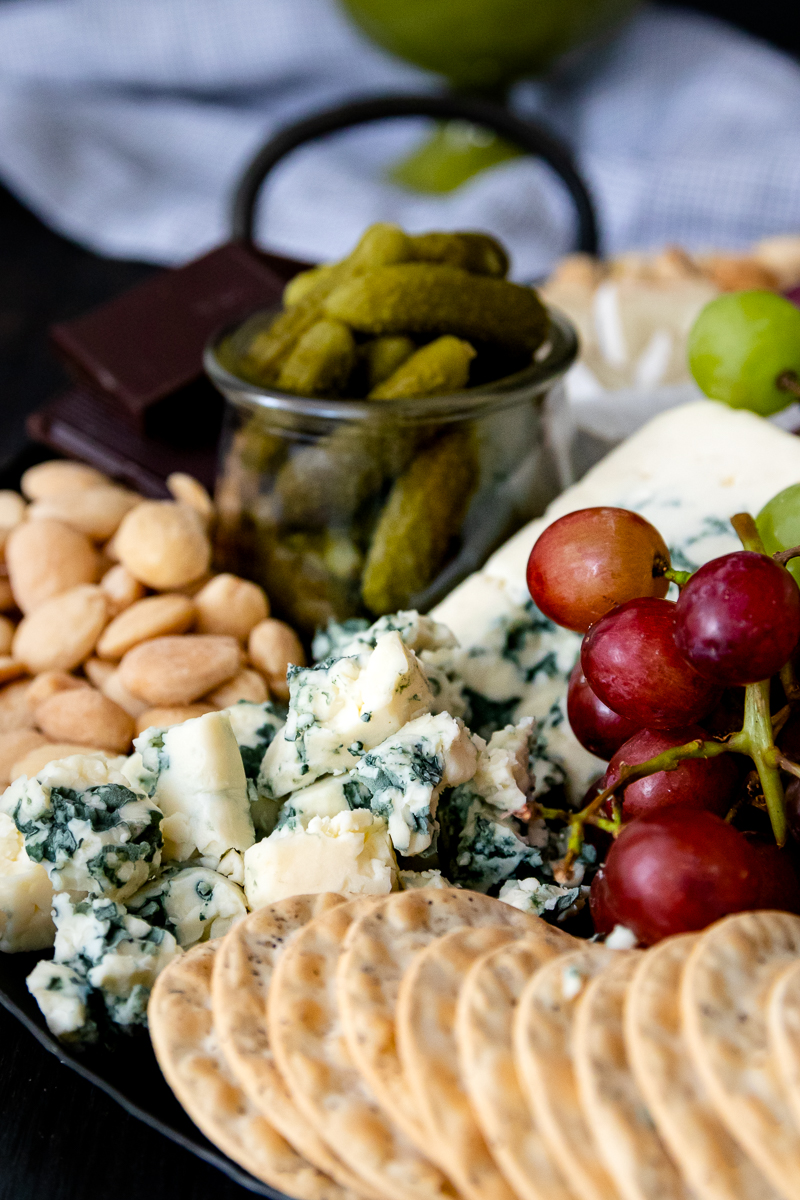
- A crumbling cheese – blue cheese, gorgonzola, feta, etc
For a single lady cheese board (or single guy), pick one from one or two categories, and you’re set. If you’re preparing your cheese board for a party, start with a hard and a soft for small gatherings. Then add a semi-soft and finally a crumbling cheese.

In my experience, the hard, soft, and medium textured cheeses are more familiar to guests and tend to disappear first. That’s why I start with those, and then add the crumbling only if I have enough people coming. You know your people best, pick what you like.
If you want to get really into a theme with this, you could select all the cheeses from a particular country, and then choose sides along those lines. I wouldn’t recommend doing something like “all goat’s milk” cheeses, unless you know that’s something your guests would enjoy. Cheese preferences can be very personal, and a good host(ess) makes sure to try and find something that works for most in the group.
What goes on a cheese board besides cheese?
Let me start by saying, that if you want to put out just cheese and keep it a minimalist cheese board, go for it! But I’m guessing you’re here because you want that lush and full social media-worthy cheese board. So let’s talk about the fillers that go on a cheese board.

Just like your cheeses, you’ll want to choose from categories. Your categories provide a loose framework and personal preference dictates from there. The categories are:
- Crunchy – nuts, crackers, pretzel thins
- Juicy – fresh fruits like grapes
- Tart – fruits like some apple varieties, spreads like mustard
- Sweet – sweet dried fruit, chocolate, honey, jam, or apple butter
You don’t need a lot depending on the size of your serving plate. Choose items that pair well with your cheeses. Just make sure that you either have a serving utensil for each, or that your sides can be easily picked up.
Any final tips for easy cheese board assembly?
Now you’ve assembled your cheeses, picked your sides, and it’s time to put this all together! Use what you have, even a baking sheet can be a base for a cheese board in a pinch! Small containers are great to keep presentation interesting – they don’t even have to match!
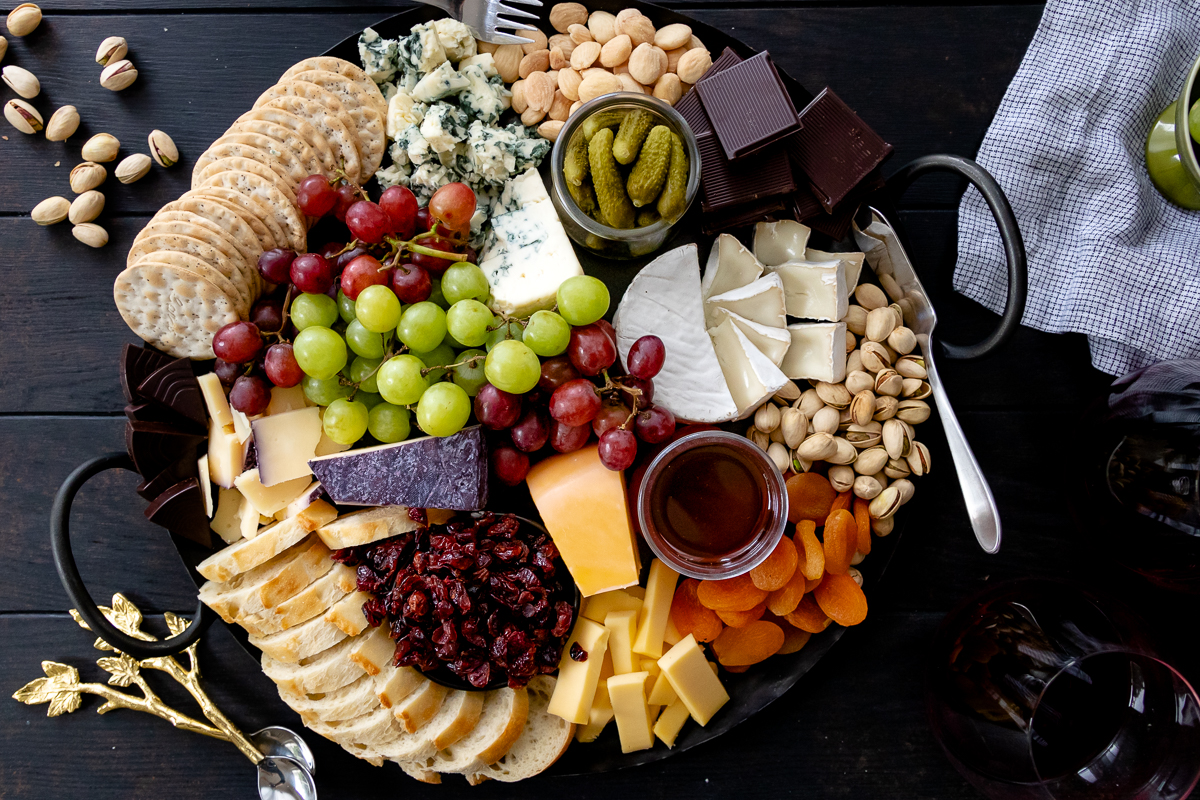
As far as the technical bits of assembly, there are a few things to keep in mind. Pre-slice the cheeses to make it easier for your guests and keep your cheese board looking nice throughout the party. Please don’t let the cheeses touch to prevent unwanted flavor blending. If you are serving fresh fruit, make sure that it’s cut into manageable pieces.
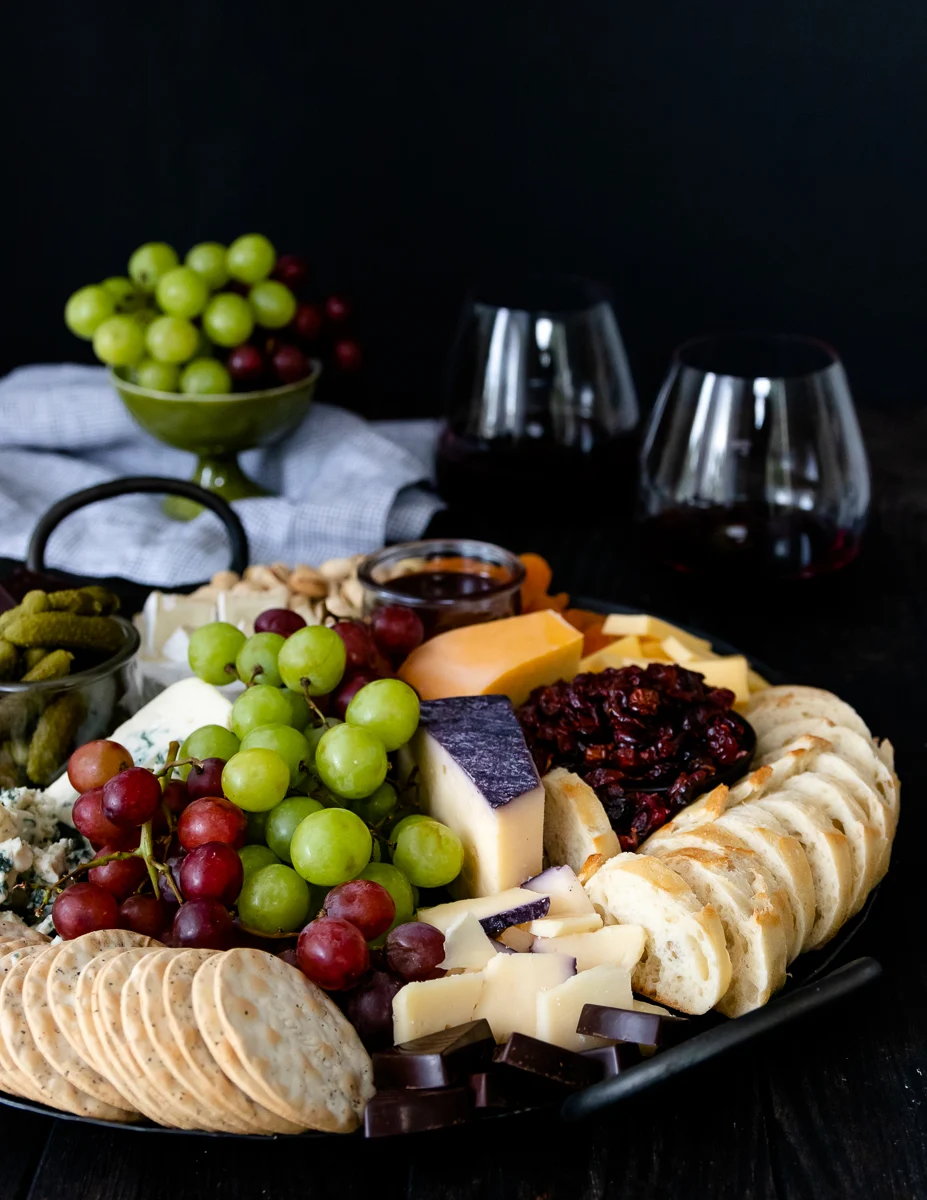
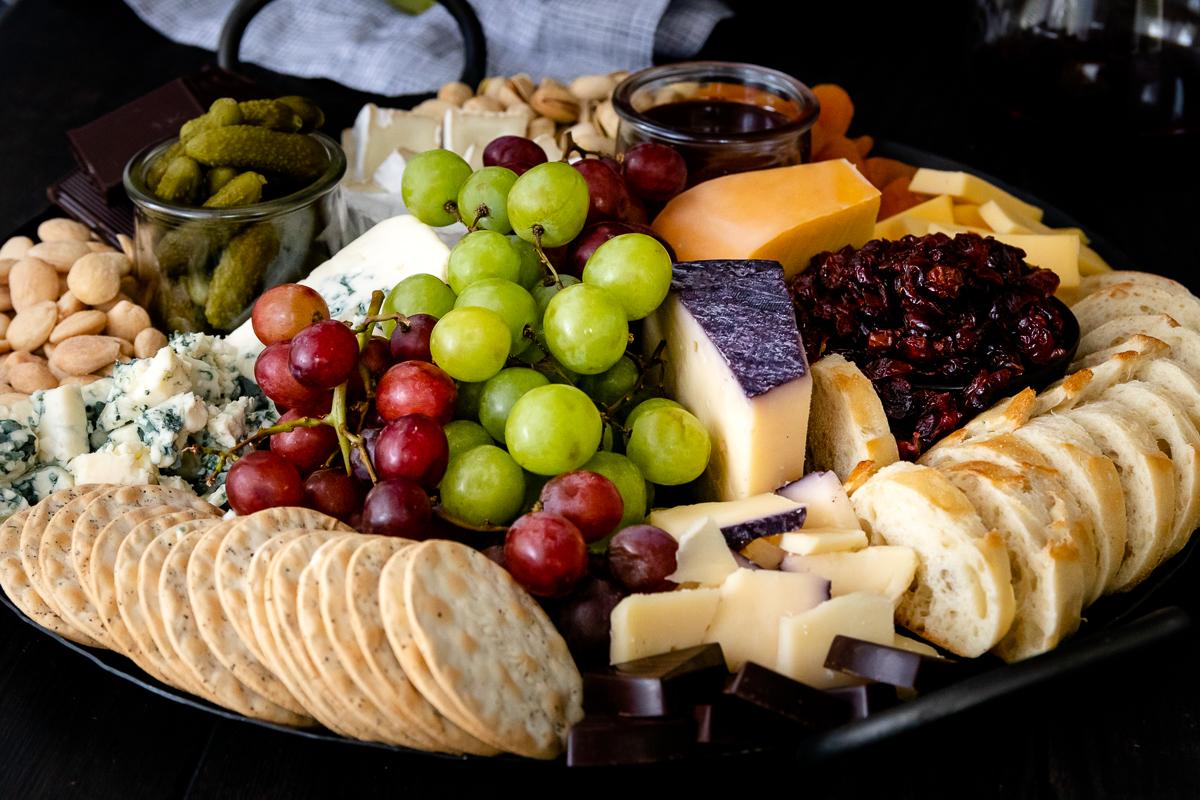
For a stunning visual presentation, aim for maximum texture variation. Different colors and textures around the board look great. And if some of your small dishes give you the opportunity to add a little height, even better. The less empty space on your board, the more inviting it looks. No one ever wants to grab the last piece of anything for some reason, but they don’t mind grabbing bits off a very full platter.

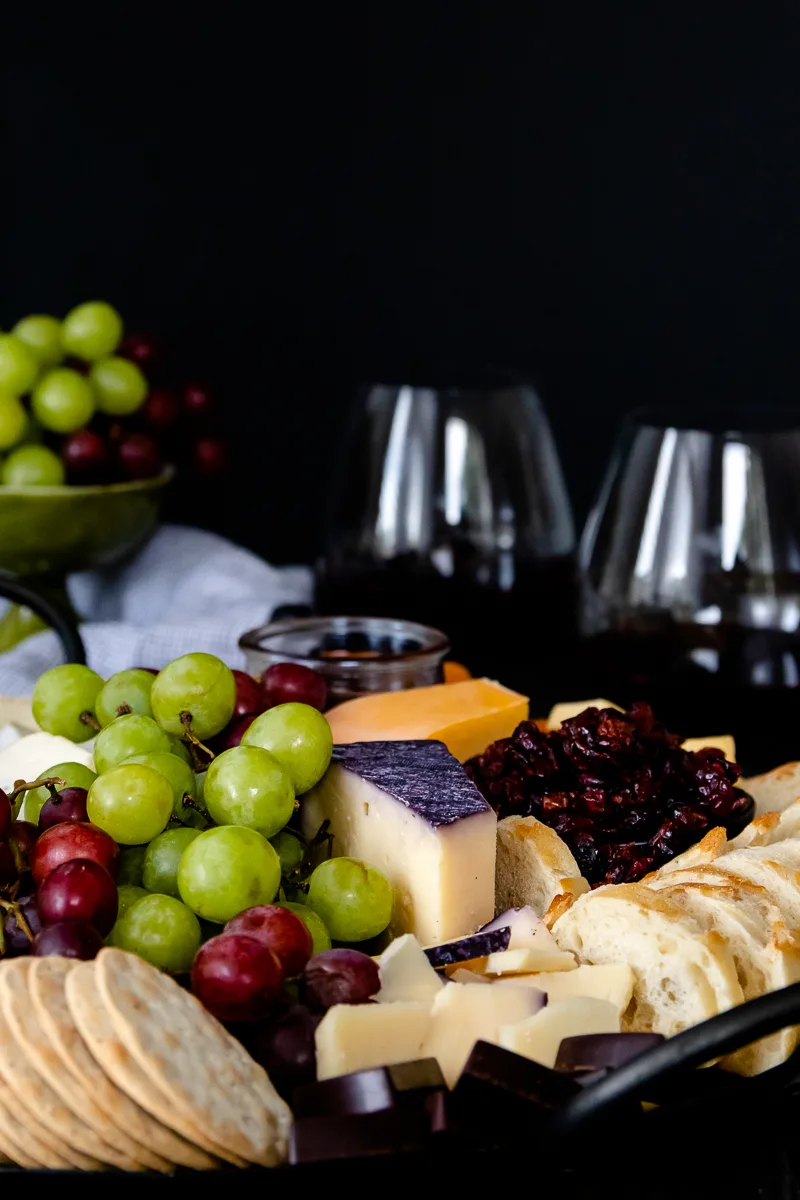
Pair your cheese board with your favorite beverage, and enjoy! I hope you enjoyed this guide on how to assemble the ultimate cheese board!
And if you’d just prefer to have someone talk you through all of this, I made you a video will all the information! It’s a long one – about the length of a cooking show – so play it while you’re making dinner or relaxing.
How to Create the Ultimate Cheese Board
Learn how to assemble the ultimate cheese board without blowing your party budget! You'll get all the tips and tricks you need to put together the perfect cheese board for any size party. Watch the video to see how easy it is to put together!
Materials
- 1 serving platter or tray
- assorted small containers (optional)
- 1-5 assorted cheeses
- fruit - dried and/or fresh
- nuts - if there are no allergies
- crackers or sliced baguette
- spreads - jam, honey, mustard, etc
- chocolate
Tools
- sharp knife or cheese slicer
Instructions
- Gather your cheeses and other cheese board items. Again, there is no right or wrong when it comes to your cheese selection! Start with a soft and a hard, and choose cheeses you like that fit your budget and style.
- Arrange the cheeses on the board while cold. Pre-slice into 1-2 bite wedges or slices. Don't slice too thin though! The goal is for a piece of cheese paired with fruit or a cracker to be a 1-2 bite treat.
- Fill in remaining space on the board with your fruit, nuts, crackers, etc. Use small containers to provide visual interest, keep texture and colors varied on the board.
- Set out 30 minutes in advance of your event so the cheeses come to temperature. Be sure to have small spoons, spreaders, and picks on the board to allow guests to serve themselves without mixing flavors on the tray.
Notes
- Slicing the cheese while cold is cleanest. Pre-sliced cheese is easier for guests to eat, especially when the slices are small enough for layering. Just make sure to set the cheese board out with enough time for the cheese to soften.
- If you are using grapes as your fresh fruit, cut the bunches small, no more than maybe 4 grapes each.
- Fruits that tend to brown, like fresh apples, should be tossed in a bit of salt water or lemon juice before placing on the tray.
- Instead of purchasing specialty crackers, you'll get the most bang for your buck out of a baguette sliced thin. If you'd like, drizzle the slices with olive oil and bake at 350 F for 5-10 minutes until toasted.
Recommended Products
As an Amazon Associate and member of other affiliate programs, I earn from qualifying purchases.
-

 Hand Blown Crystal Wine Glasses - Bella Vino Classy Red/White Wine Glass Made from 100% Lead-Free Premium Crystal Glass, 16 Oz, 9", Perfect for Any Occasion, Great Gift, Set of 2, Clear
 -
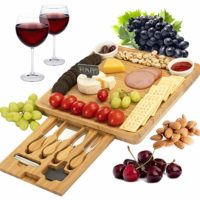
 CTFT Cheese Board and Knife Set Bamboo Charcuterie Platter & Serving Tray for Cheese,Wine, Crackers, Brie and Meat
 -

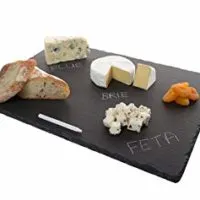 4 Sizes to Choose: Large Stone Age Slate cheese boards (12"x16" Serving Platter) with Soap Stone Chalk