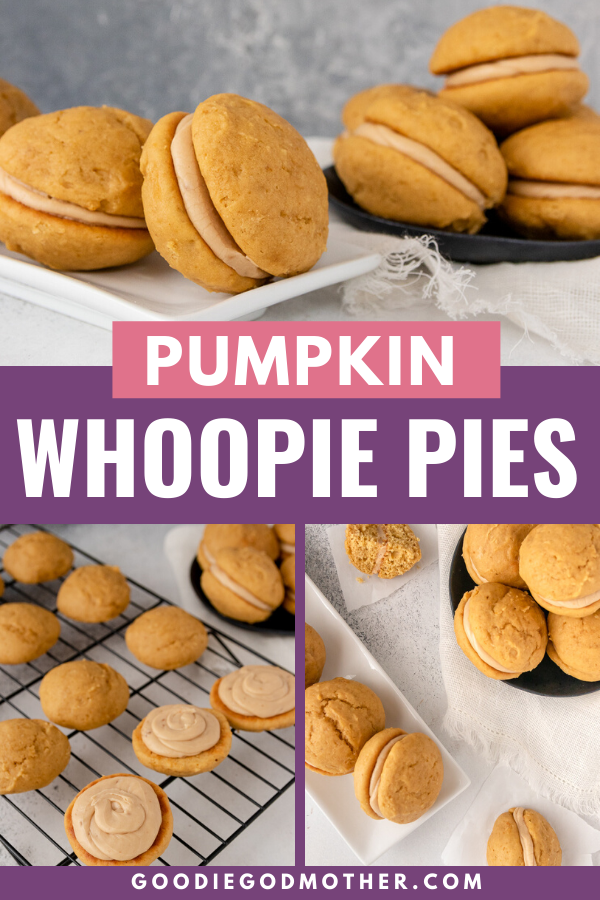


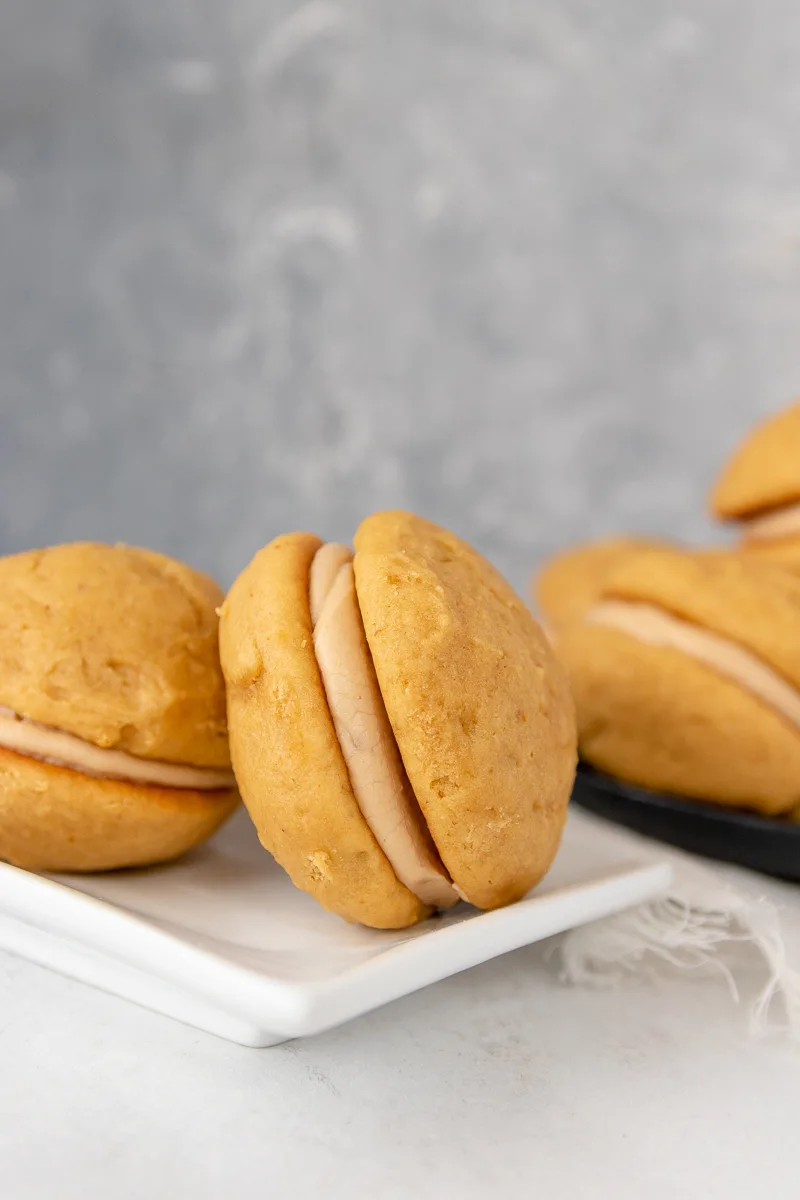
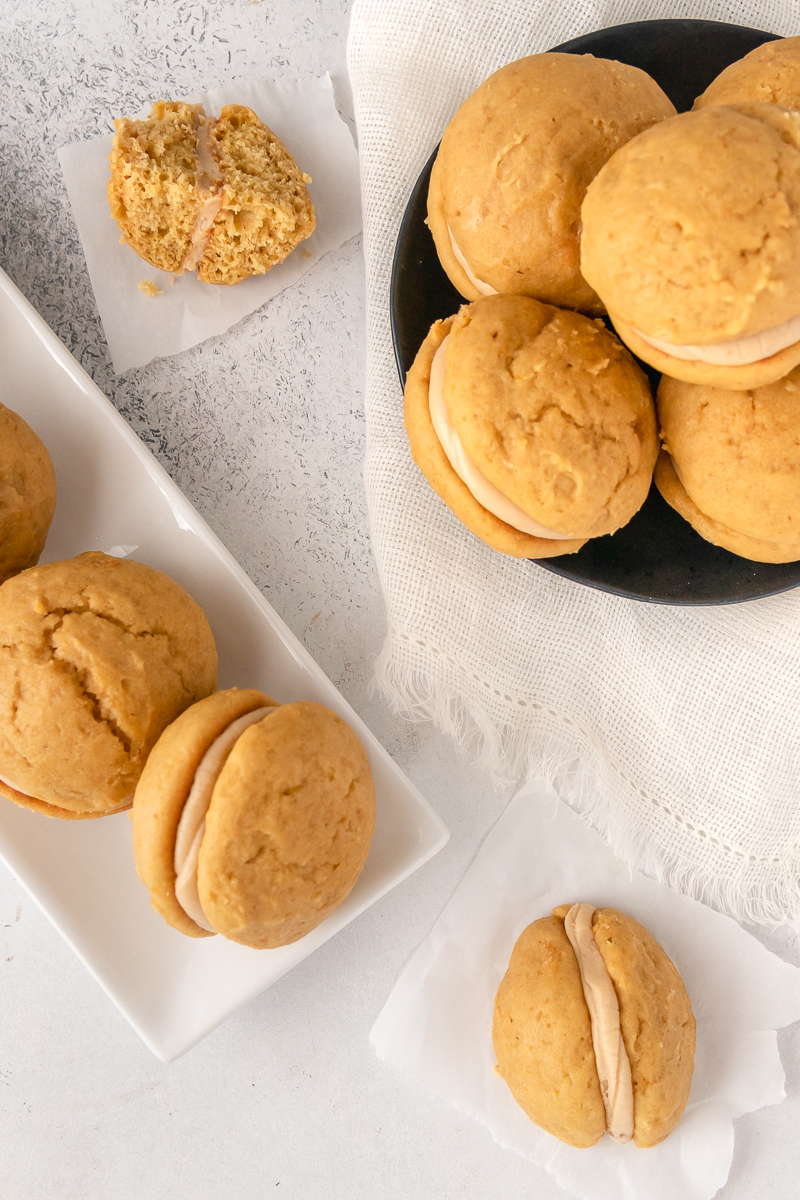
Cake meets sandwich cookie in these cute pumpkin whoopie pies with butterscotch frosting! This whoopie pies recipe from scratch is easy to make, and absolutely delicious.

Darlings, if you haven’t had a pumpkin whoopie pie yet this fall, things must change. These are definitely a pumpkin cookie worth adding to your fall baking list. Easier than a layer cake, these pumpkin whoopie pies are like 2 desserts in one. They’re basically a cake with the same ease of transportation as a cookie. Win win all around.
What are whoopie pies?
Whoopie pies originated somewhere in New England (the Northeastern United States) and are most closely identified with the Amish of Pennsylvania and the state of Maine. In fact, the Amish lay claim to the name. It’s said that if Amish children found one of these delicious sandwich cookies in their lunch, they’d shout “whoopie!”
The most common whoopie pie recipe is chocolate, but obviously there are variations, like these pumpkin whoopie pies. The pies are actually more like a cake, because they were originally made from extra cake batter. Instead of throwing out perfectly good cake batter that didn’t fit into the cake pans, bake something new! How fabulous is that? Bonus dessert, no food waste, everyone is happy.
So think of whoopie pies like a cookie sandwich for cake lovers. But because we don’t want to bake a cake and hope there’s extra batter (there isn’t), we’ll just make this whoopie pie recipe instead.
Aren’t whoopie pies big?
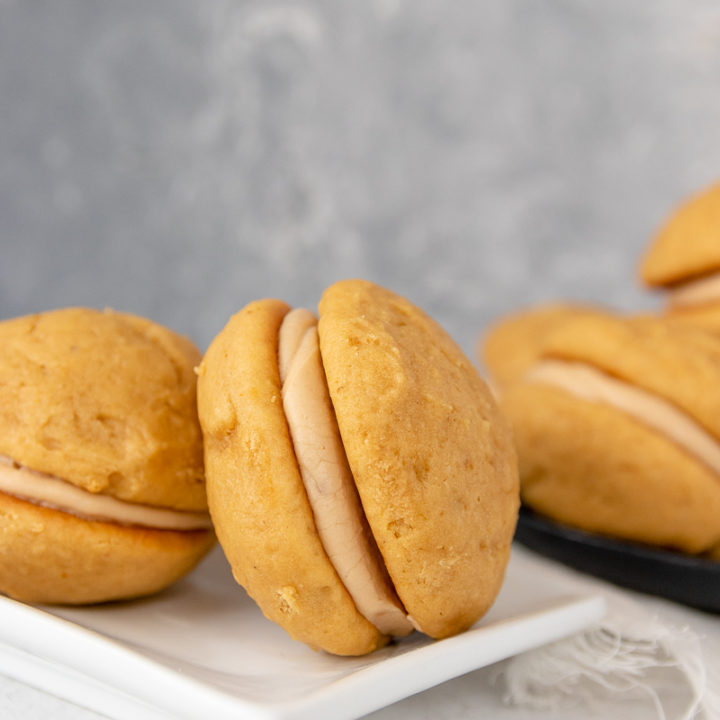
Yes. The typical size for a “standard” whoopie pie is about the same as a commercial hamburger bun. Big whoopie pies are perfect for sharing, but I wanted to make something a little more portable. These mini whoopie pies worked really well.
I plan to default to this mini size for my pumpkin whoopie pies because it’s just easier. I also like having more cookies to share. And if I do choose to put them on a holiday cookie tray, no one has to worry about cutting the cookie in half.


Side Note PSA: It is perfectly acceptable to put pumpkin cookies on a cookie tray, even during the Christmas season. Pumpkin is appropriate outside of the September-November time frame, because a can of puree means it’s always in season. 😉
A few baking tips…
When you are making the cookies, you’ll want to not think about them as cookies. You’ll notice that the method used for mixing the batter is the same one you’d use for cake. So think of making a cake batter – a very thick one – and then scooping it out onto a sheet pan for baking.

Because it’s like a cake batter you’ll want to make sure you don’t over mix your ingredients to prevent over working the gluten. And you must bake the batter as soon as you mix it. Unlike cookie dough, which can rest in the fridge up to a day or two or be frozen unbaked, whoopie pie cookies cannot. You must bake immediately.
That being said, you can freeze assembled whoopie pies for later if you must. You’d freeze them as you would cake. Individually wrapped in plastic wrap and then in a freezer bag. You don’t have to double wrap since they’re small enough to fit into a bag in the freezer.
The cookies are actually also best the day after they’re made. Similar to macarons, the cookie portion softens a bit into the filling and the texture is slightly better the next day. It didn’t stop anyone in this house from eating a cookie immediately, but if you can wait a few hours, they’re even better.
Let’s talk butterscotch frosting for a minute…
Part of me hopes you clicked over because you were surprised to see a pumpkin dessert with neither pumpkin spice in the title, or cream cheese. No offense to either, because obviously I have both on this site, but still. The butterscotch frosting is something different, and it’s such a perfect fit here!
Butterscotch frosting is a cooked frosting, kind of like caramel frosting, but not really. Don’t let that scare you away! This is really easy to make, and the resulting frosting is AMAZING. It’s probably going to score its own post soon and end up on a chocolate cake or something. Right now I’m just trying not to let this season pass without posting all the recipes I’ve made and promised and not gotten to yet. Insert something about working mom life (aka – any mom life) here and you know what I mean.

What makes this butterscotch frosting the best butterscotch frosting recipe I’ve tried is a very simple tweak. Salt. Salt is a very powerful ingredient in desserts, darlings. A little goes a long way in providing depth of flavor. Without the salt, this butterscotch frosting could come off as cloying or too sweet, but with it, it’s perfect!


I hope you enjoy this pumpkin whoopie pies recipe, darlings!

Pumpkin Whoopie Pies with Butterscotch Frosting
Cake meets sandwich cookie in these cute pumpkin whoopie pies with butterscotch frosting! This whoopie pies recipe from scratch is easy to make, and absolutely delicious.
Ingredients
Pumpkin Whoopie Pie Cookies
- 1 cup brown sugar, lightly packed
- 4 tablespoons unsalted butter, softened
- 1/3 cup pumpkin puree
- 1 large egg
- 2 1/4 cups all purpose flour
- 1 teaspoon baking powder
- 1 teaspoon kosher salt
- 1/2 teaspoon baking soda
- 3/4 cup buttermilk
- 1 teaspoon vanilla extract
Butterscotch Frosting
- 1/4 cup unsalted butter
- 1/3 cup packed brown sugar (light or dark)
- 1/4 cup heavy cream
- 1 1/2 cups sifted powdered sugar
- 1/2 teaspoon salt
- 1/2 teaspoon vanilla extract
Instructions
Bake the Cookies:
- Preheat your oven to 350 F. Line 2 baking sheets with parchment paper, and set aside.
- In a large mixing bowl using a hand mixer, or the bowl of a stand mixer fitted with the paddle attachment, cream together the butter and brown sugar until light and fluffy. Scrape the sides of the bowl
- Stir in the egg and pumpkin puree.
- In another bowl, sift together the flour, salt, baking powder, and baking soda.
- Add the vanilla to the buttermilk.
- Add 1/3 of the flour to the pumpkin mixture, stir to combine. Stir in 1/2 the buttermilk and vanilla, Repeat, then add the final 1/3 of the flour and mix until just combined.
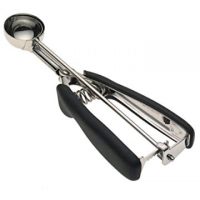
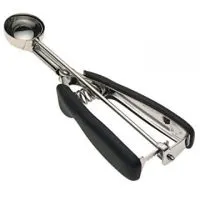
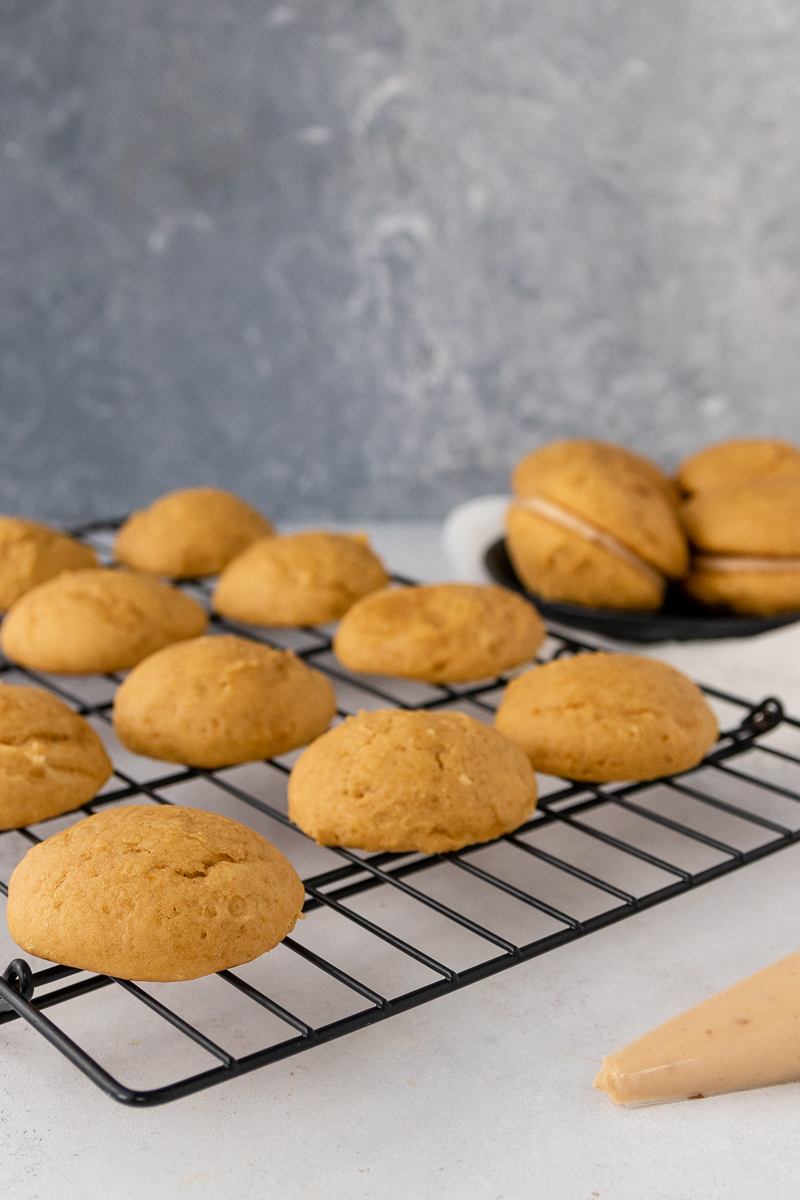
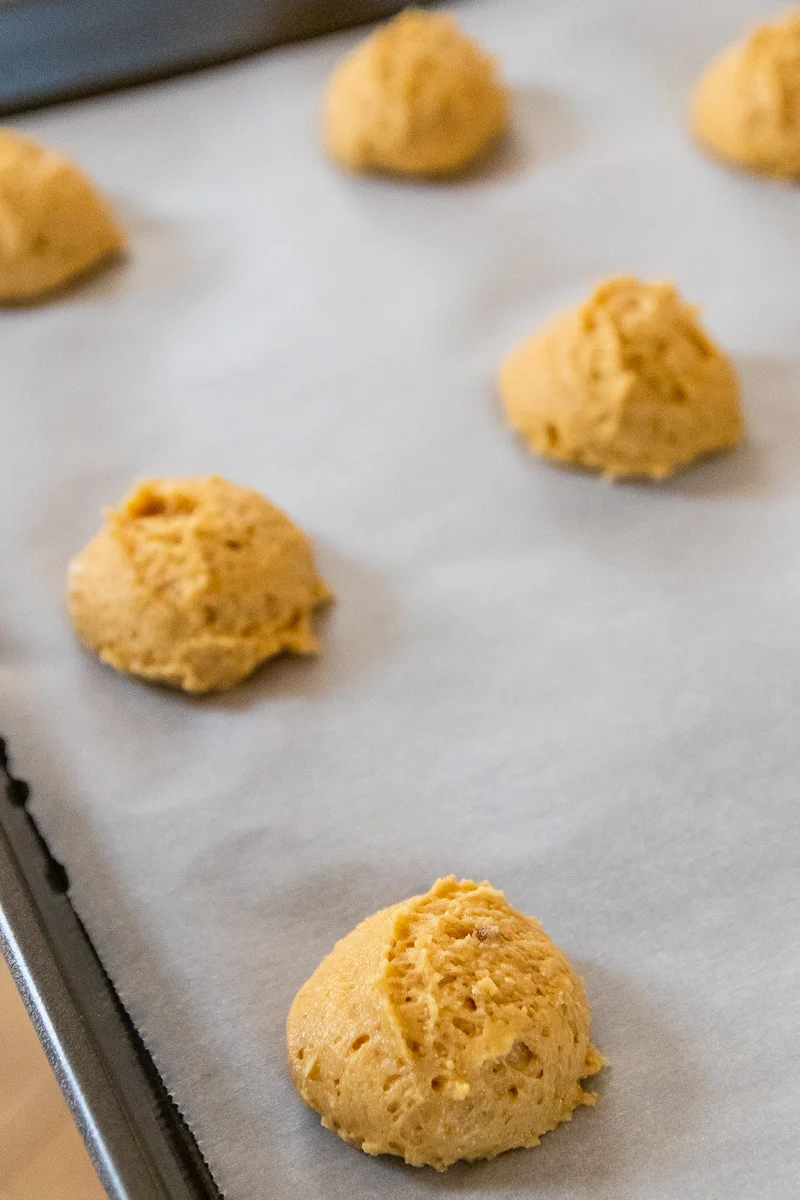
- To make mini pies (as pictured), use a small cookie scoop (about a tablespoon) to scoop out the dough between the 2 baking sheets. Leave 2 inches of space between each scoop.
- Bake the cookies for 10-13 minutes until the tops look puffy and spring back when touched. Rotate the pans halfway through baking.
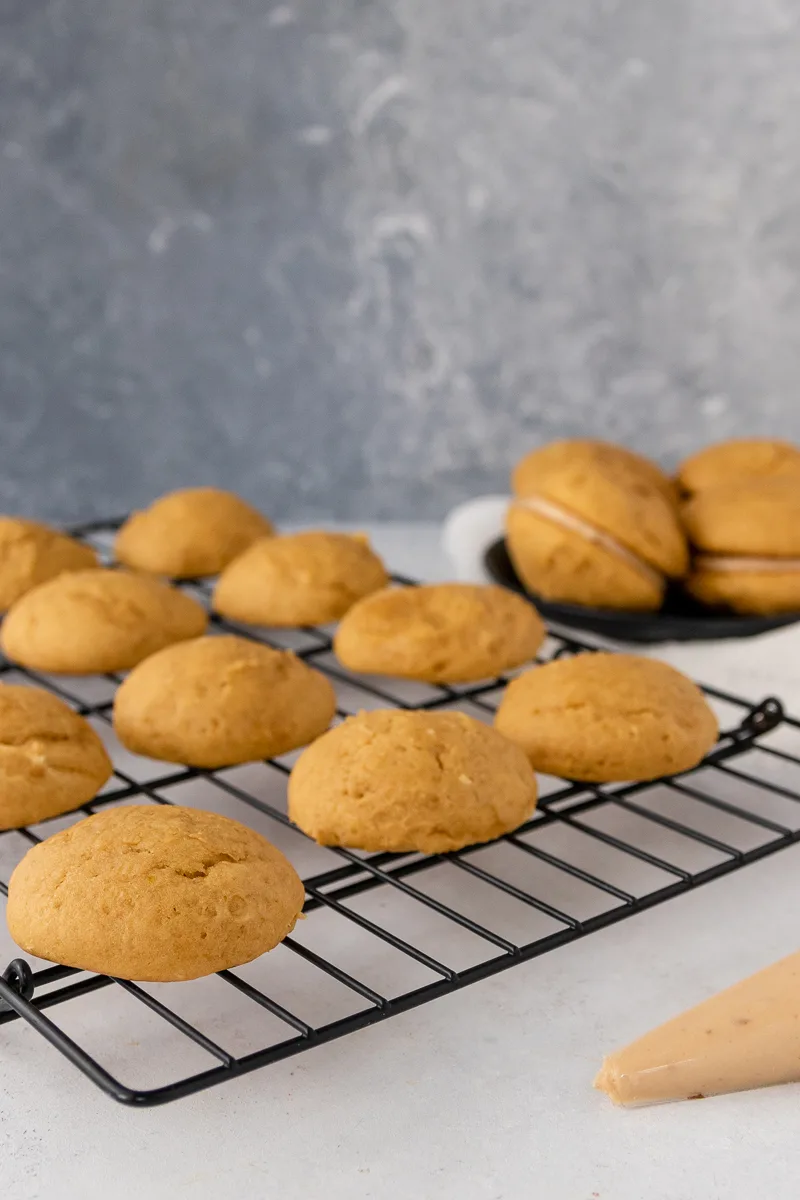
- Let the cakes settle on the pan for a few minutes before transferring to a rack to cool completely. Make the frosting while the cookies are cooling.
How to make Butterscotch Frosting from scratch:
- Melt the butter in a heavy bottomed medium saucepan over medium low heat.
- Add the brown sugar and stir until dissolved, about 2-3 minutes. Once the sugar begins to bubble, cook an additional 1-2 minutes. If you can make it to 2, great, but if the sugar smells like it's burning before 2 minutes, move to the next step immediately.
- Pour in the heavy cream and stir another 2 minutes until the mixture thickens slightly. It will look smooth and glossy. Remove the pan from the heat.
- Transfer the butterscotch mixture to the bowl of a stand mixer or a large heat proof mixing bowl. Allow to stand for 3-5 minutes, stirring occasionally.
- Using the paddle attachment on the stand mixer or a hand mixer (or by hand with a wooden spoon), mix in the salt, powdered sugar, and vanilla.
- If the frosting is a little thick, add more cream or milk, a teaspoon at a time, until smooth. Put into a piping bag or a freezer weight plastic bag to pipe into the cooled cookies.
- Finished cookies can be stored in an airtight container in the refrigerator up to a week or on the counter up to 3 days.
Recommended Products
As an Amazon Associate and member of other affiliate programs, I earn from qualifying purchases.