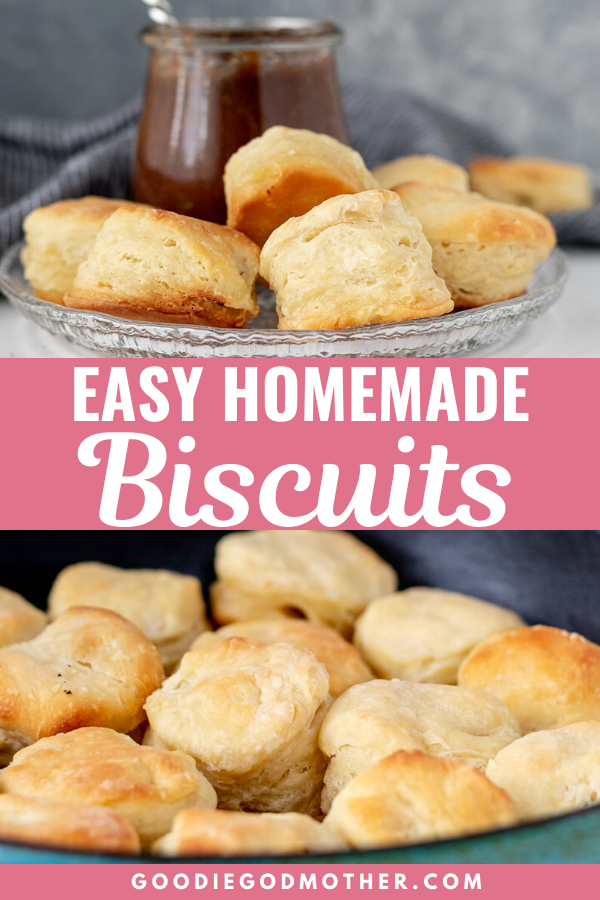


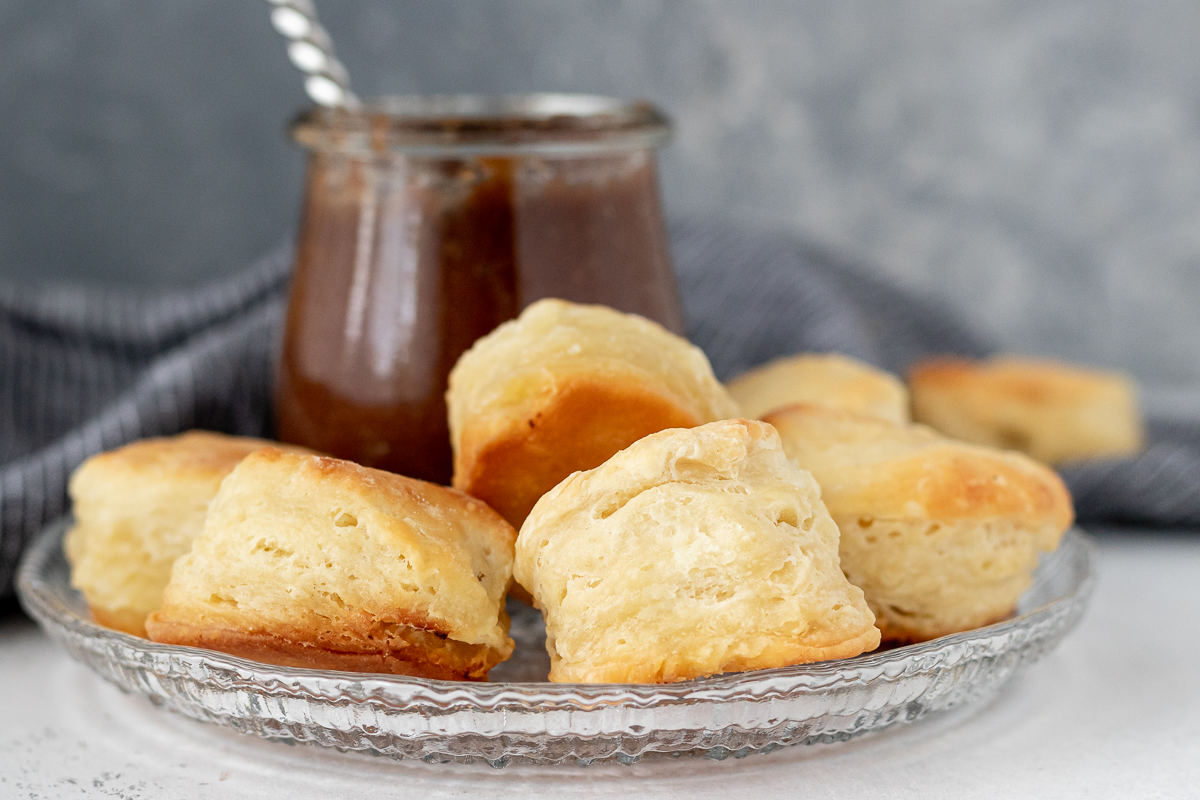
This easy homemade biscuits recipe makes flaky, flavorful biscuits from scratch in just minutes! You can even prep the dough up to 5 days in advance and bake fresh when needed.

Y’all, these biscuits are the BEST from scratch biscuits for busy bakers. Do you know why? The dough is made, IN ADVANCE. And I’m not talking about cutting, shaping, and freezing biscuits for baking later. I mean you mix dough, toss it in the fridge, and then you have 5 days to get around to baking. When it comes to baking bread for a big holiday meal, this is the only biscuit recipe you’ll need.
I first came across the idea of a yeast biscuit recipe a few years ago. It seemed fussy, and I already had a good Southern biscuit recipe. But it kept coming up, and when I finally tried making yeast biscuits, also called angel biscuits, I was sold! Not fussy at all, this is the only biscuit recipe I’ve made the past few months because it’s so easy.

With just 15ish minutes, you can prep the biscuit dough, totally from scratch. Then a refrigerator rest – anywhere from 2 hours to 5 days – gives the dough a chance to proof. When you’re ready to bake, you preheat your oven while you roll out the dough, and voila! Flaky, buttery biscuits on demand.
While the minimum proof time means that you have to plan ahead a bit, that can be more convenient. If you need biscuits in a pinch, use this recipe. Those are also better to stock your freezer for baking from frozen.
Are these easy homemade biscuits flaky?
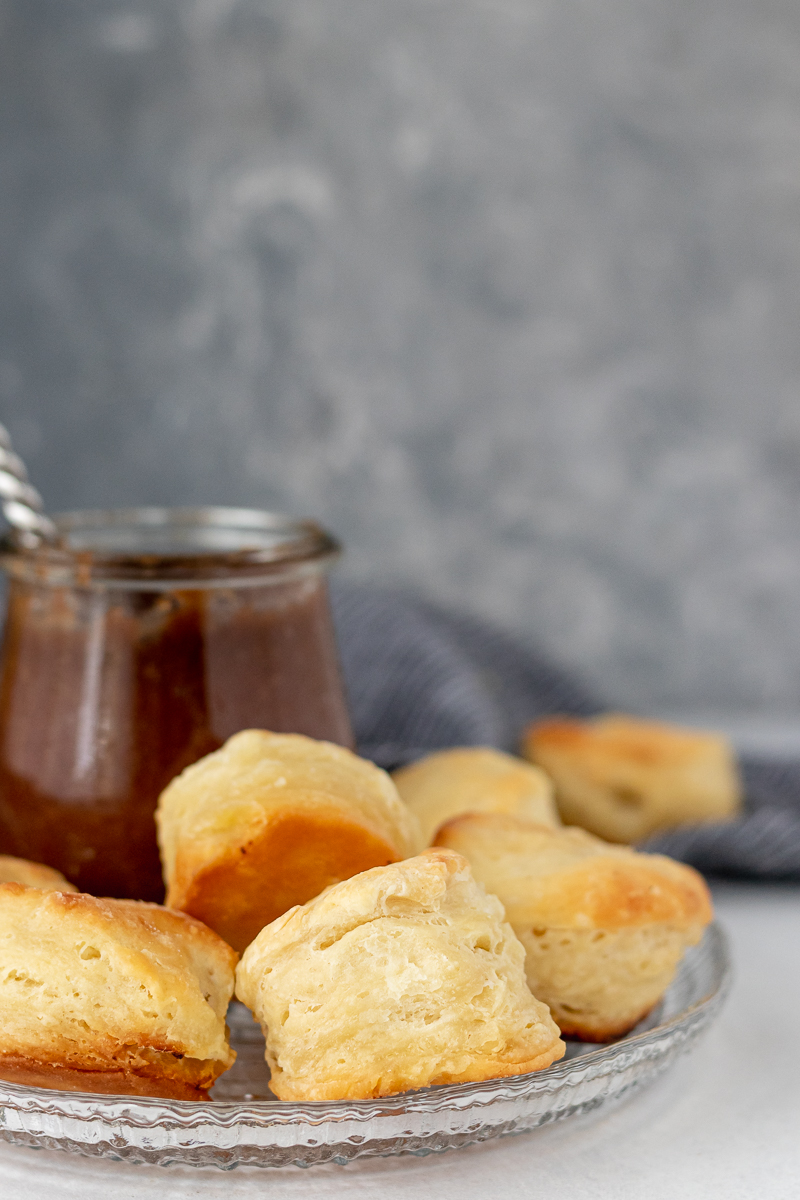
This was actually one of my biggest concerns about a make ahead biscuit dough. If there’s one thing I don’t do well with, it’s a biscuit without layers. In fact, there’s a local restaurant here that claims to have “amazing” biscuits, but they’re more bread with little flake and I just can’t. This biscuit recipe gives you flake.

I baked on day 1 after a few hours, then batches on days 2 through 5 for testing. All turned out pretty equally delicious. I didn’t test beyond 5 days, but do feel there would be a decrease in quality if you tried to wait that long between mixing and baking. At that point it’s better to bake, freeze the baked biscuits, and reheat as needed. Baked biscuits freeze well too.
Does the kind of buttermilk I use in the biscuits matter?
So this actually depends on your personal preference, but I would say yes. The best results are with a full fat buttermilk. I tested the recipe with a full fat buttermilk, a low fat buttermilk, and milk mixed with a bit of lemon juice. The order listed is my preferred order of use. The full fat buttermilk gives the most flavorful and tender biscuits. You need fat for flavor and structure.

Using a low fat buttermilk will still give you a lovely biscuit, but it won’t have quite the same fullness of flavor or plush texture. Close, but not exact. And in a pinch, mixing some milk with a little lemon juice and letting it sit for about 10 minutes works too. But if you can find full fat buttermilk, it does give you the best texture. Use the extra and bake a yellow cake or red velvet cake for dessert!
What kind of pan should I use for baking my easy homemade biscuits?
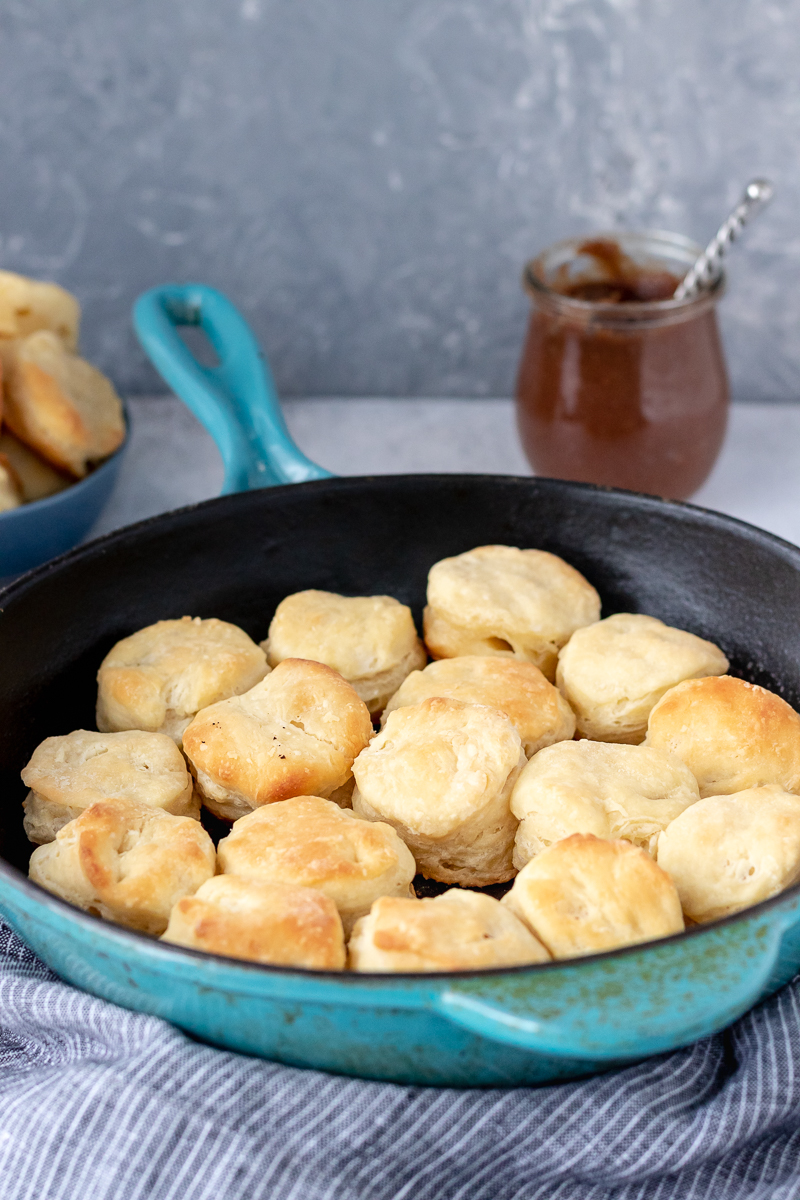
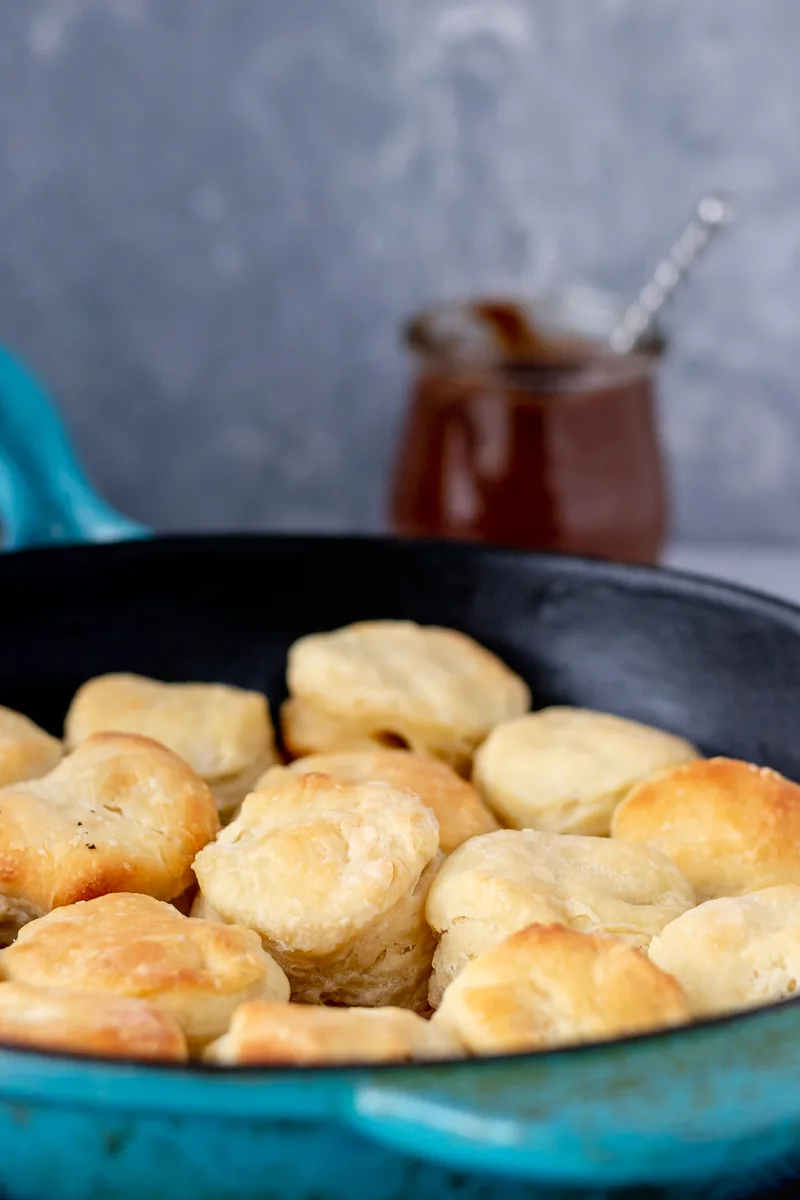
I like to use my cast iron skillet. I love the look, I think it seasons the skillet, and I like the golden crust formed at the bottom of each biscuit. But this is not for everyone. Chatting with some mama friends about biscuits – as one does – we started discussing preferences for the bottom. Most of us didn’t mind a bit of a deep golden crust, but a couple had kids complain. So I tested.
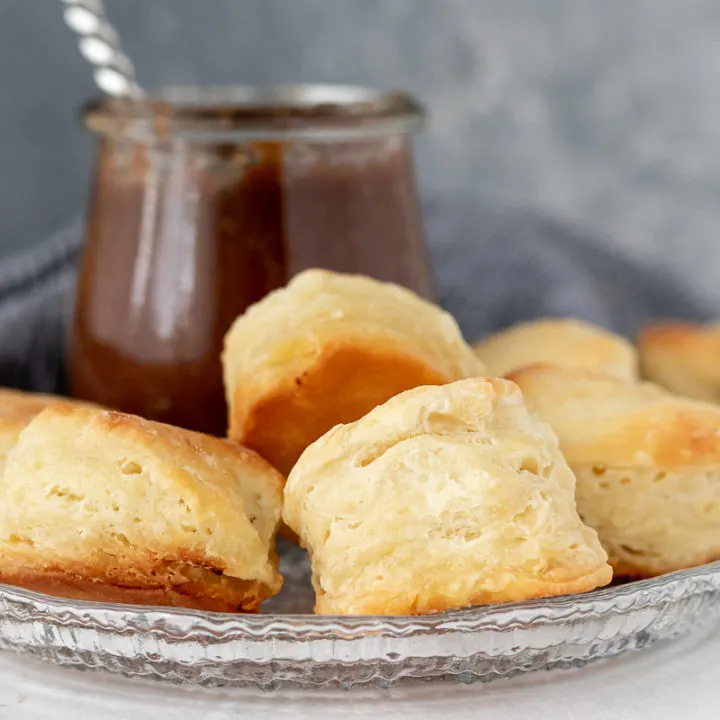
As long as you bake the biscuits in the top rack of the oven in a glass container, you’ll get minimal coloring at the bottom. I baked part of the biscuits in my cast iron skillet, and the other half in the glass container on the top rack of the oven. You can see the difference in the photo. The lighter biscuit is the one from the glass container.

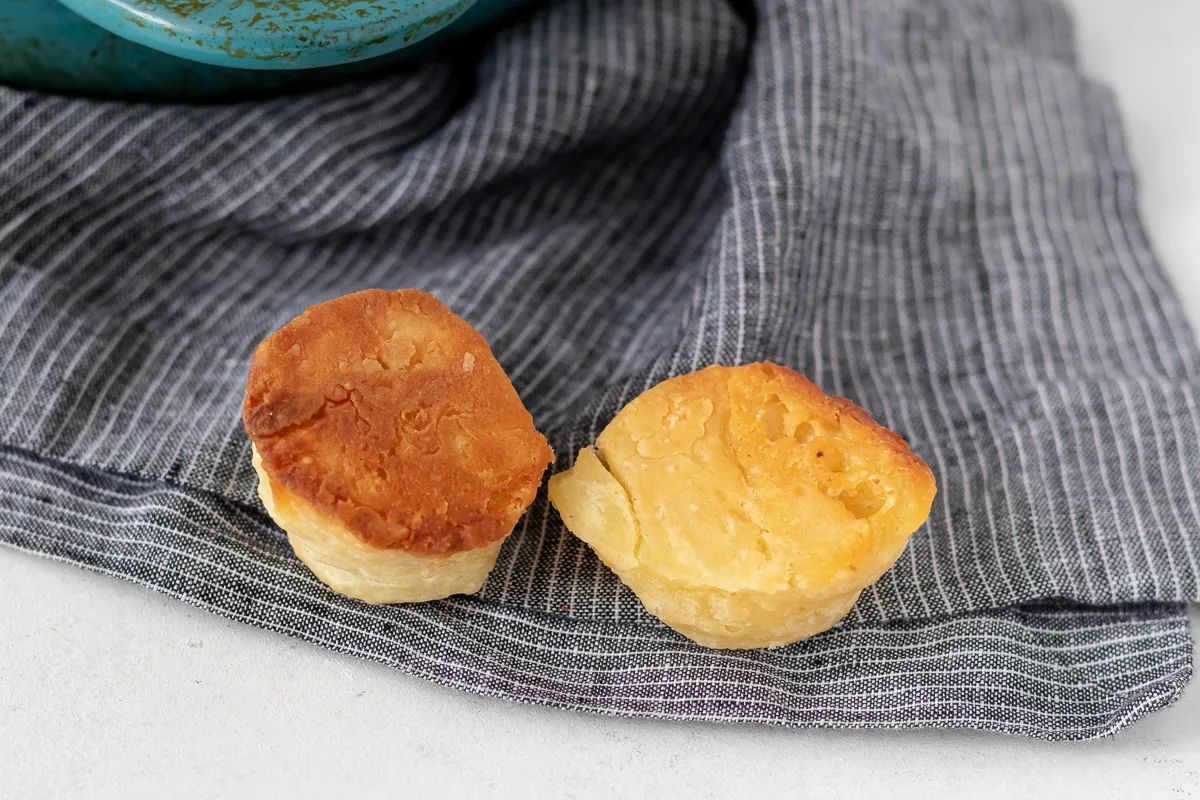
For my family, it didn’t make a difference, but if you are trying to keep your biscuits from browning too much at the bottom, that’s how you do it.
Can I really prep the dough 5 days in advance?
Last question I feel that you might be asking about these biscuits and the answer is… YES! And this is probably what sold me on this homemade biscuit recipe being the easiest! Yes, you do have to cut in the butter so it’s not totally a “dump and stir” situation, but close. And if “biscuits on demand” weren’t on your list of things to master this decade, they should be now. 😉

I hope you love this easy homemade biscuits recipe, darlings!


Easy Homemade Biscuits
This easy homemade biscuits recipe makes flaky, flavorful biscuits from scratch in just minutes! You can even prep the dough up to 5 days in advance and bake fresh when needed.
Ingredients
- 1/2 cup warm water
- 2 1/4 teaspoons dry active yeast
- 1 teaspoon + 2 tablespoons granulated sugar
- 5 cups all purpose flour
- 1 tablespoon baking powder
- 2 1/2 teaspoons salt
- 1 cup cold unsalted butter, cut into approximately 1/2" cubes
- 2 cups full-fat buttermilk
For Baking:
- 3 tablespoons butter, melted
Instructions
- Combine the water, yeast, and 1 teaspoon sugar in a small bowl. Set aside for 5-10 minutes until foamy.
- In a large bowl, combine the remaining sugar, flour, baking powder, and salt. Stir to mix well.
- Using a pastry blender or two knives, cut in the butter until it is the size of peas.
- Stir in the buttermilk and the yeast mixture. Mix using a wooden spoon or stiff spatula until there is no dry flour. Cover the bowl.
- Refrigerate the biscuit dough at least 2 hours, up to 5 days.
- When you are ready to bake, preheat your oven to 400 F. Brush a cast iron skillet or glass baking pan with a bit of the melted butter. (see notes)
- Turn the dough onto a lightly floured surface. Knead 3-4 times and then roll into a 1/2 inch thick circle. Fold in half, repeat. Roll out to 1/2 inch thickness again and then cut out your biscuits using a 2 inch round cookie cutter. You may re-roll any scraps and cut. The biscuits from the second roll may not be as pretty, but will still bake nicely.
- Place your cut biscuits in the pan with the sides just touching. Brush with the remaining butter.
- Bake 15-20 minutes until golden. If desired, brush with butter just before serving (see notes).
Notes
Adjust the amount of butter accordingly. You will not need all 3 tablespoons at one time if you are not baking all the biscuits at one time. I just melt a little at a time if I'm looking to bake enough biscuits for dinner or a quick breakfast for my family.
I almost never brush my biscuits with butter after baking because we serve butter with the biscuits. The biscuits in the pictures were not brushed with butter.
Recommended Products
As an Amazon Associate and member of other affiliate programs, I earn from qualifying purchases.