
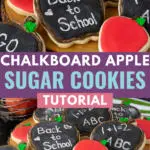
Make adorable back to school sugar cookies with this chalkboard apple sugar cookies tutorial! These creative back to school sugar cookies make a great edible teacher gift.

Can you believe summer is coming to a close, darlings? It’s time for a return to school structures, routines, and all the fall things. Personally, I’m both very ready, and not quite. I do love back to school shopping though, so getting the littles ready was so excited! It was extra exciting because Princess 1 started kindergarten! Naturally, her teachers needed some super cute cookies as a sweet back to school gift.
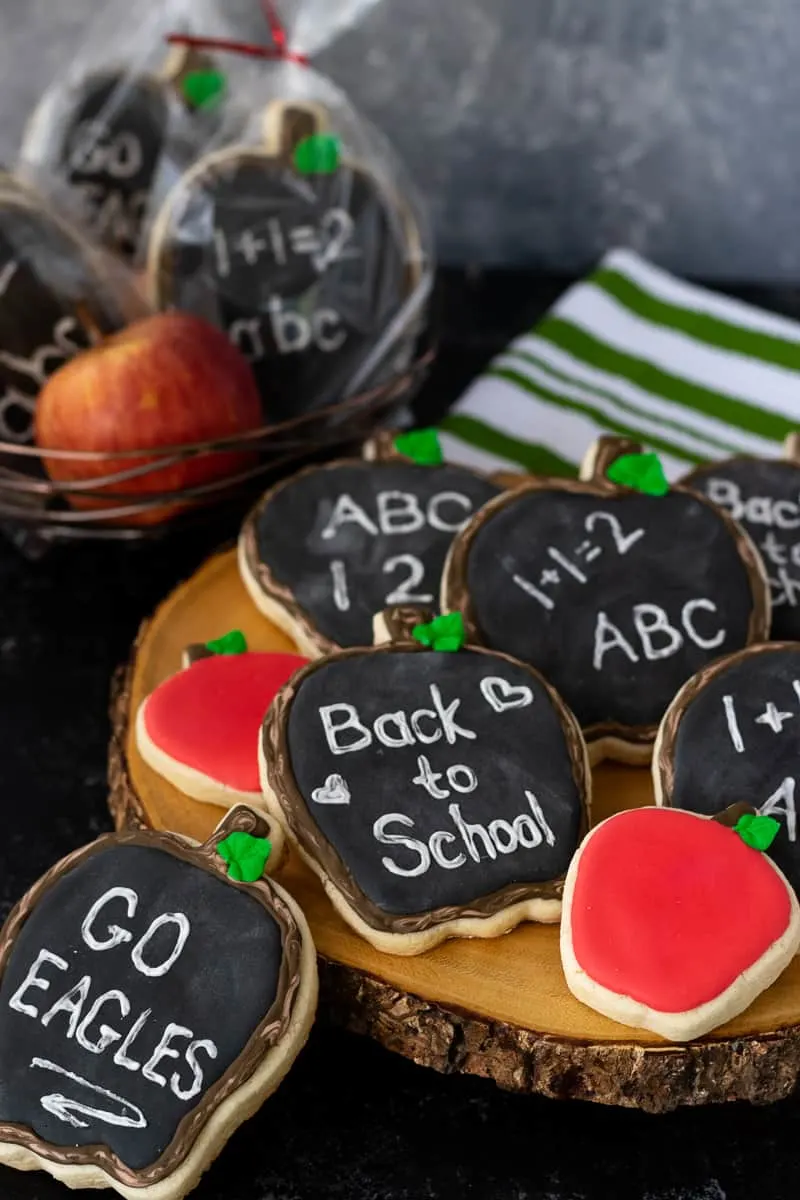
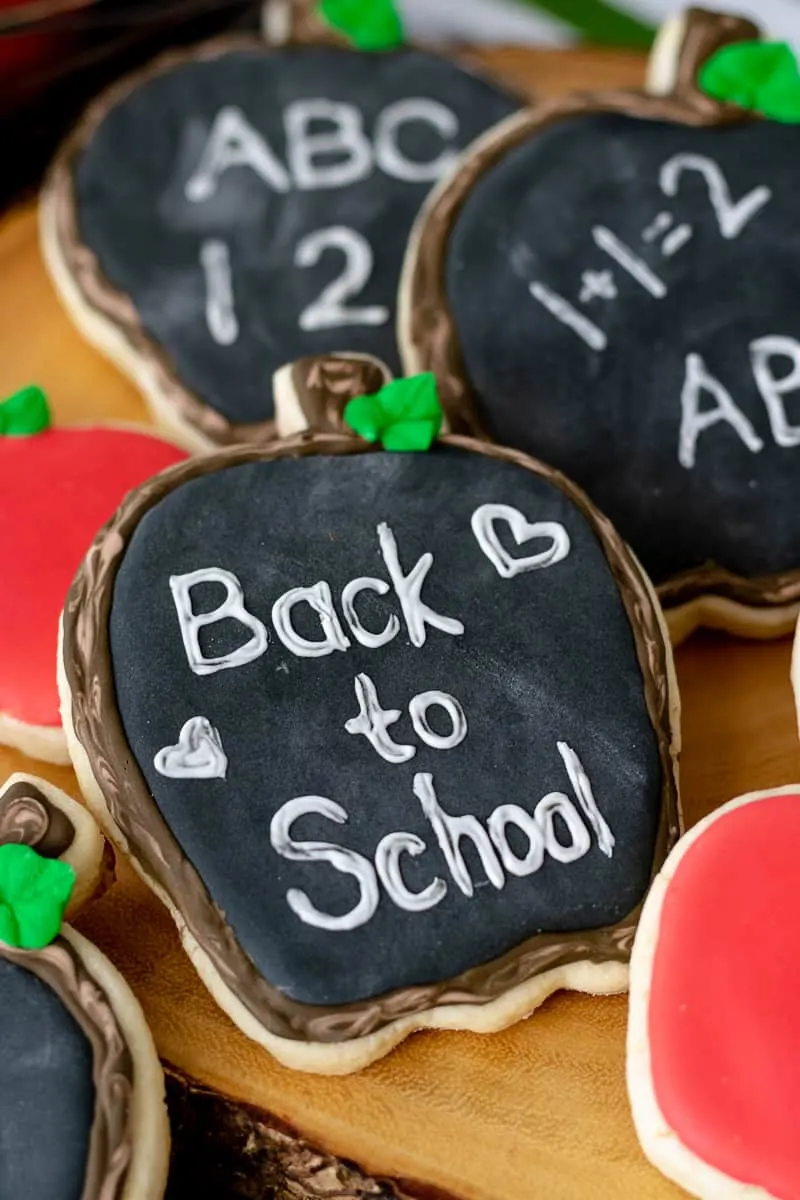
I didn’t want to create one of they “typical” back to school cookie sets, though. They’re cute, but this year needed something extra special, and a chalkboard apple seemed like a perfect fit! Of course, I couldn’t not share the how-to. Also, next year I’ll need to look back on this and remind myself I checked the “got it together” mom box. Then I can happily try for an every other year schedule. Perfect isn’t my style. 😉

How can I make these apple chalkboard cookies?
It’s time for the technical talk, darlings! Don’t worry… we won’t get too technical. But there are a few basics to cover…

Materials and Supplies:
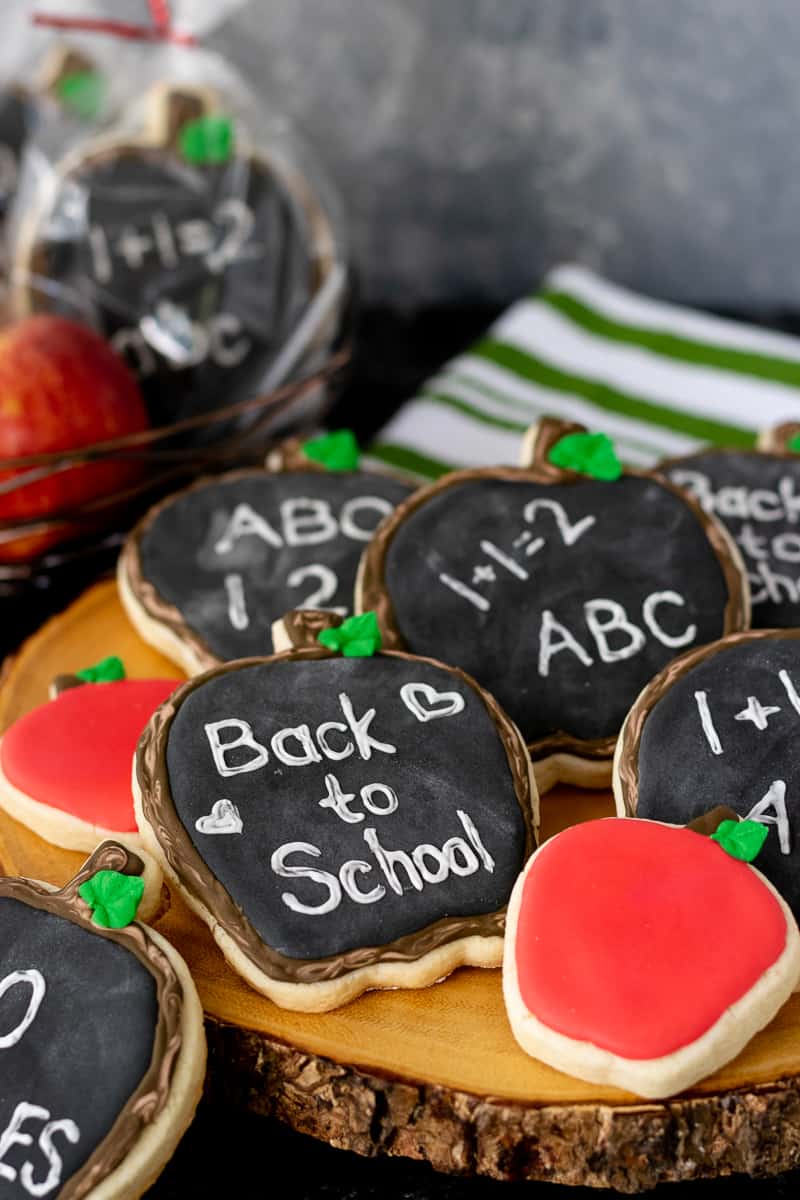
You’ll need an apple shaped cookie cutter. I used a large to make the chalkboard apples and a small for the little red apples rounding out the set. You can find these at any craft store, especially this time of year, and kitchen supply stores. If you’re looking for a great sugar cookie recipe, I have one for you here.
You will need to make royal icing in the following colors: white, black, light brown, dark brown, red, green. In the tutorial below, I list out the consistencies you’ll need for each.
Finally, you’ll need piping bags, a few piping tips and couplers, a stiff food brush, a softer food brush, and cornstarch.

How do I color the royal icing? How do I get black royal icing?
I use gel coloring for my royal icing because it’s more concentrated than liquid and blends more smoothly than powder. It’s also easy to blend colors to make specific shades depending on my design.
To make a true black gel food coloring, you’ll need black food gel, and time. Unlike making black buttercream frosting, you can’t start with a chocolate base here. Use a very concentrated black gel food coloring, mix in enough to reach a dark grey, then cover the icing and let it sit for a few hours. You may even refrigerate it overnight! Just bring it to room temperature and stir before using.
The time is important because gel coloring darkens as it sits. The icing needs to sit about 30 minutes, then you can add more coloring if needed. I had to add. Using this method means that you will use less coloring than if you tried to get a true black from the get go. In my experience so far, this is the best way to get a true black royal icing.

What provides the chalkboard look to the cookies?
A very light dusting of cornstarch is the key to getting that worn chalkboard look. If you need to avoid cornstarch, a light dusting of powdered sugar can work, but the cookies will have a shorter shelf life because powdered sugar is more susceptible to clumping and becoming sticky with humidity. Those of you in humid climates understand!
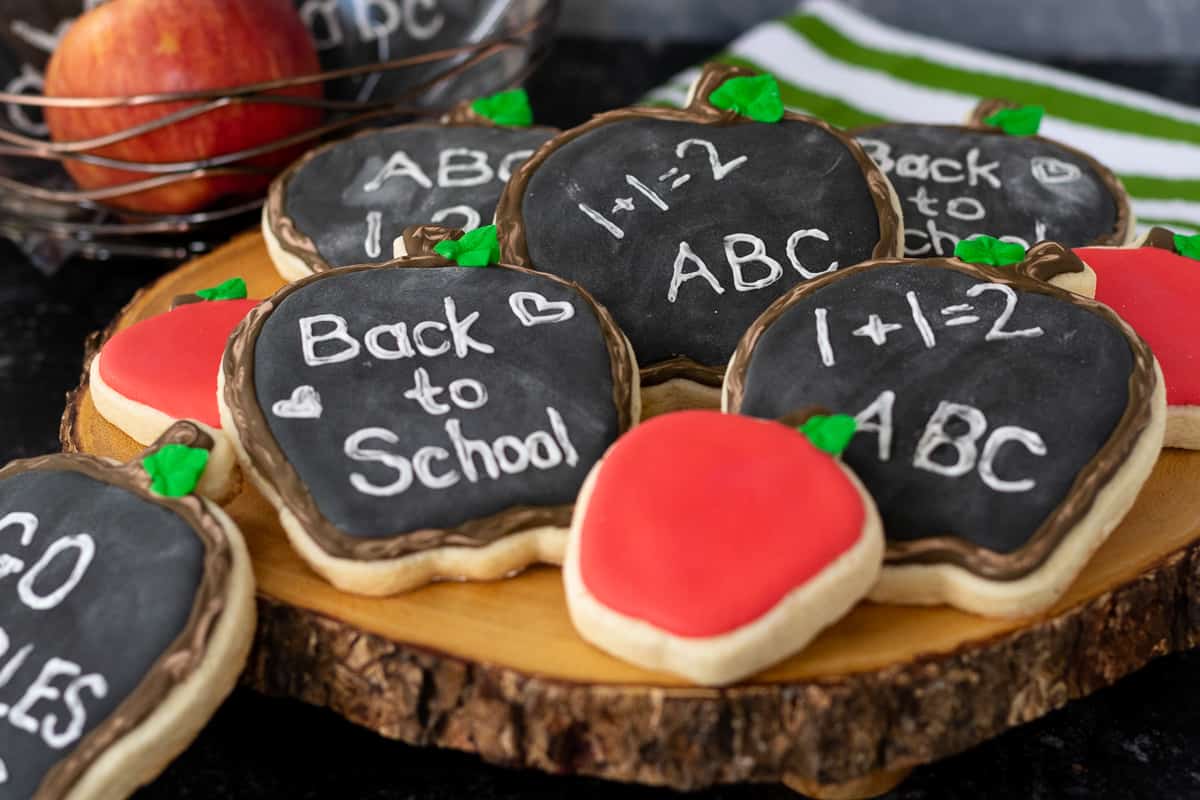
I also give the cookies a more rustic chalkboard look by using a damp food safe brush to give some texture to the doodles on the chalkboard. A medium consistency icing works best. You’ll want to work in sections so the icing doesn’t dry and pull before you have a chance to brush some off.
How far in advance can I make these cookies?
I would plan 2 days to bake and decorate the cookies to give yourself plenty of time. I baked and added the black base layer on day one, then finished the cookies day 2. Once completely dry, you can store the decorated sugar cookies in an airtight container at room temperature up to a week. Separate each layer of cookies with parchment paper or paper towels for cushioning and to prevent color bleeding in the frosting.

I hope you enjoy this back to school chalkboard apple sugar cookies tutorial! If you’re a visual learner like me, be sure to check out the video on this page for the full tutorial.

Back to School Chalkboard Apple Cookies Tutorial
Make adorable back to school sugar cookies with this chalkboard apple sugar cookies tutorial! These creative back to school sugar cookies make a great edible teacher gift.
Materials
Tools
Instructions
- Start by baking your sugar cookies using your favorite recipe, and allowing them to cool completely.
- While the cookies are cooling, mix your royal icing. Separate into portions to color black, green, red, light brown, brown, and leave white. You won't need much of the white, so make that the smallest portion. You'll use the most of the black and red. The portions won't be equal.
- Color the black and red, then cover and set aside for 30 minutes. Stir, check the color again, add more gel as needed to achieve desired intensity.
- Once the cookies are completely cool, start working on the larger apple cookies.
- Pipe the chalkboard portion of the cookie, leaving enough space around the cookie to add a border. Use your scribe tool to create smooth edges with your frosting. Set the cookies on a cooling rack to dry completely. At least 8 hours is recommended.
- Using a soft food safe brush, dab cornstarch over the black portion of the cookie and dust off the excess.
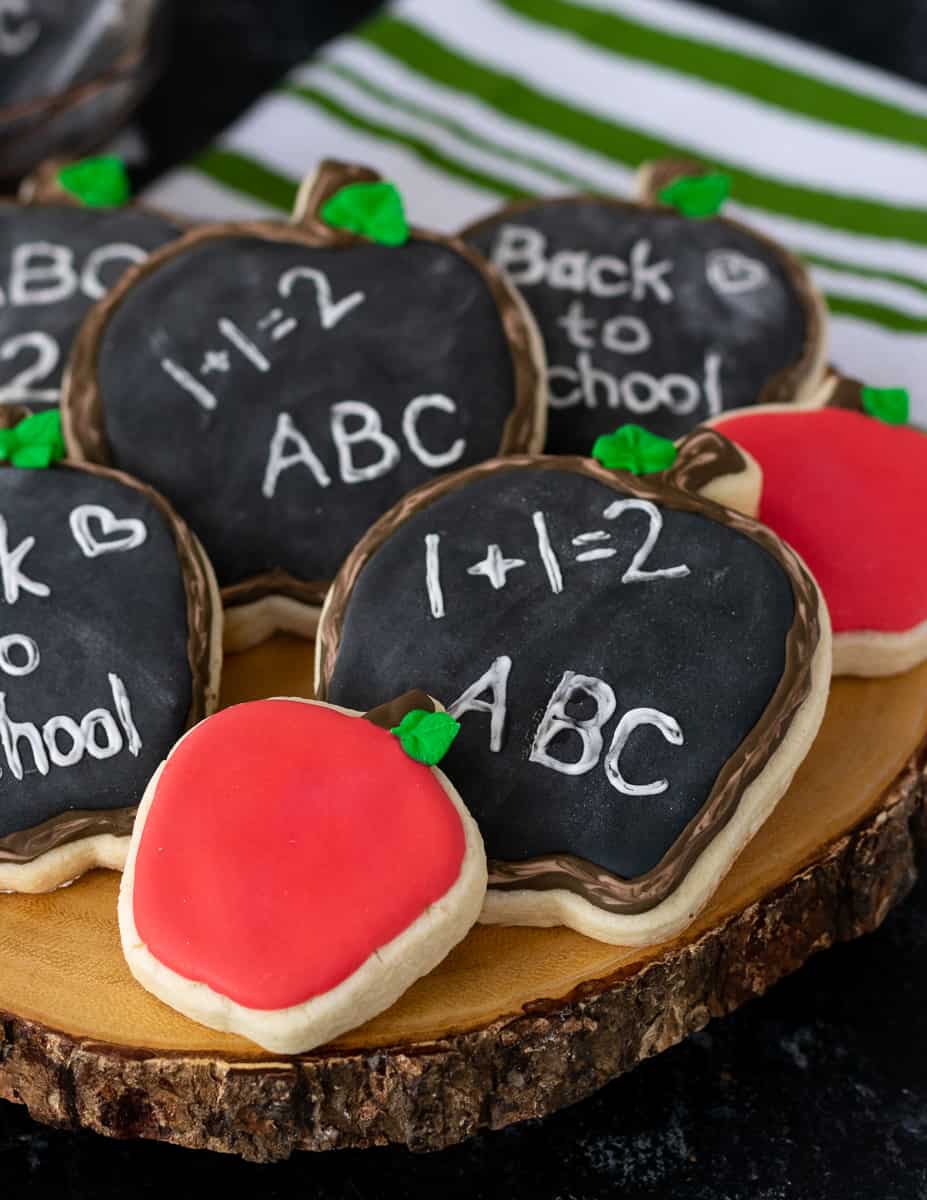
- Use medium consistency white icing in a frosting bag with the tip snipped off or a size 1 piping tip to add your chalkboard doodles in sections. After you finish a small section, use a stiff, slightly damp food paintbrush to wipe off some of the frosting and create a more natural "chalk" look. Clean your brush often.
- Once you've added all your doodles to the cookies, add your border and finishing touches.
- Pipe the main portion of your border using the dark brown flood consistency icing. Add lines here and there with the light brown flood consistency icing. Use your scribe tool to drag the light brown lines in the dark brown frosting to create a wood grain.
- Use stiff consistency green icing in a piping bag fitted with your leaf tip to add a leaf to each cookie. Set the cookies aside to dry completely before packaging.
- To make the smaller accent cookies, fill the fruit portion of the cookie with flood consistency red icing. Color the stem with your flood consistency brown icing, and then use your stiff green icing bag with the leaf tip to add the leaf. Set aside to dry.
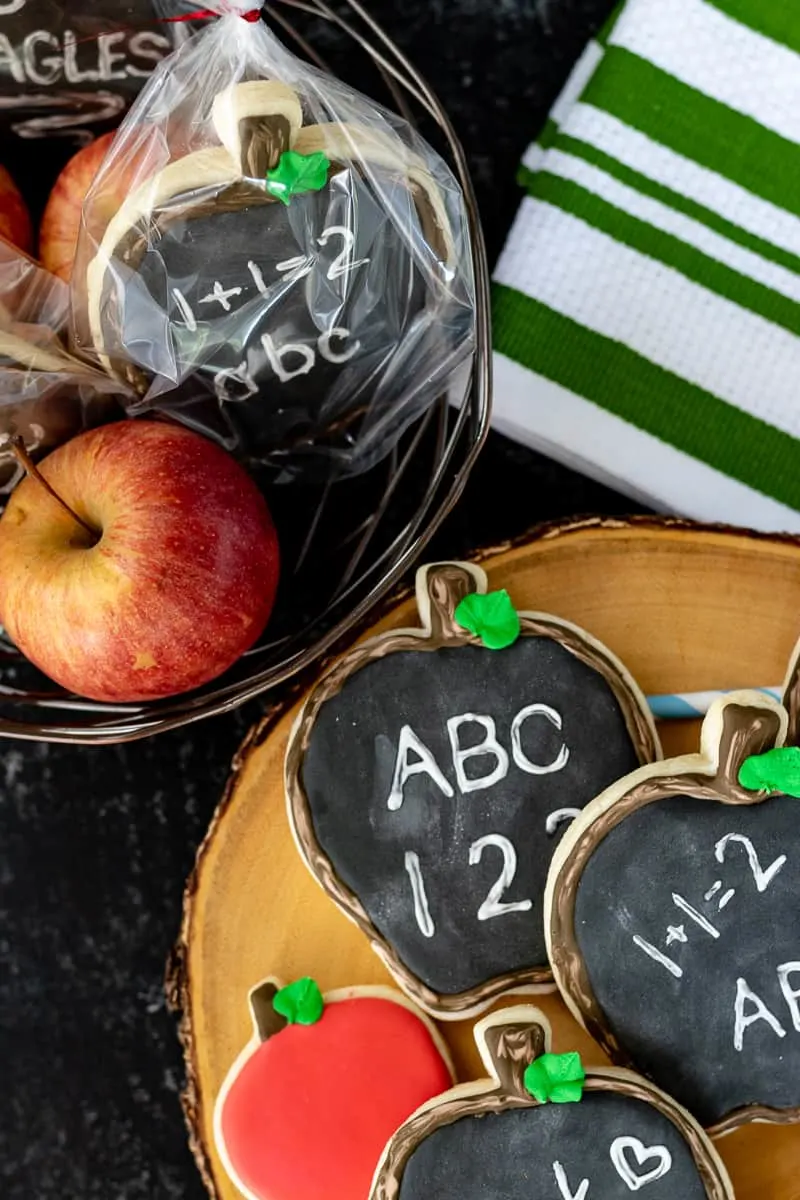
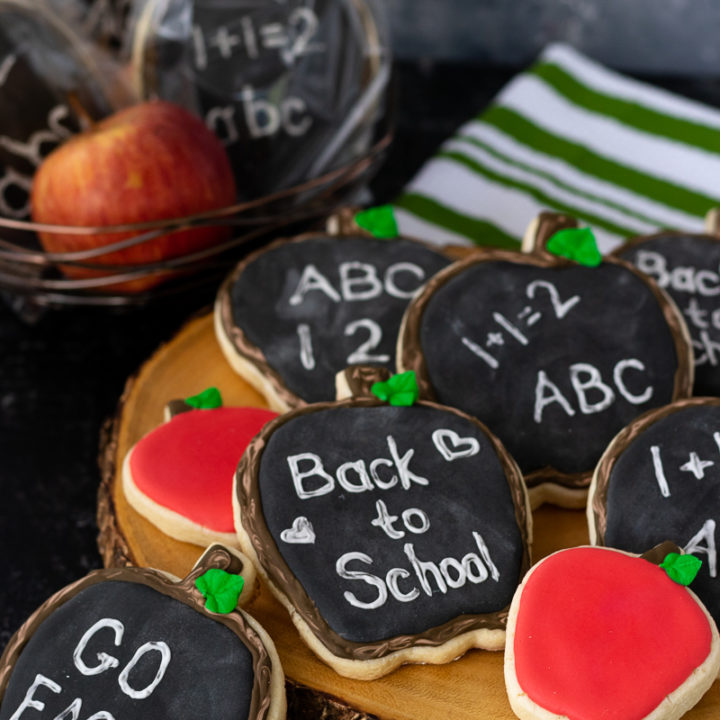
- Package the cookies once they are dry. Packaging can include clear plastic bags with twist ties or ribbon, bakery boxes with parchment paper or raffia to add texture and cushioning for the cookies.
Notes
I have links to the piping tips in the tools list above, but you'll get a much better price shopping at your local craft store!