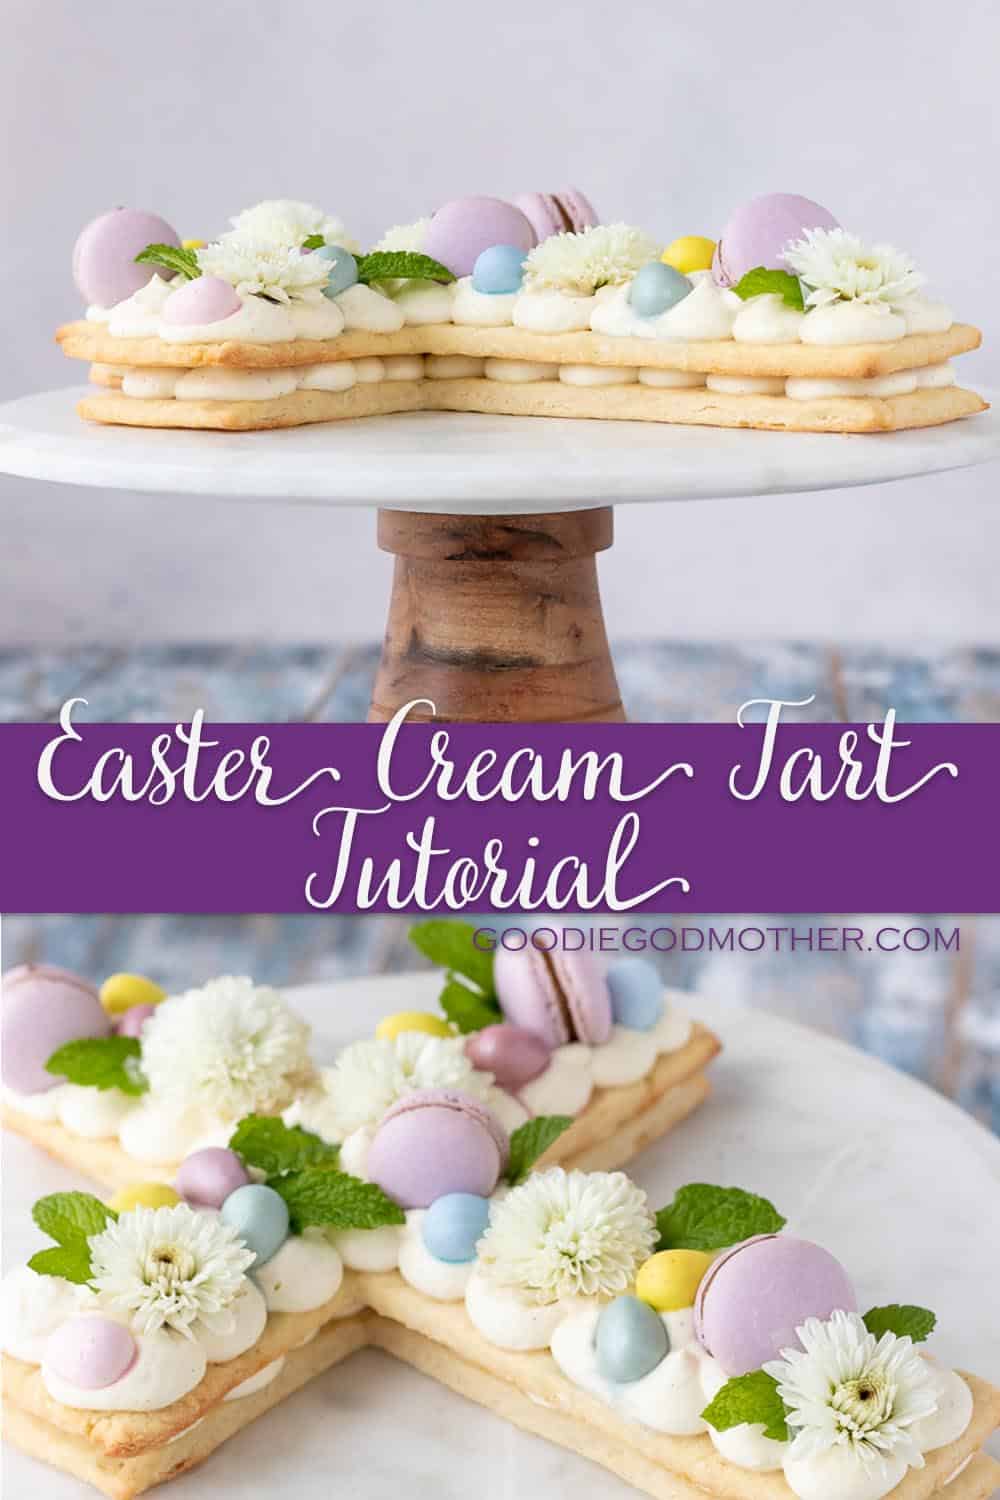
Make this beautiful Easter cream tart for your spring table! Post includes a video tutorial with assembly tips for beautiful results every time.

Who doesn’t love an easy and beautiful dessert? I first fell in love with cream tarts, aka letter cakes or number cakes, after seeing them on Instagram. I didn’t know what they were called, but after enough eye candy on my feed, I had to find out. Of course, I had to make one to share here, and it’s perfect for Easter dessert!
Do you know what you find if you search for “number cake”? A lot of information. Eventually, I stumbled across a few posts that explained that the letter cake or number cake is actually a shaped cream tart created by an Israeli baker. #love

So what is a cream tart?
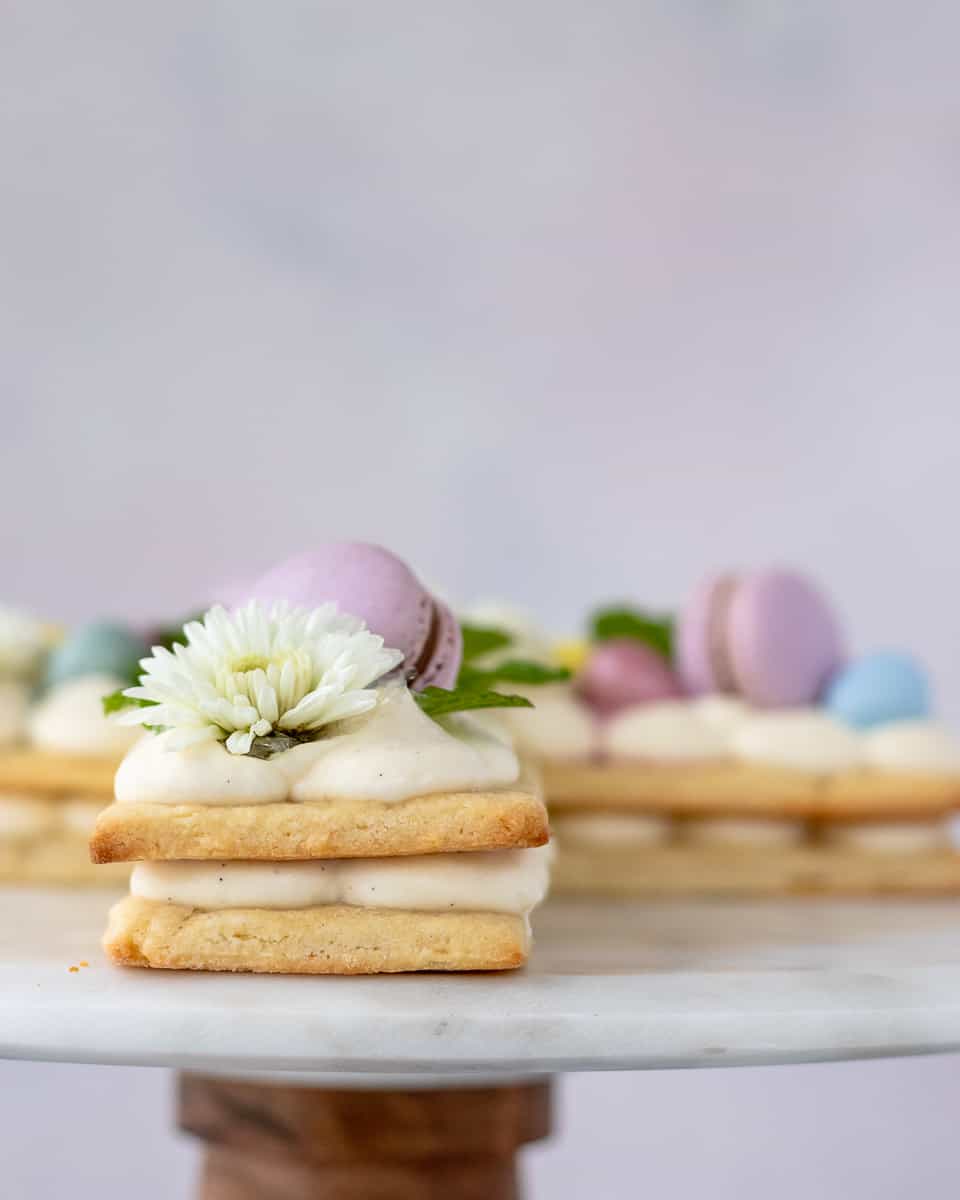
Basically it’s just layers of cake, tart dough, or cookie dough with a filling. The filling can be whipped cream based or a buttercream. The rules aren’t really fixed here, which is nice because there’s room for creativity!
What do I use to make the “cake” layer for a number cake?
That’s pretty much up to you? You could bake thin layers of cake, but that seemed entirely too complicated to me. What happens if I want to assemble the cake one day and serve the next? Would the cake dry out in the fridge? This is not a risk I really want to take with open sides.
You can also use sugar cookie dough rolled just slightly thinner than you would for decorated cookies. I tried this, and while it was good and worked well for me when I made the tarts in a smaller size, for some reason I just didn’t like it for this larger format cream tart. I don’t have a real reason, but we all liked it when I made smaller cream tarts so who knows? I used my go-to sugar cookie recipe, which you can find here:https://goodiegodmother.com/cut-out-sugar-cookies/


Finally, you can use what I used here, which is a sweet tart dough. Honestly, there’s not much difference between the sweet tart dough and the sugar cookies, especially since I turned the extra dough into sugar cookies. But I did roll the tart dough slightly thinner than I rolled the sugar cookies, and I do think that made a difference.
And what about the filling?
I do spend some time in the video below talking about filling, so it’s worth a watch, especially if you’re a visual learner like me.
The filling can again be one of several things, but the most common are a stabilized whipped cream filling or a not crusting buttercream like Swiss meringue.
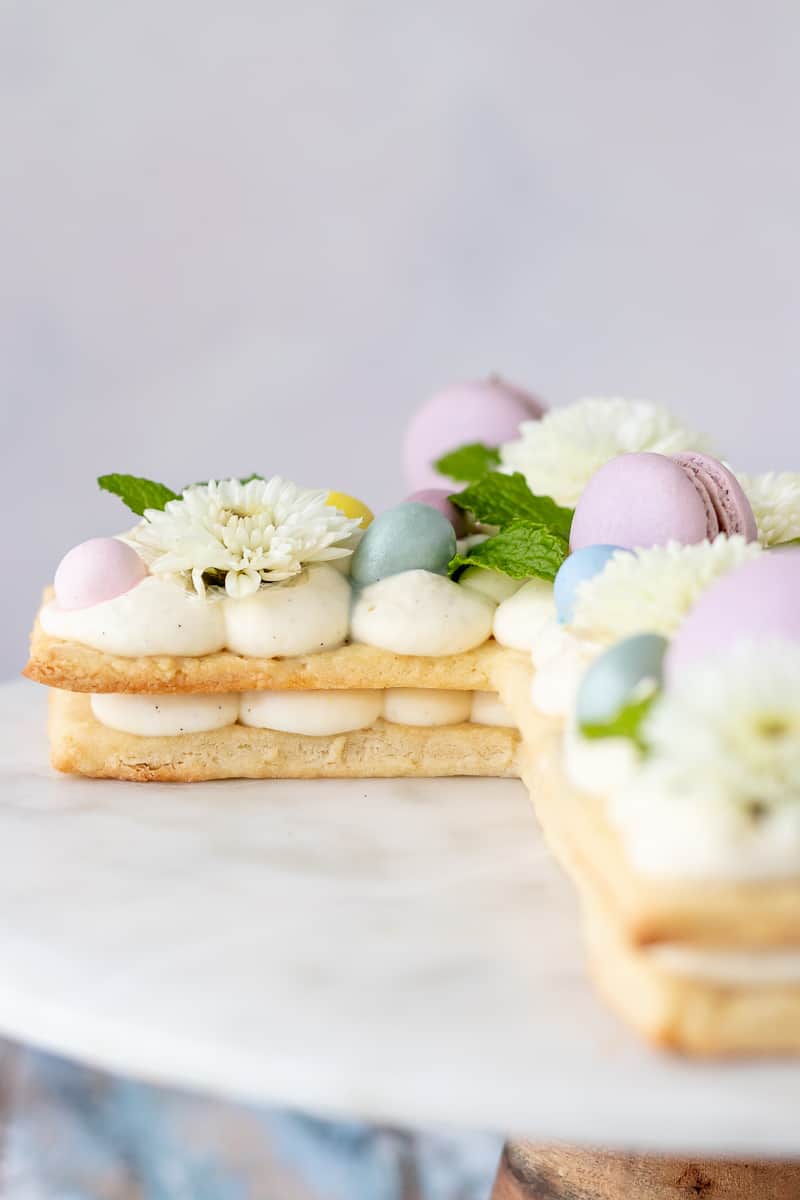

Why a stabilized whipped cream? Because you will want to let your assembled (but not necessarily topped) tart rest for a few hours (even overnight) so that the filling softens the cake layers to give you a more “cake” texture. This is similar to what happens with icebox cakes. A regular whipped cream would lose volume and ooze out too quickly.
For this Easter cream tart, I created a modified diplomat cream recipe, where I combined pudding with a cream cheese stabilized whipped cream instead of a gelatin stabilized whipped cream. It was delicious!
So now that you have all the details… let me tell you what you need to know to make this gorgeous Easter cake!
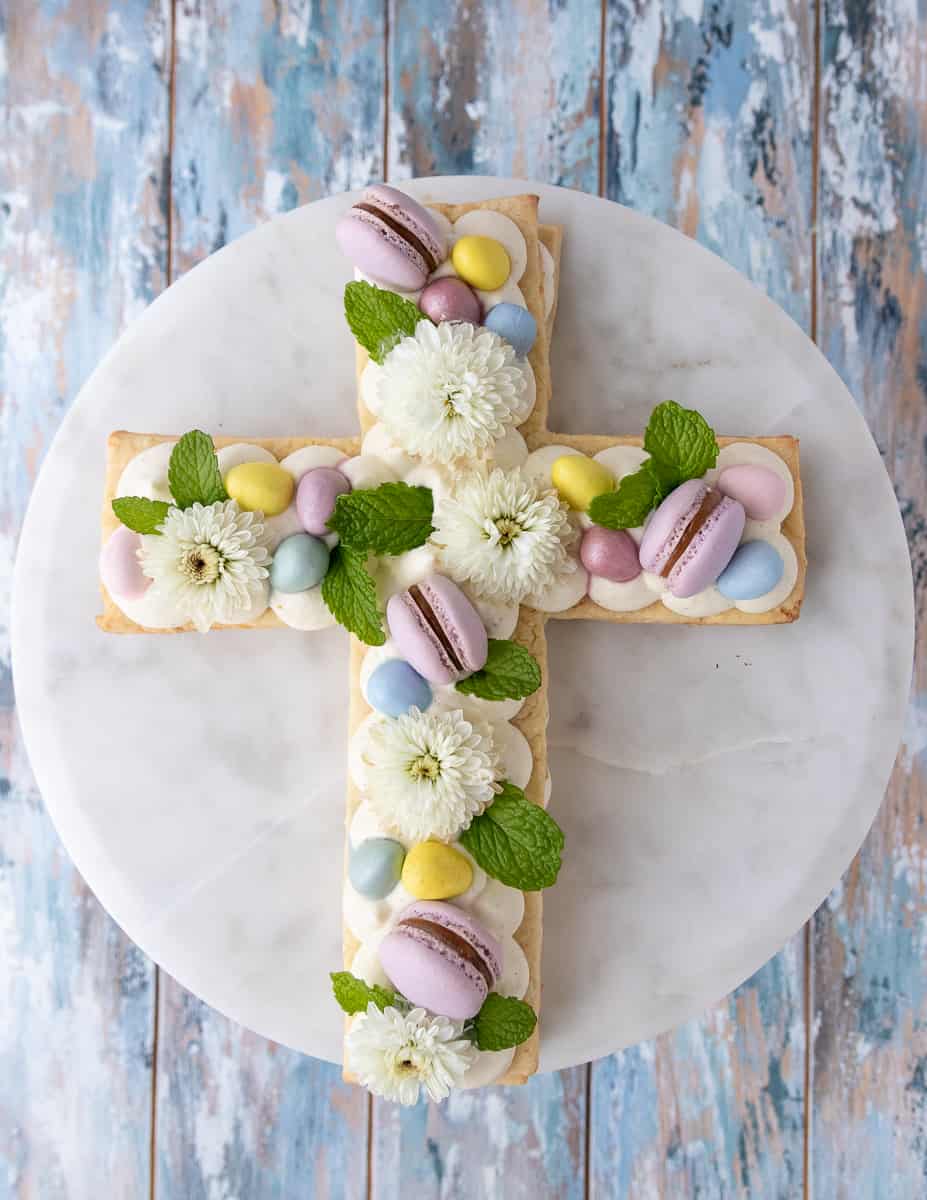
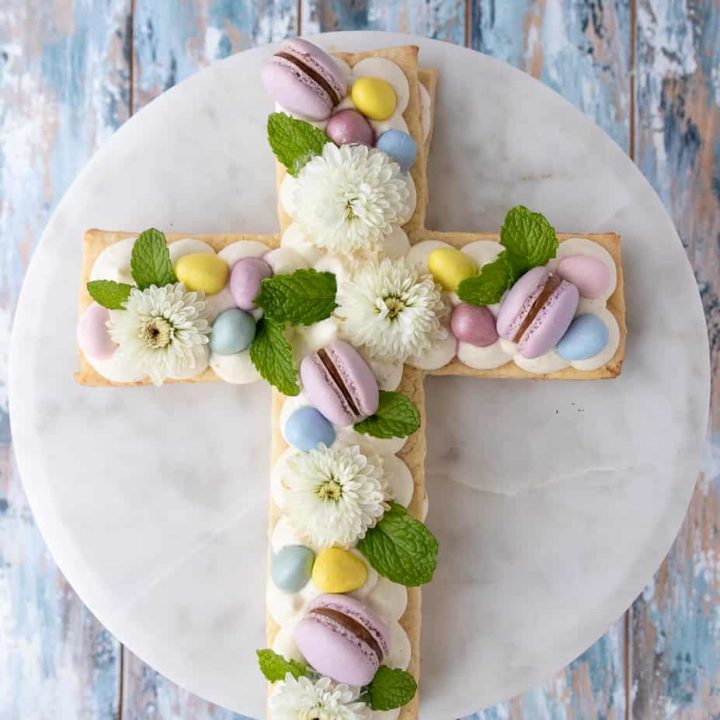
You can find a printable cross template here. Cut out the cross from the paper. You will need to cut out 2 crosses for this tart. The best way to cut is to place the stencil on your chilled dough, use one hand to make sure it’s still and then the other to lightly mark the outline on the dough with a butter knife or something with a thin edge you can easily control. Remove the paper and cut the dough along the marks. Gently press the edges if needed to keep them nice and sharp. Bake.
Be sure that you allow the cake layers to cool completely before assembly. You can even bake them a day or two in advance and store them in a gallon sized plastic bag or wrapped carefully in plastic wrap. Just be careful not to break them!


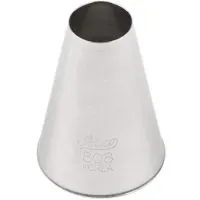
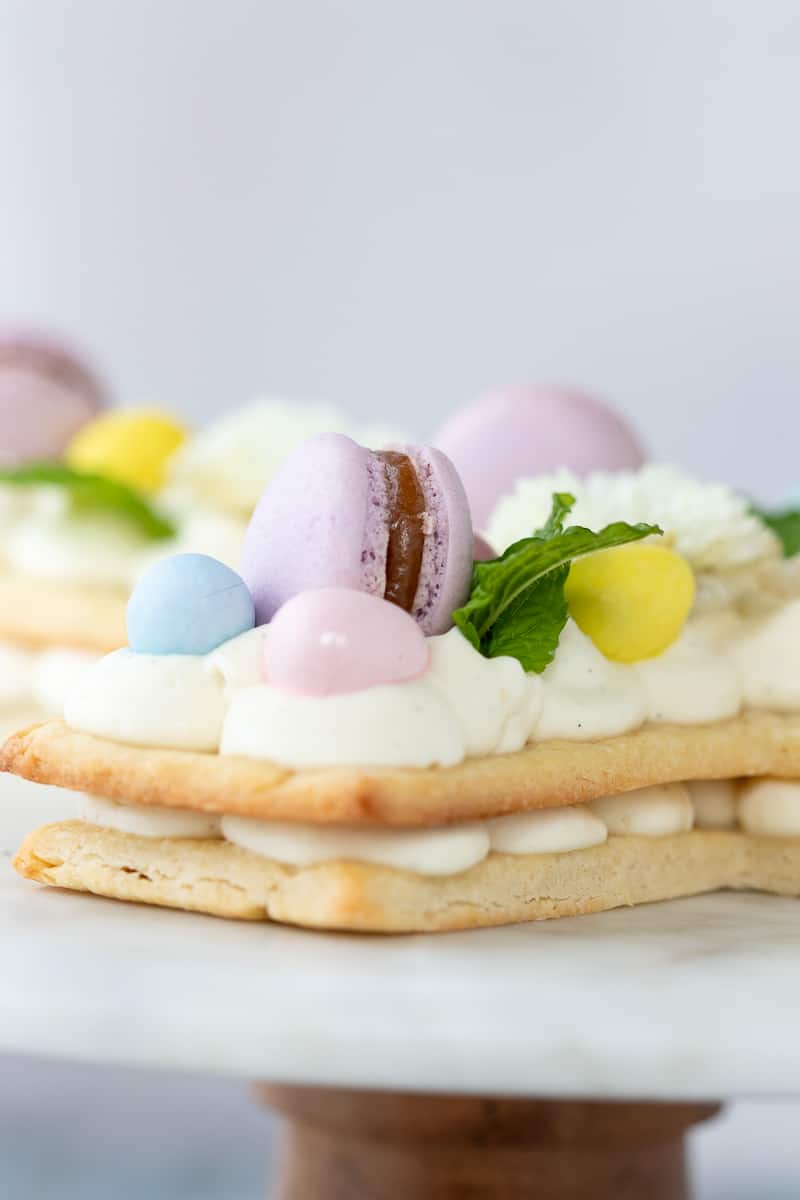
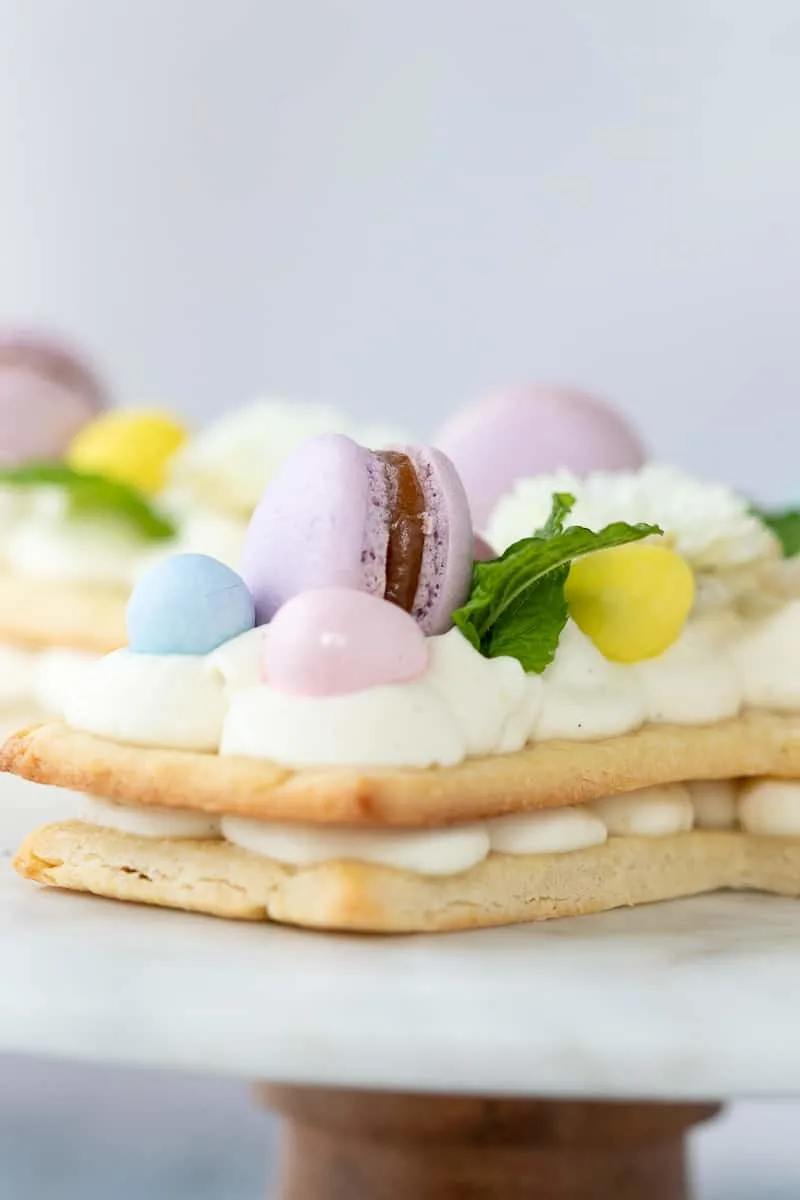
Fill as shown in the video or using a different tip if you’d prefer. The filling recipe below makes enough for 2 of these Easter cream tart cakes, so you can either assemble 2 or feel free to halve the filling recipe. We ate some of the leftover filling with fresh strawberries… yum!
I hope you enjoy this Easter cream tart tutorial and the recipe! I’d say that if you don’t add the toppings, it’s a great make-ahead Easter dessert since you can assemble the day before, and make the tart and filling up to 2 days before serving. That way everything is still fresh and delicious for your Easter table!
Don’t forget to check out the video for all the extra tips on toppings and DOWNLOAD THE TEMPLATE. 😉 Happy Spring, darlings!

Basic Sweet Tart Dough and Cream Tart Filling
Inspired by the popular "letter cakes", this Easter cream tart is a delicious and beautiful spring dessert for your table!
Ingredients
Basic Sweet Tart Dough
- 16 tablespoons unsalted butter, cold
- 1/2 cup granulated sugar
- 2 egg yolks
- 1 whole egg
- 1 teaspoon vanilla extract
- 1 1/2 cups all-purpose flour
- pinch salt
Vanilla Cream Tart Filling
- 1 1/2 cups prepared vanilla custard/pudding
- 4 ounces cream cheese, softened
- 2 teaspoons granulated sugar
- 1 teaspoon vanilla extract
- 1 1/2 cups heavy whipping cream, chilled
Instructions
Bake the Tart Dough
- Cut the butter into 1/2 inc cubes and place into the bowl of your stand mixer fitted with the paddle attachment. You may also use a large bowl with a hand mixer.
- Add the sugar, vanilla, and salt, and cream together until just combined. You're not looking for light and fluffy, you just want to incorporate the ingredients.
- Mix in the egg yolks and whole egg.
- Add all the flour and mix on low until just incorporated.
- Shape the dough into a disc and refrigerate at least 4 hours before using. You may make this up to 5 days in advance.
- When you are ready to bake, preheat your oven to 375 F and remove your dough from the refrigerator.
- Divide the dough in half and roll out the first half. Use the stencil provided in the blog post to cut out your cross shape and place on a parchment lined baking sheet. Refrigerate 5-10 minutes while you roll and cut the other half of the dough to place on another baking sheet.
- You may re-roll the extra dough to make a second cream tart, or use cookie cutters to cut into smaller shapes for tart dough cookies.
- Bake the crosses for 9-10 minutes, rotating the pans once, until the top no longer looks mottled, and then remove from the oven and allow to cool on the baking sheet 10 minutes. Carefully transfer to a wire rack to cool completely. Tart dough layers must be completely cooled before filling.
Make the Vanilla Cream Tart Filling
- In the bowl of a stand mixer fitted with the whisk attachment or large bowl with a hand mixer, whip the cream cheese until light and fluffy. Scrape the sides of the bowl.
- Add the vanilla and sugar, whip again to incorporate, scrape the sides of the bowl again.
- Pour in the heavy whipping cream and starting at the lowest speed, start whipping. Slowly increase the speed until stiff peaks form.
- Fold the cream cheese whipped cream into the vanilla custard carefully until you have a smooth mixture. If not using immediately, refrigerate with a piece of plastic wrap pressed across the top of the filling.
Notes
**If you don't want to make your custard/pudding from scratch, buy a boxed custard mix and make that. Either works!
Recommended Products
As an Amazon Associate and member of other affiliate programs, I earn from qualifying purchases.