

NOTE: This is the final part of a three-part series on preparing a Cuban style whole pig roast with a custom-built La Caja China. The first part covered the design and assembly of the La Caja China. The second part covered sourcing the pig. This last part will cover the day-of-roasting activities.
It is the eve of your big day, and you are excited and nervous about roasting a whole pig with a home-built roaster. There are some things to consider, most importantly: time.
If you are using the home-built design in Part 1, roasting will take a little over six hours for 70 pounds inside the roaster. For a pig of that size, you will need to account at least two hours for thawing and handling to affix it to the racks. Set your alarm clocks accordingly.
Roasted pigs aren’t just for Noche Buena!
For me, the day of the whole pig roast was months in the making. Between designing/building the roaster, sourcing the pig, and figuring when would be a good time to invite friends over to serve, a lot of thought was involved. Being the proud University of Miami alumni we are, we figured it would be best to host this pig roast Labor Day Weekend. The evening the Hurricanes would start the season playing against the LSU Tigers.

Temperature
A big concern for anyone is the thawing for the pig. Ideally, the pig should be close to room temperature when it is placed inside the roaster. Insufficient thawing will impact your roasting time and potentially result in uneven cooking. If you thaw too quickly you will risk food poisoning. Be sure to take the necessary time to thaw gradually.
Any thawing and handling of the pig will need to happen on top of a large table. Allow plenty of space in the room for working and moving around. When pulling your pig out of the refrigerator or bath tub, you may notice some stiffness depending on how many days it remained there. This is normal and should lessen as the pig comes closer to the correct temperature.
Splaying the pig
In Part 2 I explained how to order your pig prepared so it can lay flat inside the roaster. This is essential for a successful whole pig roast. However, it is not yet ready to lay flat. The spine will need to be broken to allow the ventral cavity to spread out in order to lay as flat as possible on the racks.
For this, I used a hatchet and a hammer to break the spine all the way from the neck down to the bowels. This was a long process as I needed to be careful not to pierce the skin out the back. After spending about 20 minutes hammering the hatchet down the spine, I opened up the ventral cavity further by pulling it apart between the fifth and sixth ribs.
I highly recommend you take your time in breaking the spine with a hatchet and hammer. I have seen videos where people use a Dremmel drill to cut down the spine. I can’t imagine the kind of mess it might have created on their clothes and kitchen space.
Seasoning the pig
Being raised by a Cuban family, I assure you no pig is ready to roast without the proper dousing of mojo and garlic. For the uninitiated, mojo is a citrus-based marinade most commonly found in Cuban cuisine. For this pig roast, I poured some mojo into the ventral cavity of the pig, but I also injected the marinade into the limbs of the meat with a syringe. If you decide to do this, be sure to run the mojo through a blender first so that you don’t clog the needle.
Placing the pig on the racks
Because of the pig’s size and the re-purposing of racks originally designed for a commercial smoker, I fastened two racks per side with butcher twine. I made sure there was some overlap between the racks to make it sturdy. I then held the pig in between the two racks by using four S-hooks (2 and 3/4″ size). Your effort in making the pig lay as flat as possible will be tested by this activity.
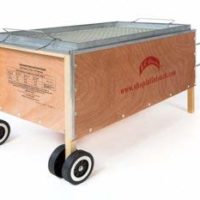
By this time, your pig should be at the correct temperature. It is now time to light up the coals on the roaster. However, before you light the coals, you’ll need to place a few things in the roaster so it’s ready to handle a whole pig.
Place the aluminum pans inside the roaster (I used six 12″ x 10″ pans) to cover most of the bottom. Strategically place the four foil-covered bricks inside so they can take on the weight of the whole pig and the racks. Arrange the coals into two piles about a third of the way in from the short ends. You’ll see this in the video on this page and in the photo below.
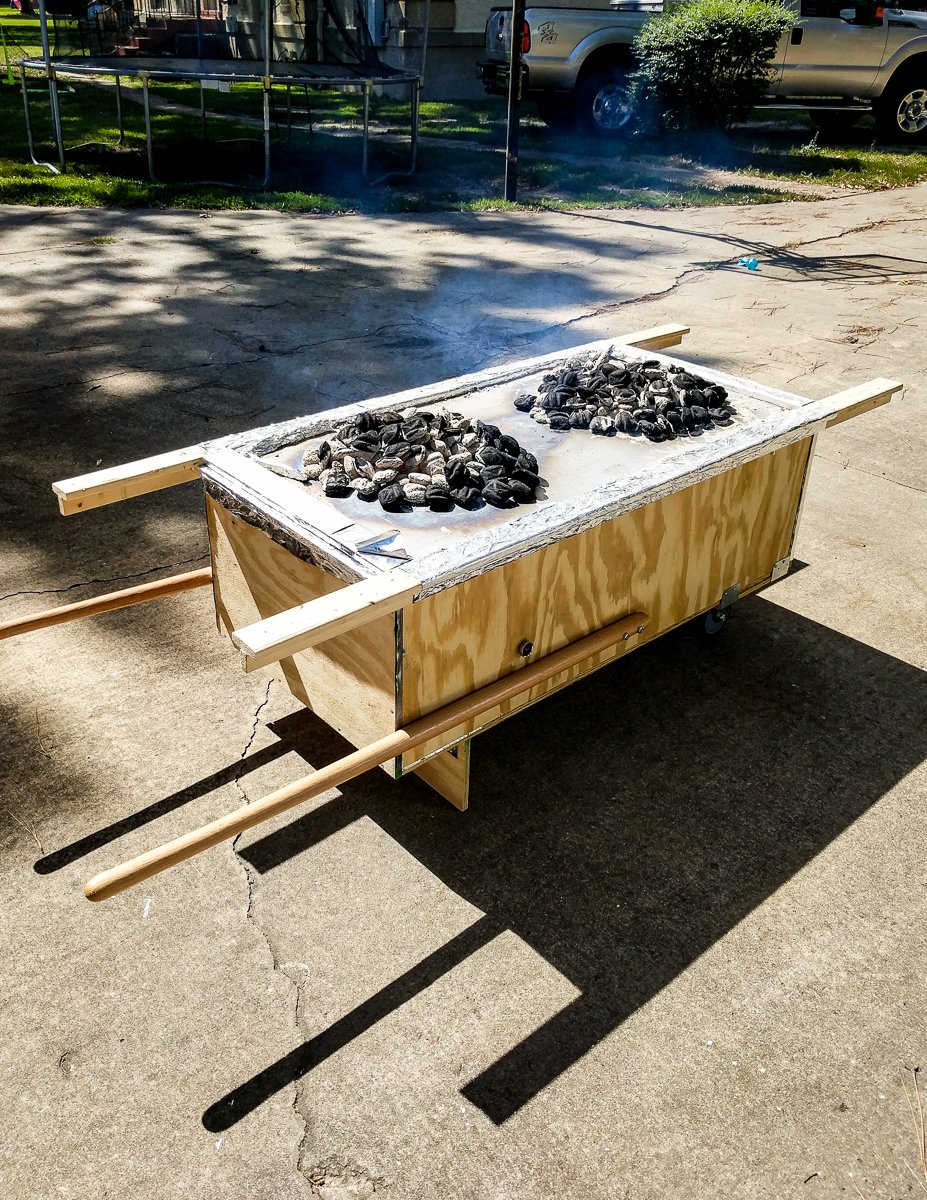
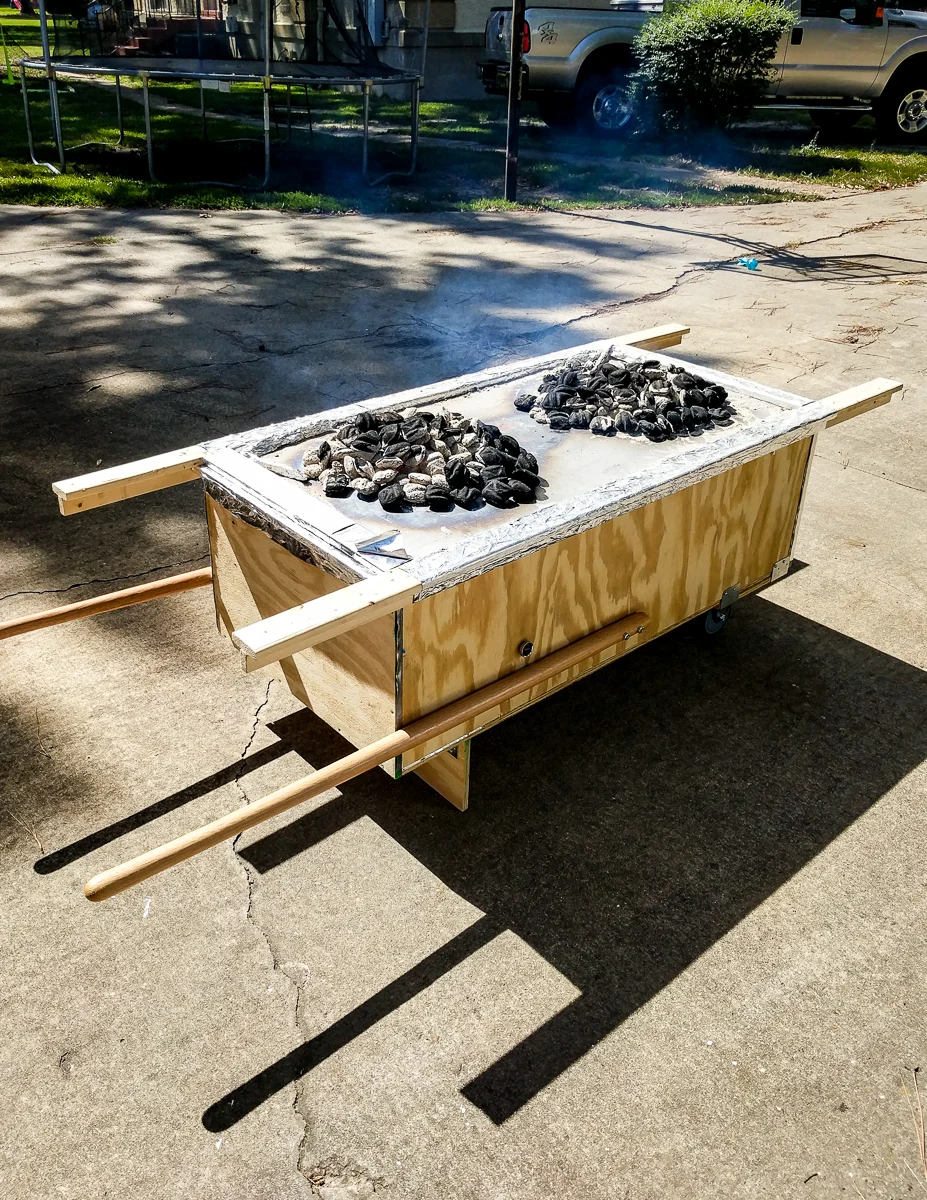
The thickest parts of the pig are the limbs, so they will take the longest to cook. Do not place the coals into a single pile at the center of the roaster because the ribs will cook first. You will have burnt ribs and under-cooked shoulders and hams.
Placing the pig in the roasting box
Now it is time to place the pig inside the La Caja China. Have an assistant carry the pig with you to place inside the roaster with the skin side down. Once the pig is inside, pour over any extra marinade, and immediately cover the roaster with the top frame (the coals should be lit and burning at this point). Your job at this point is to actively manage the coals.
Cooking notes
Because I used a slightly thicker sheet of steel, I knew I was going to use more coals than what a four-hour roast on a store-bought La Caja China would require.
In Part 1, I noted that using 16-gauge ungalvanized steel versus 20-gauge meant adding approximately 100 additional minutes to the previously-assumed four hours of roasting time because of the heat transfer properties of steel. I was correct in my estimate, and used six 13-pound bags of charcoal during the roasting time. If you go with 20-gauge ungalvanized steel for your roaster, you will go through considerably less charcoal.
Depending on the weather the day of your roast (temperature, winds, etc.), you will need to replenish your coals about every 45 minutes to an hour. Use about 6 to 8 pounds of charcoal each time. The goal is to keep the temperature inside the roaster above 200 degrees Fahrenheit. Cooking until the meat temperature reaches 160 degrees Fahrenheit.
As you replenish the coals, you must scrape away the ash that accumulates as the charcoal burns. Not scraping away the ash will create a layer of insulation between the charcoal and the steel, meaning less heat gets transferred to the meat.
As you scrape the ash, be sure to use a metal bucket and a wide, metal putty knife for safe disposal. Be sure to keep the freshly-lit charcoal arranged in two separate stacks toward the ends of the sheet metal for even cooking.
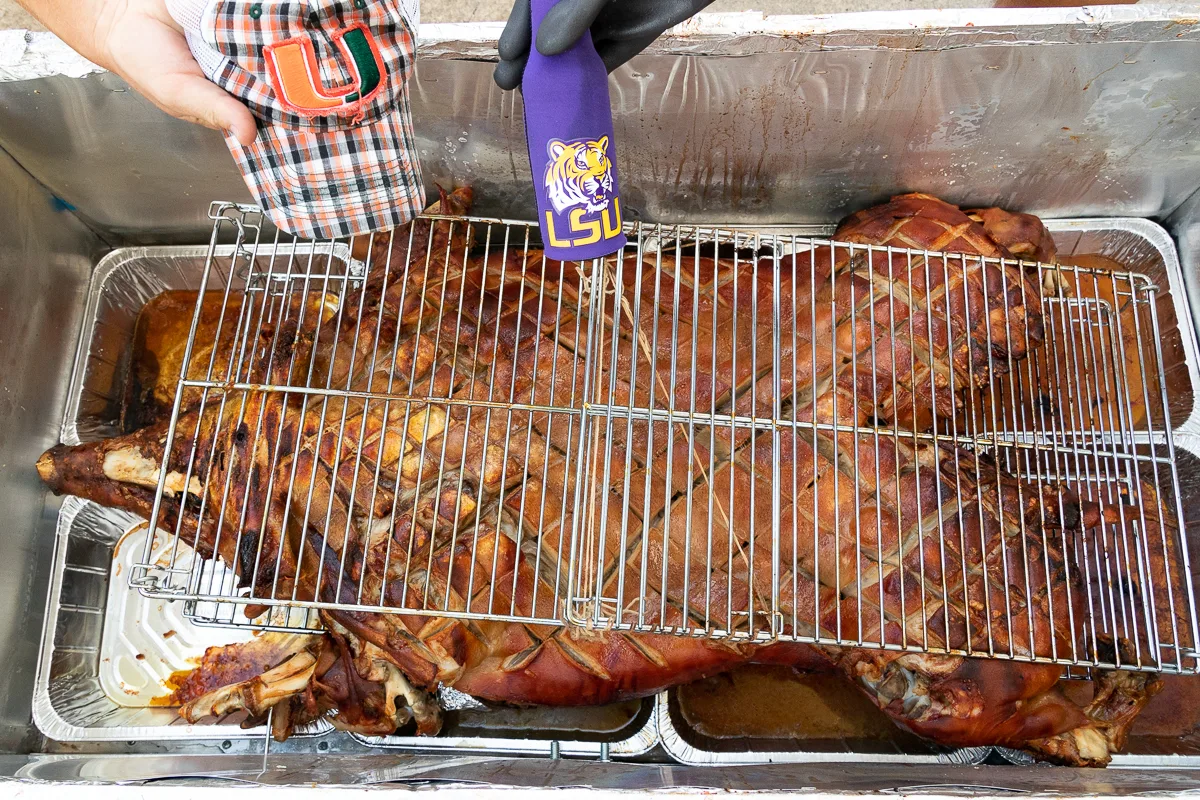
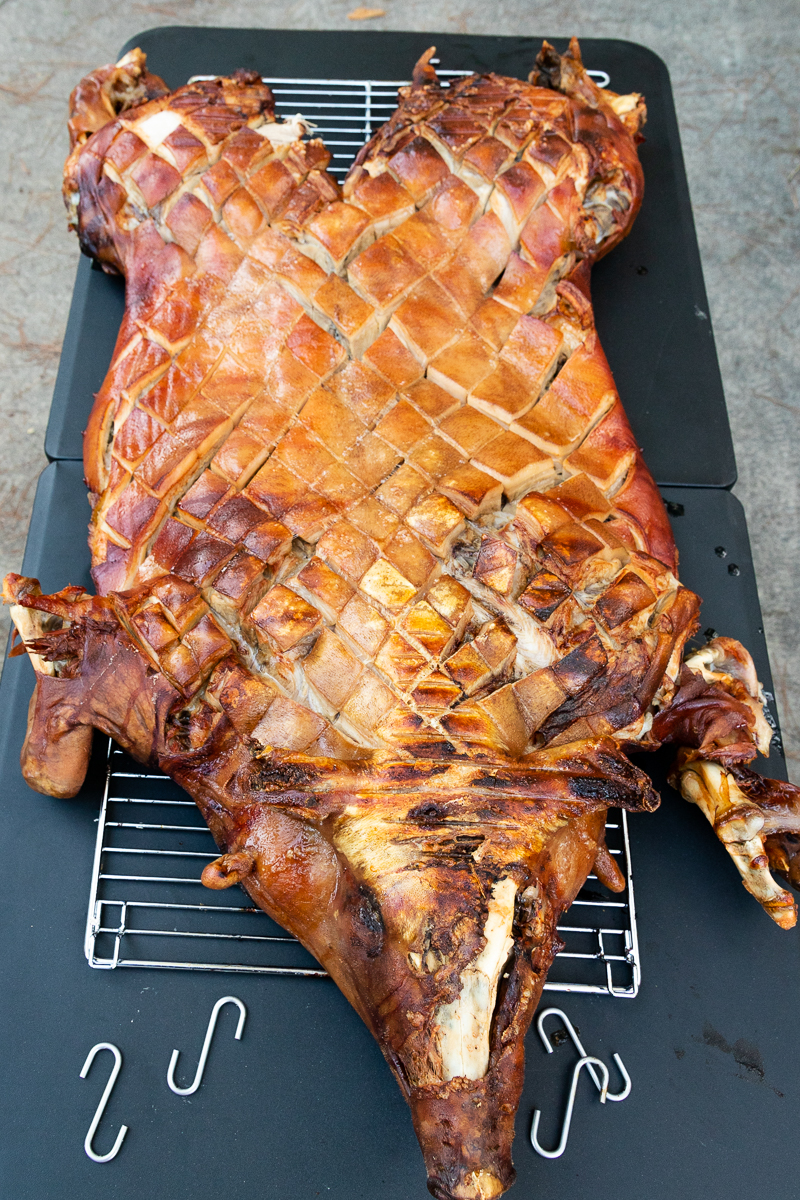
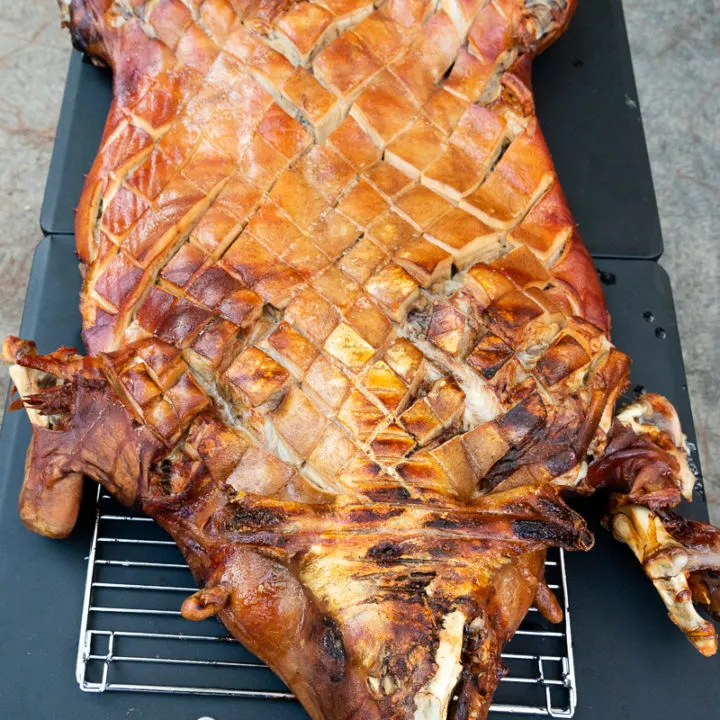
Since my roasting time took a total of just over 5 hours and 40 minutes, I spent about five hours roasting the pig with the skin side down. In order to have that crispy skin finish, you must finish the pig roast with the skin side up.
For this part of the roast you must have an assistant. At the five-hour mark I uncovered the lid, and using thick rubber gloves (the kind used for frying turkeys), I flipped the rack to have the skin side facing up. You will need to flip holding both the pig and the racks.
Once the rack is stable and the pig is skin side up, I brushed the skin with salty water. You may also pour over a can of Coke. My dad will do either. Replace the lid, and made sure to have a lot of freshly-lit coals. You will want the roaster to be as hot as possible. I kept roasting for another 45 minutes until the skin was a deep brown and crispy.
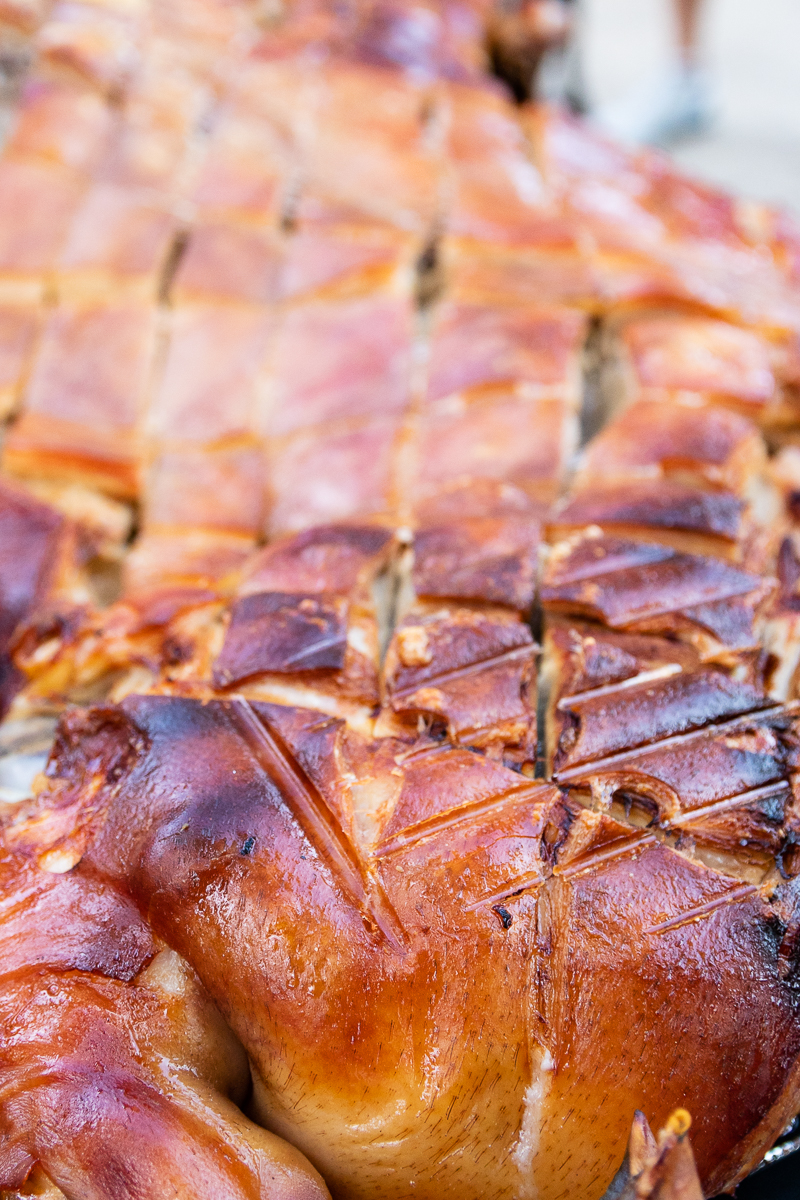
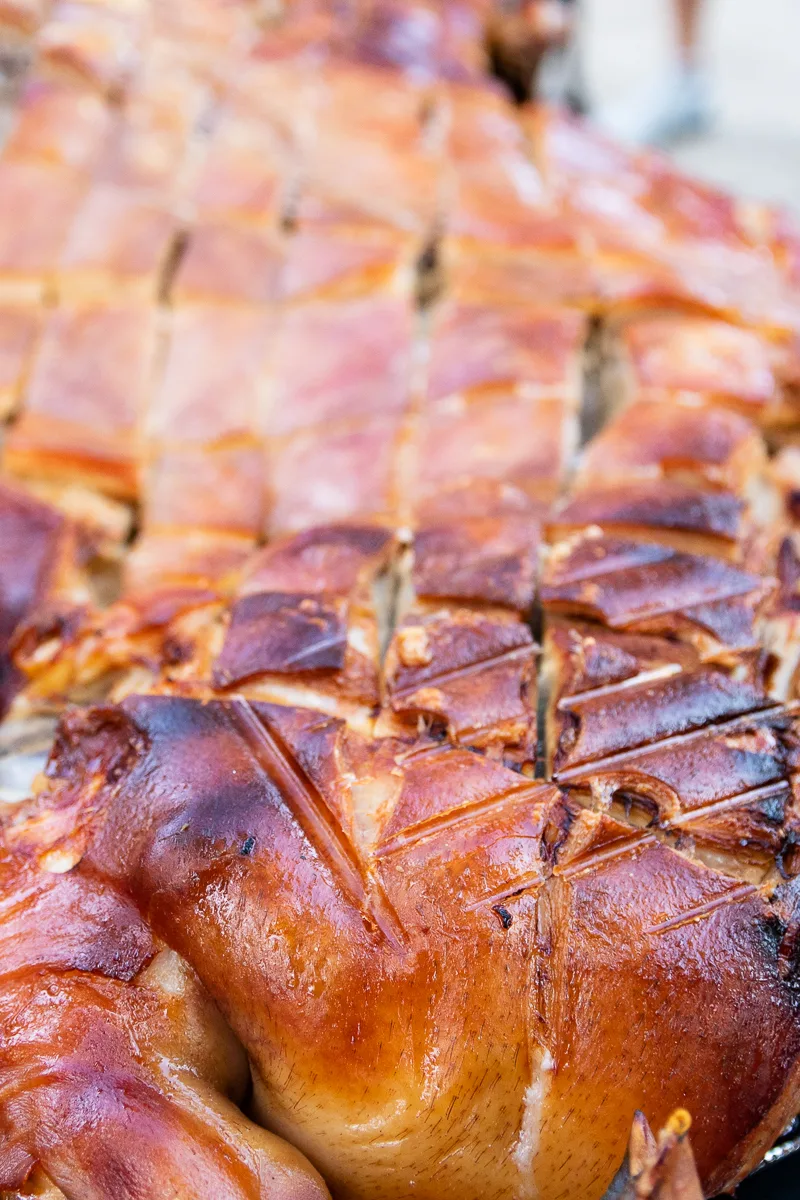
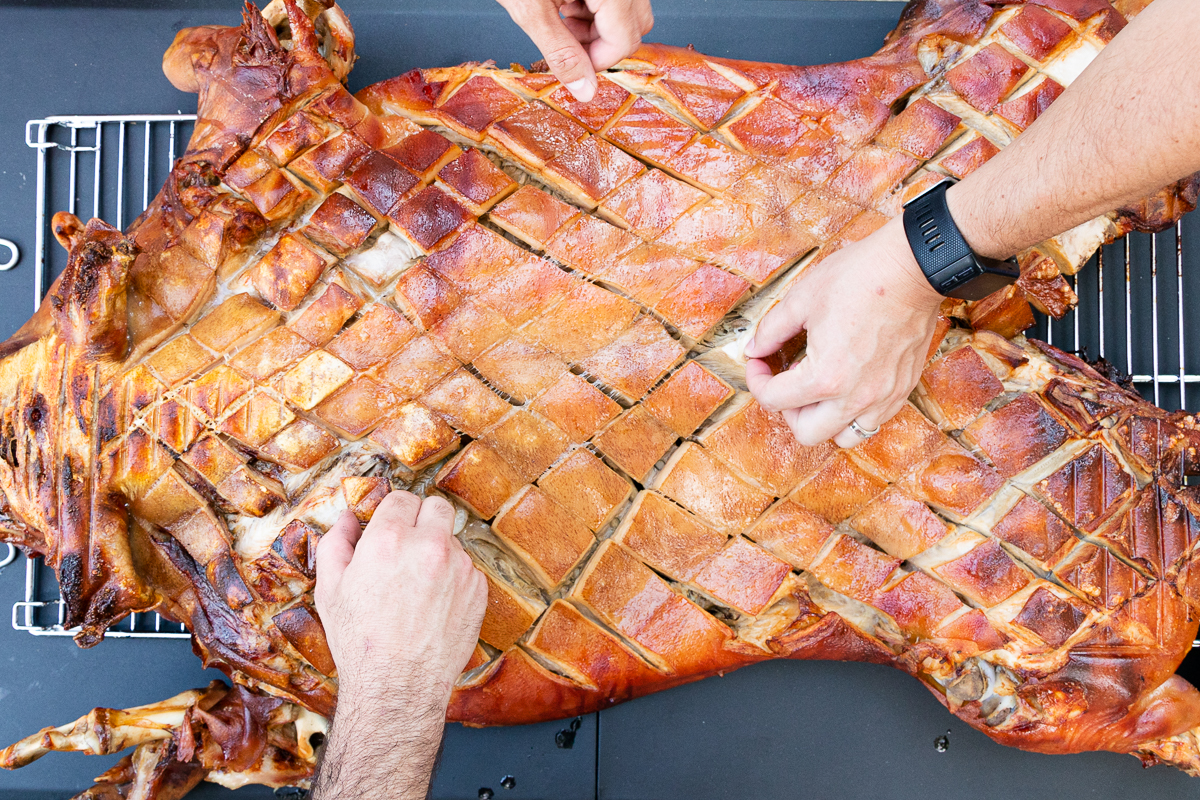
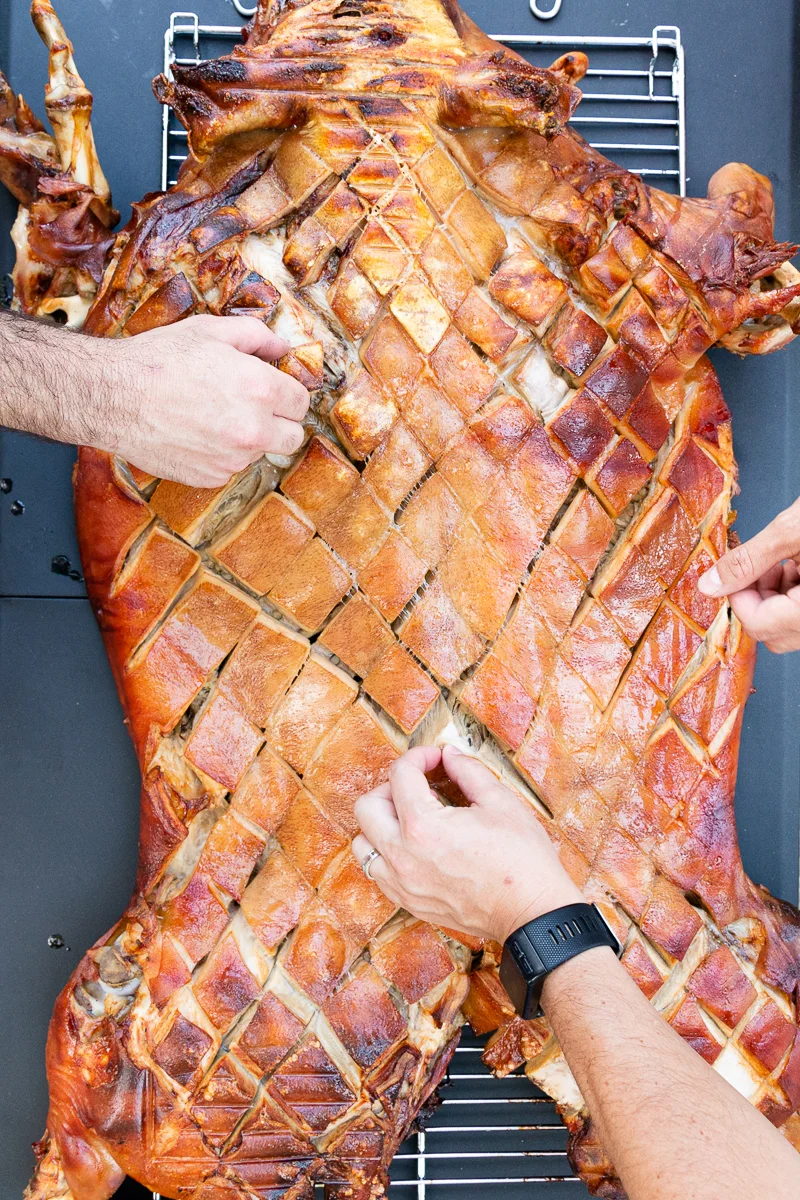
The Reveal!
Now its time for the big reveal! This is the part you and all your guests have been waiting for. Your pig should look something like this:

After everyone snapped a quick cell phone photo, it was time to cut the pig for serving. It is difficult to not eat pork as you cut. The smell is amazing! Guests will walk by as you cut to grab pieces of crispy skin and hunks of meat. Hosting a whole pig roast was amazing and well worth the time and effort. It’s a good thing the pig was tasty and everyone enjoyed. Miami did not have a good game against LSU that day.
Waste not…
I noted in Part 2 that nothing in this pig went to waste. I really mean that. Remember the aluminum pans that were set just prior to putting the pig in the roaster? After pulling out the pig, those pans were filled with precious drippings. Please do not throw them away. Collect the drippings and store them for use later. The Godmother separated the fat from the broth after chilling the pans. She rendered the fat to make a seasoned lard. The lard and broth were used for making very well seasoned tamales. I’m a really lucky guy.
Enjoy!

La Caja China Roasted Pork
Part 3 of 3 in a series on how to build a custom caja china (pig roasting box), order a pig for roasting, and host your own Cuban pig roast. This is a Cuban-style roasted pork with mojo.
Ingredients
- 1 whole pig, dressed and splayed (up to 70 pounds)
- 3 bulbs of garlic
- 3 cups orange juice
- 1/4 cup kosher salt
- 1/4 cup oregano
- 1 tablespoon cumin
- 1 tablespoon bay leaves
- 6 ounces lemon juice
- 4 ounces water
- 1.5 teaspoon black pepper
- Water with salt as needed
Instructions
- Peel all of the garlic cloves from the bulbs. Mash the cloves for two of the bulbs. Mix the mashed cloves with the orange juice, lemon juice, kosher salt, oregano, cumin, bay leaves, black pepper, and water to make the mojo marinade and let it rest for at least an hour.
- Prepare the pig on a table, attempting to lay it flat on its back. Break the pig's spine from neck to lower back with by using a hammer and a hatchet. As the pig flattens, lift parts of the pig's skin to insert garlic cloves from the third bulb.
- Place a cup of the mojo marinade in a blender, and insert the blended mixture in an injector to inject mojo into the hams. Afterwards, strap the pig to the oven/smoker racks using S-hooks.
- Prepare La Caja China by placing aluminum pans on the interior bottom of the roaster. Place bricks covered with aluminum foil inside the roaster to keep the pig in the racks suspended above the aluminum pans. With the lid of La Caja China removed, prepare 9-13 pounds of charcoal to be lit in two mounds towards the ends of the steel sheet.
- Place the pig in the racks inside the La Caja China, with the skin side down. Use a second cup of the mojo marinade to brush or pour onto the ribs and exposed meat.
- Cover the roaster with the lid. If you are using 16-gauge steel for your lid, roast for at least four hours. If you are using 20-gauge steel for your lid, roast for at least three hours. Be sure to sweep up charcoal ash and replenish with 6-9 pounds of charcoal every 45 minutes. Use a wide paint scraper to sweep the ash and use a metal bucket to deposit the ash.
- Remove the lid and rotate the pig to skin-side up. Remove the top rack to brush water with salt and score the skin. Re-attach the top rack, return the pig to inside the box, and cover the lid. Add a generous amount of charcoal to the mounds and continue roasting for no less than an hour (lid with 20-gauge steel) or approximately an hour and a half (lid with 16-gauge steel). Sweep up the ash and replenish charcoal as needed.
- Lift the cover, lift the pig by the racks and place on a serving table. Remove the racks and cut away to serve. Use the remaining mojo marinade to serve with the pork or desired side dishes.
Notes
You'll need a garlic press, blender, and injector
Recommended Products
As an Amazon Associate and member of other affiliate programs, I earn from qualifying purchases.
-
 Bene Casa Caja China style Aluminum Roaster 100 lb
 -

 Ofargo Plastic Marinade Injector Syringe with Screw-on Meat Needle for BBQ Grill, 1-oz, Red, Recipe E-Book (Download PDF)
 -
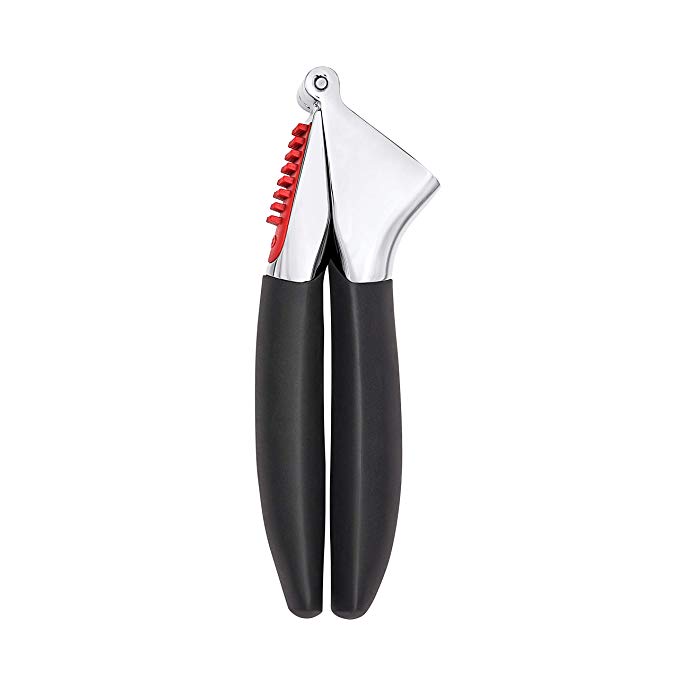
 OXO Good Grips Soft-Handled Garlic Press
 -
 Vitamix Explorian Blender, Professional-Grade, 64 oz. Low-Profile Container, Black (Certified Refurbished)