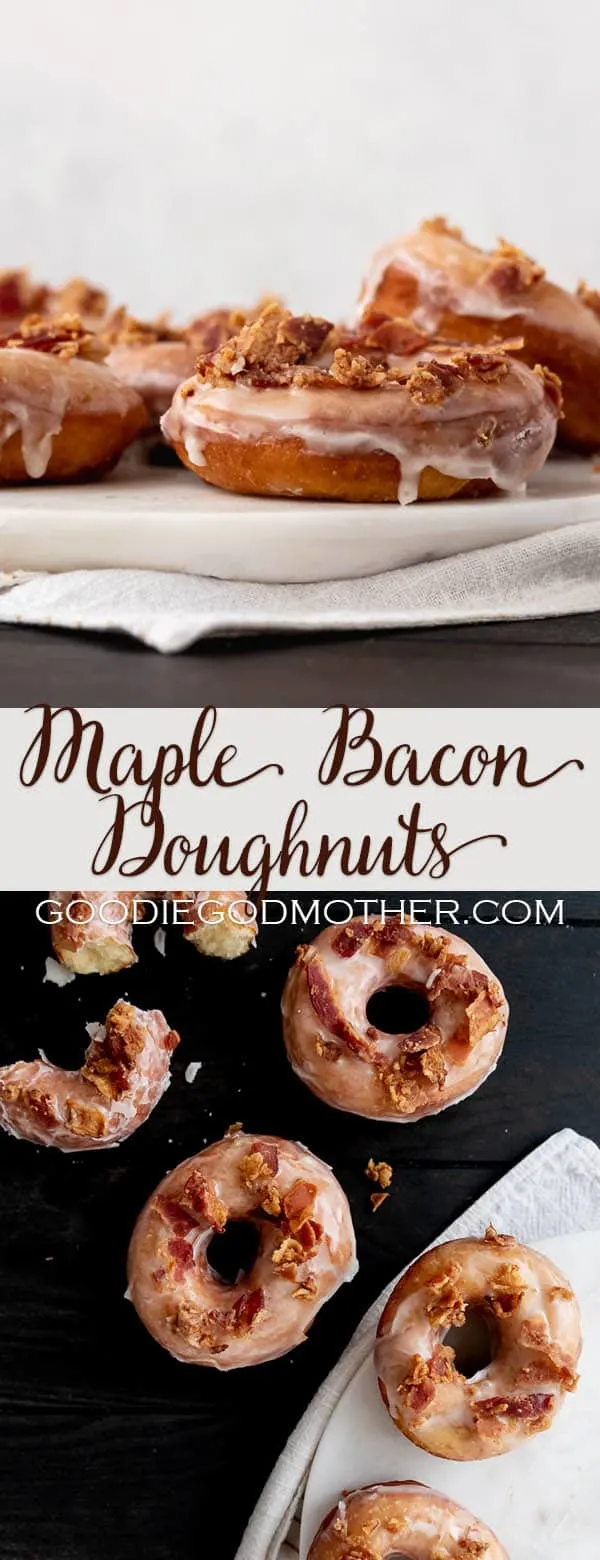
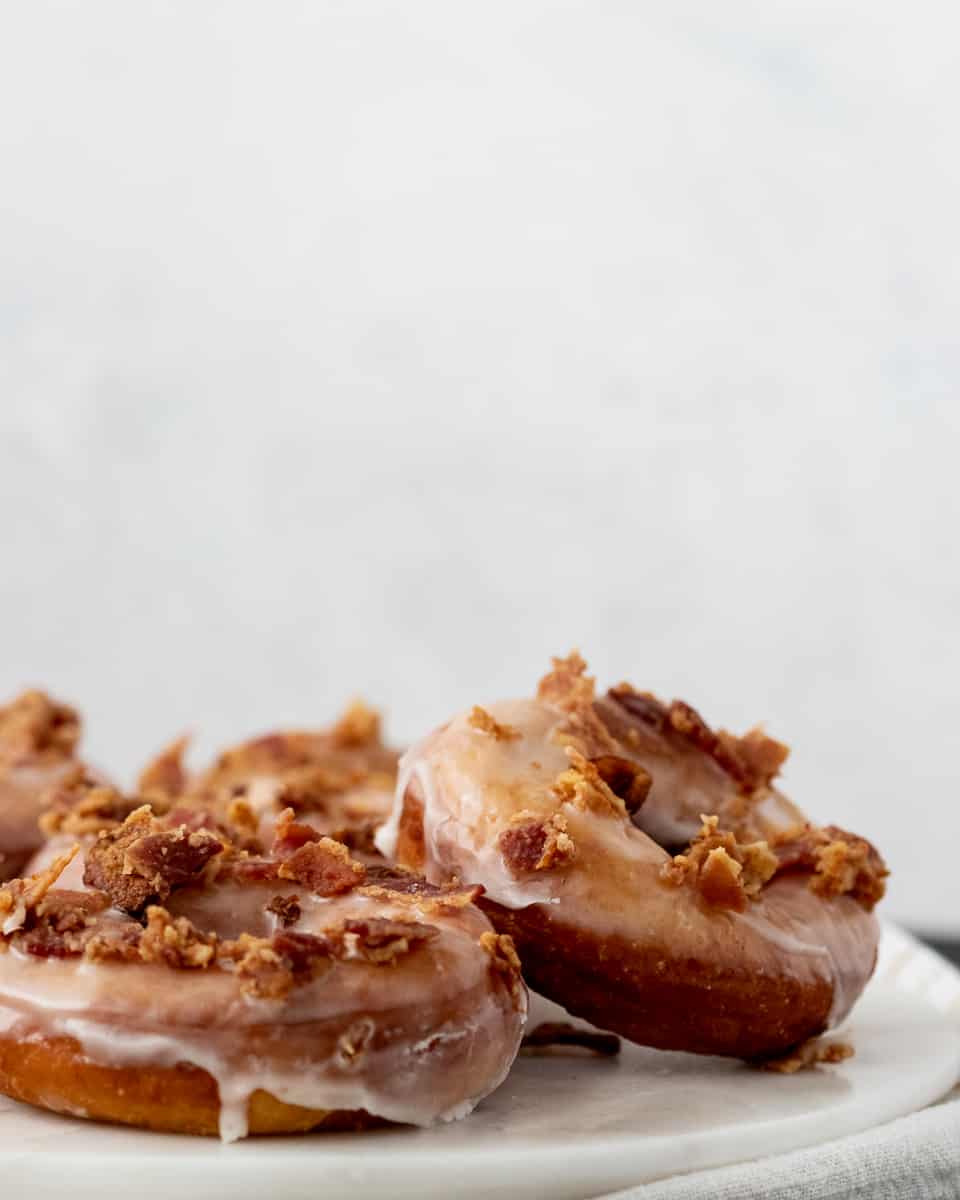
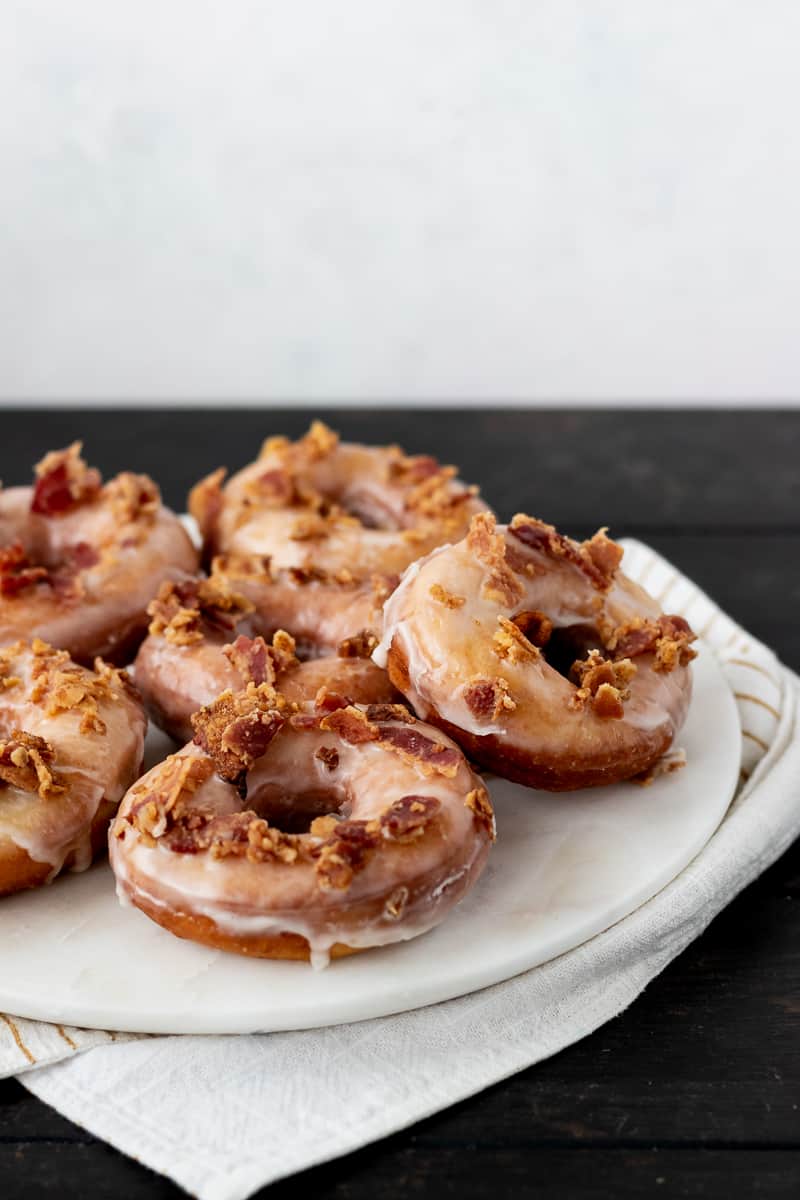
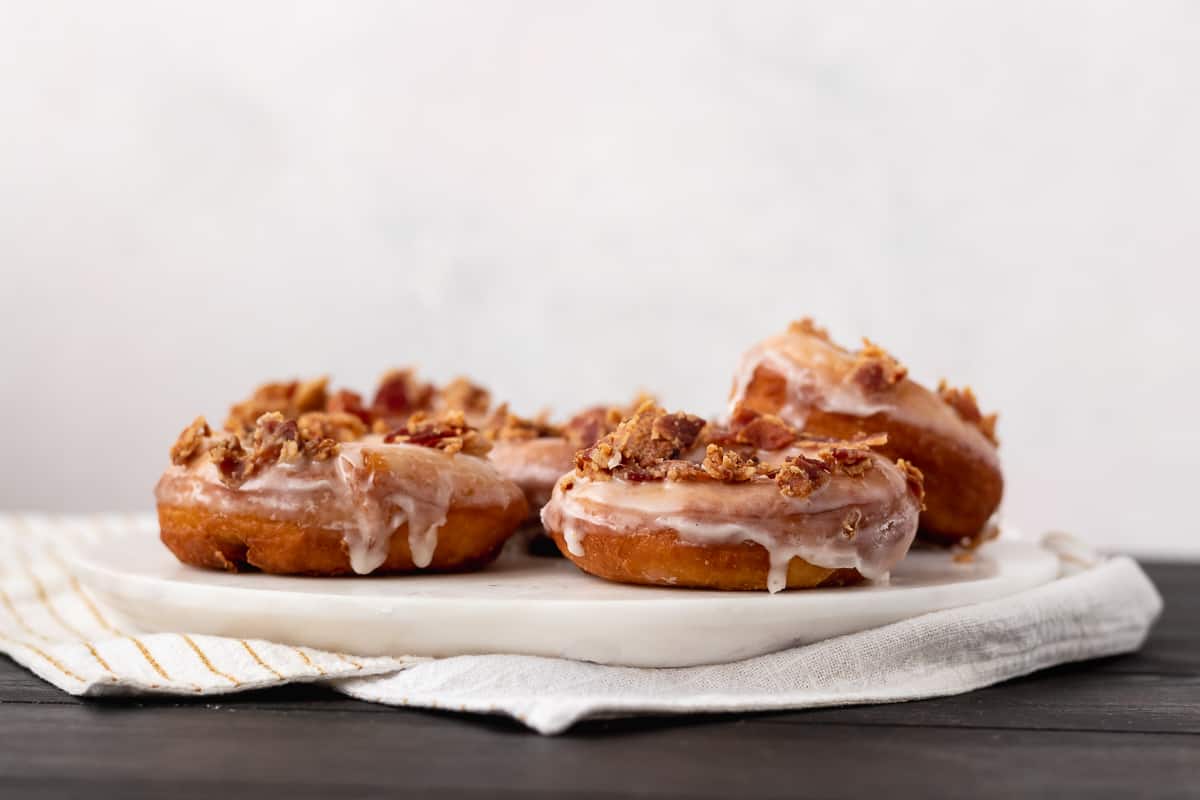
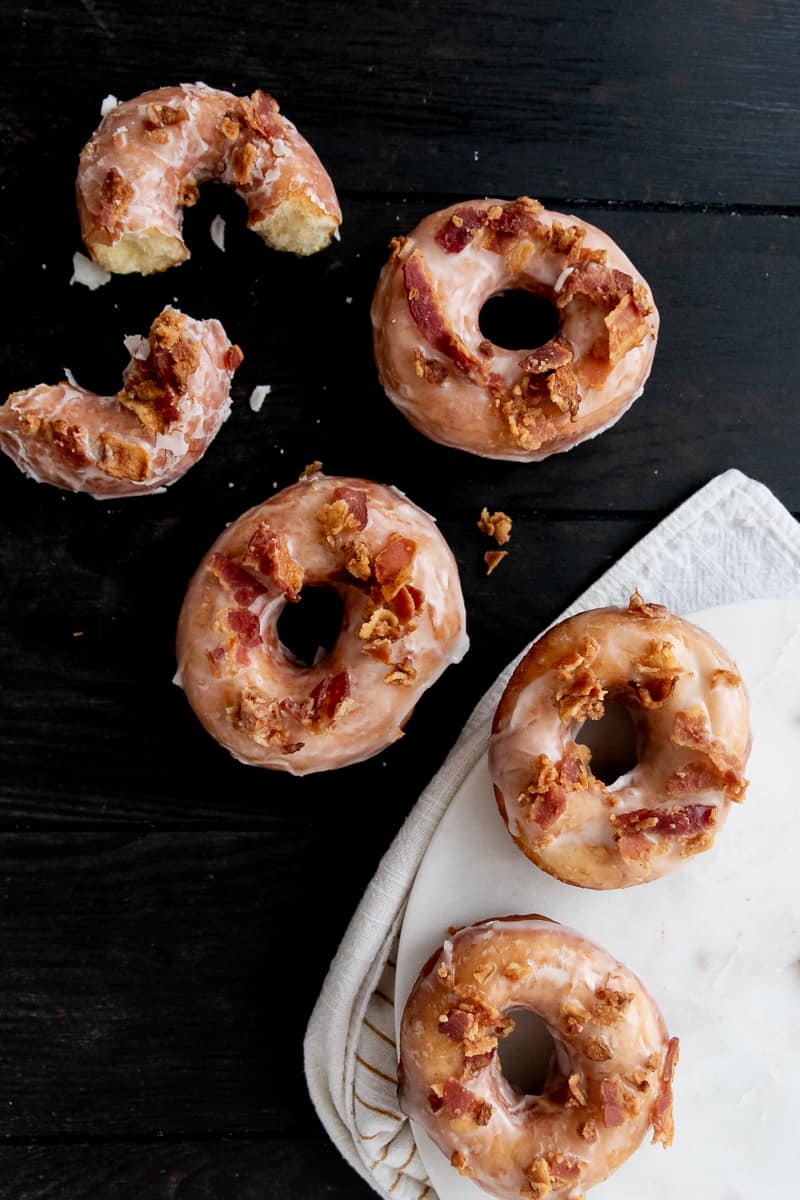
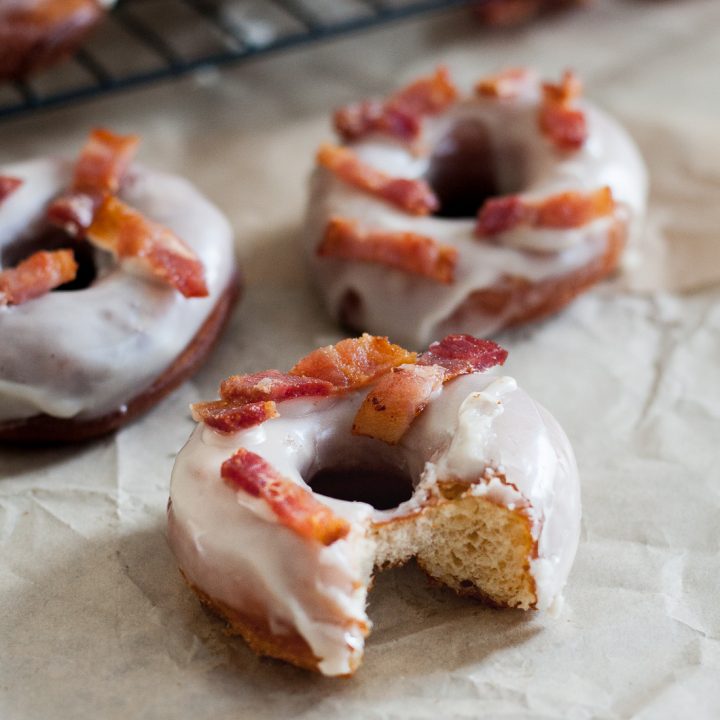
Sweet and salty are a wonderful combination and make these maple bacon doughnuts a treat that won’t last long!

I’m getting a little antsy to start posting the fall recipes, clearly. I have a few summer-ish recipes still coming, but the weather is starting to show the first signs of cooling (some days) and college football just started. So… fall flavors it is! And from the looks of it, maple bacon is an any season flavor for many of you. Then there’s the crazy deliciousness that is the homemade doughnut, and lots of people are off today, so you even have time to make this! Forget burgers, let’s celebrate with maple bacon doughnuts!
Actually, that was kind of the inspiration for this recipe in a very roundabout way. The Godfather and I took small one on an adventure out to Baltimore and we happened to pass a doughnut shop selling doughnut ice cream sandwiches. Amazing, right? We split one – we always share desserts – and it happened to be a maple bacon doughnut with chocolate ice cream.

I *almost* made that for this post, but the Godfather told me to scale it down a bit. This sentence is me telling you that if you make these, get some chocolate ice cream and have yourself a fresh maple bacon doughnut chocolate ice cream sandwich. Live a little. 😉
Talk to me about the donut dough…
Because I was making a mixed batch of doughnuts, I used a rather basic doughnut dough recipe for the base. This is what I usually do when I make this because my humans think I run a one woman bakery and would like assorted donuts from scratch. If yours feel the same, do as I do. That opens up the possibility for a variety of glaze flavors and toppings.
If you have bacon lovers, keep reading…
When I commit to making strictly maple bacon doughnuts I swap 1 tbsp of the butter in the dough for bacon grease. If you don’t have any bacon grease, fry up a strip of bacon, use the grease from that, eat the evidence. This step is optional! With it, you get a slightly more bacon-y donut, but no one complains without it.

Can I make the dough in advance?
Yes, you can! But it’s still going to be an early morning if you want to serve these for breakfast. To save a little time, mix the dough the night before, and then cover and refrigerate before the first rise. The next morning, you can roll, cut, and let the dough rise the second time. This cuts morning prep time by over an hour, and the cold dough is easier to cut and roll.
Do I have to fry the doughnuts?
This particular recipe is designed for frying, so I’m not sure of the results if you bake it. Thankfully, there are plenty of baked doughnut recipes out there. I have red velvet, lemon, and gingerbread for you to try on the blog, and this one from KAF is a great basic!
Recently I acquired an air fryer, and tried making a few doughnuts in that, and it worked pretty well! It took about 4-5 minutes at 400 F in my little basic unit. I flipped the doughnuts partway through the cooking process. Spray the basket and the doughnuts with a little nonstick spray before frying. The result isn’t quite identical, but it was close enough and the ladies I made them for enjoyed them. It was about a 50/50 split preference traditional fryer to air fryer.

I hope you enjoy this recipe! Happy almost fall y’all!

Maple Bacon Doughnuts
Sweet and salty are a wonderful combination and make these maple bacon doughnuts a treat that won't last long!
Ingredients
Doughnuts:
- 1 cup 2 tbsp whole milk, warmed (not hot)
- 2 1/4 tsp yeast
- 2 eggs
- 8 tbsp unsalted butter, softened (see notes)
- 1 tsp salt
- 1/2 tsp vanilla extract
- 1/4 tsp cinnamon
- 1/4 cup maple syrup
- 4 1/2 cups all purpose flour
- 4-5 cups neutral flavored oil for frying
Glaze & Topping:
- 1 1/2 cups powdered sugar, sifted
- 1-2 tbsp heavy cream
- 1 tbsp maple syrup
- 4-5 slices crisp cooked bacon, crumbled
Instructions
- Combine your warmed milk and yeast in the bowl of a stand mixer or large mixing bowl and allow to sit 5-10 minutes until slightly foamy.
- Whisk in the eggs, one at a time.
- Add the butter, vanilla, cinnamon, bacon grease (if using), maple syrup, and salt to the yeast mixture and stir.
- Add the flour 1 cup at a time, stirring after each addition. If you're using a mixer, use the dough hook.
- You'll see the dough start to pull away from the sides of the bowl cleanly. If it's not and you've added all the flour, add more flour 1 tbsp at a time. Knead until smooth.
- Clean out your mixing bowl and grease lightly. Return your dough to the bowl, cover with plastic wrap and allow to rise in a warm draft-free spot for about an hour until doubled in size.
- Place the risen dough onto a clean, floured surface and roll to about a 1/2 inch thickness. Use two cookie cutters or a doughnut cutter to cut the dough into circles about 3 1/2" in diameter (with a hole in the middle since these aren't filled). Save the doughnut holes. They're amazing rolled in a bit of cinnamon sugar or you may glaze as well.
- Cut the doughnuts as close together as possible to minimize waste. You can re-roll the scraps once and cut again after your initial pass.
- Place the doughnuts on parchment paper lined baking sheets with plenty of space between them, then cover with plastic wrap (loosely) or with a clean kitchen towel and allow to rise about 45 minutes until slightly puffy and delicate looking. Plan to prepare your oil and at about the 30 minute mark. If you haven't cooked your bacon yet, now is a good time to do so.
- Heat your oil in a heavy bottomed pot to 375 F. Line two baking sheets with a double layer of paper towels and set aside.
- Stir together the glaze ingredients in a bowl until smooth. Keep any desired toppings (the bacon, sprinkles, whatever) nearby for easy access.
- Use your hands (or a spatula) to carefully transfer the doughnuts one at a time into the hot oil. Don't overcrowd the pan!
- Cook on one side for 45 seconds to a minute until the doughnuts are a golden brown, then flip and cook an additional 30-45 seconds. Remove to the paper towel lined baking sheets. Test the first 1 or 2 to make sure they are cooking all the way through and adjust your oil temperature and cooking time as needed.
- Continue frying in batches. The best way to glaze is to work as you go and when you've completed about 2-3 batches of doughnuts, take the still warm doughnuts and dip into the glaze. Top immediately with the crumbled bacon and place on a wire rack.
- Serve as soon as possible as homemade doughnuts are always best fresh!