
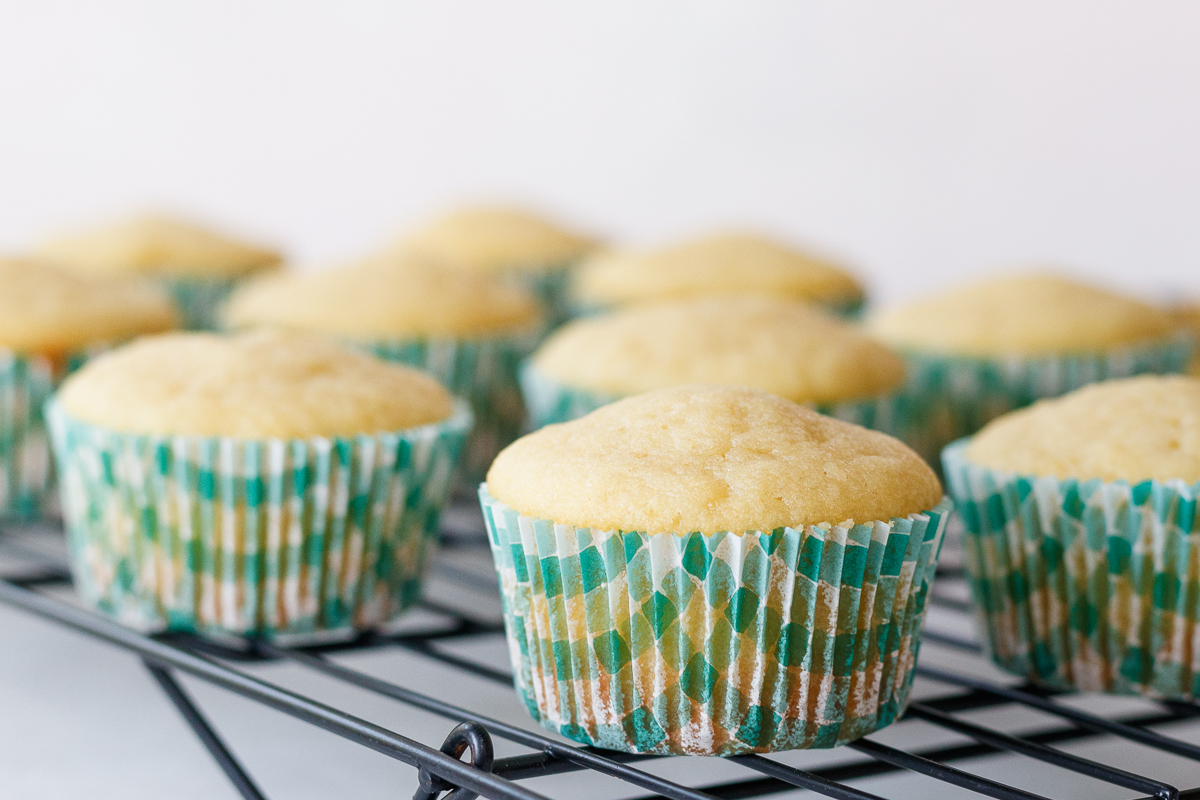
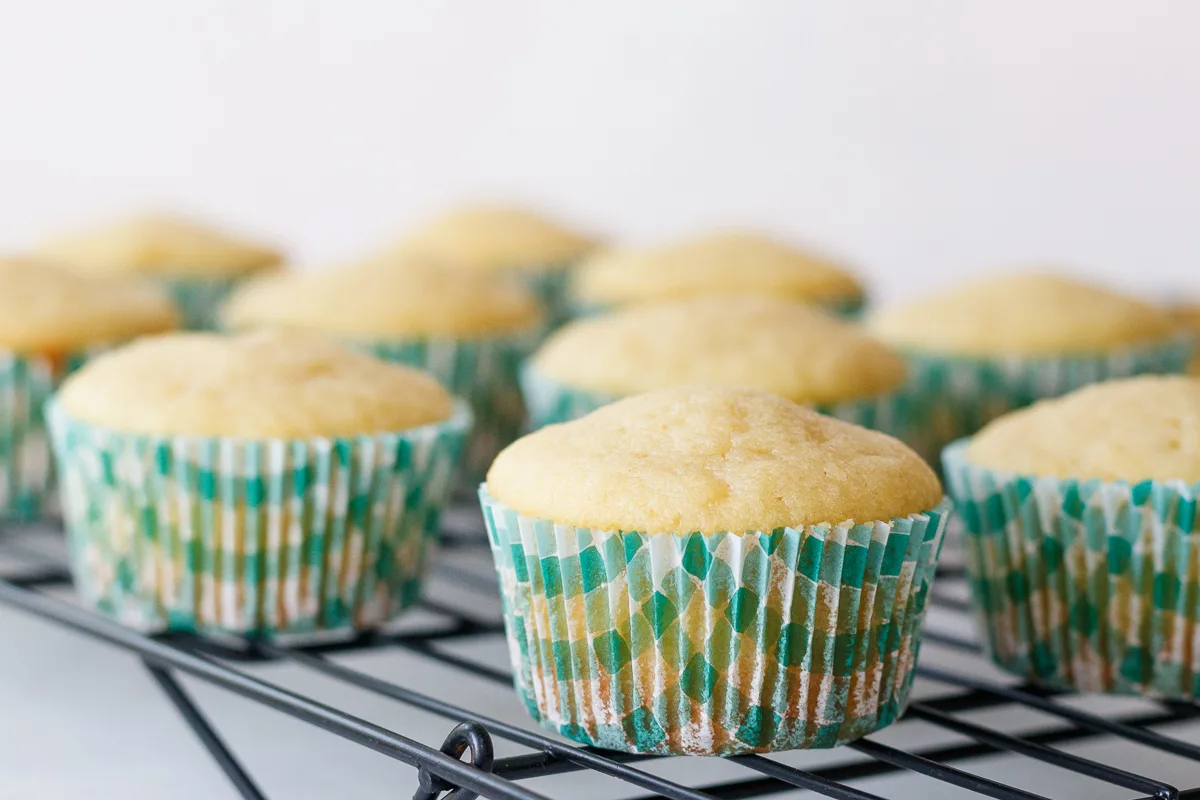
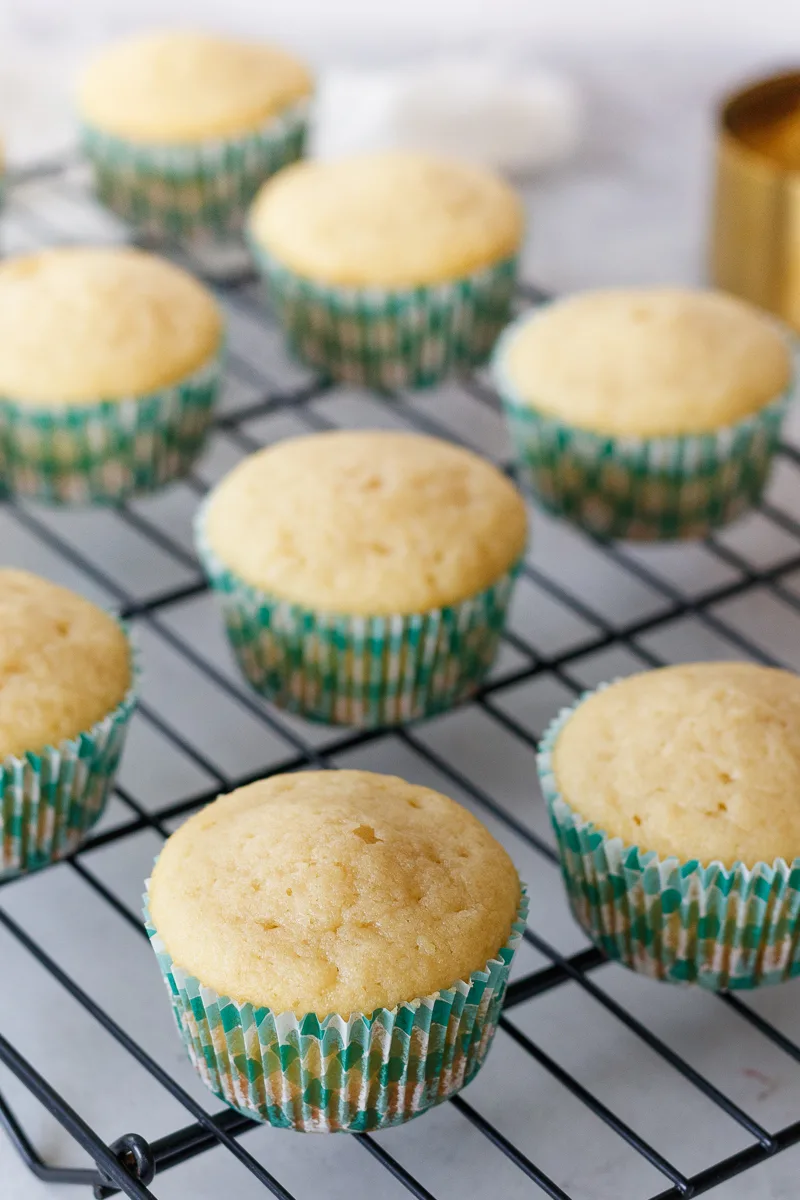
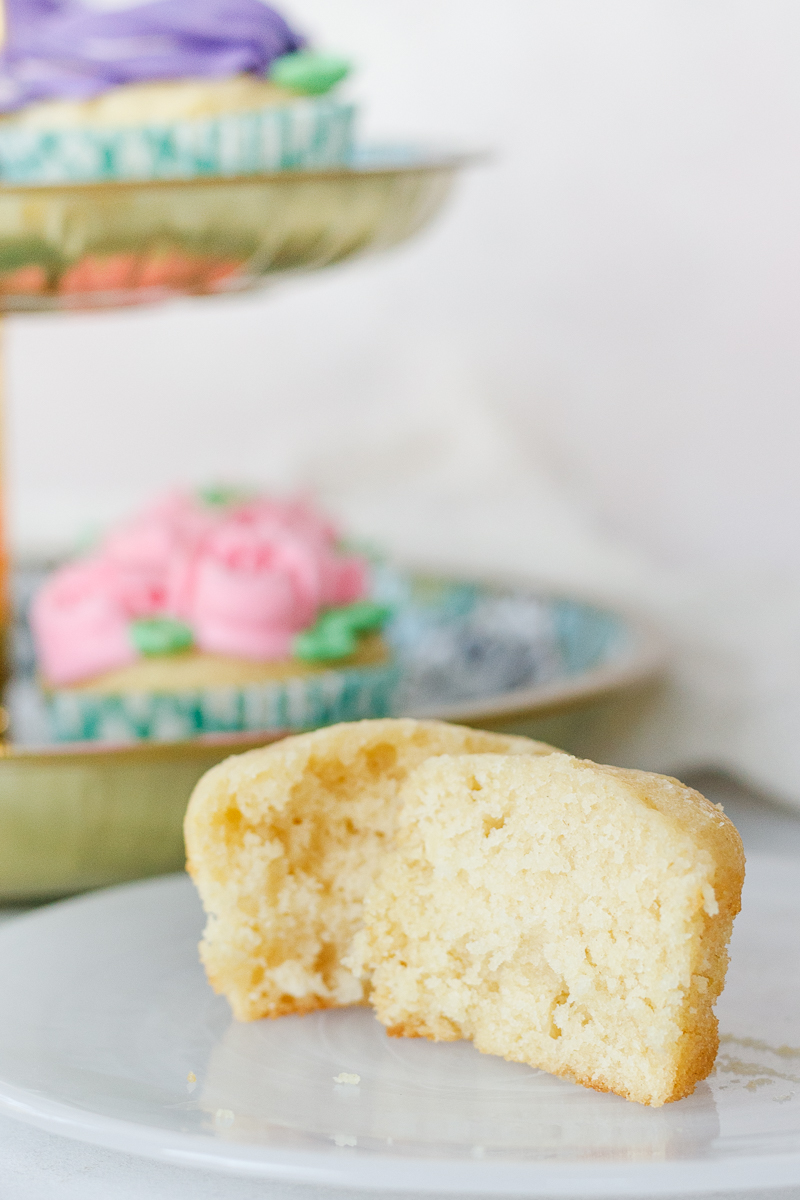
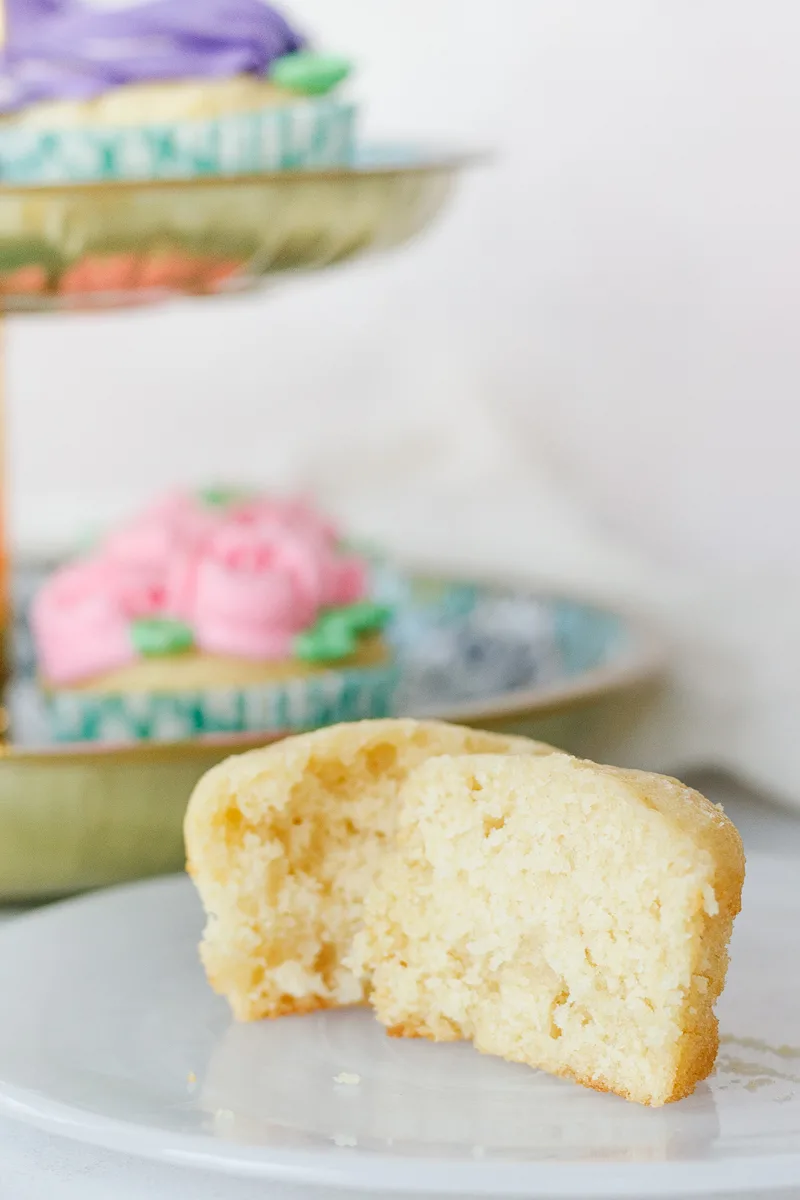
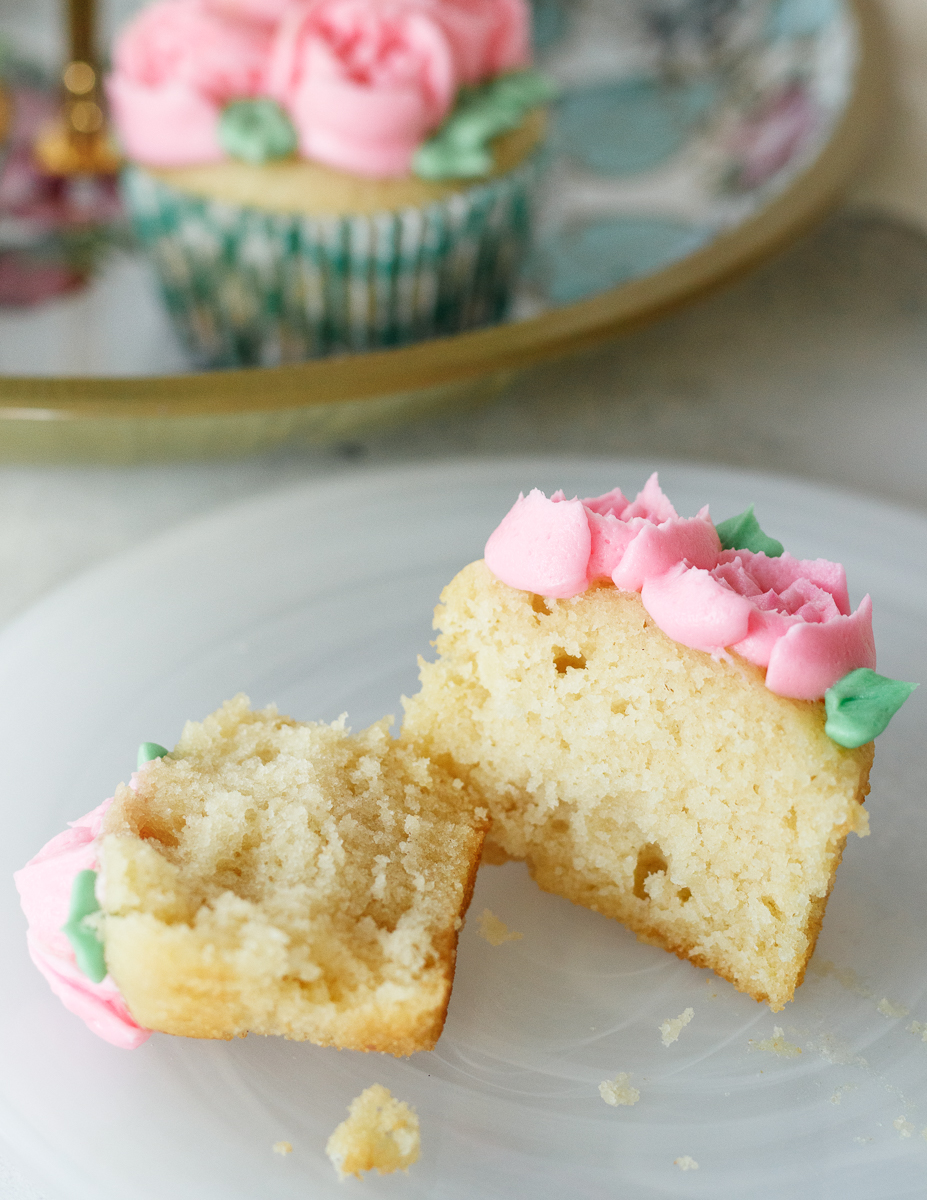
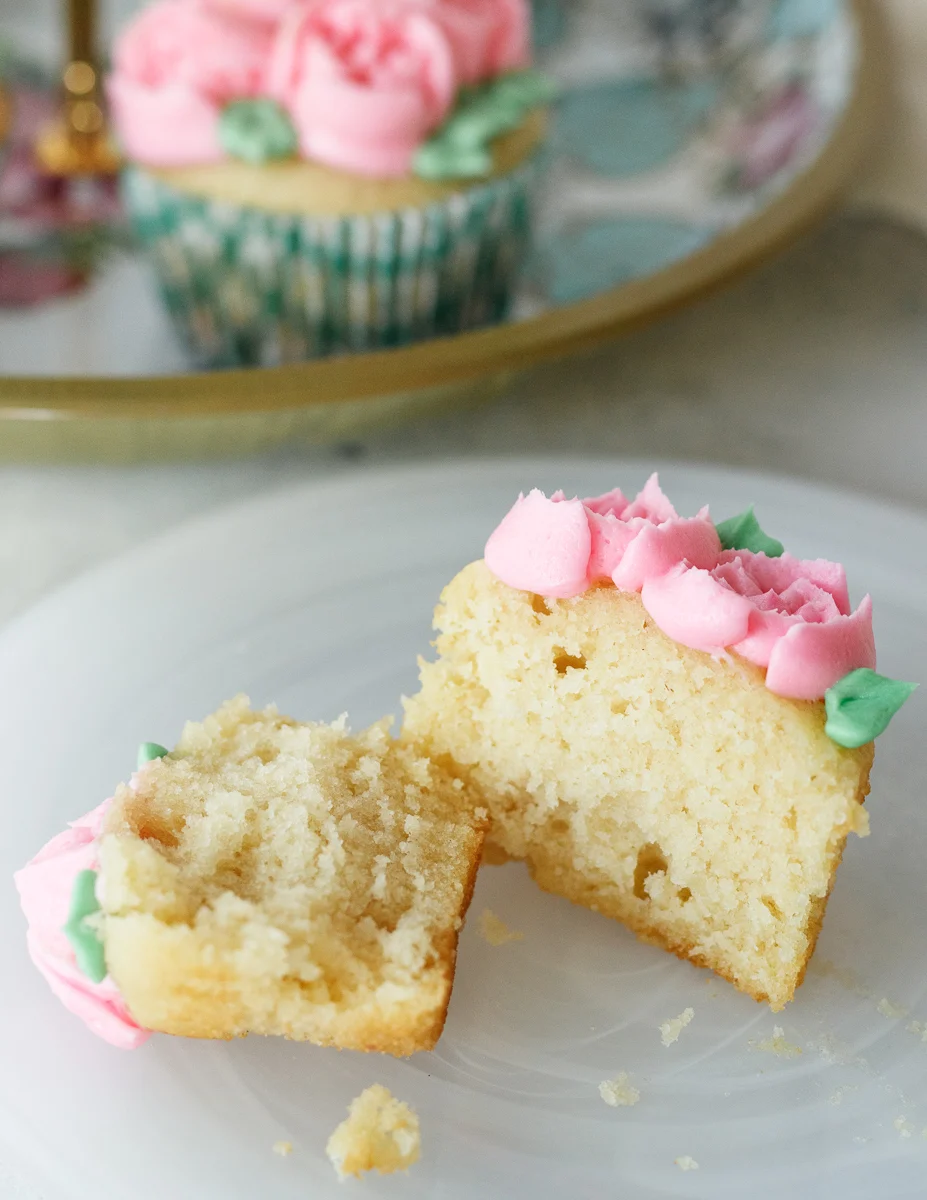
Fluffy, moist, with all the classic vanilla flavor you want, this is the perfect vanilla cupcakes recipe.

One can never have enough cupcake recipes. But no matter how many recipes we have, we need at least one “tried and true” for the classics. I have my perfect chocolate cupcake recipe that I love, and this is my perfect vanilla cupcake recipe. What makes this vanilla cupcake recipe “perfect” in my opinion is the tender yet moist crumb in the finished product. They taste homemade but have some of the characteristics that people like about box mix. Namely, a delicious flavor, and light yet moist texture. But they’re better.
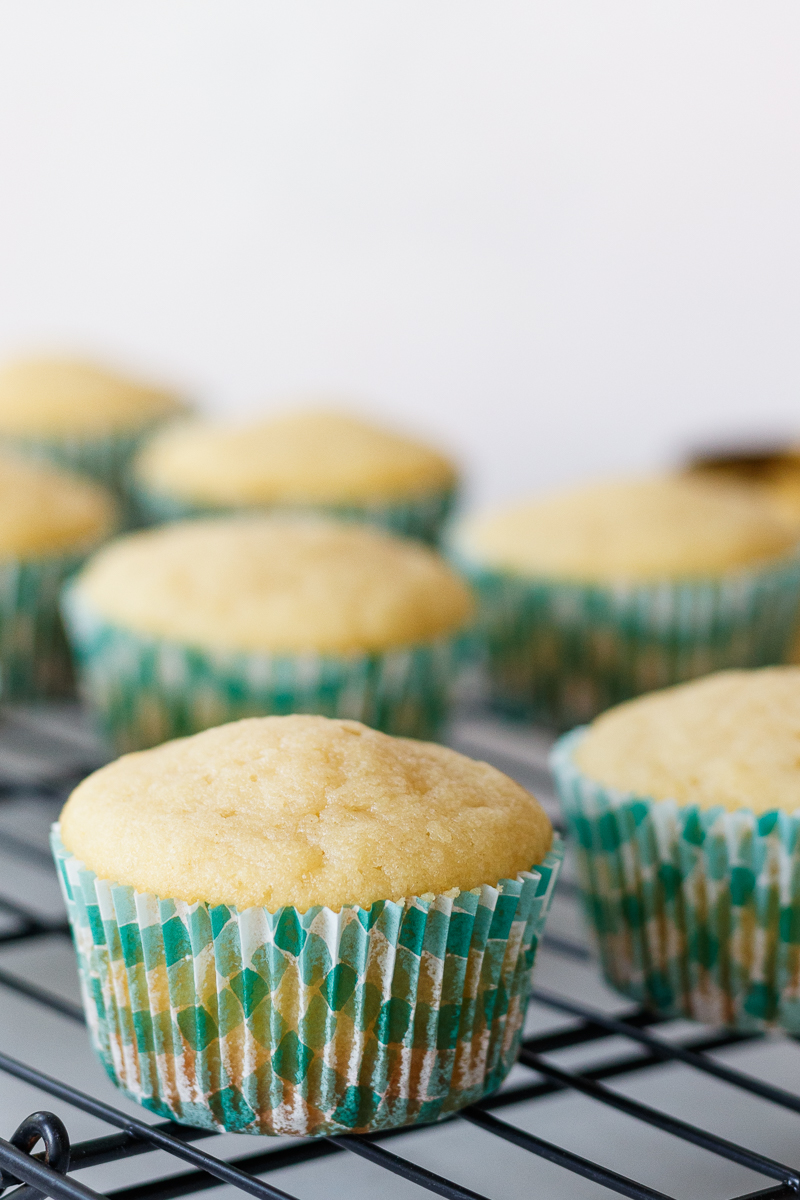
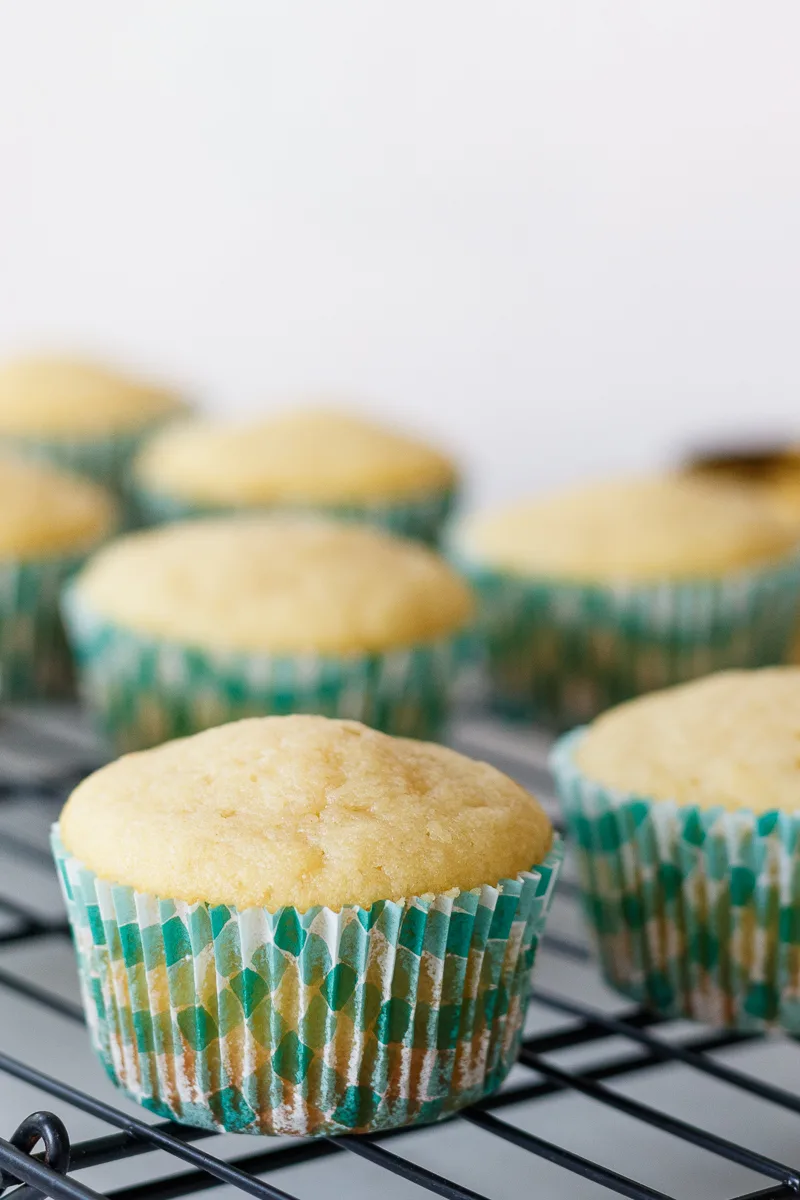
This recipe bakes up 12 cupcakes. I mention this because back when I started the blog, I think every cupcake recipe I posted baked no less than 18. Mostly that happened because I was so used to baking for farmer’s markets and party orders, which required bulk baking and I just never thought about scaling. You can imagine how quickly that became overwhelming! Sometimes, a dozen cupcakes are all you need.
If you need less, by the way, I have a small batch vanilla cupcake recipe here.
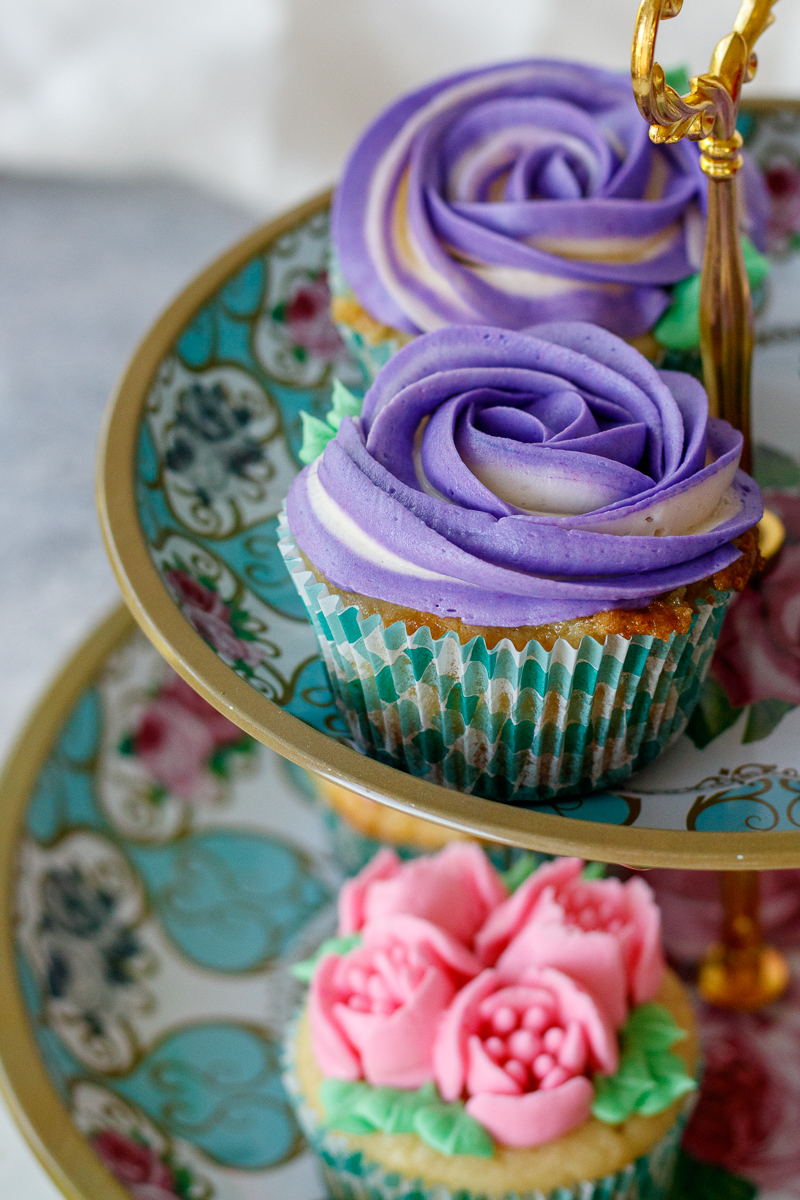
I am not including a dedicated frosting recipe here. The thing with vanilla cupcakes is that they make a perfect blank canvas. You can frost them any way you’d like! When I made this batch for photos, I wanted to play with my Russian piping tips (super fun, by the way), so I just made my classic American Buttercream frosting recipe.
Other great frostings include my:
- Fresh Raspberry Buttercream
- Decadent Chocolate Buttercream
- Vanilla Swiss Meringue Buttercream
Flavoring your perfect vanilla cupcakes…
Why are we talking about flavor for vanilla cupcakes? Because vanilla, classic that it is, is anything but boring when it comes to flavor! And because vanilla is such a popular flavor, you can choose the best flavoring option to suit your preference. If you want pretty flecks of vanilla bean, scrape a real vanilla bean or use some vanilla bean paste. Otherwise, you’ll be choosing between using real vanilla extract, artificial vanilla extract, or a bakery emulsion.
The vanilla is the star flavor here, so if you have a good real vanilla extract, here’s a great place to use it! This is what I use almost all the time. If you’d like more of a box cake type flavor though, use artificial vanilla or a bakery emulsion. I suggest these two alternatives for two reasons. The first is that I understand some people really love the artificial vanilla flavor. You do you proudly, boo. Bake what you like to eat. The second is a little bakery flavor hack that has a little more to do with chemistry.

If you’ve never heard of a bakery emulsion before, it’s an oil-based flavoring. Your classic extracts are alcohol-based. Why does this matter? Well, the alcohol evaporates very quickly, so you can lose some of the vanilla flavor in the cupcakes when you bake. This is where quality matters with real vanilla extract because the homemade extracts or higher quality ones have a higher concentration of flavor.
A bakery emulsion, on the other hand, is oil-based, so it doesn’t evaporate during baking. The flavor is more concentrated, and what you taste in the batter is about the same strength you get after baking. Personally, I do use bakery emulsions sometimes. Butter vanilla is a good one if you’re looking for a definite “vanilla” flavor with a bit of oomph.
Bottom line, TL:DR for this section is that any vanilla flavoring you prefer will work and taste delicious. Use what you have on hand and what you like to use for flavoring. All vanilla, slightly different to suit your palate.
A few baking and storing tips
When preparing your batter, you’ll want to be sure to follow the usual good practices for baking cakes and cupcakes. Make sure you don’t pack your flour into the measuring cups, fluff then scoop, or weigh instead. Since this recipe uses the reverse creaming method where you add wet ingredients to dry, be careful to mix until just combined. You don’t want to beat the batter too much so you don’t over-activate the gluten. This can make the cupcake tough. It’s easy to avoid if mixing by hand, but if you’re using the stand mixer, just be sure not to walk away while the batter is mixing.
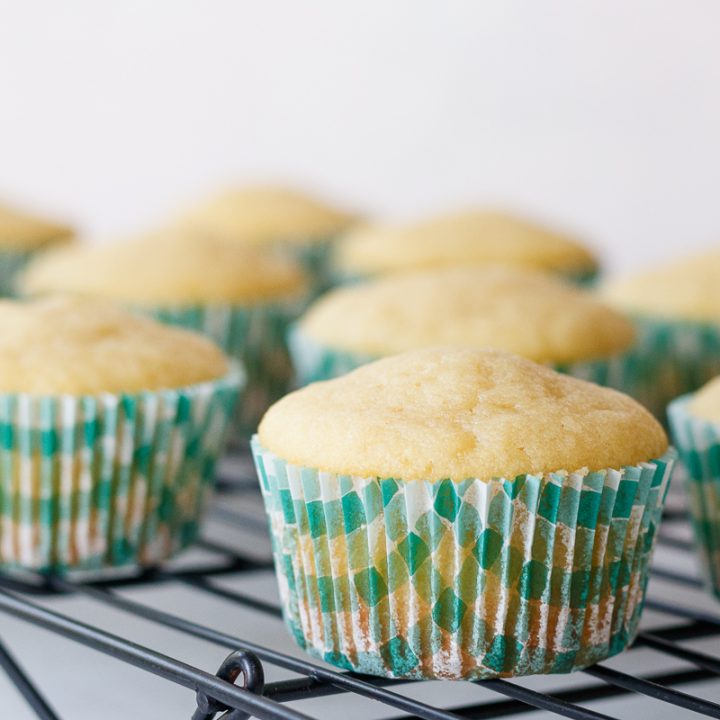
Don’t over-fill your cupcake liners. Fill no more than 2/3 of the way full. I like to use a medium cookie scoop to help me portion out the batter.
The color of your baking sheet and the type of liner used can affect how the cupcakes bake. Be sure that you watch the cupcakes closely in the oven towards the end of the baking time. When the top of a center cupcake springs back lightly when touched and a tester comes out with no more than a moist crumb or two, cupcakes are ready! You don’t want to leave them too long so you avoid toasting the edges.
Finally, make sure that your cupcakes are completely cool before frosting! Warm cupcakes cause the icing to melt right off… personal experience. If you’re baking one day and frosting the next, you can store the completely cooled cupcakes in an airtight container on the counter. If you’re in a particularly humid climate or have frosted with a perishable frosting, you can refrigerate them up to 3 days. But you’ll want to remove them from the refrigerator 10-15 minutes before you plan to eat one so it comes to temperature.
If you are baking the cupcakes in advance and want to freeze some for later, you’ll want to be sure they’re completely cool anyway before individually wrapping and placing in a freezer bag for storage. You can freeze them up to 3 months. Thaw as needed in the refrigerator then the counter to avoid condensation.
I hope you love this perfect vanilla cupcake recipe, darlings! They’re definitely one of my more versatile recipes and I hope they’ll become a classic for you too. ❤ Happy baking!

Perfect Vanilla Cupcakes from Scratch
Fluffy, moist, with all the classic vanilla flavor you want, this is the perfect vanilla cupcakes recipe. Easy vanilla cupcakes from scratch.
Ingredients
- 1 2/3 cup all-purpose flour
- 1 cup granulated sugar
- 1/2 tsp baking soda
- 1 tsp baking powder
- 1/2 tsp kosher salt
- 1/2 cup unsalted butter, melted
- 1/4 cup neutral-flavored oil
- 1 large egg
- 1 tbsp vanilla extract
- 1/4 cup sour cream, room temperature
- 2/3 cup whole milk, room temperature
Instructions
- Preheat your oven to 350 F and line a cupcake pan with 12 liners. Set aside.
- In a large mixing bowl or the bowl of a stand mixer fitted with the paddle attachment, mix together the flour, sugar, baking soda, baking powder, and salt.
- In a separate, smaller bowl, whisk together the butter, oil, vanilla, sour cream, and egg.
- With the mixer running on low, slowly pour the wet ingredients into the dry ingredients. Stir until just combined.
- Divide the batter evenly between the cupcake liners, filling each about 2/3 of the way full.
- Bake the cupcakes for 18-20 minutes until a tester inserted in a center cupcake comes out clean and the top of a cupcake springs back when lightly touched.
- Remove from the oven and allow the cupcakes to rest for 3-5 minutes before transferring to a rack to cool completely.
- Once the cupcakes are cool, frost as desired and enjoy! Uneaten cupcakes with frostings that do not need to be refrigerated can be stored in an airtight container at room temperature overnight. Otherwise, store in an airtight container in the refrigerator up to 3 days.
Notes
- If you are like me, you don't measure your vanilla most of the time. Eyeball about a tablespoon in there and you're good. If you are using an emulsion or artificial vanilla over real vanilla extract, I'd recommend reducing the amount to 2 teaspoons.
Recommended Products
As an Amazon Associate and member of other affiliate programs, I earn from qualifying purchases.
-
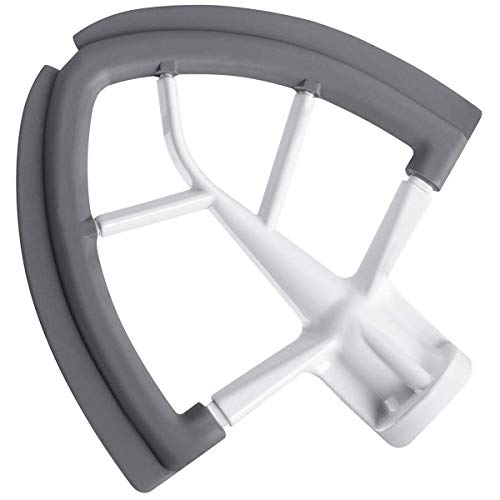 Flex Edge Beater for KitchenAid Tilt-Head Stand Mixer, 4.5-5 Quart Flat Beater Blade with Flexible Silicone Edges Bowl Scraper
 -
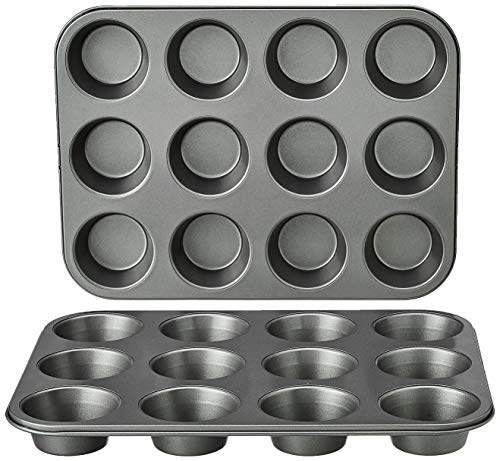 AmazonBasics Nonstick Carbon Steel Muffin Pan, Set of 2, 12 Cups Each
 -

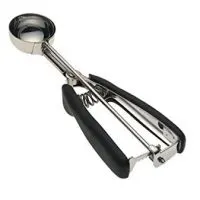 OXO Good Grips Medium Cookie Scoop
 -
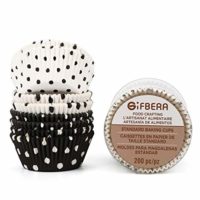
 GIFBERA 200 Piece Polka Dots Paper Baking Cups/Cupcake Liners, Standard Size, Black and White