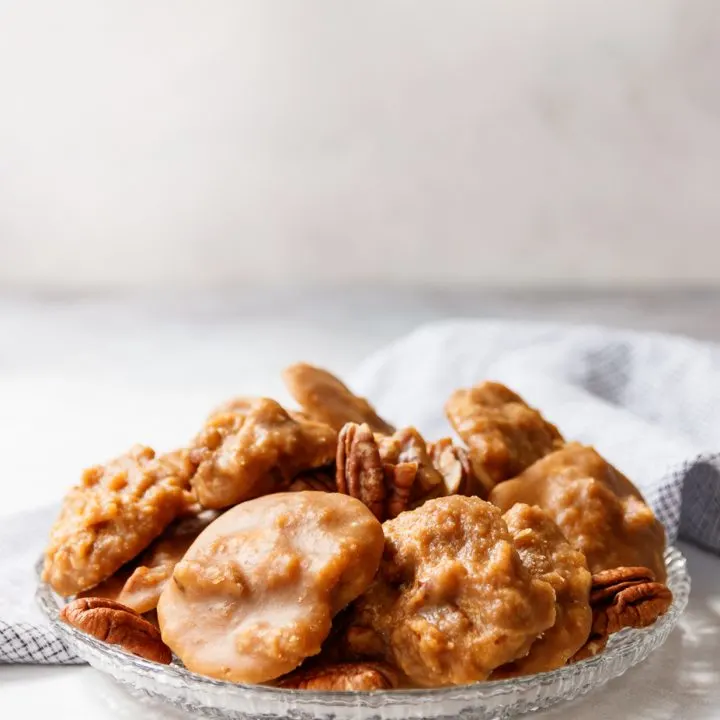
Pecan pralines are a classic Southern candy recipe. They’re a tasty treat to make around the holidays, in a variety of flavors. This pumpkin pecan pralines recipe uses fresh pumpkin for a delicious, unique flavor.
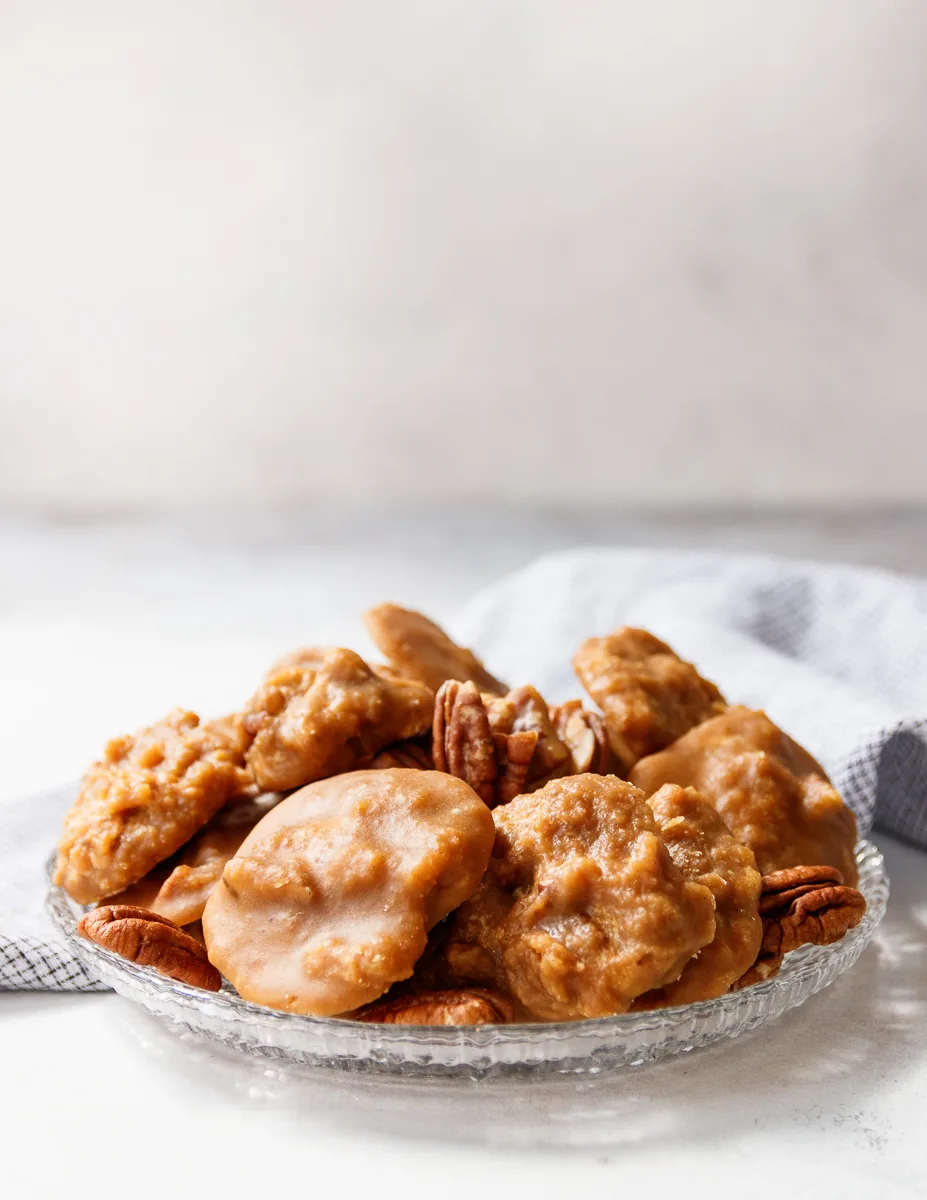
I’ve been in love with pralines since childhood. What’s not to like about a praline? Good ones have a rich, buttery flavor, a silky texture when you bite, and the delightful crunch of toasted nuts. Not only are they good plain, but pralines can be used in ice cream, on yogurt, cakes, even banana bread! And yet, I didn’t start making them until I *needed* to make this pumpkin pecan pralines recipe.
Yes, needed. A few years back, the Godfather and I got our first kid-free trip. We spent a lovely weekend in New Orleans walking around, taking in the sites, and of course, trying all the food! We sampled a few pralines from the local shops and my favorite was the sweet potato praline. It felt a little less sweet, and I loved the earthy flavor from the sweet potato. The Godfather’s favorite was peanut butter, I think. Either way, as we walked out of one of the shops, a box of pralines to share with the rest of the family in hand, I stopped. There was no pumpkin praline!
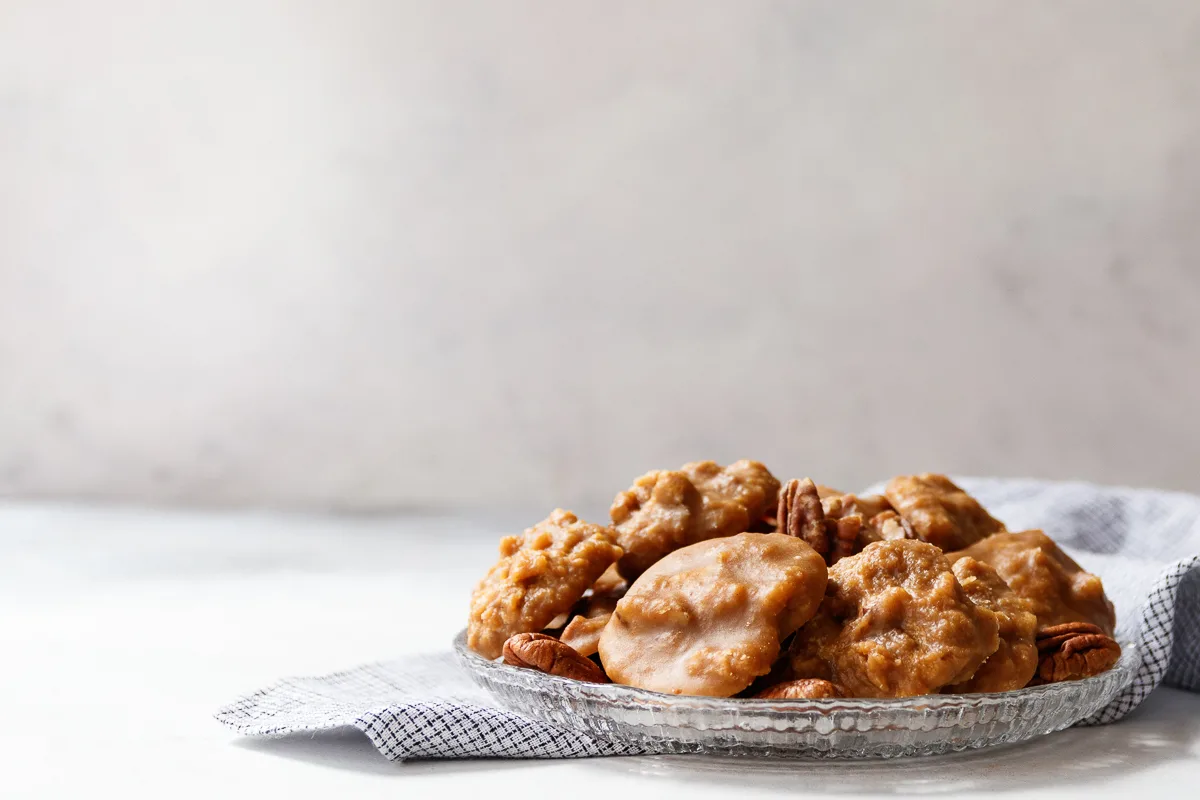
Mind you, we were there in the summer, and most of the world doesn’t operate 2-3 months in advance the way food bloggers do. Being the darling man he is, the Godfather just looked at me and said, “you’re right”. He knew the next words out of my mouth were going to be “I’m going to make some!” Looking back, he may have said something else if he knew what he was in for.
I spent the next month making batch after batch of pumpkin pralines. I gave them to neighbors, took them to church, sent them to the Godfather’s work, shipped some to family. Everyone had their fill of pumpkin candy, but it was so worth it! The resulting pralines are just right. And then I mislabeled the picture folder on my desktop and never posted the recipe. I found it recently when doing some digital cleaning. Oops.
Pumpkin Pecan Pralines: Ingredients
The ingredients for this praline recipe are generally the same as most praline recipes. You have sugar, some mix of white and brown, butter, cream or milk, and pecans of course. That’s your basic pecan praline ingredient list. From there, candy makers add things like chocolate, spices, peanut butter, sweet potato, or in this case, pumpkin puree!
You need the sugar, butter, and milk or cream because these ingredients give both the classic praline texture and flavor. Praline candy is a cousin of caramel. I talk about this a bit in my pecan praline sauce recipe. That’s another good recipe to try too if you like the praline flavor. The difference is in how you combine the ingredients and the cooking process.
How to make pralines
When you make pralines, you combine the ingredients together in the pot and cook. Once it hits a certain temperature, you stir the sugar like crazy to cause crystallization. The goal is to stir just long enough that the praline candy sets into a creamy yet firm texture. If you don’t stir enough, it won’t set up properly and you’ll have praline sauce. If you stir too long, your pralines could end up grainy.
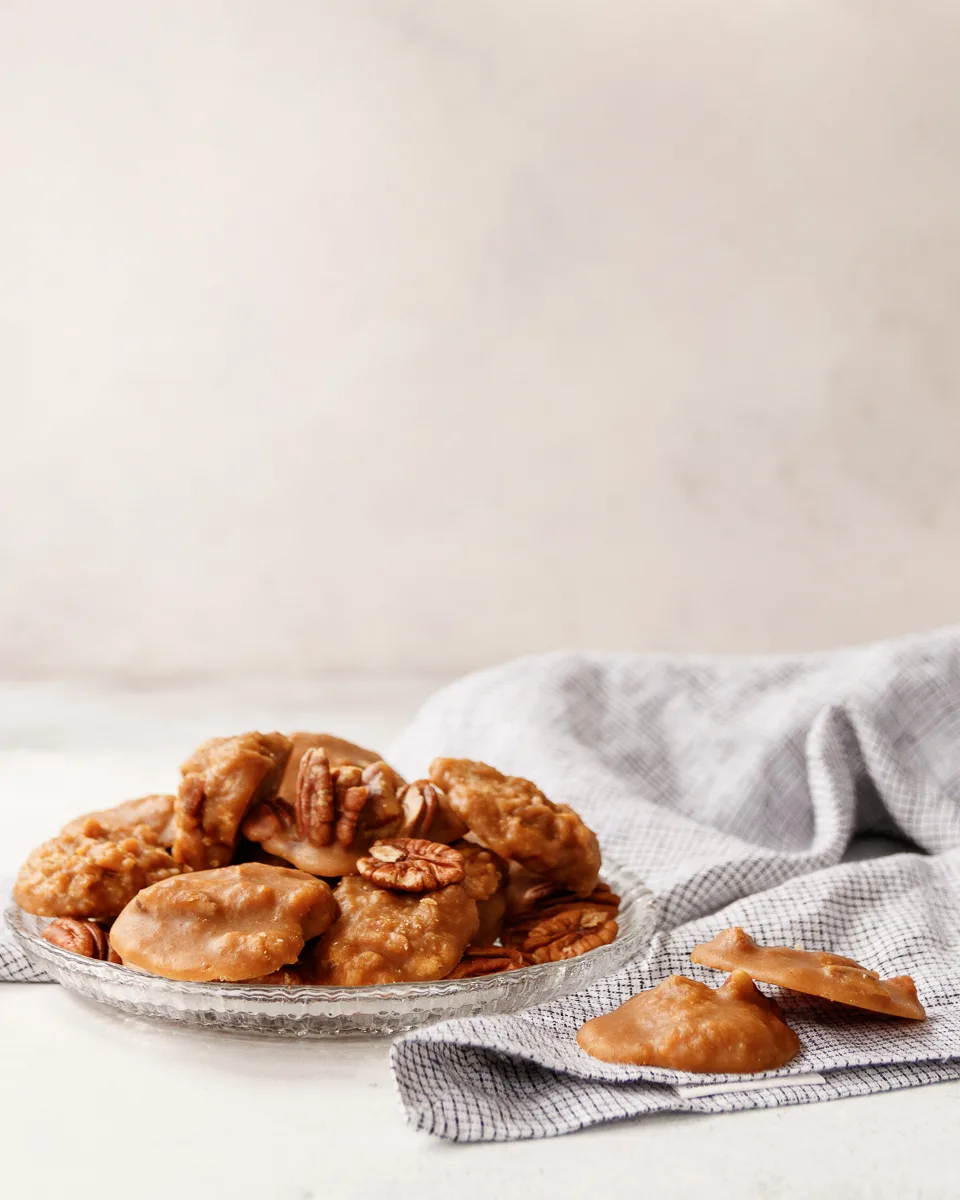
As far as candy making goes though, pralines don’t require special equipment beyond a thermometer. So they’re very accessible for home cooks and new candy makers. All you’ll need is:
- A pot – one with a nice heavy bottom that promotes even heat distribution is best. You aren’t stirring much while bringing your ingredients up to the right temperature, so this helps avoid hot spots!
- A candy thermometer – digital or analog, it doesn’t matter. This is an absolute must! I know there are people skilled enough to just watch a pot and “know”, or use the water test where you drop a bit of candy in water to check the temperature. But I am not those people. A candy thermometer removes the guesswork and I love that. Simplicity is good, darlings
- A cookie scoop – So this one isn’t exactly a necessity. You can use a spoon for scooping too. But if you’re like me, and want to be sure all the pralines are about the same size, a scoop makes this easy. It also helps speed up the process so the pralines don’t set too quickly in the pan.
- A lined baking sheet – A large cutting board will also do. You just need a good flat surface where the pralines can rest and set up. A baking sheet or cutting board is my preference so I can move it to a spot it won’t be disturbed. Parchment paper works great as a liner, or you can use a reusable silicone baking mat.
Tips for making Pumpkin Pecan Pralines
Before I leave you with the recipe, I do want to go over a few things I learned that I think you’ll find helpful. Pralines usually take a couple tries to get just right, but I’m hoping that – armed with these tips – you’ll avoid some of the challenges I faced!
When it comes to cooking the pralines, you’ll want to be sure you cook them long enough that they set up, but not so long that they’ll become dry and brittle. This is where a candy thermometer is a HUGE help. The sweet spot for this recipe is just at 235 F. That’s the very bottom of the temperature range for the soft ball stage.
If you pull the candy mixture too early, they won’t set up. I did this once, and was able to scrape the candies back into the pot, reheat, and kind of salvage the batch. But they were a little more firm than I preferred. This happened with the batch I tried to eyeball the temperature. Learn from my mistakes.
A wooden spoon is best for mixing the candy. And if your upper body isn’t that strong, enlist help. The mixing process takes anywhere from 3-4 minutes by hand. It can be quite the workout! I recommend a wooden spoon because it’s nice and firm, but won’t scrape up your pot. You will need to stir into the corners and the bottom of the pot, and a metal spoon will scratch the surface. A flexible spatula won’t do the trick either because it’s not firm enough.
How will you know when you’ve stirred enough? The exact amount of time you’ll need to stir varies. What you’re looking for is a change in texture and a sound. When you start stirring, the praline mixture will be pretty liquid. As you mix, you’ll feel it thicken a bit and then you’ll hear the sugar crystals scrape against the side of the pot. Some people call it “squeaking” others call it “singing”. I just know it’s a change in the way the spoon sounds against the pan. As soon as you hear that noise, start scooping!
You need to allow the pralines enough time to rest! The house will smell amazing after you’ve finished stirring and scooping your candy, but you have to be patient! About an hour after you’ve scooped, the pralines should be just set enough and mostly cool. I usually let mine rest about 2 hours before packaging. If I was making late at night, they rested overnight. The sooner you package after they are completely cool, the longer they’ll maintain freshness. But they have to be completely cool. Totally cool. Not warm at all. Trust me. Cool.
Pralines are best consumed within a few days of making them. Once the pralines are completely cool and set, you can store them in an airtight container for a week or two at room temperature with wax paper separating each layer. You can also freeze them for up to 3 months. They thaw beautifully. Pralines that have sat too long will start to get a little crumbly as the sugar crystallizes. At that point, you can still use them in something like banana bread. But I’m sure they won’t last that long.
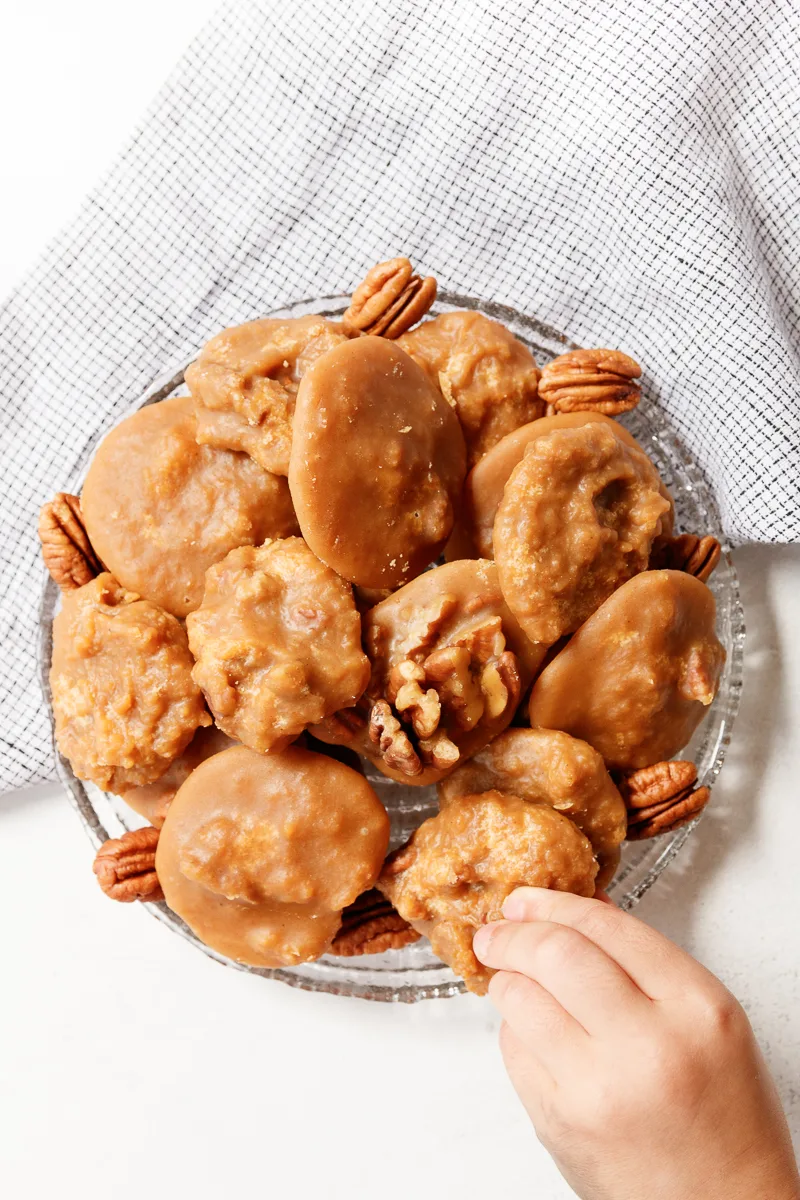
Happy candy making, darlings!
Pumpkin Pecan Pralines
Pecan pralines are a classic Southern candy recipe. They're a tasty treat to make around the holidays, in a variety of flavors. This pumpkin pecan praline recipe uses fresh pumpkin for a delicious, unique flavor.
Ingredients
- 2 cups light brown sugar
- 1 1/2 cups granulated sugar
- 1/2 cup heavy cream
- 2 tablespoons salted butter
- 1/2 cup pumpkin puree
- 1/2 teaspoon pumpkin spice
- 1 1/2 cups chopped pecans
Instructions
- Line a baking sheet with parchment or a silicone baking sheet. Set aside. Have your wooden spoon and cookie scoop or spoon ready.
- Fit a candy thermometer on a medium saucepan (a 3-quart pan works) and place over medium heat. Add the butter, sugars, heavy cream, pumpkin puree, and pumpkin spice.
- Melt and cook, stirring occasionally until the mixture boils. When it reaches 233 F, remove from the heat. The candy temperature will continue to rise a little, so it will hit the 235 F mark. Start mixing.
- Keep mixing vigorously until the mixture thickens and you can hear the sugar scraping the side of the pan. This typically takes between 3-4 minutes. As soon as you hear the noise and feel the mixture thicken, stop stirring and start scooping!
- Use your cookie scoop or a tablespoon to scoop the praline mixture onto your prepared baking sheet. Work quickly so the candy doesn't set up in the pan.
- Allow the pralines to set and fully cool undisturbed at least one hour. Once the pralines are fully cool, they are ready to package.
- Pralines are best enjoyed within the first 2-3 days, but they keep in an airtight container up to 2 weeks at room temperature, or you may freeze for 3 months. Be sure to place a piece of wax or parchment paper between each layer of pralines.
- Enjoy!
Notes
- Pralines are a great addition to cookie platters around the holidays or as edible gifts for friends, family, and neighbors.
- To prevent loss of texture or transfer of flavors, be sure to package pralines in a separate container from other treats.
- You may wrap pralines individually or in tins.
- This recipe ships very well thanks to its long shelf life. Just make sure to include enough padding so the pralines arrive as intact as possible.
Recommended Products
As an Amazon Associate and member of other affiliate programs, I earn from qualifying purchases.
-
 Kraft Stand-Up Pouch Bags with Clear Window, Zip Lock, and Tear Notch - Reusable, Heat-Sealable | Storage for Food, Non-Food Items, Home and Business - 50 Pcs - by Yuugen Products (4" x 6")
 -
 Cuisinart 89193-20 Professional Stainless Saucepan with Cover, 3-Quart, Stainless Steel
 -
 Corner Wooden Spoon, Right Hand Scraper, 13.5" FAAY Wood Spoons for Cooking Handcraft from Teak | Durable, Healthy, High Heat and Moist Resistance for Non Stick Cookware

