

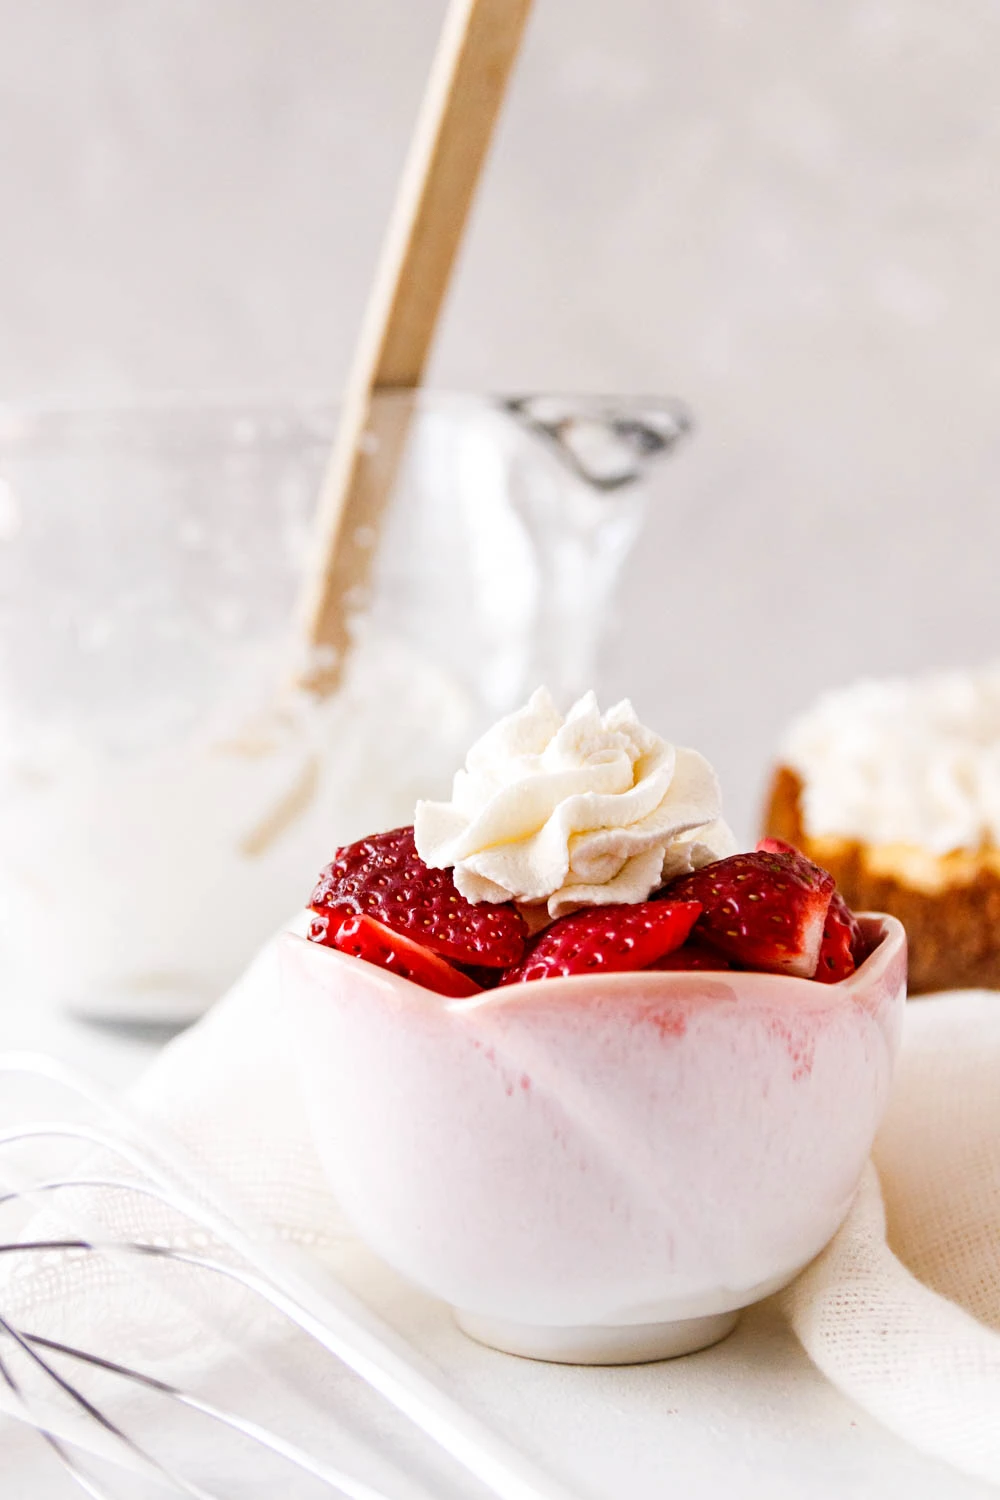
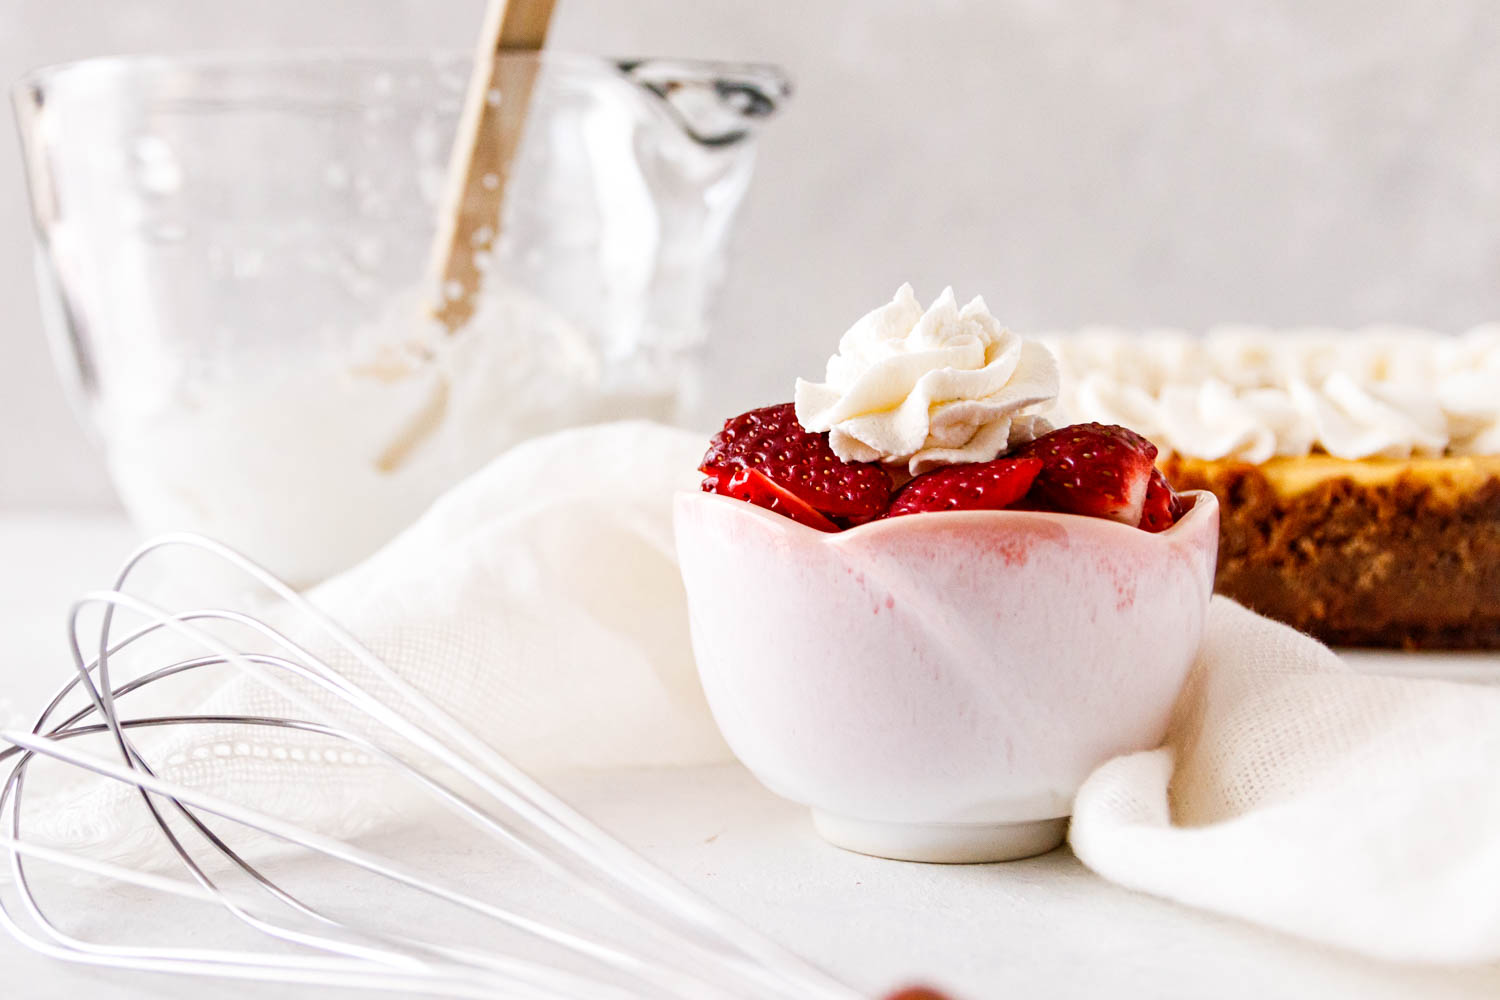
Homemade whipped cream in advance with no gelatin? It’s possible with this easy stabilized whipped cream recipe! This creamy homemade whipped cream is perfect for vegetarians, and a must for topping desserts, hot cocoa, and more.

Weird Godmother food thing… I can’t stand canned whipped cream. There’s a flavor and texture to it that I just can’t do, and I’ve tried a lot of brands. So for the longest time, I thought I didn’t like whipped cream. Then I tried homemade whipped cream, which we all know is amazing.
The only problem? Homemade whipped cream starts to deflate so quickly! What we need is a stabilized whipped cream recipe so we can enjoy our whipped cream on demand (sort of). At a minimum, we won’t be running to the kitchen to whip cream while serving the dessert course. I’m so excited to show you how easy it is…
The basic ingredients
Just in case you’ve not made whipped cream before, let me give you a quick run down. The basic ingredients for homemade whipped cream are heavy whipping cream, sugar, and a bit of vanilla. You may also have heard this combination of ingredients referred to as “Chantilly cream”.

I was told that the addition of vanilla makes whipped cream chantilly cream, but others have said it’s the sugar. Since there’s no set agreed upon difference, the names are interchangeable depending on how fancy you feel.
To make whipped cream, you whisk chilled heavy whipping cream with your sweetener of choice and flavor until stiff peaks form. Serve immediately.
Why make stabilized whipped cream?
If it’s so easy to make homemade whipped cream, why would we need to stabilize it? Can’t we just make whipped cream in advance?
Not really, no. Whipped cream gets its silky texture from the air we beat into the cream. Without anything to help keep that air there, the mixture starts to deflate after a few hours in the fridge.

So if even if all you wanted to do was make your whipped cream in the morning to serve with say, a pie, that evening, you wouldn’t have a nice pipeable whipped cream come serving time.
How can I make whipped cream in advance?
There are several different methods for stabilizing whipped cream. Here are the 3 most common:
- Adding a complimentary ingredient – One way to stabilize whipped cream is by adding a complimentary ingredient like cream cheese, creme fraiche, or mascarpone cheese. In fact, I have a recipe for a mascarpone whipped cream here! These ingredients are stable on their own, and add a little structure to your whipping cream, allowing it to hold air for a bit. The challenge is that they also add a bit of flavor. So this is not the best option if you want a classic whipped cream flavor without a little cheese tang.
- Gelatin – Gelatin, whether in powder or in sheets, is a very popular way to stabilize whipped cream! It doesn’t take too long, and once you’re familiar with the process, it’s quite simple. The only problem is that gelatin is an animal-derived product, so if you’ve got a vegetarian in the crowd, they can’t eat this.
- Agar-agar – Now we get to today’s magic ingredient! Agar is a powdered stabilizing agent derived from seaweed. It’s a great substitute for gelatin to make stabilized whipped cream, and since it’s plant based, is vegetarian friendly.
Using any of the above methods, you’ll get whipped cream that you can make even a day or two in advance! Store it in the fridge, and it’s ready to enjoy when you need it.
What is agar?
Agar (also called agar-agar) is a gelling agent found in red algae. You can find it in sheets, flakes, and powdered form, and it’s very common in Asian desserts. Have you ever seen the really gorgeous layered jelly desserts or cakes? Most of those are agar based.
Depending on where you live, you can find it in specialty grocery stores in small packets. If you live near an Asian grocery store, there’s a good chance they carry it there, and likely at better prices than the health food store. I usually order mine online because it’s easiest.
How do I use agar in whipped cream?
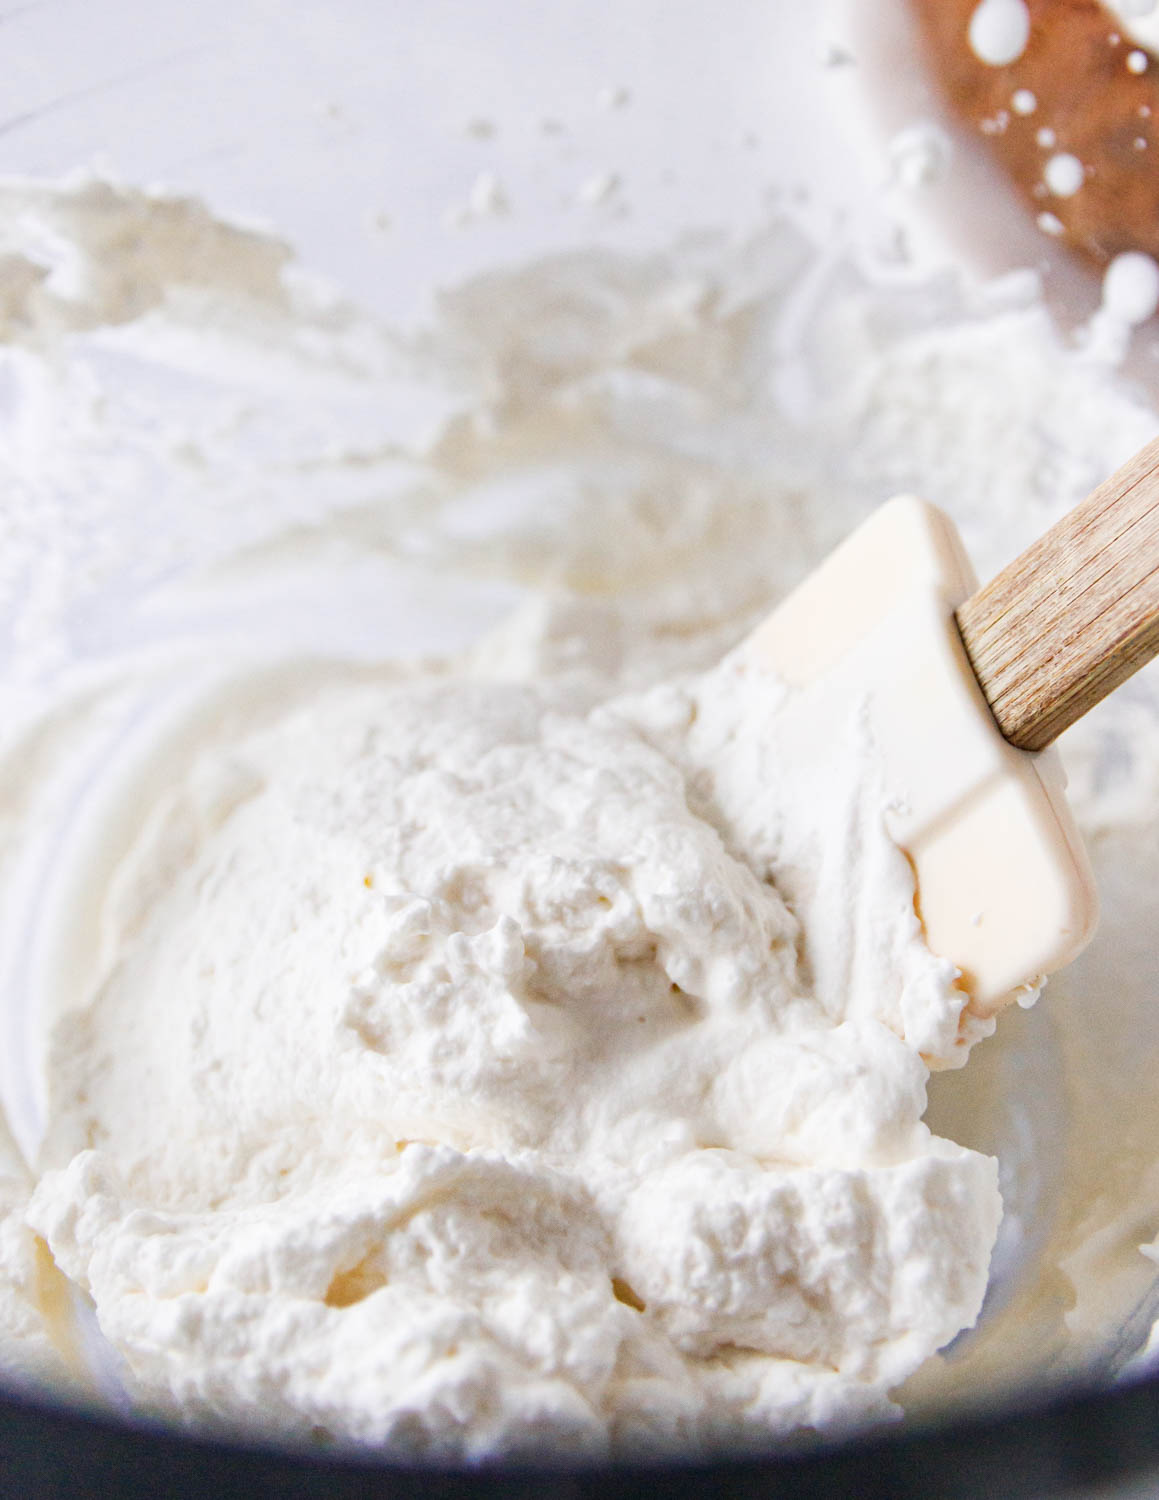
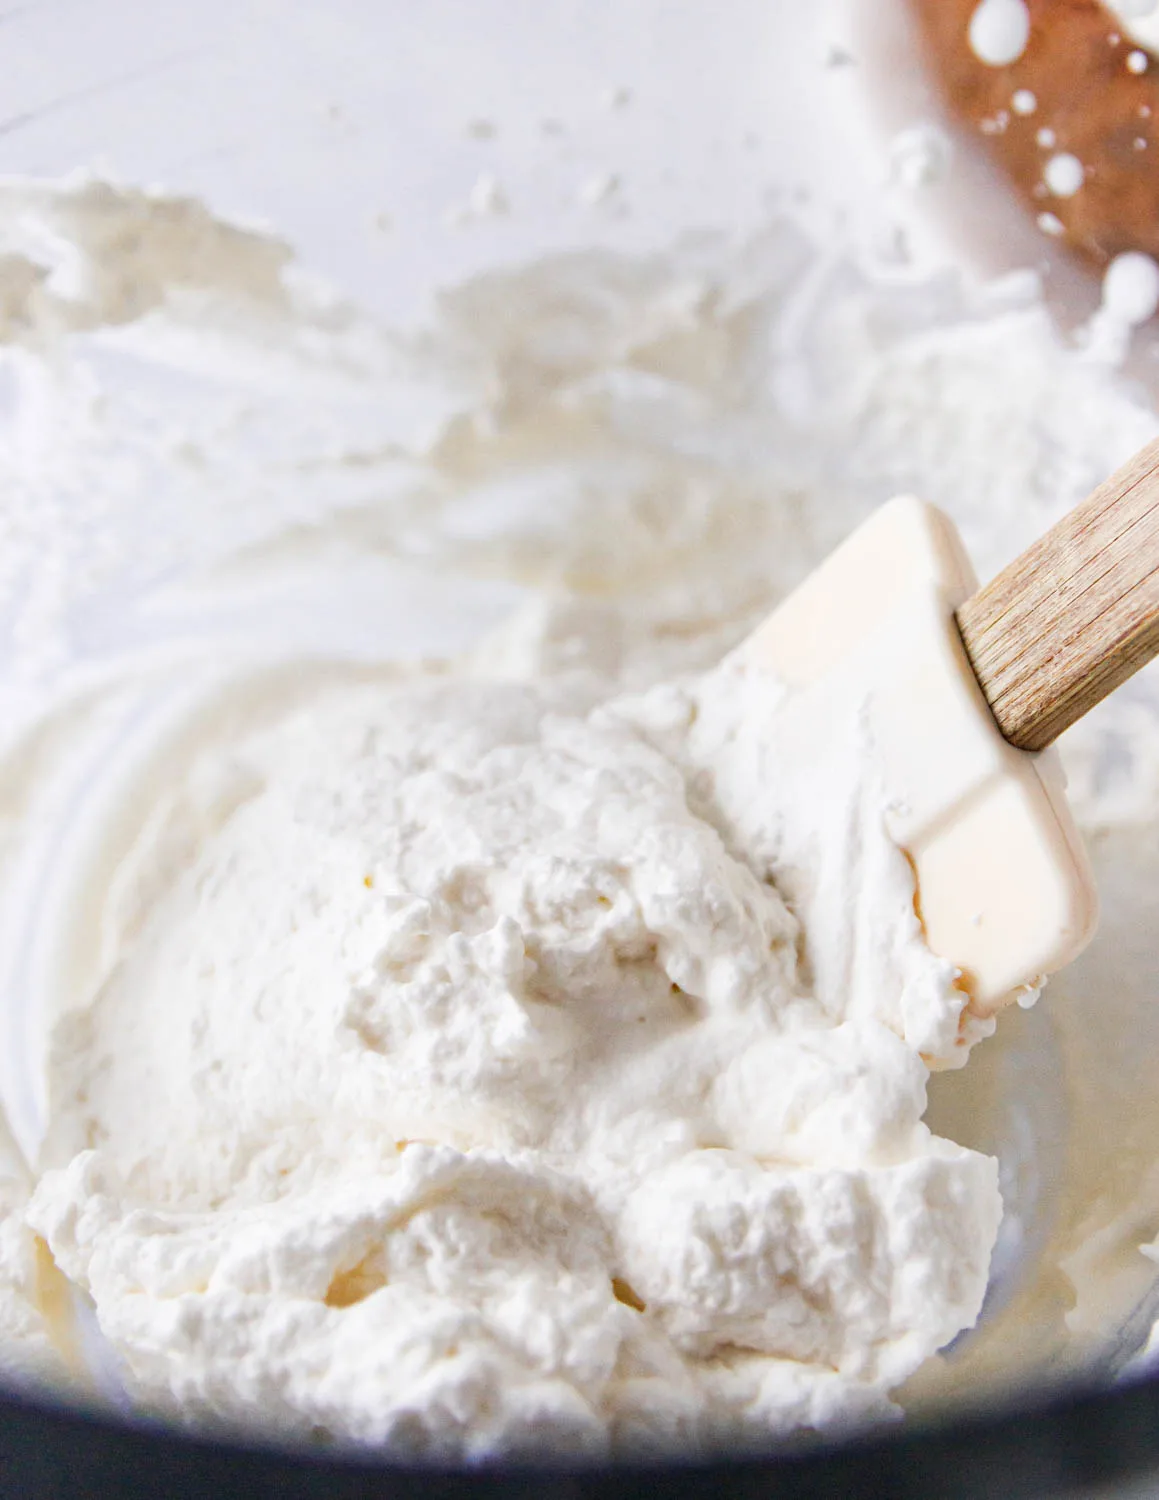
The reason I like using agar to stabilize my whipped cream is that I don’t have to dissolve it in water. If you buy the powdered form, which is what I recommend for this recipe, you just sprinkle the dry powder right into your whipped cream!
As you can see in the video, all you need to do is whip the cream until it just starts to thicken. Sprinkle in the agar powder as evenly as you can, and whip to your preferred stiffness.
It couldn’t be easier!
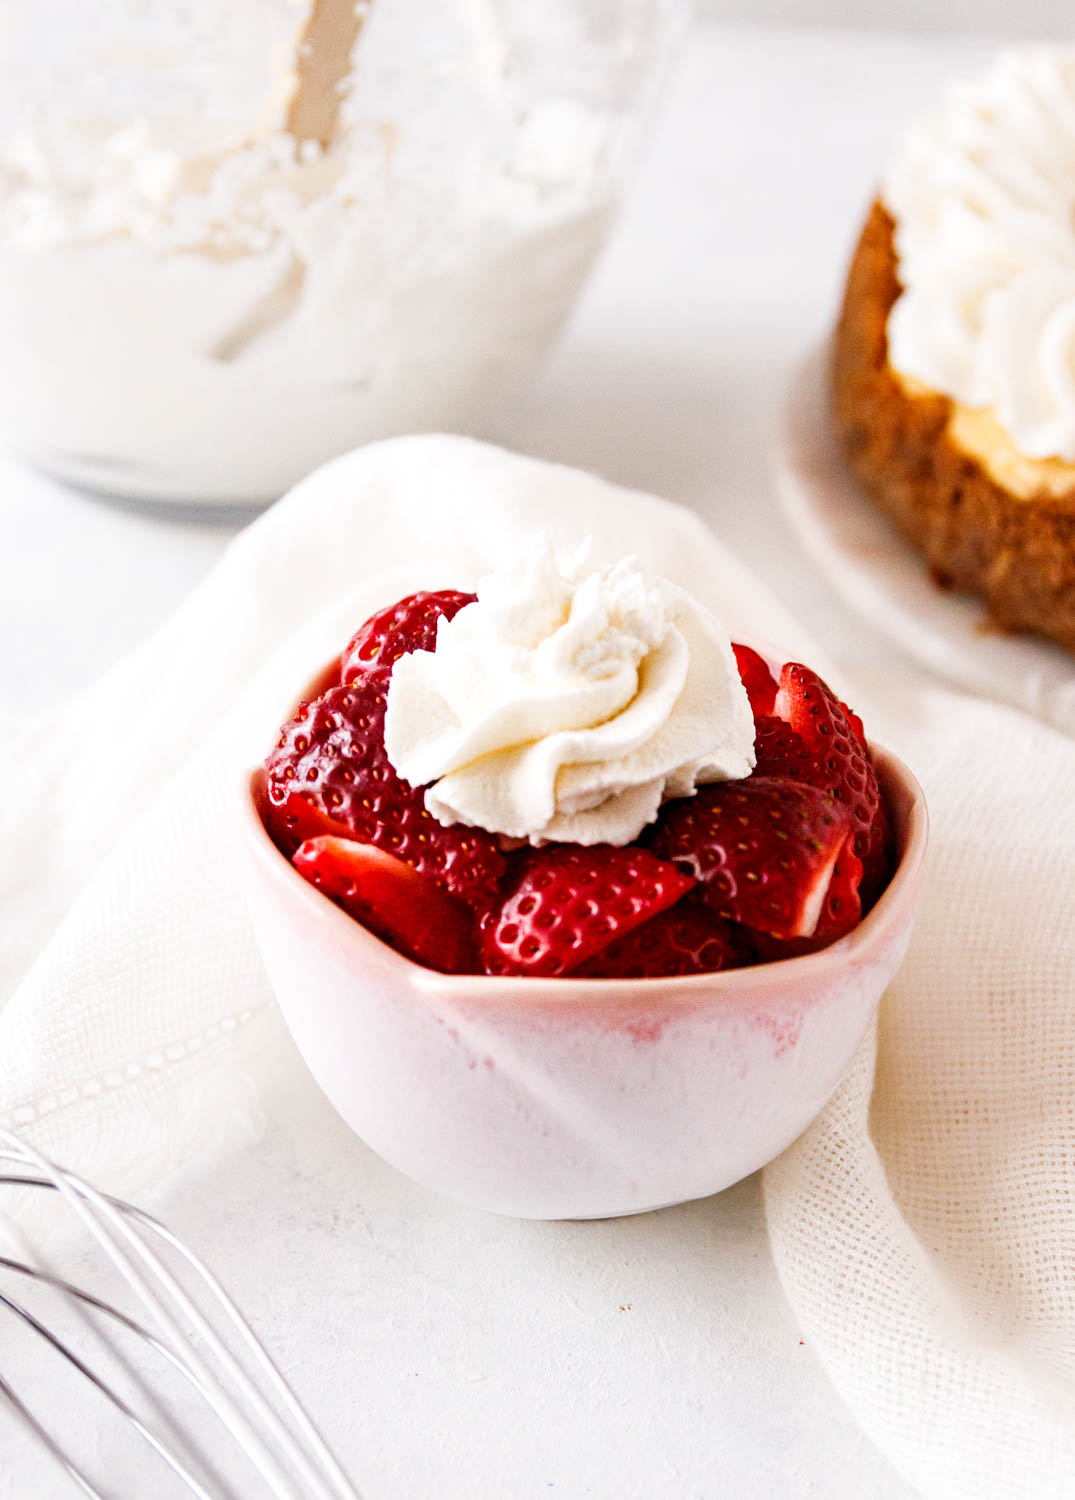

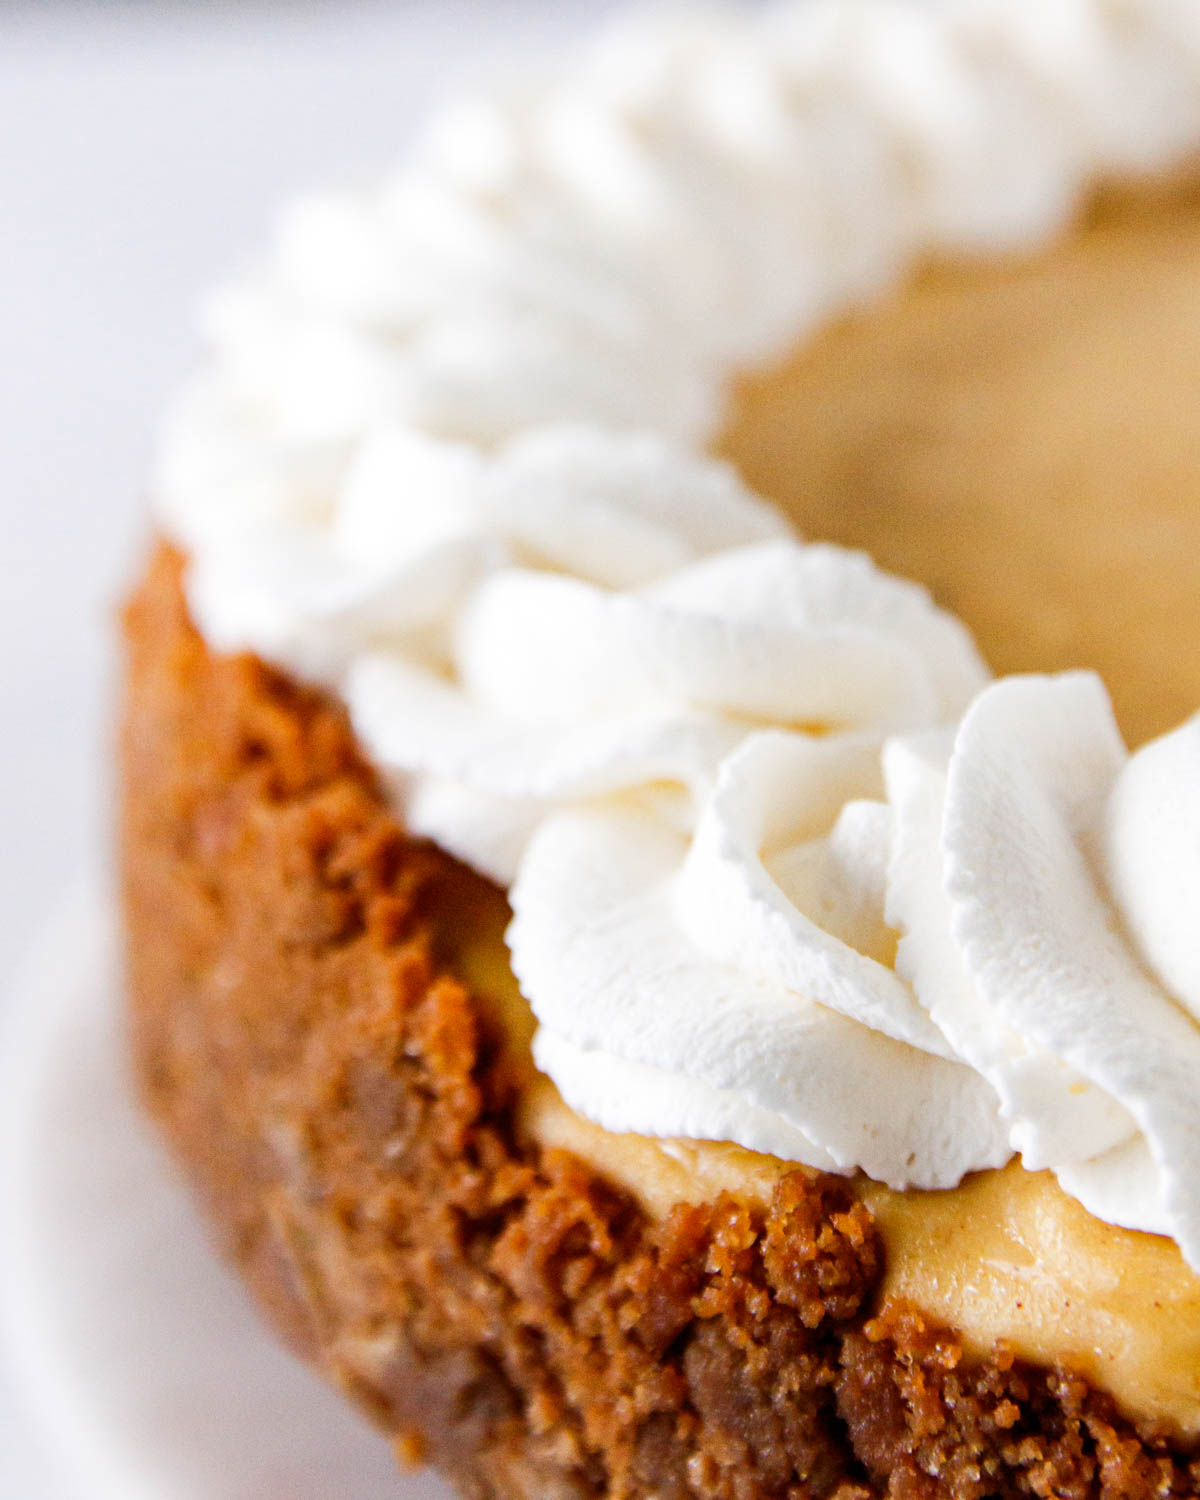
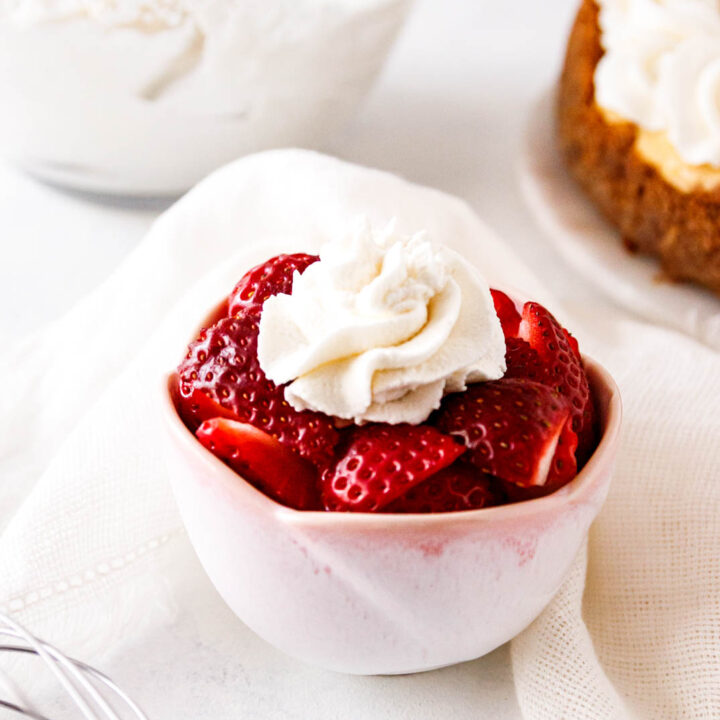
While this whipped cream probably isn’t sturdy enough to fill a heavy layered cake, you can use it for piped desserts and the outer frosting of a cake. In fact, agar stabilized whipped cream is what I used to pipe the beautiful border on my chai pumpkin pie recipe.
We use this whipped cream to top hot chocolate too. Even piped straight into a warm mug, it holds its shape long enough to add toppings and take a few pictures before settling into a perfect creamy topping.
I hope you enjoy this recipe, darlings!
Easy Stabilized Whipped Cream {No Gelatin!}
Homemade whipped cream in advance with no gelatin? It's possible with this easy stabilized whipped cream recipe! This creamy homemade whipped cream is perfect for vegetarians, and a must for topping desserts, hot cocoa, and more.
Ingredients
- 1 cup heavy whipping cream, chilled
- 2 tablespoons powdered sugar
- 1 teaspoon agar agar powder
- 1 teaspoon vanilla extract
Instructions
- In a stand mixer fitted with the whisk attachment, or using a large mixing bowl and hand mixer, whip the heavy cream on medium speed until it thickens slightly.
- Sprinkle in the powdered sugar and agar powder.
- Pour in the vanilla extract.
- Continue beating at high speed until medium peaks form.
- Serve immediately or keep refrigerated until needed. This can be made up to 2 days in advance. Enjoy!
Notes
- Powdered agar works best in this recipe.
- If you want beautiful vanilla flecks in your whipped cream, use vanilla bean paste or the caviar from a scraped vanilla bean instead of the extract.
- This whipped cream is stable enough to frost cupcakes or the outside of a cake. It must be refrigerated though and is not a frosting that can be stored at room temperature.
Recommended Products
As an Amazon Associate and member of other affiliate programs, I earn from qualifying purchases.


Nutrition Information:
Serving Size: 1Amount Per Serving: Calories: 439Total Fat: 43gSaturated Fat: 27gTrans Fat: 1gUnsaturated Fat: 13gCholesterol: 134mgSodium: 33mgCarbohydrates: 11gFiber: 0gSugar: 11gProtein: 3g
These nutrition values are estimates. Exact values will vary depending on the ingredients, brands, and quantities used.
Joleen
Saturday 19th of November 2022
Can you freeze it piped out?
Mary (The Goodie Godmother)
Friday 16th of December 2022
Yes, I've used this on ice cream cakes, and it's worked fine. I haven't frozen it for more than a few days though, so I'm not sure how it would react in long-term freezing situations.
Amalija
Monday 21st of February 2022
Hello! I thought that agar agar had to be heated to a certain point in order to activate its gelling properties?
Mary (The Goodie Godmother)
Thursday 24th of February 2022
It does not for this recipe. We are using such a small amount, and we don't want it to fully gel. Agar agar will set a little more firmly than gelatin once heated, and we just want a soft hold.